


[How-To] AR-15 Lights & Lasers Mounting + Cable Management

Wrangle those cables! We go through how to mount lights, lasers, and pressure pads with the best cable management tips.

Gucci gear nerd. Recreational shooter. MilSim Airsoft enthusiast
We review products independently. When you buy through links on our site, we may earn a commission to help support our testing. Learn more about our review process.
Chances are, when you start adding highspeed gadgets to the front end of your gun, things can get a little... unruly.

Need a quick reference guide for a few different ways to route cables for your lights and lasers?
Follow along below as we show off several different solutions to keeping your accessory leads tidy and out of the way!

Or take a look at our totally awesome video on it, and if you like that kind of thing -- subscribe to the Pew Pew Tactical YouTube Channel!
Table of Contents
Night Vision And You
One of the projects we've been working on recently is getting into the night vision game, and one of the fun parts of shooting in the dark is the fact that... the money pit doesn't end there.
To truly take advantage of a night vision setup, you're also going to need an IR laser and an IR illuminator for target acquisition and positive target identification, respectively.

Current Night Vision Setup
On this particular setup, we opted to go with Steiner's DBAL-A3, which offers both a visible laser, an IR laser, and IR illumination to boot.
Pretty much everything you'd want for laser-blasting in one relatively small package.

However, figuring out a system that allows you to have access to all of the features that the DBAL offers while still keeping the front end of your gun relatively clean is where things start to get tricky.
In our case, we chose a Unity Tactical / TNVC TAPS Sync, Unity Tactical Hot Button, and Surefire Scout light to tie the entire system together, and it's working out pretty well!

The TAPS Sync gives you two pressure pads, and although it comes with a picatinny mount, can be mounted directly to an MLOK interface as well.

We've got the forward most pressure pad tied into the DBAL's visible laser, with the rear pad activating both the Surefire Scout and the visible laser simultaneously.
I've also got the Unity Hot Button set up to control the IR laser and illumination controls, and it's sitting at an ~11 o'clock position on my rail for easy access.

Considering the fact that the leads here are quite long, we've got a good amount of cable to lock down and secure.
I essentially started by routing the excess Hot Button cable around the unit itself, anchoring the lead at both the front and rear with zip ties to ensure that it's not flopping around.

I made sure I had enough slack to reach the DBAL's connector ports and then tucked the excess underneath the DBAL itself.

From there, I let the TAPS lead cables to wrap around the pressure pad unit itself, towards the muzzle.

Adding a few anchor points to make sure those cables can't flop around, I then tucked them underneath the small ledge of overhang that the pressure pad itself provides.

With some initial points anchored, I returned to the rear of the pressure pad, which for whatever reason doesn't like to sync up QUITE well enough with my STNGR handguard so as to affirmatively grab the rear portion super securely.
Zip tie time!

With everything in place, I repeated the same process of running the remaining excess underneath the DBAL before snaking out just enough to make the final connection to the laser port and the Surefire itself.

I'll note here that this is just an initial run at a sensible setup - as I start putting the entire thing through its paces, it's entirely possible that I might want to revisit the methods and revise them as is fit.
But for right now, it feels okay!

You're also going to want to rotate the 'heads' of the zip ties to the inside of your rail once you've got them trimmed, as they can be quite sharp.
Other Setups
The setup below features an Olight Odin with a Picatinny pressure pad mounted directly to the top rail and secured with a zip tie.


You can also use a spare bit of bicycle tubing to secure any loose connectors you don't want to be exposed!
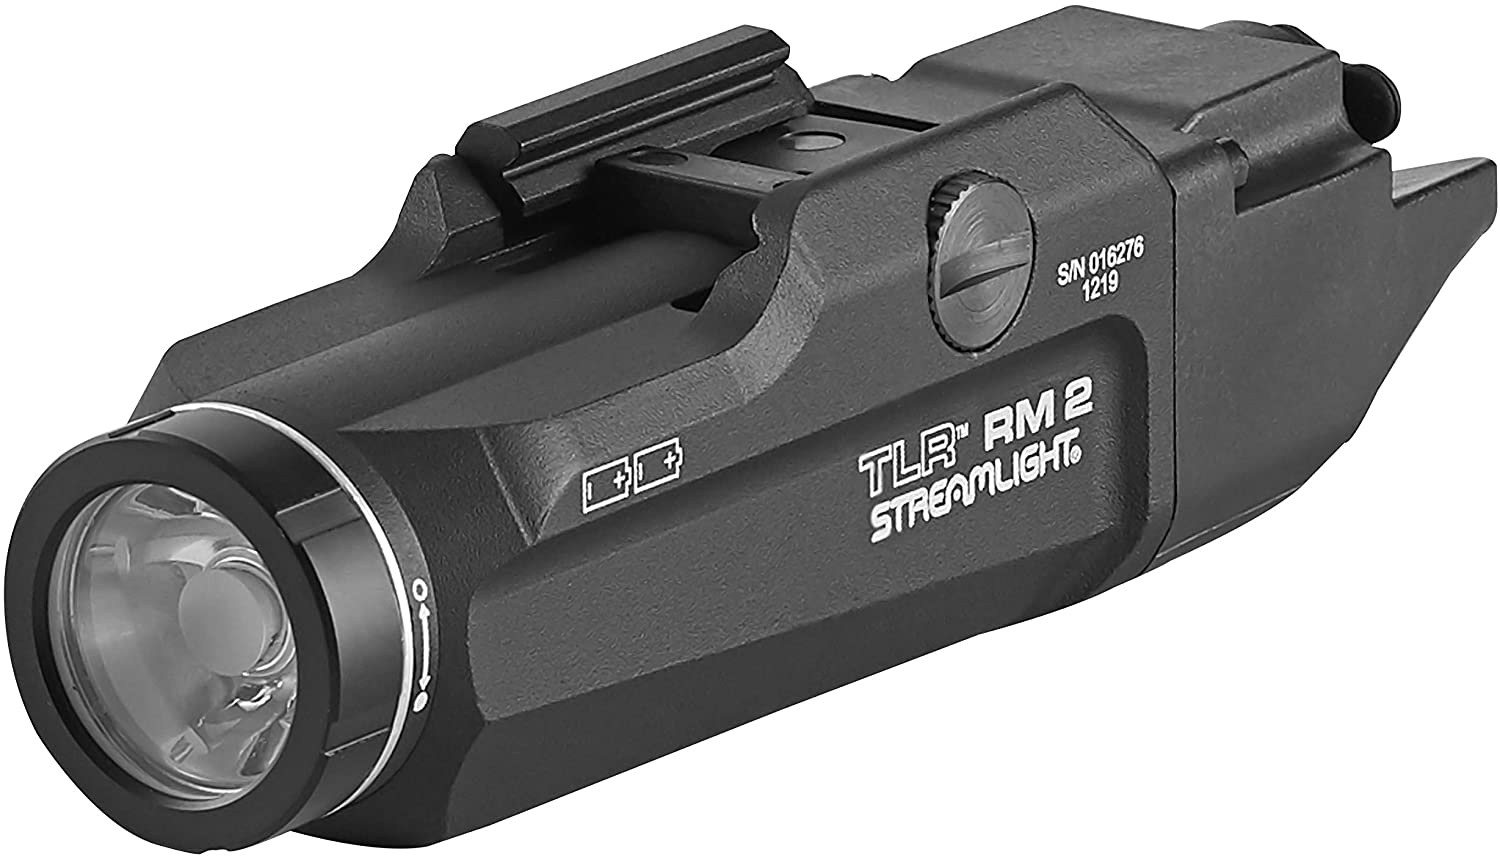
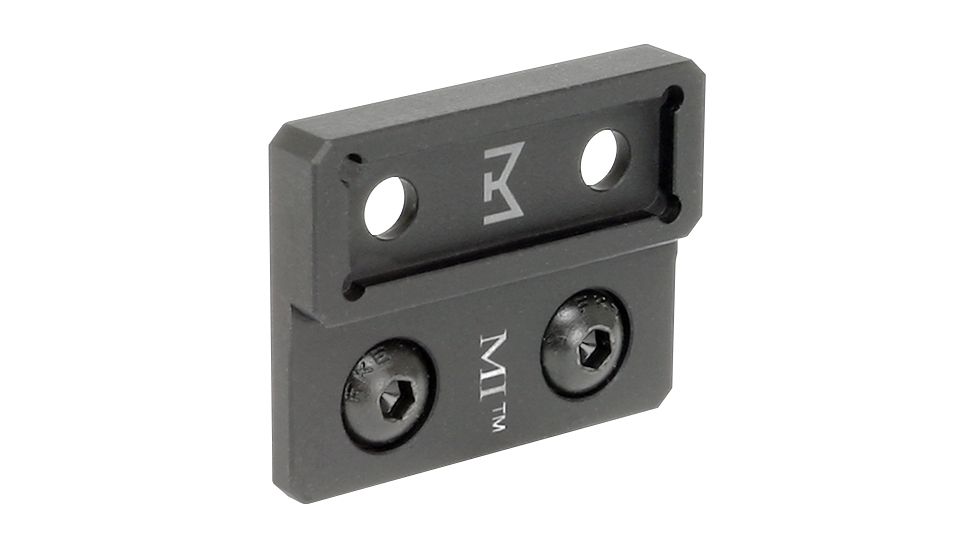
We've got a surefire dual pressure pad controlling a Streamlight RM-2 on another upper that sits awaiting its own LAM unit using a Midwest Industries mount, and in the meantime, the bike tubing keeps the spare connector protected from the elements.

Of course, you can also bypass the entire process entirely if you grab something like Cloud Defensive's OWL!
Also! Cloud Defensive has set up a very special 10% off coupon "pewpewtactical" just for our readers.

The light features a pressure pad integrated directly into the rail mount, meaning you've got zero exposed wires whatsoever.

Conclusion
Hopefully, you now have a thorough understanding of how to route and use zip ties 😉
How do you set your rifle up? Got any hot zip tie tricks? Let us know in the comments! If you're ready to give your rifle the ultimate make-over, check out the PPT guide on How To Paint Your AR-15! Don't have a light yet...check out Best AR-15 Lights.
