
How To Shoot With a Bipod

Bipods are easy, right? Sure! But you still need to know how to use them correctly and know what kind to get. We will take a look at how best to use a bipod and our recommendations to get you started.

USMC Veteran. Concealed Carry & NRA Pistol Instructor. 3-Gun Competitor. Career firearms writer
We review products independently. When you buy through links on our site, we may earn a commission to help support our testing. Learn more.
Although there is a mind-boggling number of firearms accessories on the market today, there is one that has truly withstood the test of time.
The good ol' bipod.
Bipods have been around in some form or another since the 12th century, and started to really come into common use around the 20th century.
Bipods have been around for so long and used on so many weapons because they work. Well, they work when they are used properly.
A lot of shooters think they know how to use a bipod, and maybe quickly find that it’s not as easy as just sticking it on the ground and taking the shot.
My time as a Marine put me behind quite a few weapons, but my main gun was the M240 machine gun. Using a bipod wasn’t a convenience for me, but an absolute necessity to tame a belt-fed machine gun.
Between my military experience and the recreational shooting I enjoy, I've got a good handle on how to use a bipod. So today, I want to go over the basics of how to properly and effectively use a bipod to help you make the most out of your shooting experience.
Before we dive in, here are some important safety rules:
- All guns are always loaded
- Never let the muzzle cover anything you are not willing to destroy
- Keep your fingers off the trigger until your sights are on the target
- Be sure of your target and what is beyond it
Table of Contents
Step-by-Step Instructions: How to Shoot With a Bipod
Step 1: Make Sure Your Bipod is Installed Correctly
This may sound obvious, but the most important step before hitting the range with your bipod-equipped rifle is making sure it’s installed correctly!
I’m not saying anyone reading this is dumb; in fact, I know our readers are actually quite intelligent.

But in my experience, the majority of issues shooters rocking quality bipods have stemmed from improper installation.
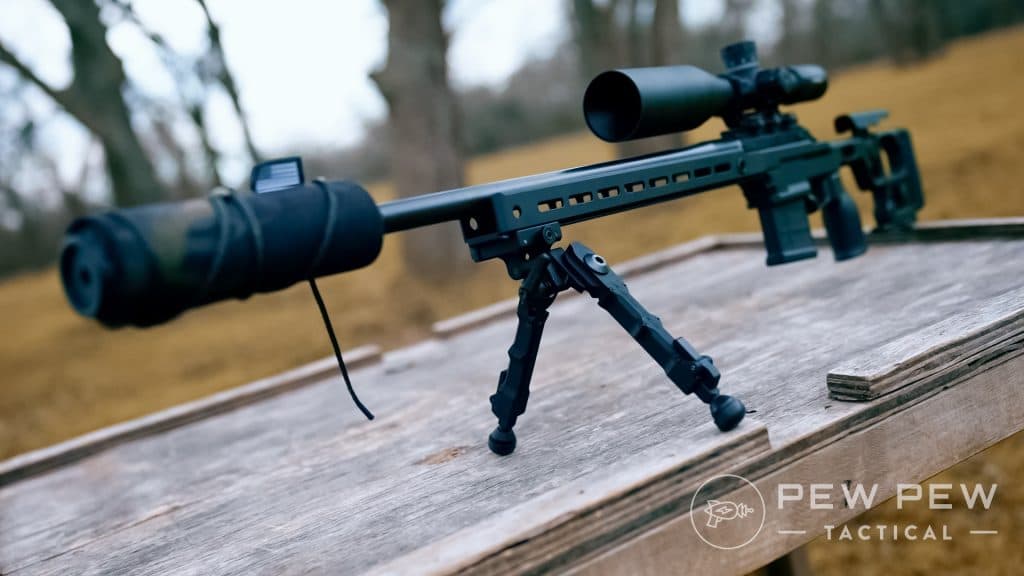
- Bipods should be mounted at the front of the rifle's forend or handguard, or very close to the front.
- When the bipod is folded, the legs should be facing toward the muzzle (with very few exceptions).
- Ensure the bipod is tightened down to the proper torque spec per the manufacturer.

There are various methods of mounting bipods. Everything from Picatinny, swivel studs, ARCA, spigots, and more. Regardless of your chosen method of attachment, remember that slack in the mount or adapter translates to slack in the bipod, which translates to slack in your shooting.
Even the smallest mistake can make shooting with a bipod difficult, so it’s critical you install a bipod properly. Follow the instructions included with your bipod and always ensure it's torqued to spec.
Step 2: Find a Stable Shooting Surface
Another important factor to consider is choosing where you intend to set up with your bipod.
I’ll admit I learned this purely through gunning with an M240 during my Marine Corps days. A hard surface is not always a stable surface!

If a surface is too smooth or too hard, it can make the gun rock and roll, twist, and hop. All that movement can make any kind of rapid follow-up shots a pain.
Stay away from hard surfaces, even though they seem so inviting. Things like softer dirt and shooting mats allow the bipod to dig in for better grip and stability.
There were plenty of times I used my knife to dig through hard dirt to have a more stable surface for my 240 bipod to bite into. There’s no reason you don’t take that same tactic and apply it to your bipod. Dig the fella a little trench to call home.
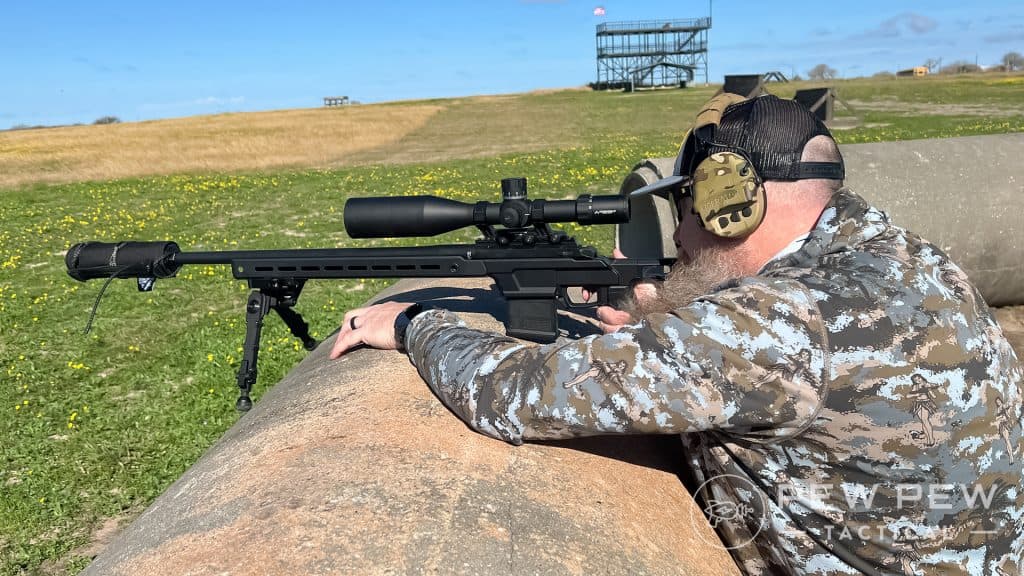
However, hard surfaces can make good bipod companions in certain scenarios. Bracing the front or rear face of the bipod against a hard surface can help steady your aim if you are not shooting from a pure prone position on the ground.

Step 3: Load the Bipod
You may notice that a properly installed bipod still has a bit of give in all directions.
To help take this slack out of the bipod and maximize your control of the rifle, you want to use a technique called bipod loading.

Learning to load your bipod is extremely important to avoid erratic shooting results. Without any pressure behind the bipod, it’s going to basically act as a pivot, and the recoil will cause it to hop around.
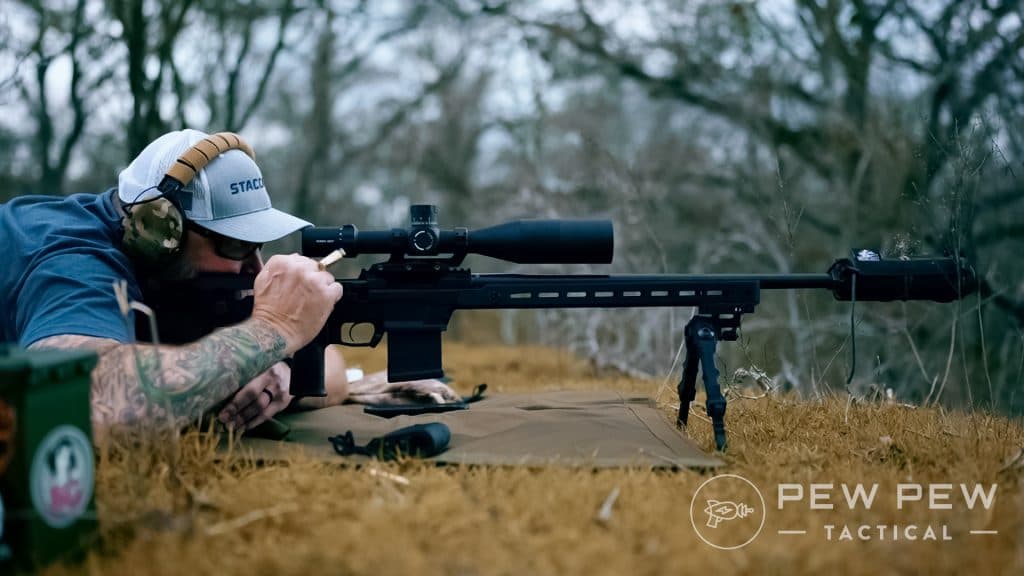
Loading a bipod simply means applying some forward pressure to the bipod with your body weight via your firing shoulder.
- Adjust your bipod leg height so that the rifle sits firm and is level on the given terrain.
- Make sure the bipod feet are square toward your target.
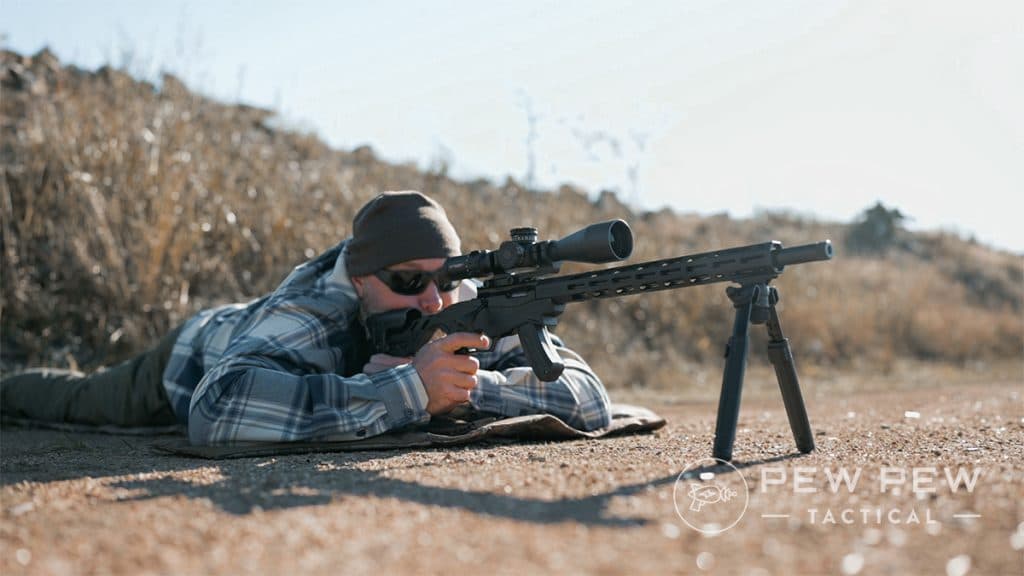
- If shooting prone, move your hips forward to apply slight pressure to the rifle with your shooting shoulder.
- If standing or kneeling, bias your weight forward to apply slight pressure to the rifle and bipod.
The trick is to learn the difference between too much and not enough pressure. To get a good visual, check out this excellent 2-minute video below from Magpul.
Too much and you are going to shove your bipod forward. If you are physically moving the rifle and bipod across the ground, you need to let up, take a deep breath, and apply a little finesse. Certainly, some weapons take more force than others, but if it's moving you ain’t grooving.
If the rifle is still jumping and sliding backward, you aren’t applying enough pressure. You need to put some more shoulder into it. You control the rifle, the rifle doesn’t control you.
Step 4: Follow Through
One of the few things golf has in common with shooting (besides being expensive) is that follow-through is critical.
But for some reason, the moment people get a bipod and a spotting scope out, they forget about follow-through.
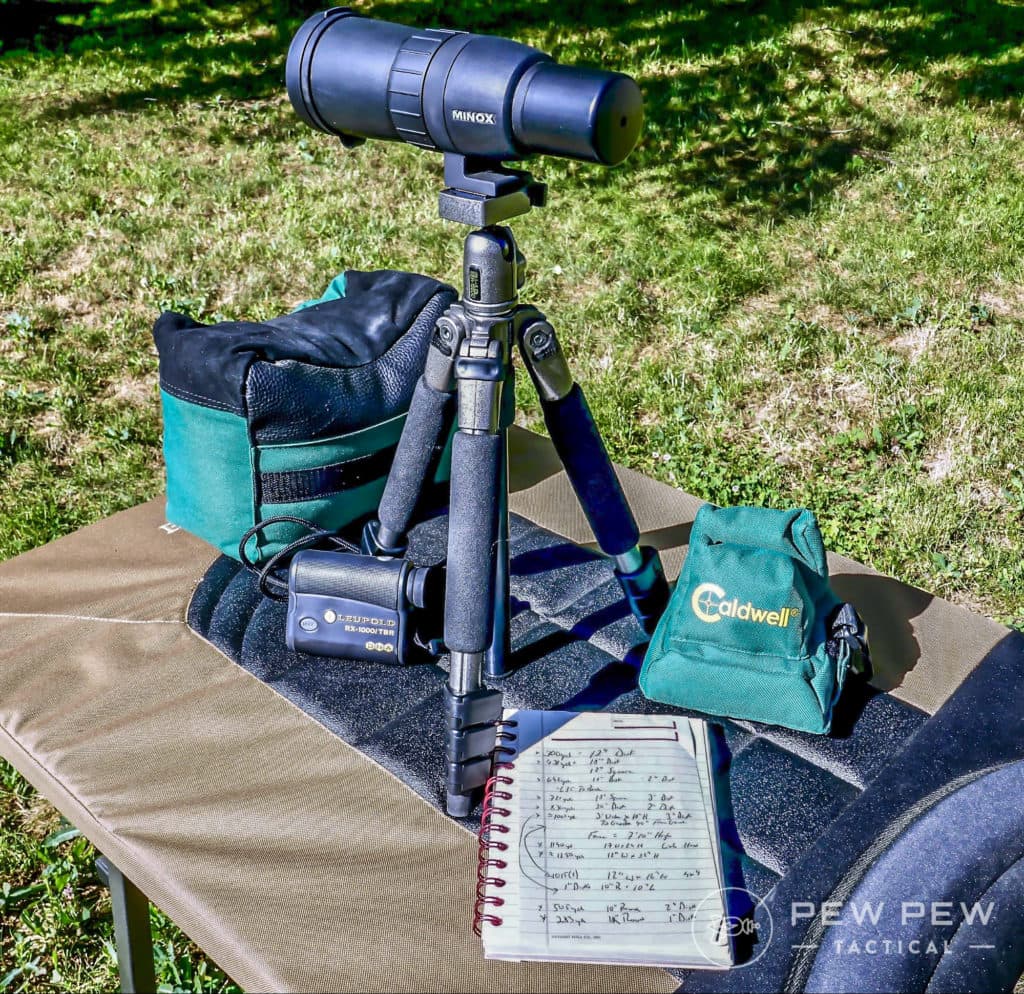
So many shooters take a shot and immediately move off of their rifle and transition to their spotting scope to try and see where they hit.
This eliminates the idea of seeing where your sight picture is after the shot, which is critical with a bipod. Your sight picture should be re-examined after every shot.
You want to ensure your sights are not moving drastically between shots. If you’re aiming at the bullseye and your sights land on the right corner of the target after you fire, your bipod may be moving.
If this is the case, re-visit step 3 and ensure your bipod is correctly adjusted and properly loaded.
So in short, take your shot, stay behind your gun, and watch where your sights come to rest. A little patience goes a long way.
Common Mistakes to Avoid
- Improper Installation - A bipod that is mounted too far rear, mounted backwards, or mounted too loosely can prevent you from properly loading your bipod altogether.
- Too Much or Too Little Pressure - If your rifle is moving either before or after your shot, you are likely applying the wrong amount of pressure when loading the bipod.
- Pulling the Rifle Toward You - Bipods should be loaded by applying slight forward pressure on the gun. Avoid the temptation to pull the rifle into your shoulder to remove the slack.
Meet the Experts
Pew Pew Tactical author Travis Pike spearheaded this article. Travis spent a lifetime shooting as a kid and later joined the United States Marine Corps, where he spent five years as an infantryman. His experience as a machinegunner, recreational shooter, and hunter has given him unique insight into bipod usage. Additionally, Travis has thousands of articles to his name with a variety of publications and has tested countless guns, bipods, and other firearm accessories.

Editing and adding to this article is Pew Pew Tactical Editor, Wyatt Sloan. Wyatt is an NRA-certified instructor with previous experience as a USPSA competitor, long-range shooting, and hunting. Wyatt personally owns over 200 firearms and has 10 years of home-based FFL firearm sales.
Editor-in-Chief Jacki Billings runs our experienced team of reviewers. She is a National Rifle Association Basic Pistol Instructor as well as a member of the Society of Professional Journalists, ACES: Society for Editing, and the Professional Outdoor Media Association. Jacki has a bachelor’s degree in journalism and has worked as a media professional for close to 20 years, specializing in gun media for almost 10 years. With 2,000+ articles to her name, she uses her professional journalism and editing experience to set testing protocols and editorial standards for Pew Pew Tactical.

Final Thoughts & Next Steps
Bipods are so simple and so ingenious. They work wonderfully to stabilize your gun and allow you to take some of that human error out of the shooting process.
Recreational shooters, hunters, and competitors alike can all benefit from a good bipod when the situation dictates it. And learning to use all the tools at your disposal will only serve to help grow and improve as a shooter.
Do you have any nifty bipod hints, tips, or suggestions? Let us know in the comments below! Don't have a bipod yet? We got you covered in our Best Rifle Bipods article!
Additional Learning
- Long Range Shooting [Intro & Fundamentals]: Interested in pushing your rifle out further? This guide covers how to get started with extended-range shooting.
- How to Shoot a Rifle - AR-15 & Bolt Action: Brand new to shooting? Don't worry, we still have you covered! This guide will help you learn the basics of operating and shooting your rifle.
- How to Zero a Rifle Scope: Have a scope on your rifle? This guide will help you get it sighted in.
Latest Updates
May 2025: Article has been completely revamped.