
How to Shoot a Pistol Accurately [Ultimate Guide]
Shooting pistols accurately is hard! We help you remember the basics, easy exercises at home, range tips, and gear.

PPT Editor. Marine vet, hunter, and long-range shooter. Articles in 10+ major publications
We review products independently. When you buy through links on our site, we may earn a commission to help support our testing. Learn more.
If you can shoot a pistol accurately, you can shoot just about anything well. Compared to rifles and shotguns, they’re the most challenging system to master, by far.
That’s a bummer, because pistols are what most people reach for as a defensive platform. Good thing you have us to make the learning process a little easier.
While there’s no substitute for professional instruction, this quick tutorial will give you a better understanding of what to do, how to do it, and why it matters.
Let the learning begin!
Table of Contents
What You Need Before You Start
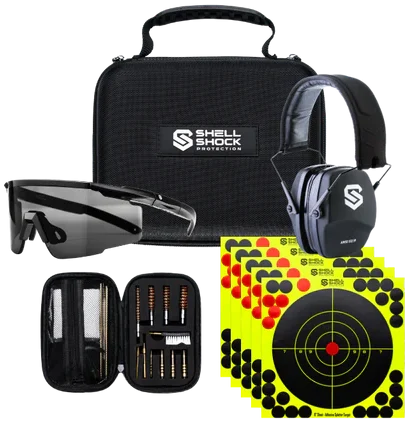
Essential Safety Kit
One thing before we get into it: if you're heading to the range to work on these drills, wear quality eye and ear protection.
Distraction and discomfort kill focus, and focus is everything when you're trying to diagnose and fix bad habits.
We shoot with ShellShock Protection...our own gear, built for exactly these kinds of range sessions.

Must-Have Tools
- Pistol or revolver
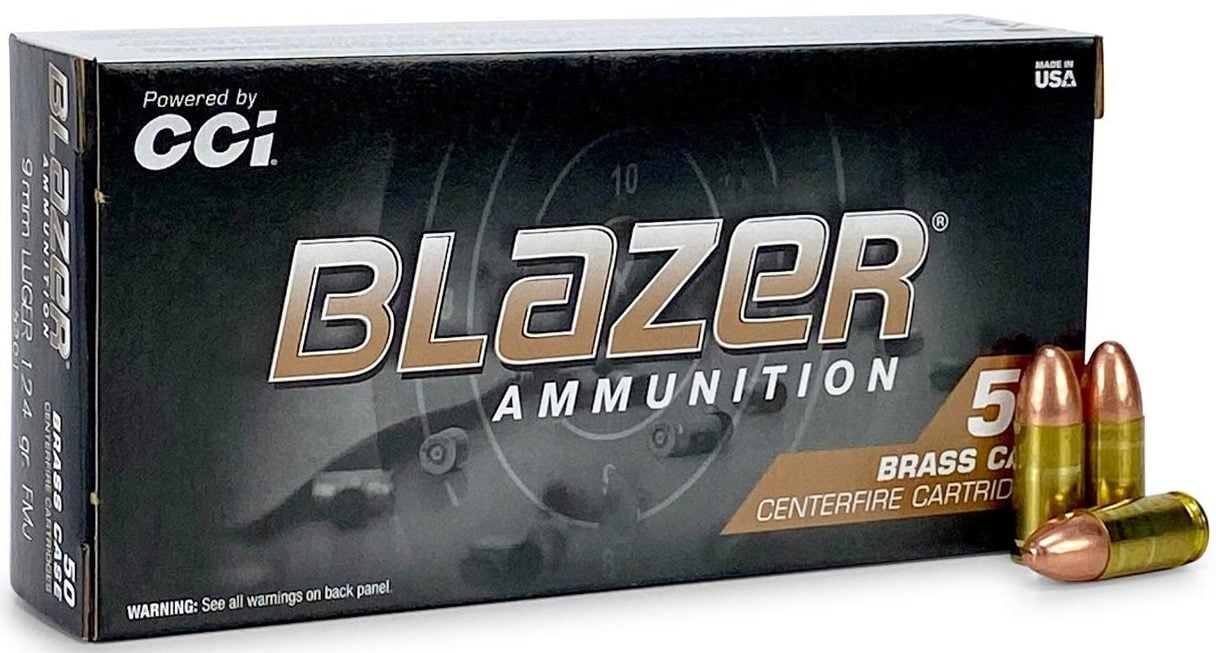
- Ammunition
- Targets
- Access to a shooting range
Nice-to-Have Tools
- Professional instruction
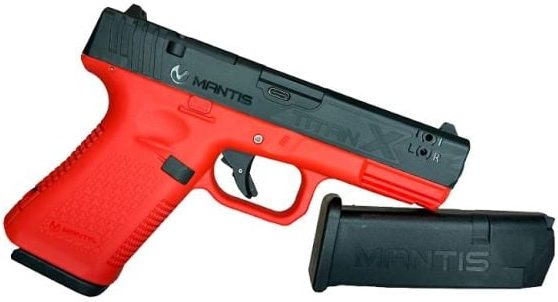
- Mantis TitanX laser pistol
- Dummy ammo
- Shot timer
Step-by-Step Instructions
There are some differences in technique depending on which handgun you're using. For the sake of simplicity and the broadest applicability, I’m going to focus on a semi-automatic pistol like the Glock 19 for this article.

Step 1: Shooting Stance
Your shooting stance matters when shooting a pistol, but you don’t need to overthink it right now.

The three most common shooting stances are the Weaver, Chapman, and Isosclenes (we love you, too, center-axis relock). What do they all have in common? Your knees should be bent, your shoulders should be in front of your hips, and you should feel like you’re in a naturally athletic posture.
The goal is to use your body mass to create a stable platform while you’re aiming, and absorb recoil energy when the gun goes off.
Watch this video to see what I’m talking about in action.
Step 2: Handgun Grip
Building a good grip is always important – don’t be the beginner who lets a handgun jump out of their hands!
Start with your shooting hand. For now, keep your index finger straight and off the trigger. Rest it on the frame of the pistol, right under the slide.
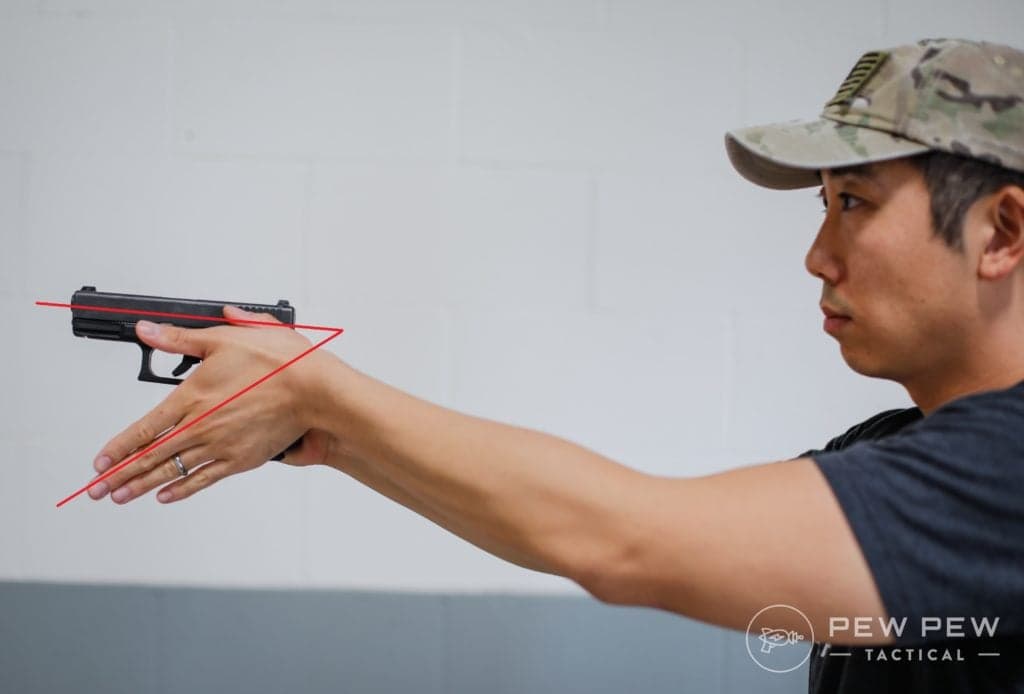
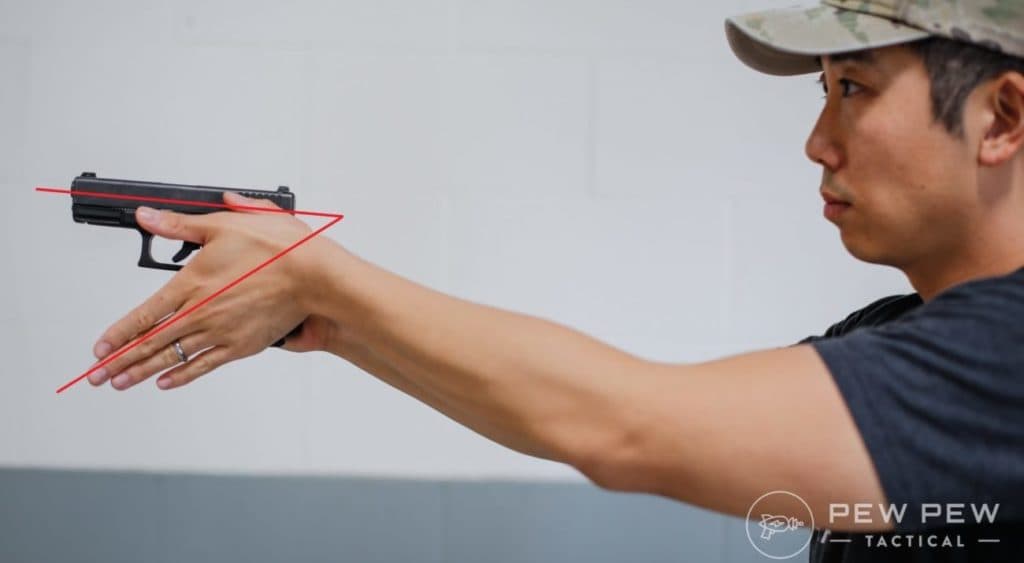
Place the web of your hand (the skin between your thumb and index finger) as high as it will possibly go under the beavertail. No, higher! Get rid of any gap so the pistol has less room to flick back toward you.
Likewise, press the knuckle of your middle finger up into the bottom of the trigger guard. Don't worry about your shooting-hand thumb just yet, just keep it high and out of the way.
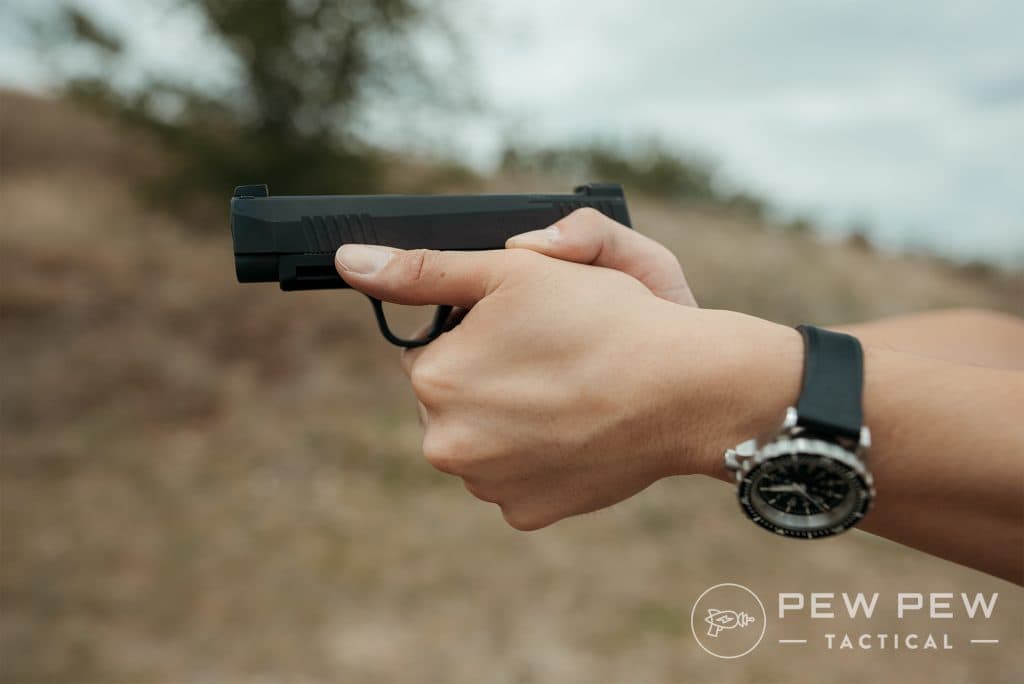
Now, take your support hand and rotate your wrist forward, so your thumb is pointing at the target. Fit your palm into the gap on the frame left by your shooting hand and cover up as much of that material as you can.
Place your support-hand thumb on the slide, your support-hand index finger under the trigger guard, and apply pressure by pinching them toward each other.
Finish building your grip by resting your shooting-hand thumb on top of your support hand just behind the thumb.
Squeeze like you're wringing out a wet washcloth with everything except your trigger finger – it needs to move freely and independently. Use enough force that you can manage recoil, but not so much that you induce muscle shake.
Think of it this way: anywhere the frame is exposed is an opportunity for movement. By wrapping that grip up tight, you can minimize lateral movement and encourage a predictable back-and-forth rocking motion that settles right back on target.
The better your grip, the less your pistol will move around, and the faster you can get the next accurate shot off.
Step 3: Sight Alignment & Sight Picture
Sight alignment and sight picture may sound like the same thing, but they’re two separate concepts.
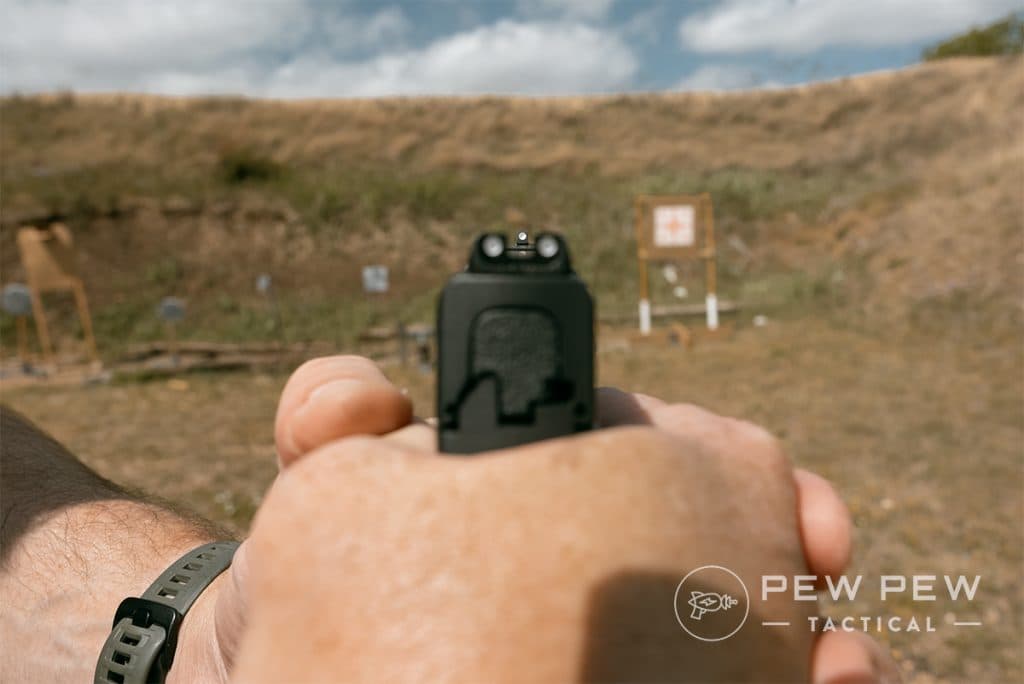
Sight alignment applies to iron sights, which use two references to tell you where the firearm is pointing. In the case of pistol iron sights, this basically looks like building a castle wall.
Close your non-dominant eye, and position the front sight post in the middle of the rear sight notch. You should see even spacing on either side and a flat line across the top.
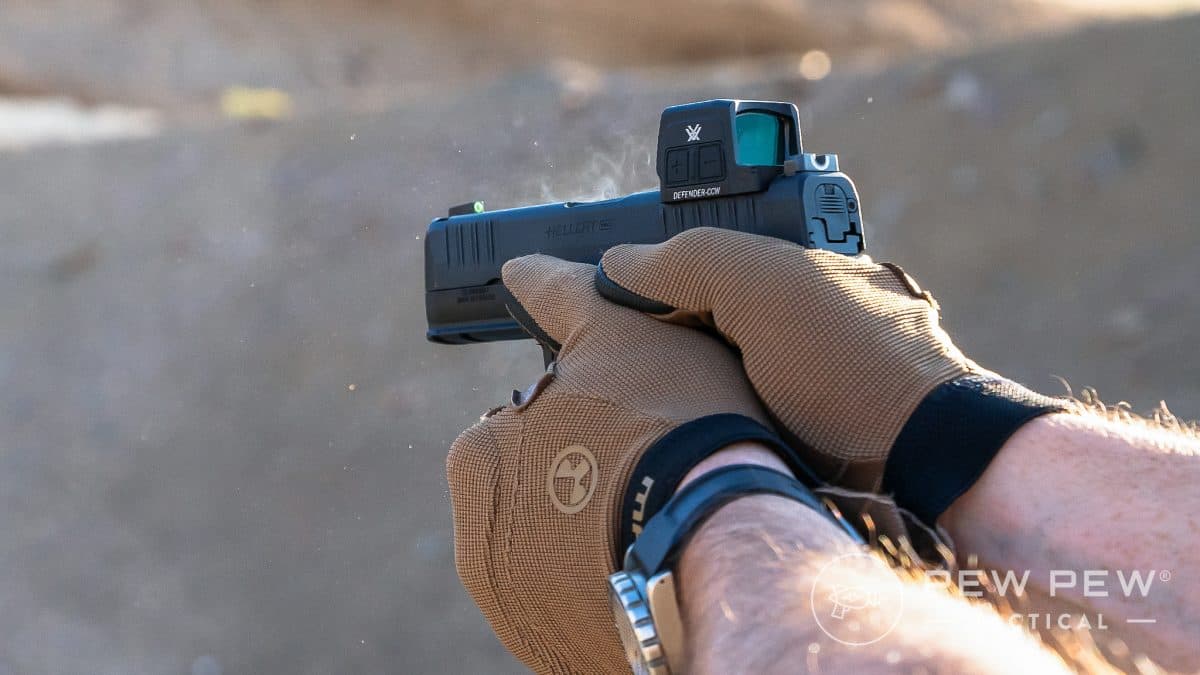
If you’re using a red dot, ignore your irons and keep both eyes open.

Once you have proper sight alignment, sight picture refers to placing the front sight post or red dot on your target. The top of the front sight post or middle of the dot is where you intend to shoot.
If you're using irons, focus on the front sight and let the rear sight and target be a little bit fuzzy. If you're using a red dot, focus on the target.
Step 4: Breathing
There are times when it’s necessary to bear down and rattle off shots in a hurry, but breathing technique can help you shoot a pistol accurately when you have time to be more deliberate. Start by breathing normally.

In between breaths, you’ll notice a natural pause. During this time, you’ve already exhaled, there’s still a little bit of air in your lungs, and you haven’t started inhaling yet. That calm period is when we want to shoot.
If the pistol doesn’t go off before you naturally start inhaling, don’t try to hold your breath. Keep breathing normally, hold the existing tension on the trigger, and resume the process during the next respiratory pause.
Step 5: Trigger Pull & Reset
Now that the foundation is built, it’s time to actually shoot!

Start by placing the pad of your trigger finger on the trigger shoe (that’s the external part of the trigger you can see). In time, you might find that placing the trigger closer to your fingertip or even inside the first joint works better for you; that’s fine tuning that can happen later.
Some people call what comes next a pull, others call it a press. Every once in a while you’ll hear it called a squeeze, but that might lead you to apply pressure in the wrong place. The point is that you should apply pressure to the trigger with your trigger finger without increasing pressure with the other fingers and thumbs.

Focus on moving the trigger straight back. There should be no lateral or vertical movement of the pistol.
If you keep the trigger pinned to the rear after the pistol goes off, you’ll be able to feel the reset when you let it back out. You can experience this in dry fire by racking the slide like this.
Some instructors teach students to ride the reset; in other words, maintain pressure on the trigger and only let it out enough to reset so you can skip the take-up portion of travel on the next shot. Others teach students to get off the trigger as soon as possible, allow it to reset without interference, and start the process over again.
I believe there are times in a training environment when both of these techniques have teaching value. Practicing both will give you a more thorough understanding of how your pistol works and what you can do to shoot better.
Common Mistakes to Avoid

- Safety violations: This one should go without saying, but I’ll say it anyway. Always follow the four firearm safety rules. You can’t be too careful.
- Rushing the process: At first, you may need to consciously run through these steps before each shot. That’s ok! Build good habits now so you don’t have to fix bad ones later.
- Anticipating recoil: There are a lot of techniques we can use to manage recoil, but shoving the pistol forward and down as you jerk the trigger isn’t one of them. Practice good grip technique, and accept that some movement is going to occur.
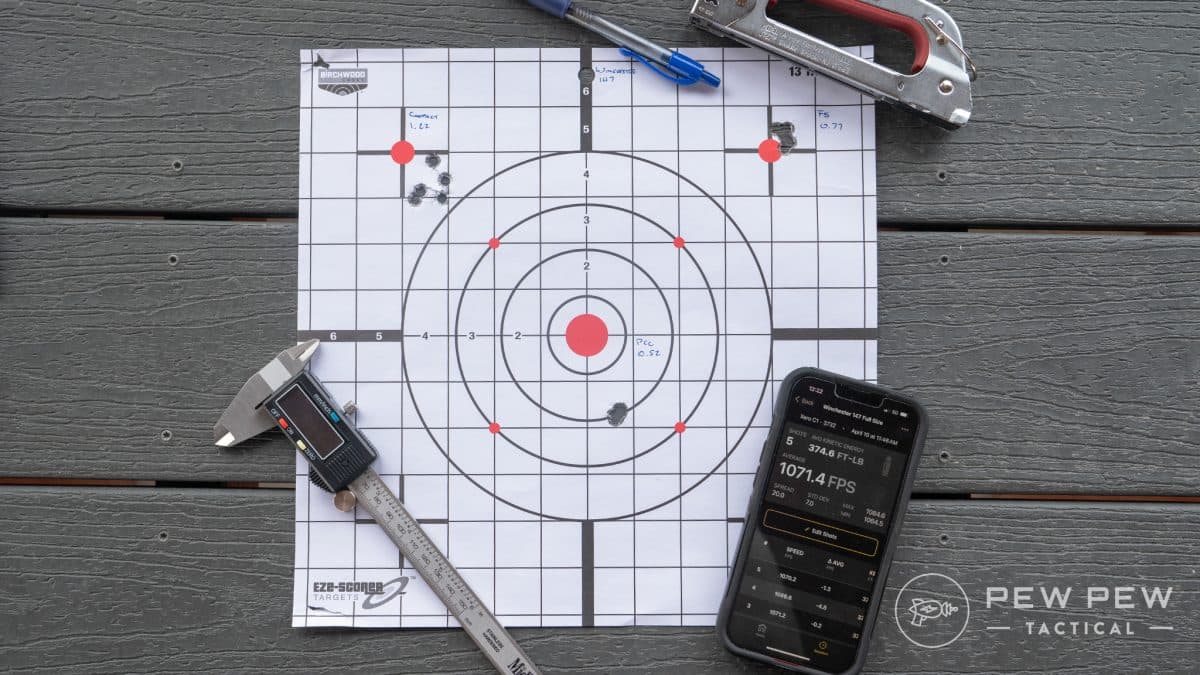
- Timing your shots: If your point of aim looks like it’s drifting on and off the target, improve your technique until that wobble zone stays entirely on the target. Don't try to break a shot as your sights drift over the target – that’s a recipe for missing, and a bad habit you’ll have to break later.
- Chasing the bullseye: When you first start learning to shoot, your shots are going to be all over the target – that’s normal. If you see one land to the left of the bullseye, for example, don’t compensate by aiming the same distance to the right of the bullseye next time. Just work on your technique until the group of shots tightens up.
- Not dry-firing enough: Dry-fire training, or practicing without ammunition, is the quickest way to get better at shooting. Most of us don’t have enough time or money to shoot every day, but dry firing is free! I probably dry fire 100 times for every live round I fire.
- Trying to do it all on your own: Professional shooting instructors exist for a reason – they’re worth it. Enrolling in a pistol course and getting personal coaching is a worthwhile investment, and there’s always something you can learn. In the meantime, check out our very own online course!
Resources
We’ve covered the basic steps of making an accurate shot with a pistol, but you still have a long way to go.
Dry-fire training for as little as five minutes a day will make a world of difference in between trips to the range for live-fire training. Certain pieces of equipment can help you shoot accurately, too.
Here are some of the best resources we have to offer for new pistol shooters. Dig in and soak up all this free knowledge!
Safety Resources
Dry-Fire Training Resources
Live-Fire Training Resources
- Best Shooting Range Gear
- Pro Shooter Drills
- Best 9mm Ammo, Best .45 ACP Ammo, and Best .22 LR Ammo
- Best Shooting Targets & Stands and free, printable Pew Pew Tactical targets
Final Thoughts & Next Steps
This is a lot to remember, but it will become second nature with enough practice. Becoming a good pistol shooter will make you a better shooter all around.
In a way, it all boils down to the sights and trigger (in the Marine Corps, we used to recite, “Trigger, trigger, sights, sights,” during dry fire). If your sight alignment is correct, your sight picture is on target, and you have a clean trigger press, you’re going to hit the target.
Master that, and everything else gets a lot easier.
What’s the best advice you’ve gotten for shooting a pistol accurately? Share what you’ve learned in the comments! Need help picking your first pistol? Check out our guide to the Best Budget Handguns to get started without breaking the bank!
Latest Updates
- March 2026: Complete overhaul with new instructions, photos, and supporting content.