JUMP TO SECTION
Jump To:
Fitting?
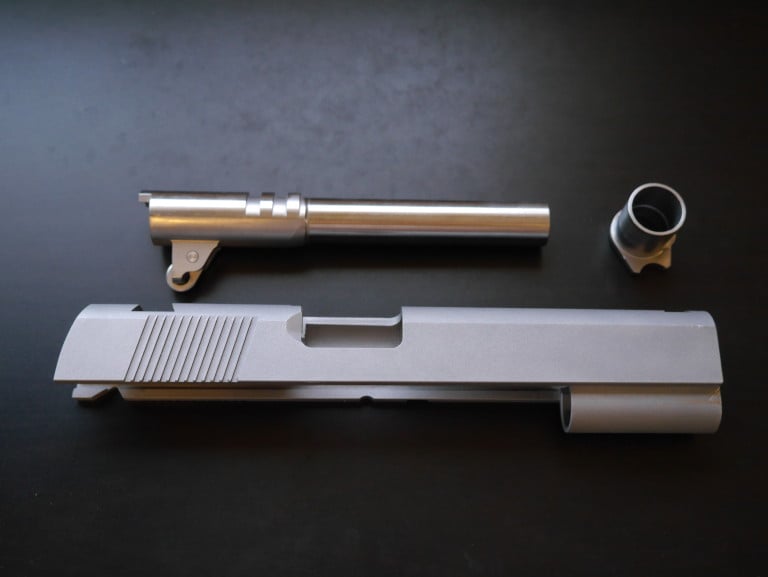
My parts list in Part 3 of this guide minimizes the necessary fitting of parts to the frame and each other, but there’s still a lot to do for a 80% 1911 project. I’ve gone ahead and done all the fitting possible while I wait for my Tactical Machining 1911 80% Jig. For more help, I’d check out the book & DVD I listed. Disclaimer again.Barrel Bushing to Slide Fit
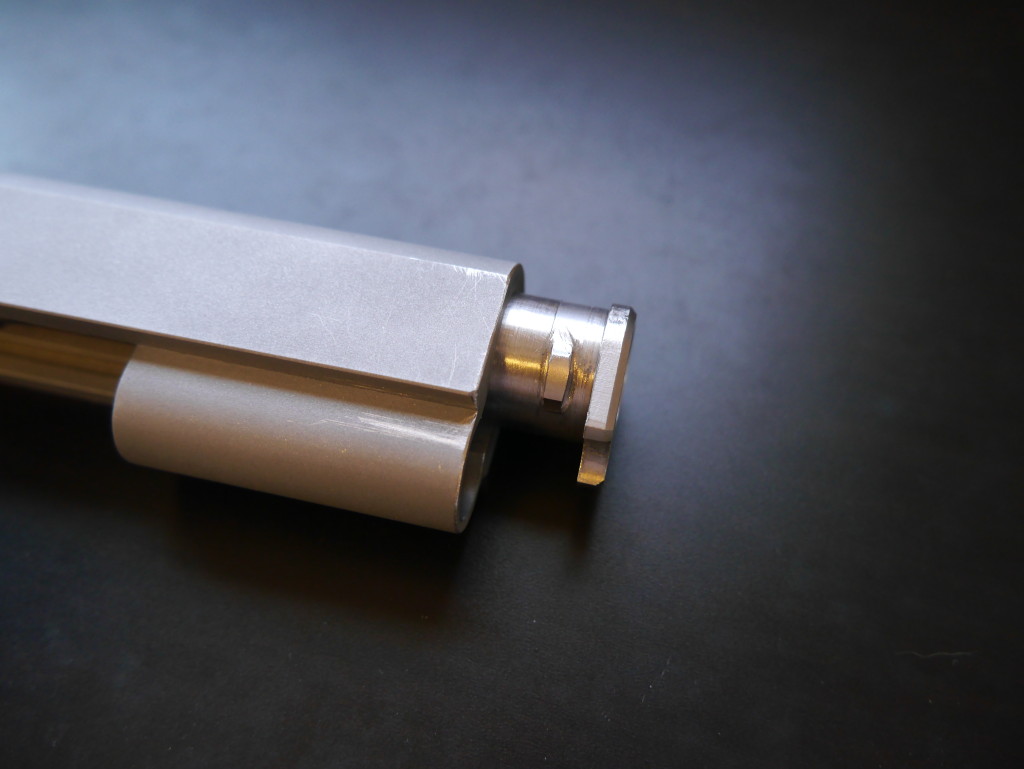
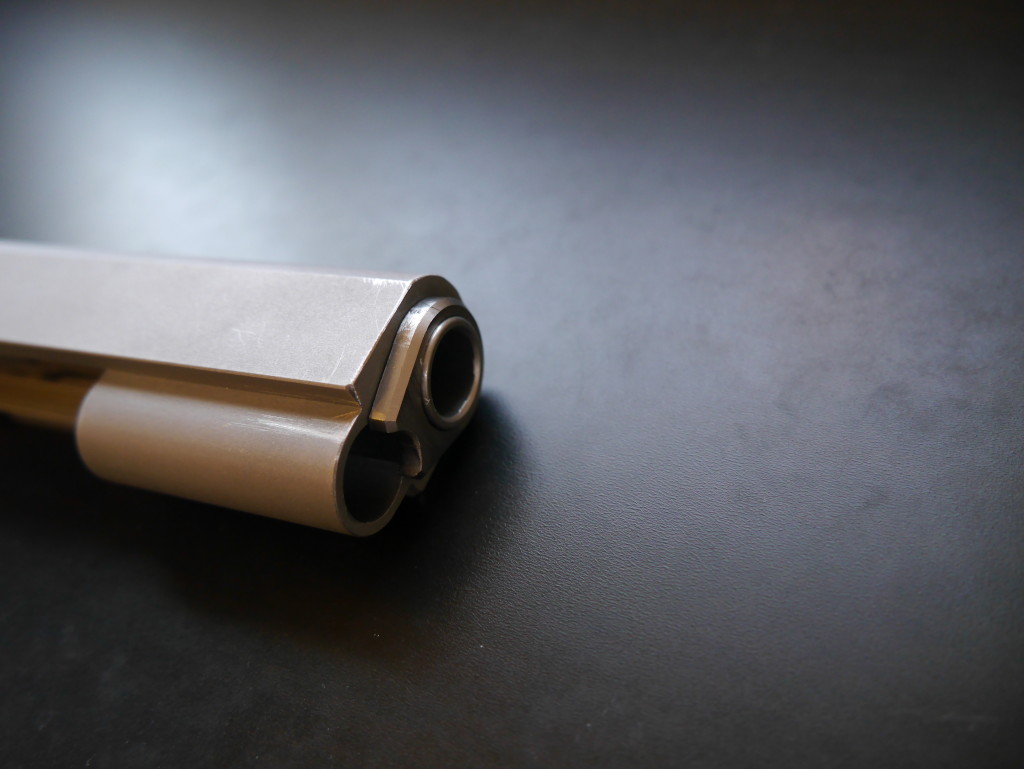
I started blogging after I did this, so some of the pictures are “after” pictures. My apologies! The combo of a pre-fit Lake Storm barrel and my Fusion Firearms slide was perfect. The barrel fit so exactly that I was actually kind of scared something was over-sized, but I just had to get it in the exact angle.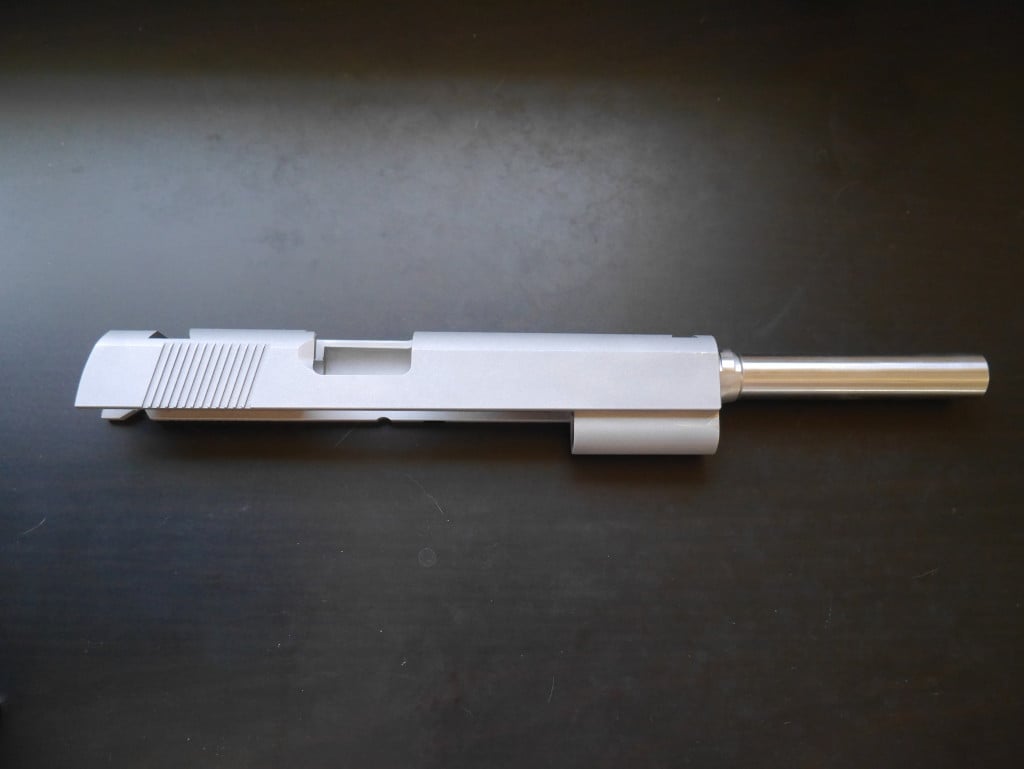
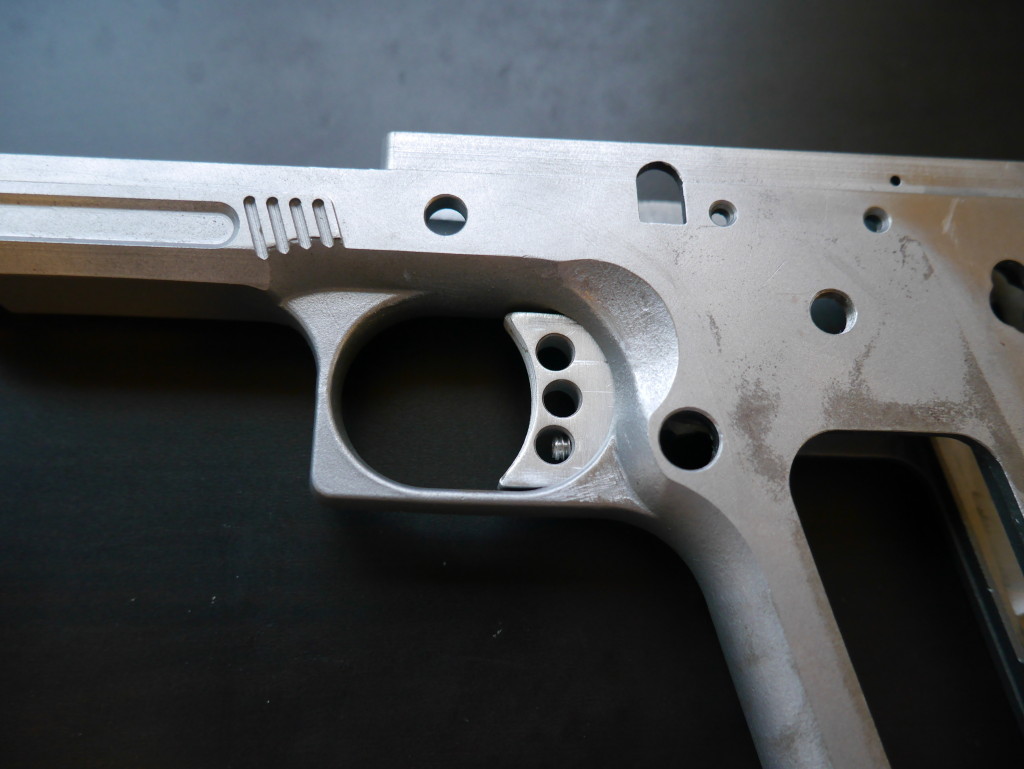
Trigger Fitting
Edit: Article on Installing and Fitting 1911 Triggers. The Wilson Ultralight Match Trigger was not going in so I did the Sharpie method and ended up filing a decent amount off the top and bottom, and a little off the sides. From the videos, you could also possibly see some resistance from the trigger bow. I also sanded the inside of the frame a little since it looked like there were some sharp burrs.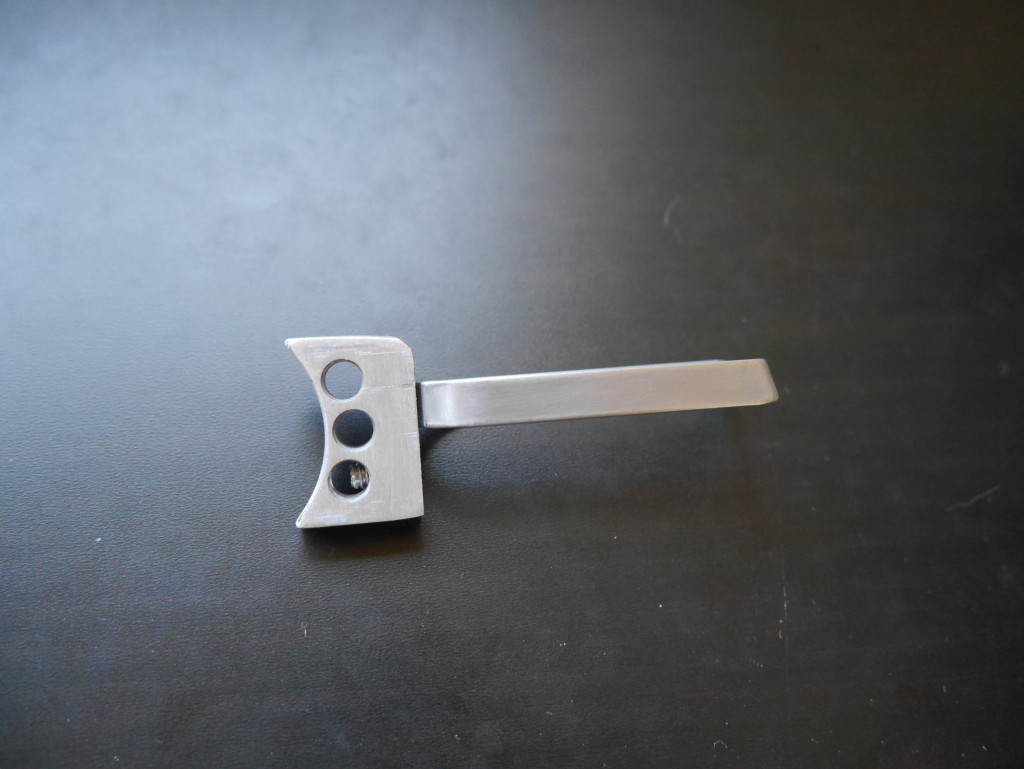
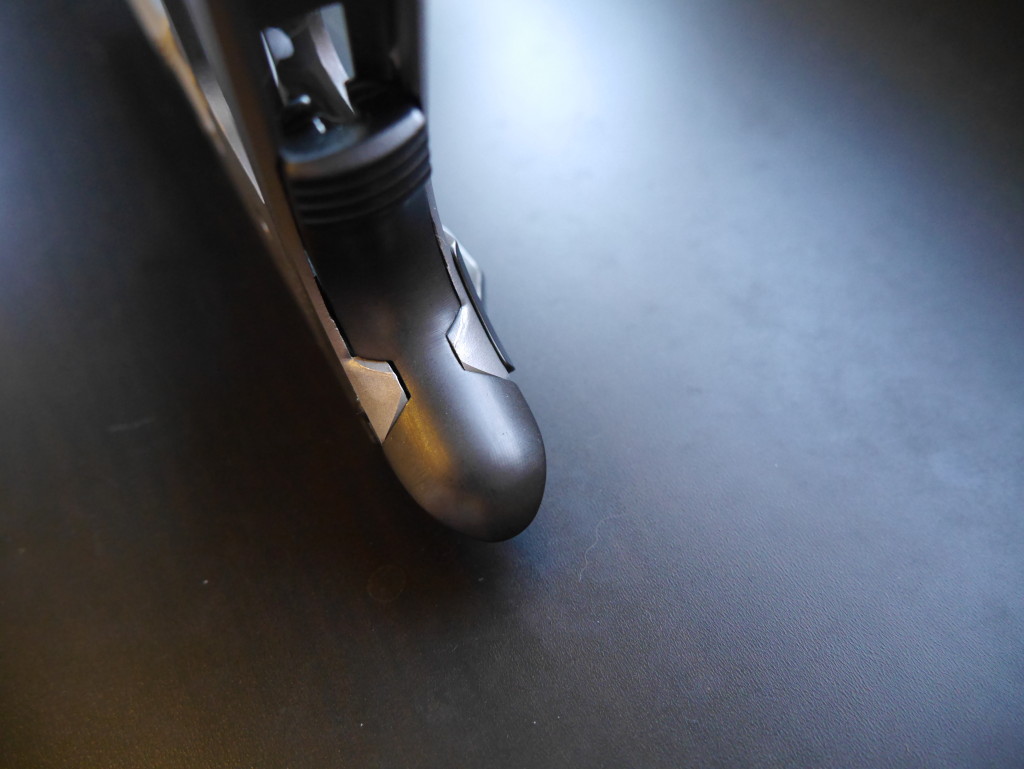
Beavertail Fitting
I originally got a Wilson Drop-In Beavertail but it left a quarter-inch gap on the TM 1911 80%. I exchanged it for a regular Wilson Beavertail which fits well enough to not need filing for proper function. But a properly blended beavertail is really one of the marks of a custom 1911. I’ll leave it until I get the jig and make the frame 100% first…just in case.
Next Lesson
Part 1: Intro (Finding the 80%)
Part 5: Cutting the Slide Rail
Part 7: Hammer & Sear Pin Holes

2 Leave a Reply
Hi did u go with the Ed Brown Grip Safety? I read your article it said u went with a Wilson but that doesn't look like a Wilson. I just bought a Smith & Alexander 250 Grip Safety n it won't work, either My Tactical Machining Frame or gripSafe is out of spec
Hi, thanks for your question. Looking again at my current setup it does look like I went with the Ed Brown safety since it has the "speed bumps" at the bottom. I did have to fit it to the frame with a good amount of grinding on the bottom and even a little on the side. I'm thinking yours needs to be fitted as well. Only the "drop in" beavertails don't need fitting, but they will likely leave some extra space that will work fine but will look a little odd.