We all start our shooting lives using both hands to hold the gun.
Once we’ve mastered the fundamentals and are well on our way to sharpening those skills into something above-average, though, it’s time to move on.
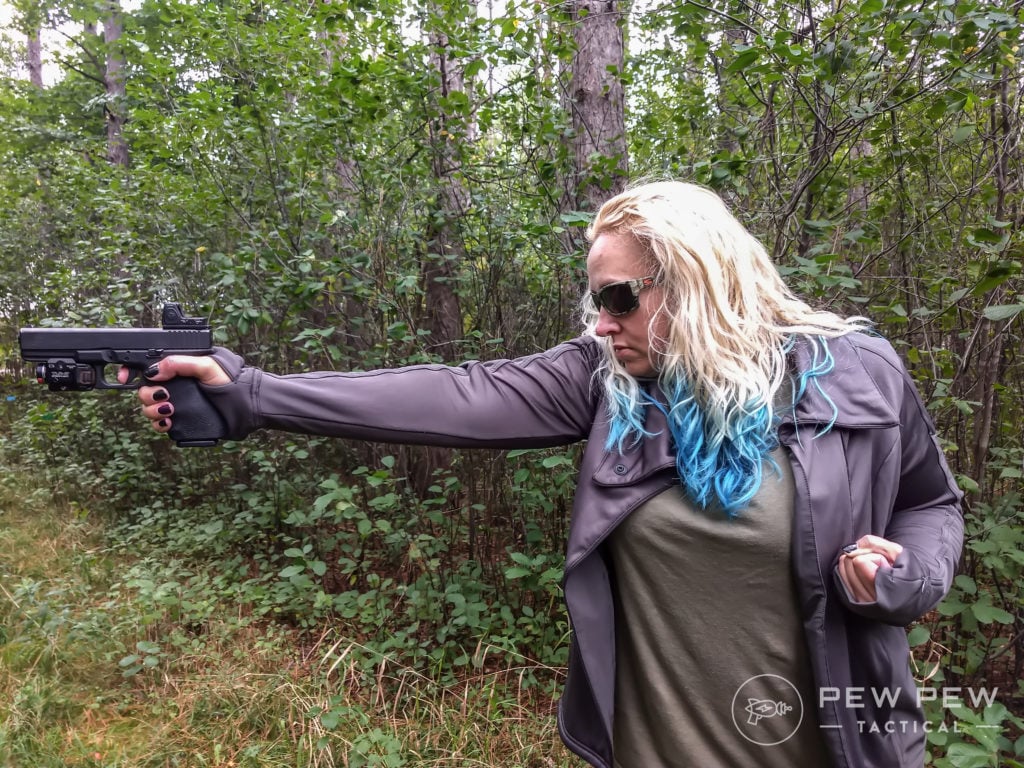
Enter one-handed shooting. Learning to run your gun with one hand isn’t a cool trick or something you do out of boredom it’s a useful ability that might one day save your life.
Here’s how to do it and a little more why.
Table of Contents
Loading…
Self-Defense
The realities of self-defense include the fact you cannot control how a fight for your life will go down.
Maybe you’ll have time to draw your holstered gun and get on target with two hands.
Maybe not.
Perhaps you’ll be standing solidly on two feet (probably not). It’s highly unlikely you’ll have time for Isosceles or Weaver or Chapman.
The threat will present itself and you’ll have seconds to react. It’ll probably be over as quickly as it started and you will have only your training to get you through it.
You’re likely to need to aim and fire your gun one-handed in a self-defense scenario. You might be able to get a firm two-handed grip, but don’t count on it.
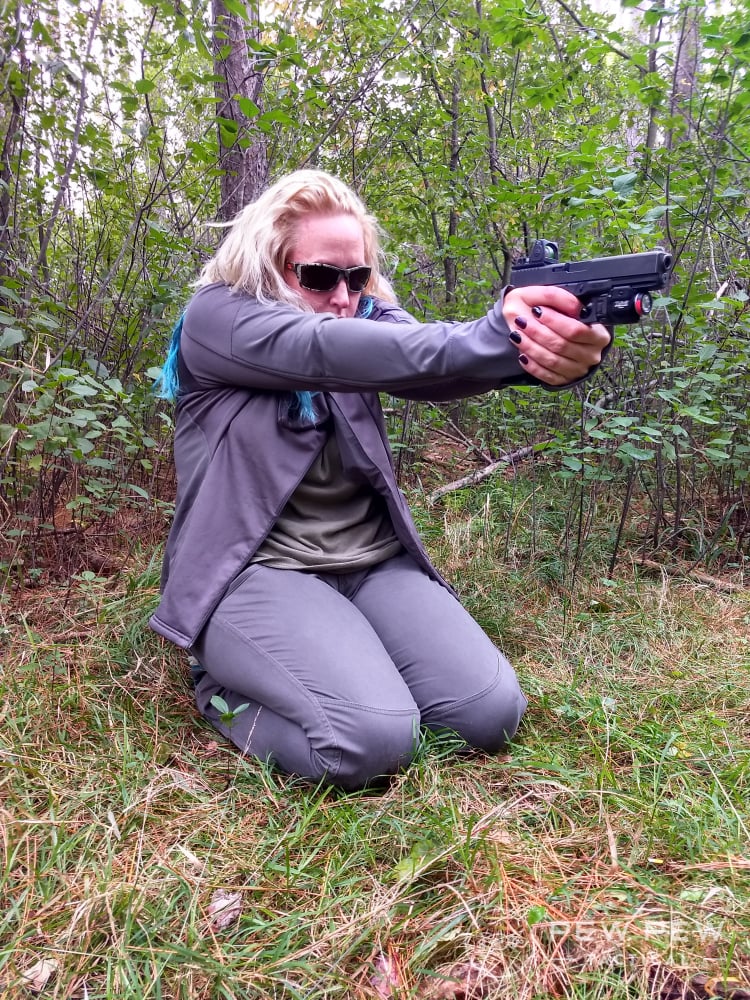
You also cannot depend on hip shooting or pure dumb luck to get you through it. Practice is, as always, the answer to shooting dilemmas.
Stance
It might seem counter-intuitive to work on stance with your one-handed SHTF shooting but it isn’t. It’s logical.
The more you train doing something the greater the possibility you’ll automatically do it under pressure. When shooting one-handed put your gun hand foot forward.
That means if you’re shooting with your right hand, put your right foot forward, and vice versa. Shift your weight forward onto that foot, leaving some bend in your knee, but keep your rear foot firmly grounded.
A solid base is important for accurate, safe shooting.
Thumbs
Make a fist. Is your thumb folded down over your fingers or sticking up in the universal thumbs-up gesture?
Try raising your thumb skyward and squeeze your fist closed. Now lower your thumb partway so it’s pointed straight out alongside your pointer finger.
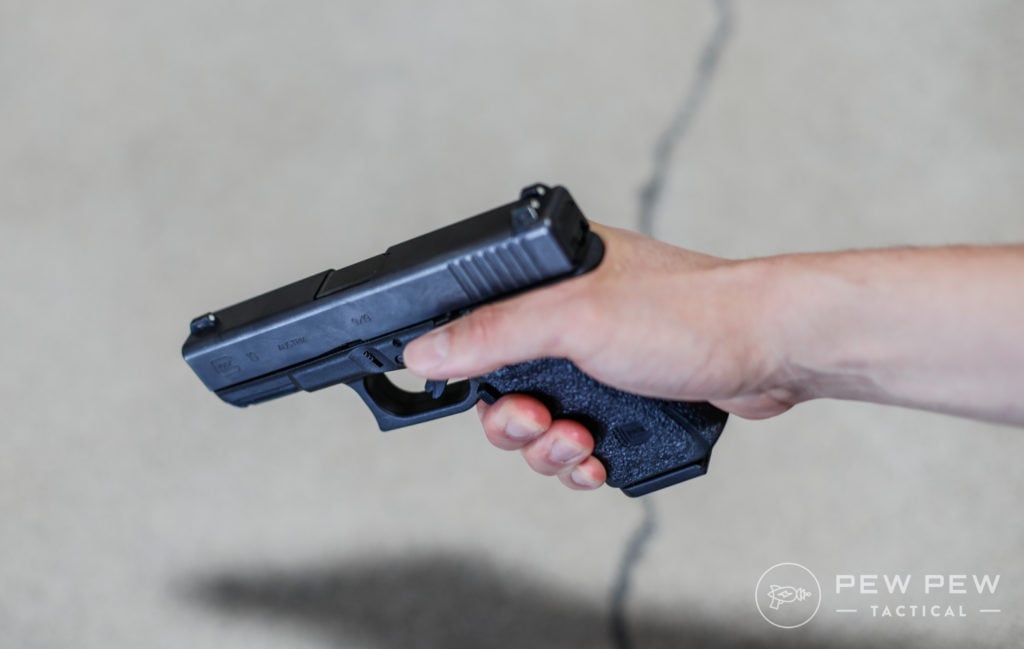
Squeeze. Finally, drop your thumb down where it probably was originally, folded down over your fingers. Squeeze again. Which thumb position gave you the strongest grip?
Thumb down. When you’re shooting one-handed you’ll be gripping the gun with your thumb down regardless of which hand you’re using. It gives you the firmest grip and enhances accuracy.
That Other Arm
There are a few schools of thought about what to do with your other hand when you’re firing with only one hand.
Some say you should press the flat of your hand – or your fist – to your abdomen; some say to just let your arm hang at your side. My personal preference is the Shotokan Punch method used by Massad Ayoob.

It involves making a fist with your unused hand and raising the arm to hip level with your palm facing upward. Bend your elbow and draw the arm in tightly to your body.
When I’m working with one hand I either do this or pull my fist to my chest. Find what works best for you but take care to hold your free hand and arm tightly out of the way.
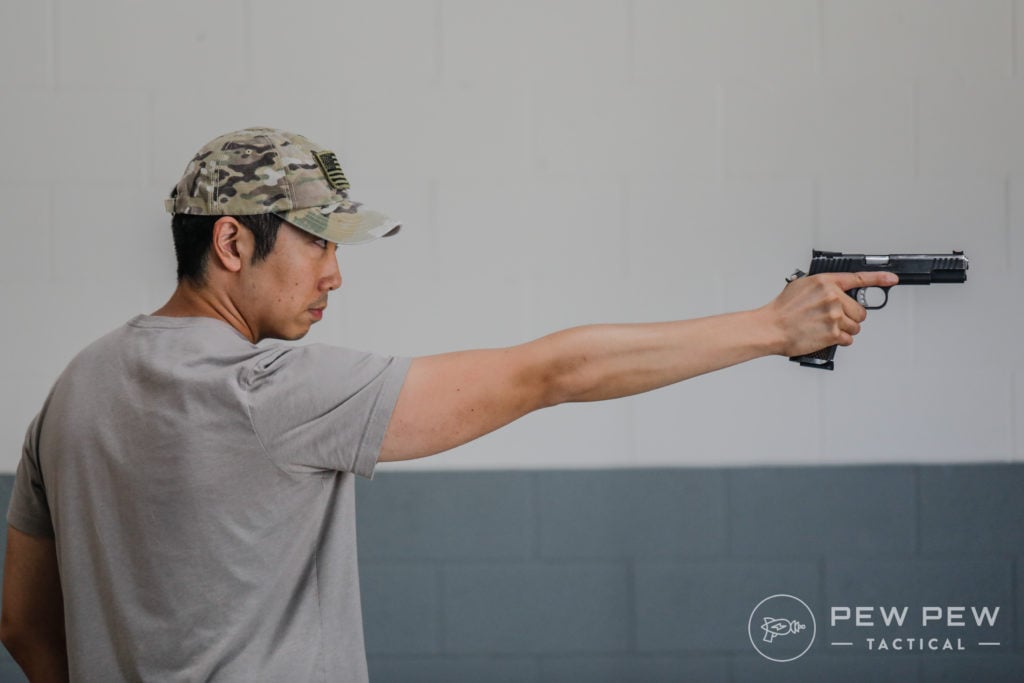
If you let it hang it’s unlikely to end well and can throw you off balance, making it harder to fire accurately.
Arm Extended/Straight-Arm
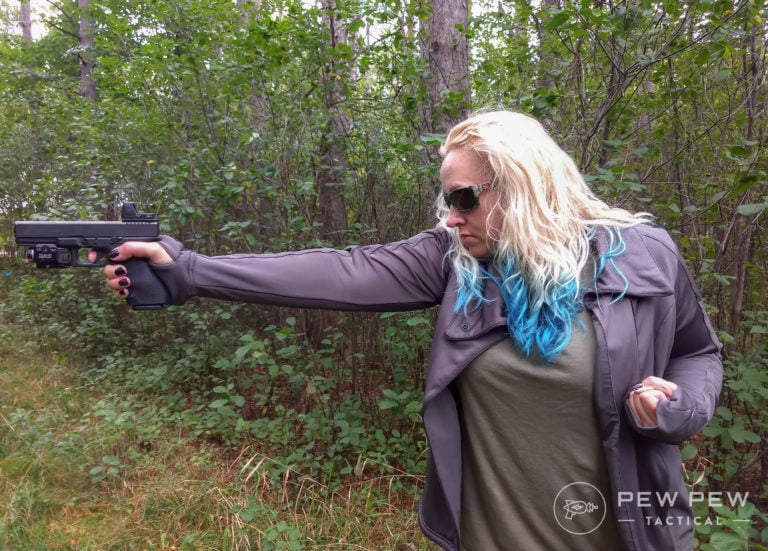
The most commonly used method for firing with one hand involves extending your gun hand straight ahead of you.
Face your target, step forward with your gun-hand-side foot, and raise the gun directly in front of you. This is where I remind you to raise the gun to your eye level, not lower your head to the gun.
Extend your shooting arm straight in front of your body and put enough tension in your arm to control recoil and maintain good follow-through as you shoot.
McMillan Tilt
The McMillan Tilt, or canted, method is a trick you can use with either hand to improve control and accuracy.
To do it, extend the gun like you would using the straight-arm method, then cant the gun inward. You’re looking for an approximately 45-degree angle.
This is not a sideways gangster hold it’s a slight cant for greater control. You may find canting your gun slightly significantly improves your shooting on one or even both sides.
For me, the McMillan Tilt helps quite a bit on the right-hand side but makes it worse on the left. This might have something to do with being cross-dominant or it may simply be one of those random things.
Don’t be afraid to experiment and find out what it takes to give you an edge.
Quick Change
All right, so taking a quick-change approach to moving the gun from one hand to another isn’t the best idea ever.
Always take your time when swapping hands with your gun for one-handed shooting. Do this by carefully and thoughtfully shifting your gun hand in front of your body with the muzzle remaining safely down-range.
Use your free hand’s thumb to slide along the gun’s grip under the palm of the hand gripping the gun.
This allows you to maintain contact with the gun and keeps you in control as you pass the gun to your other hand.
If your gun has an external thumb safety and you’ve just transferred the gun to what is normally your support hand you can reach behind the gun with your dominant hand to flip the safety off when you’re ready to shoot.
Yes, you can also learn to manipulate the safety with your non-dominant hand but it’s wise to wait until you’re more proficient with one hand before adding steps.
Tricks
Keeping 60 percent of your weight on your forward foot while maintaining a strong base is a vital step in the one-handed shooting process.
If your foundation is wobbly your accuracy will suffer (and so will your safety). Take a moment to find your balance and ground yourself.
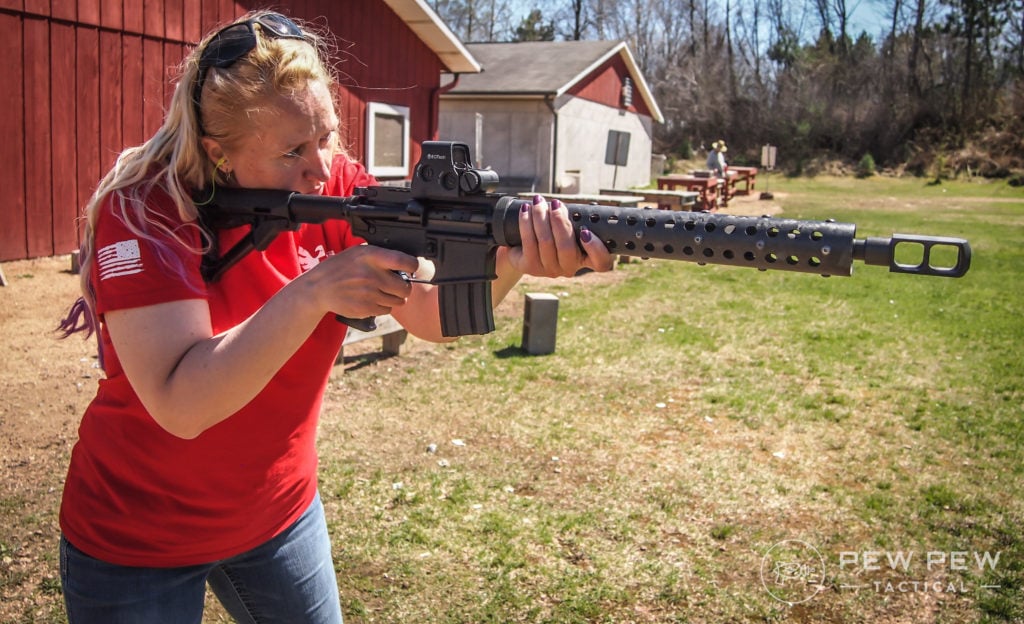
Whether your shooting-side elbow is bent or fully extended comes down to personal preference. I prefer to keep mine fully extended with a great deal of tension in my arm and shoulder.
It helps me shoot better. If you have any kind of arm injury you’re going to want to try to leave some bend in that elbow and there is nothing wrong with that.
Try both ways so you know which position gives you the best control of the gun.
Grip your gun firmly but quit trying to choke the life out of it. An uneven grip or tightening your hand as you shoot will ruin your shots. Do you need to hold on tightly?
Absolutely, but don’t get carried away.
Your accuracy when shooting with one hand comes from control. Without a good grip and stance your target reacquisition will be lousy and your shots will be all over the place.
Drive the gun forward with a combination of solidly grounded legs, proper balance, and firm tension in your gun arm. Practice good trigger control just as you do with two hands.
Focus on your front sight. All the fundamentals apply you’re just dropping a hand.
Single Target Drills
When you first start shooting with one hand, keep things simple. Shoot your target from five yards and don’t try moving between different zones, not at first.
Go for center mass. Once you think you’ve got a single shot down move on to strings of three shots at a time, then five. Just as with two-handed target shooting your goal is a nice, tight group.
It’s going to take time, especially with your non-dominant hand, so be patient.
Producing nice groups at center mass? Try moving from center mass to the head box on your target. You can do this by doing a traditional Mozambique Drill – two shots to center mass, one to the head – or you can fire any combination of shots.
Don’t be random about it, have a plan. Also do not focus only on your dominant hand. Both hands need equal attention (realistically, your non-dominant hand is the one you’re going to need to work on a bit more).
Multiple Target Drills
Using two or more targets is a good way to work on movement while firing your gun one-handed. As with all drills, have a plan. This isn’t about firing randomly at whatever target your gun swings past.
Start firing left-to-right or right-to-left. When that gets too easy, mix it up. For example, if you have three targets shoot the center target, then the right-side target, and then the far left-side target.
Try this firing one shot per target before moving on to multiple shots per target. Also, aim at a specific spot on the targets whether center mass or elsewhere.
Do not blindly fire just planning to hit the target “somewhere” as along as it’s on paper or steel.
Distance
5 yards is a good distance to shoot from at first. Just remember, if you’re shooting steel plates you should be using frangibles, not FMJs.
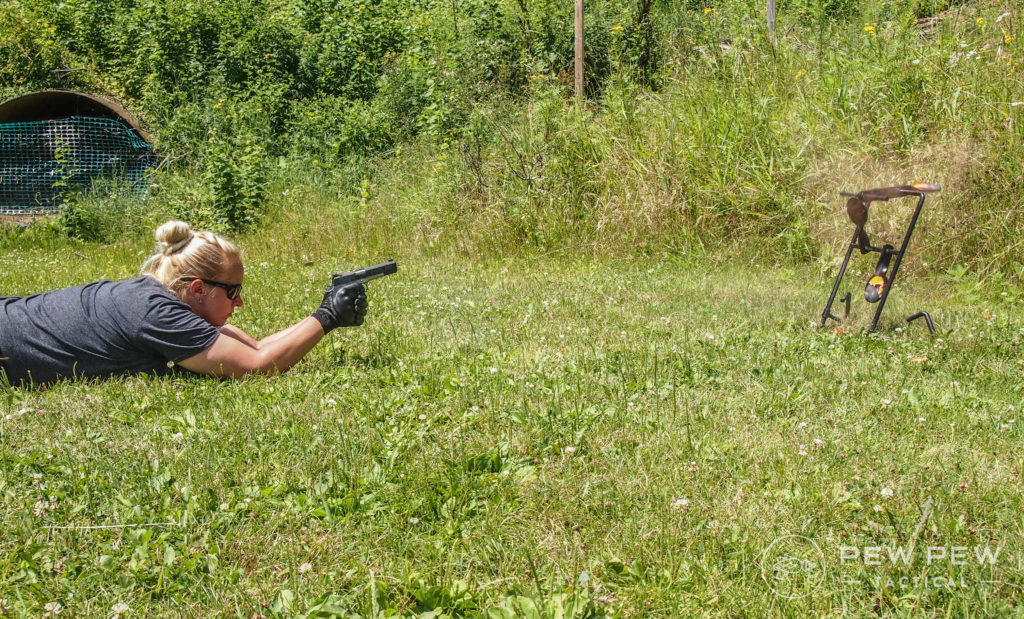
As your skills improve you can increase the distance to 7 yards and 10 yards.
Keep in mind most – although not all – firefights take place at close range. That doesn’t mean you should ignore longer distances simply that you would be right to take the time to hone your closer-range skills first.
Don’t get cocky and start out at 10 yards or move further out prematurely. Go slow. Practice.
Parting Shots
It’s easy to slack off on your one-handed shooting time. After all, it’s harder and might be less rewarding than shooting two-handed, at least initially.
If you just integrate a few one-handed drills into each shooting session you’ll see improvement quickly. Sure, shooting is fun, but self-defense is serious.
As a responsible shooter, it’s your job to make sure you put the work in along with the fun.
How do you train new skills? Share your one-handed target pictures and tips in the comments below! If you’re looking for more training, give Dry Fire a try. If you really want to go to the next level, find yourself a Firearms Training Class!



2 Leave a Reply
I've always shot one-handed. I continue to do so (mostly). I had no training, or much experience shooting handguns, when I started pistol shooting, so I did what felt right to me. I've tried 2 handed grips, but I always go back to shooting one handed. Plus I kind of like my standard reply whenever someone at the range asks why I shoot one-handed - "Because it's not a rifle".
Good information. I was taught to shoot using the classic one-handed Duelist stance about 60 years ago. It served me well. Then I was introduced to the Weaver Stance about 40 years ago, which also served well if punching paper. Real world situations almost NEVER let you have the time to get into a "stance". Circumstances will dictate how you hold the gun, and what you may or may not hit with the bullets. Personally, it depends on whether you punching paper or in a fire fight for your life. A lot will depend on the situation and whether you are shooting a high capacity weapon or a six gun. Being prepared to shoot from a Weaver Stance or Isosceles Stance or Duelist strong side or weak side can only be done after you spend time practicing. And, if it's a fire fight, don't forget that the adrenaline surge will make many things go south *really* fast. Remember, Paper targets don't shoot back.