
There’s no convenient time to find yourself in a survival situation.
These catch you off your guard, throw you in a world where you must make the right decisions and act proactively or you could easily find yourself facing an early grave.
One of the most important aspects of survival is the ability to collect water.
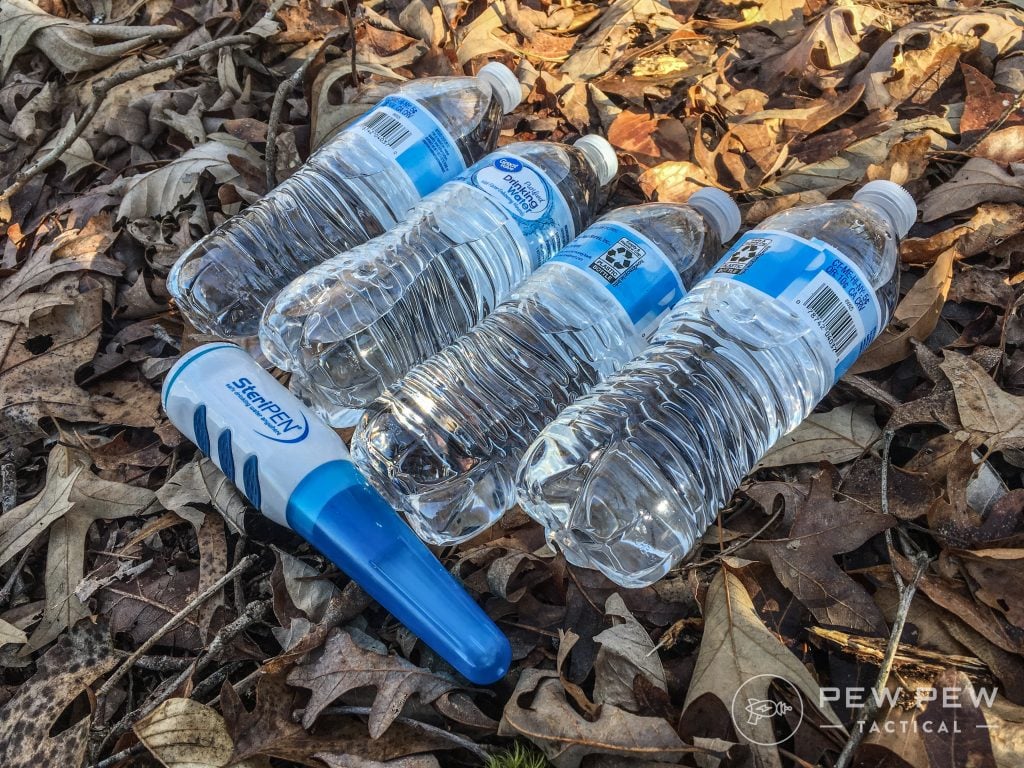
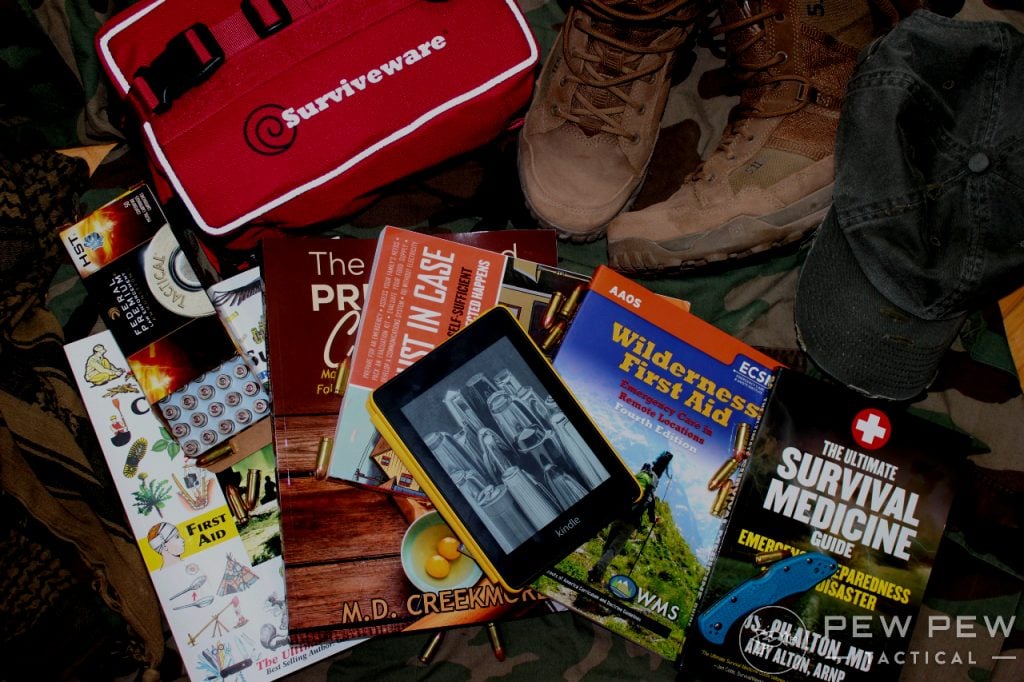
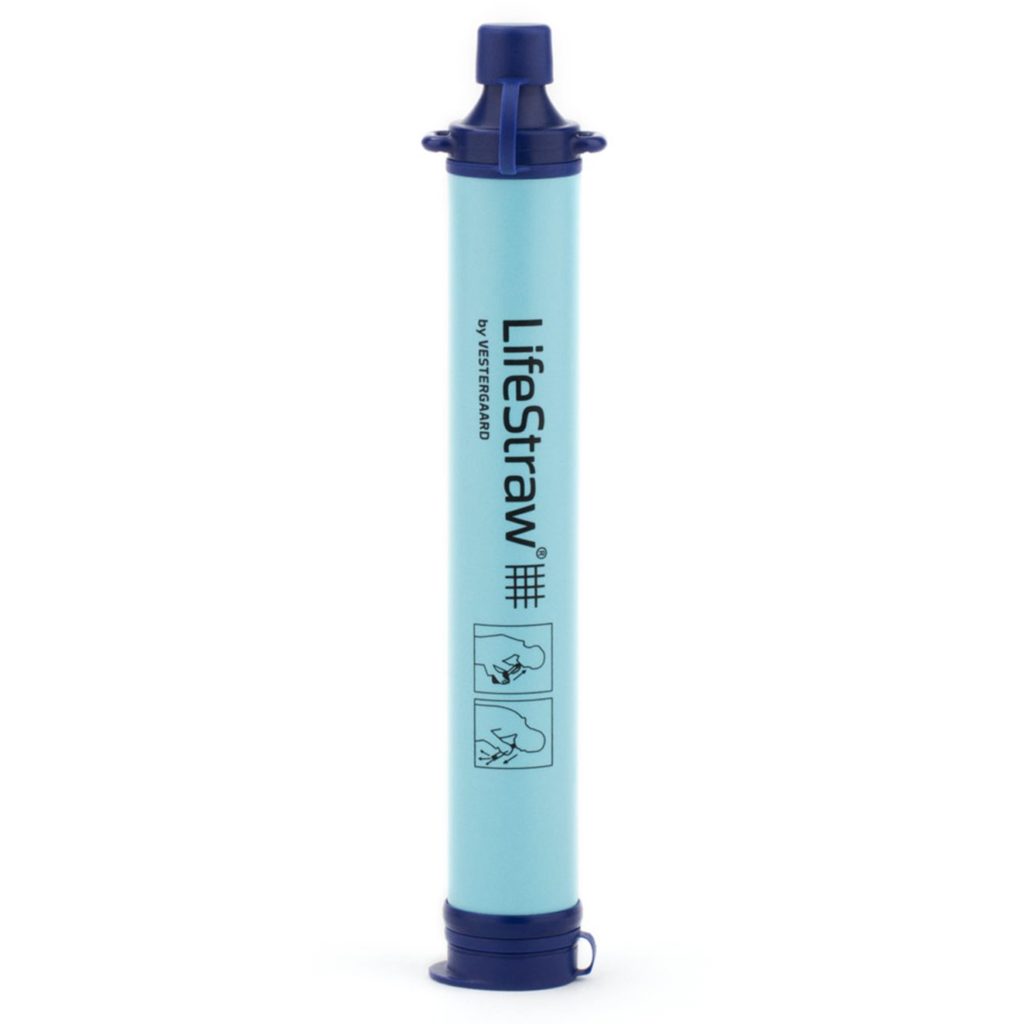
If you have your bug-out bag with you stocked to the brim with canteens, LifeStraws, and other water-related gear, you’re in luck.
-
25% off all OAKLEY products - OAKLEY25
Copied! Visit Merchant
But what if you have the bare minimum or don’t have anything at all? Both of these situations are much more precarious and require ingenuity.
So let’s look at some bushcraft techniques to collect and store water so you can be prepared even when things go wrong!
Table of Contents
Loading…
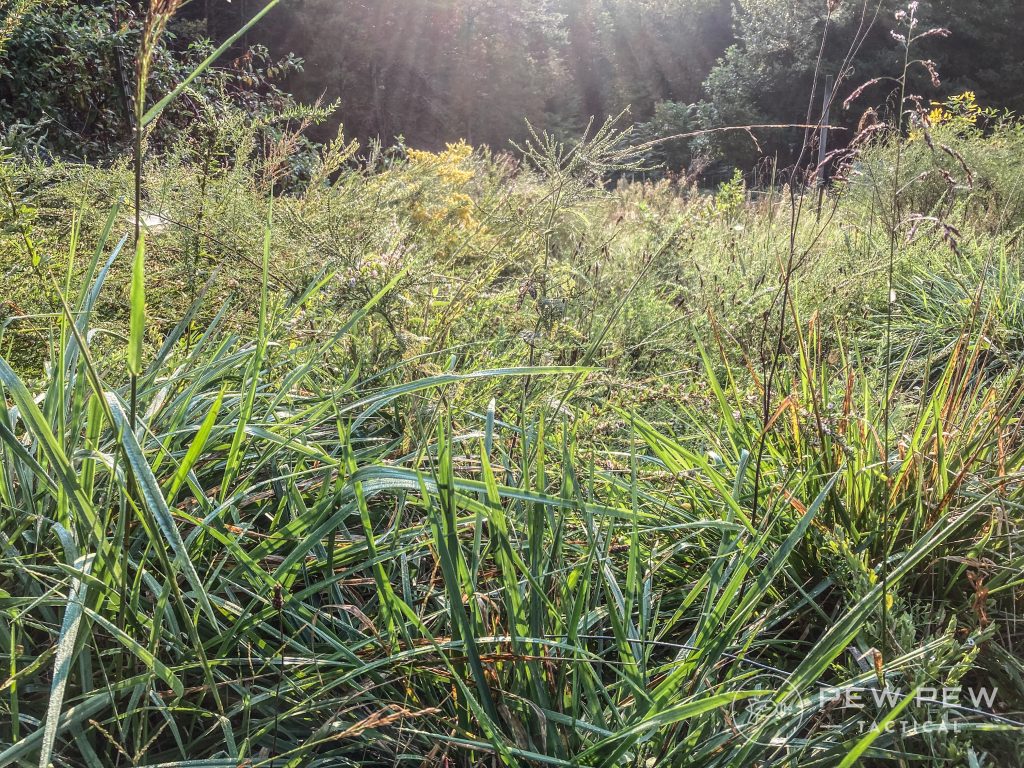
A Walk Through the Grass
This is the easiest method I know of, but your results are going to vary depending on where you live, and how dewy your grass gets in the early morning.
Gear You’ll Need
- String
- A strip of water-absorbent fabric
Step 1: Tie the fabric around your leg
Cotton works perfect for this, and it’s hard to find a backpacker without a bandana.
If you have neither of these – but perhaps are wearing denim jeans – you could use this method with nothing other than your pants. Just be careful you’re not setting yourself up for hypothermia by doing so.
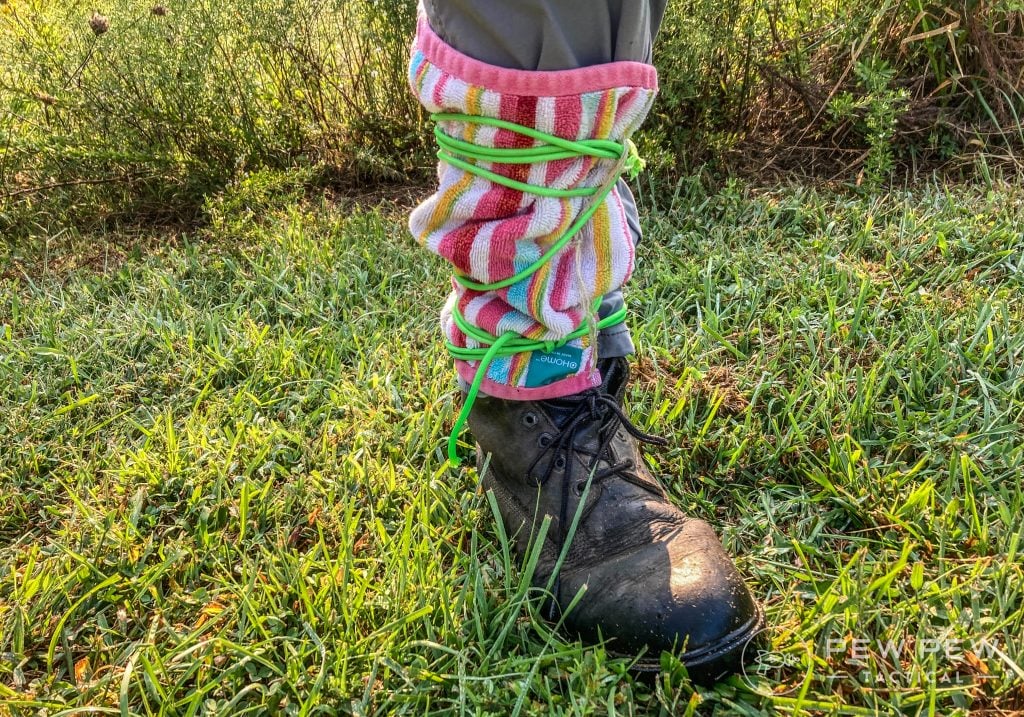
Step 2: Walk through tall grass early in the morning
All you have to do is walk through tall grass early in the morning while the dew is still present and then wring out your cloth into your mouth.
Caveat
Coincidentally, this is very similar to how Lyme disease researchers collect ticks to study (they drag a white sheet through tall grass). So, just be aware this isn’t a bug-free option.
But hey, you’re in a survival situation. Nothing is bug-free for you at the moment. And while getting bit by a tick today may not kill you, dehydration very well might.
An Alternative to the Walk
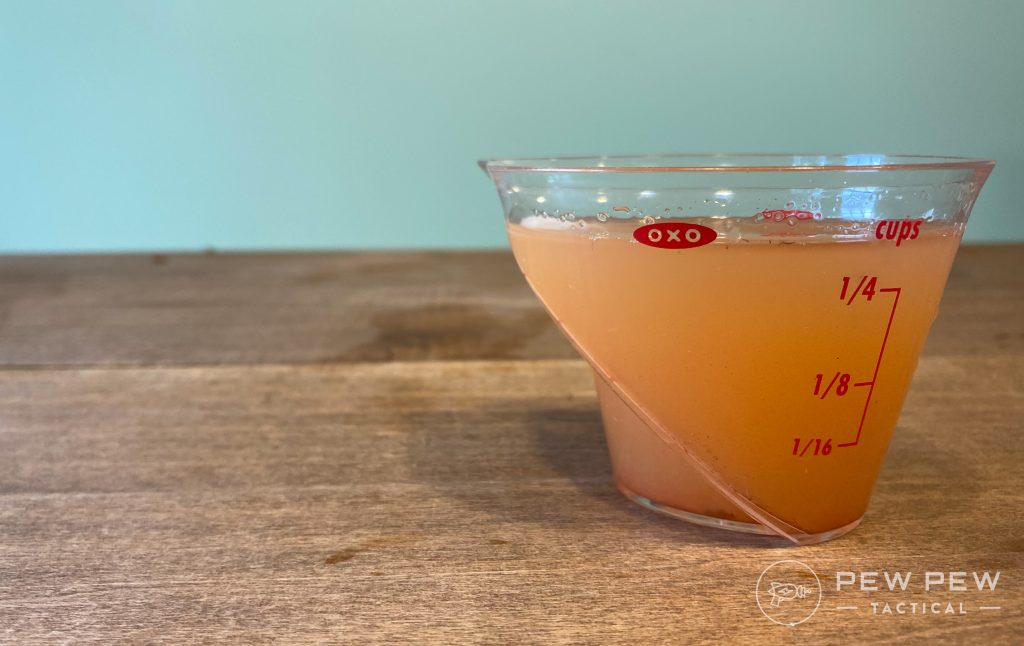
If you’re sticking around the same place and are tired of tying and untying that rag from your leg, you may as well just rub the dewy grass with the rag. Within five minutes of doing so, you can get quite a bit of water this way.
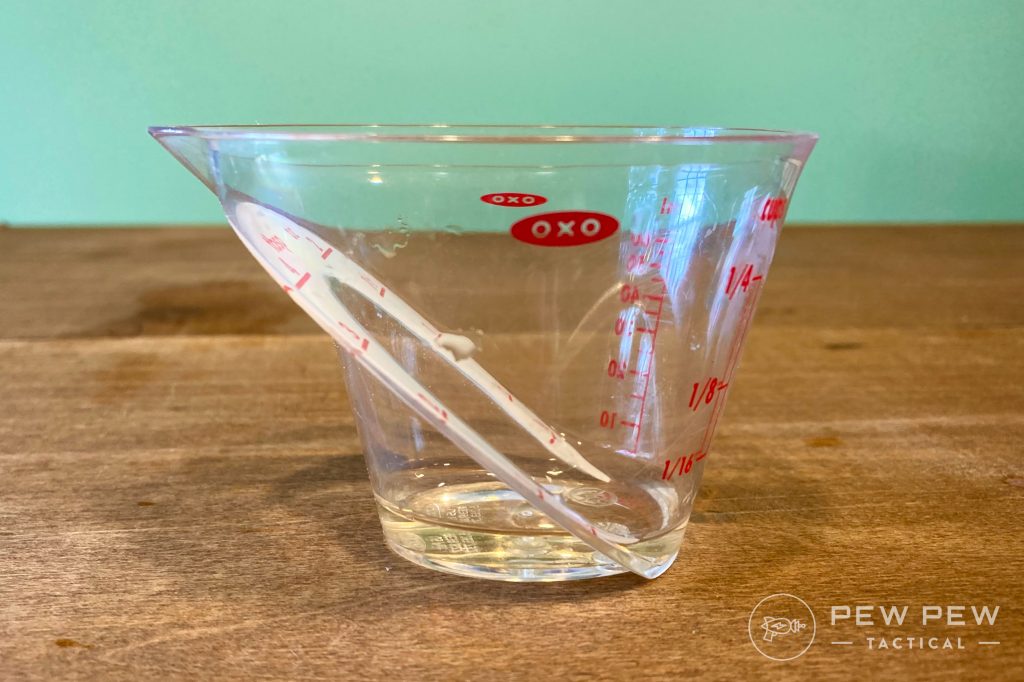
You are going to want to filter this through a LifeStraw or something before you drink it if you can. Really, that goes for just about any of these methods. Filter what you drink.
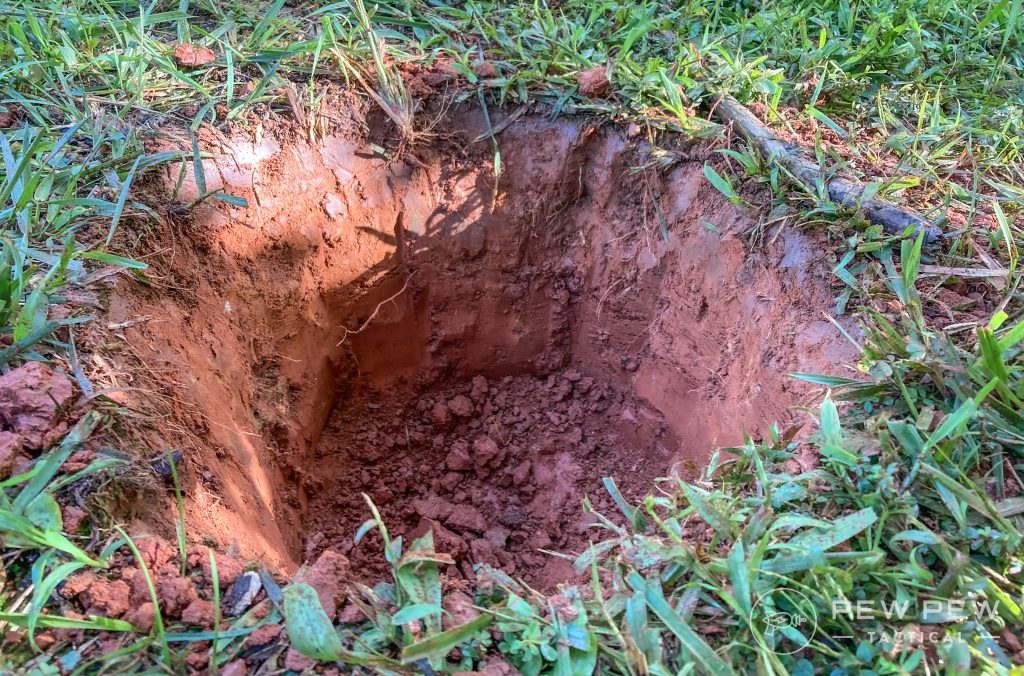
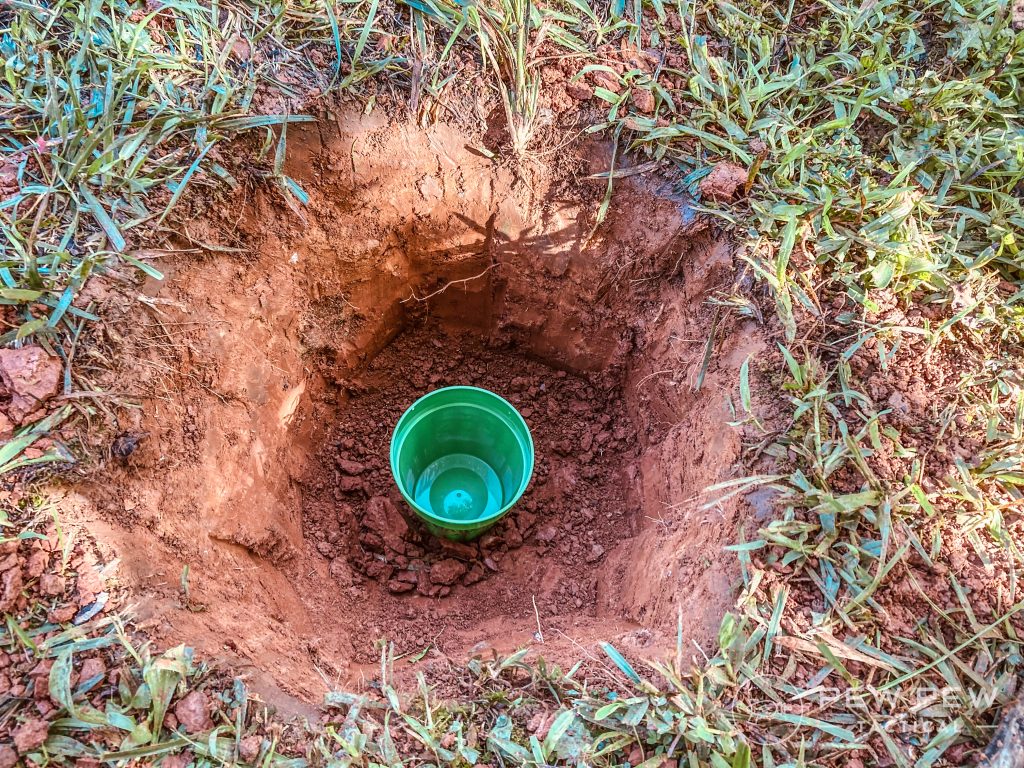
Solar Still Pit
If you have your daypack with you but can’t find a stream or spring to fill up your already low water stores you can use a small backpacker’s pot and a trash bag to create a solar still pit.
Gear You’ll Need
- A container
- A sheet of plastic (a trash bag works great for this!)
Step 1: Dig a Hole
I dig these about a food deep or so, but you need to ensure you’re not digging a hole that’s wider than what your sheet of plastic can accommodate. You want enough plastic to actually rest on solid ground to keep it from just falling into the hole.
The width of the hole is going to depend on how much plastic you have available to you. In this case, I dug the hole about a foot wide.
Step 2: Place your container at the bottom
This could be anything. A cup, an aluminum mug, a piece of plastic – it doesn’t matter. You just need something in the center of the bottom that can hold water.
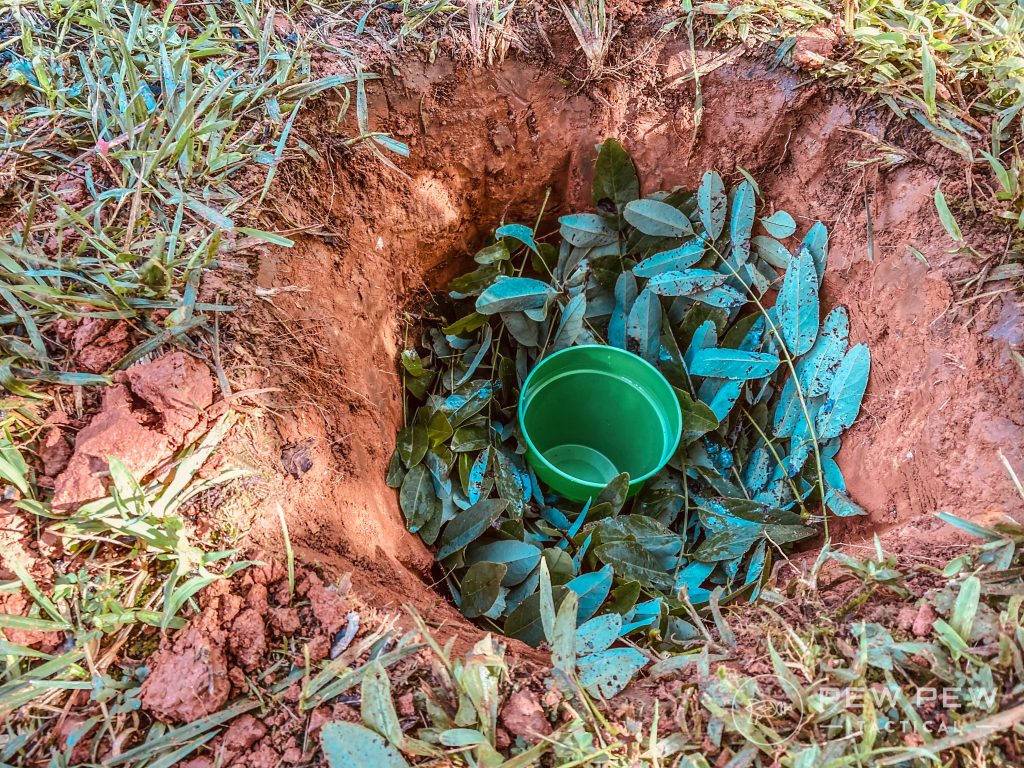
Step 3: Add moisture to the pit
Stuffing the pit full of leaves is one way of doing this. Peeing in it is another. Just make sure you’re not peeing in your container. I hear it’s not a lot of fun to drink that stuff.
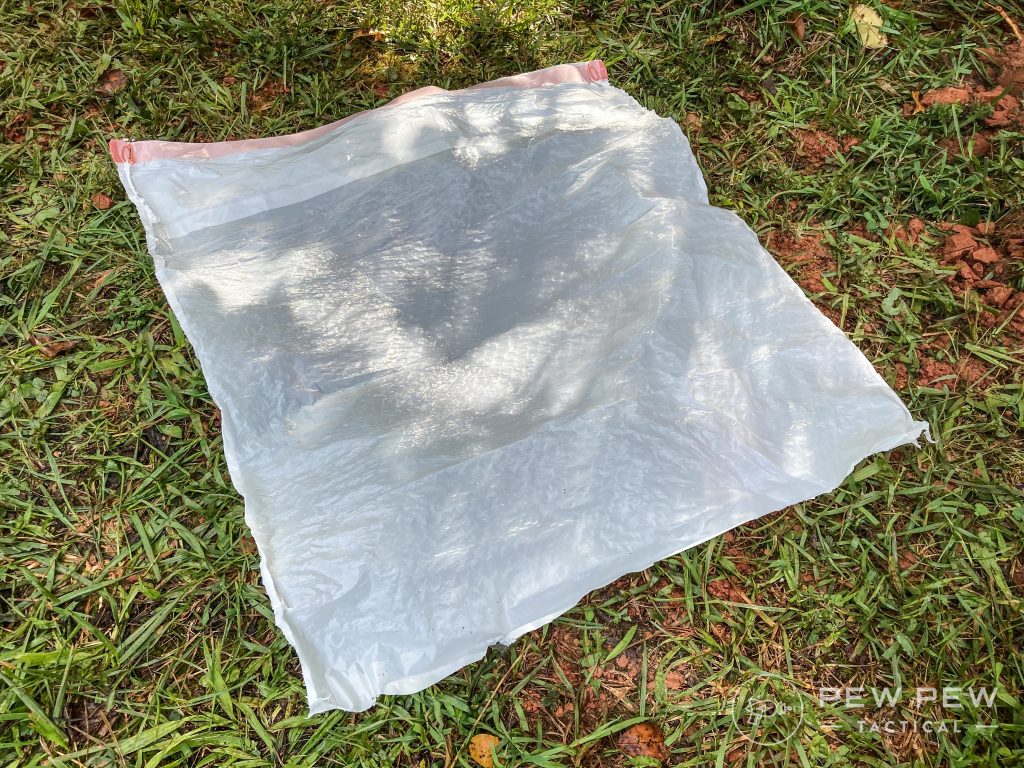
Step 4: Put the plastic over the hole and cover three edges of it with dirt
This will hold the plastic in place yet allow you to peek underneath for the next step.
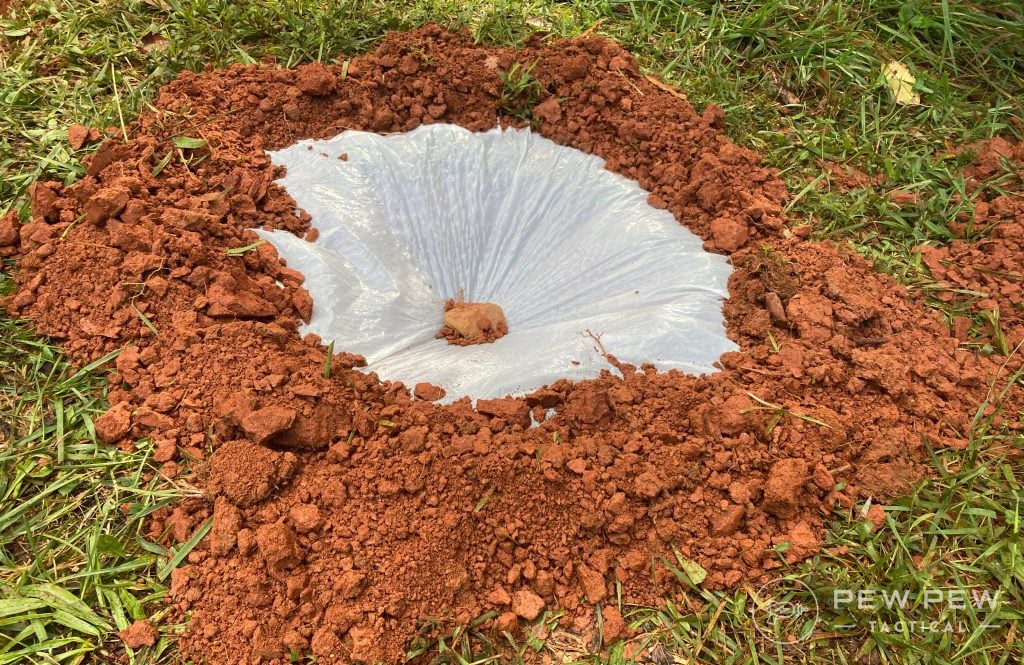
Step 5: Place a rock in the center of the plastic so that it will form a depression right over the container
I always have to look to do this.
Step 6: Seal the last edge with dirt
Easy peezy.
Voila! Water!
Wait 12 to 24 hours before you open your solar still pit to see what’s going on.
There should be a good amount of water in the container because the moisture in the air in the pit condenses on the bottom of the plastic.
The slope formed by the little rock causes all that water to head towards the tip of the depression, where it then drips into the cup. A pretty cool way to get some water for just digging a hole.
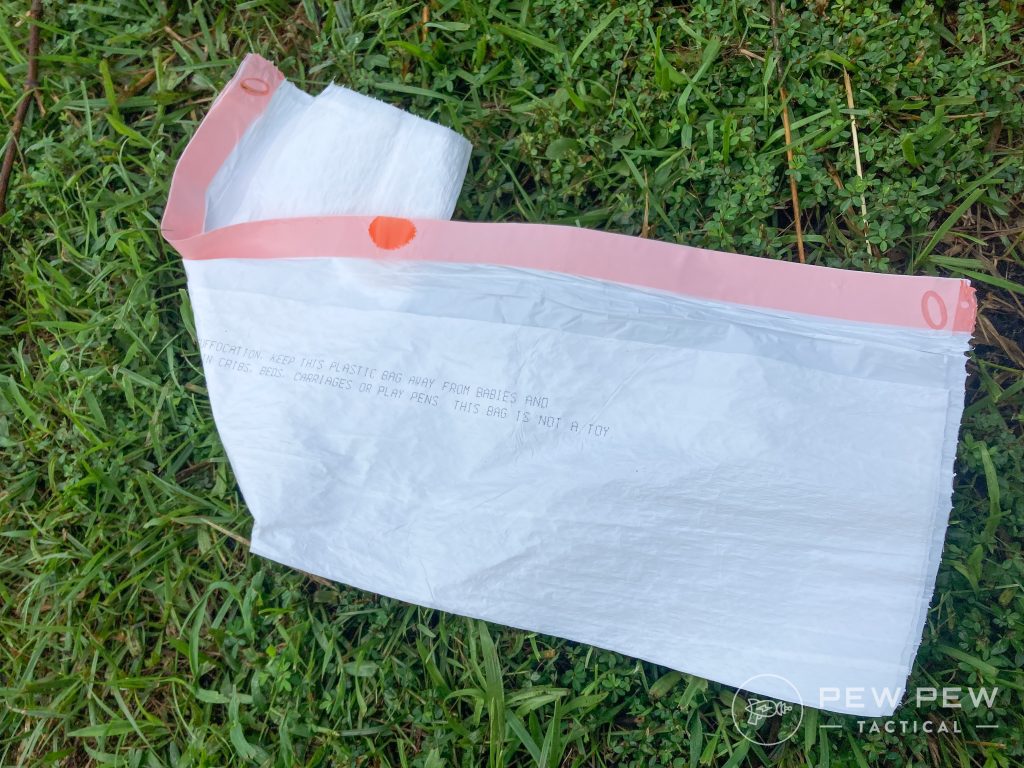
The Bag O’ Branches
I’m not a huge fan of this method, but it is an option. Basically, it’s a condensation trap.
Gear You’ll Need
- A plastic bag
- Something to tie the bag down with
Step 1: Put a plastic bag over a leafy branch.
You really have to make sure you don’t puncture the bag here. Any holes in the bag will mean you’re doing all this for nothing, as the condensation will go right out the spout.

Step 2: Secure the bag opening as tightly as possible
Whether you use duct tape, paracord, or a rubber band doesn’t matter. What matters is that you make this thing as airtight as possible.
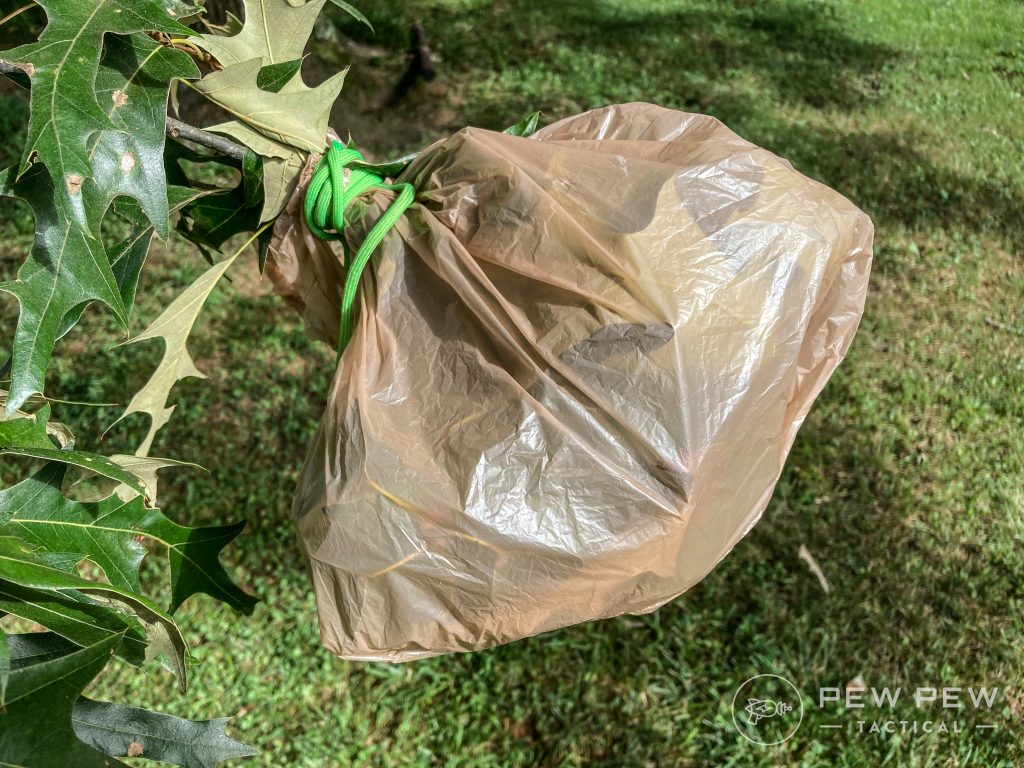
Step 3: Wait 12 to 24 hours
As you can see, the amount of water I got from this method was negligible.
Though I didn’t really have to work much to do this, it wasn’t enough to justify my efforts. That said, it’s really humid where I live –so, this method may work better in your environment than it does in mine.
A Harvest of Rain
If you have some form of shelter with you on your hikes (as you should), then you can easily rig up a container to catch rain runoff.
To really get science-y, multiply the square footage of your tarp by 0.56. This will tell you roughly how much water you can collect in gallons per inch of rain.

Storing Water
Finding water can be half the battle in a survival situation.
What do you do if you’re trapped in the middle of the woods, and you know your only hope of survival is to trek out of there?
How do you store and transport water in the wild?
Here are a few options to consider…
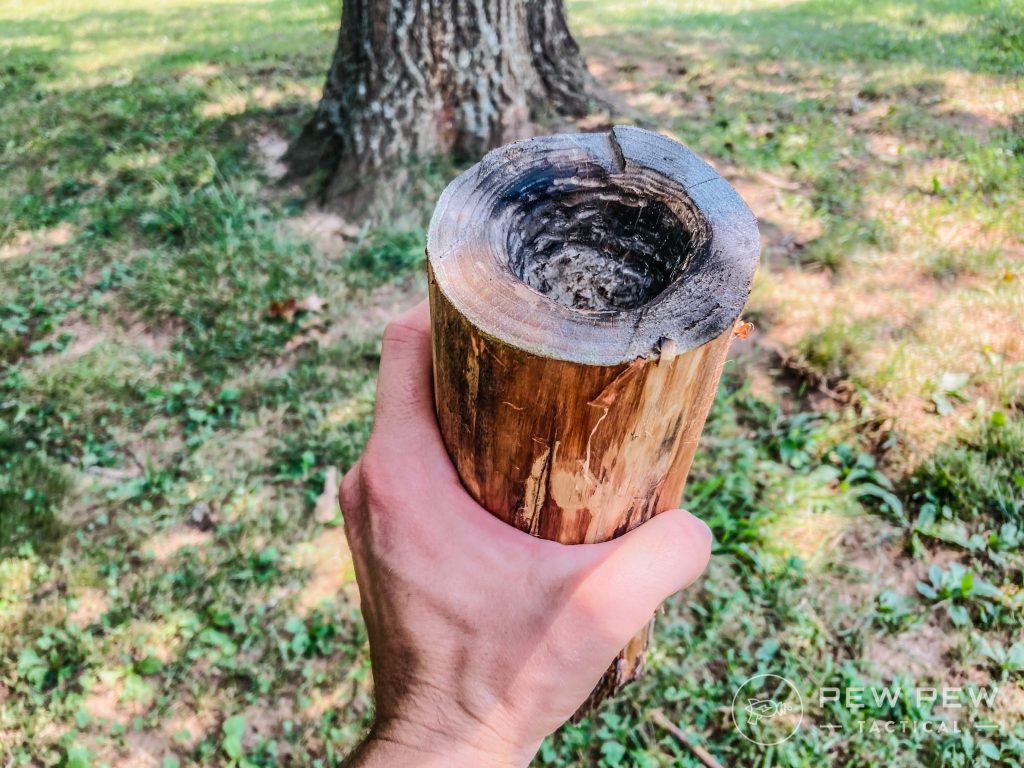
Make a Wood Container
Provided you have a knife on you, you can whittle out a very crude cup. Anyone familiar with carving can attest to the fact this is going to take you several hours — but it will get the job done.
If you’ve found a spring but are tired of lapping up the water like a dog, this can serve as a convenient means of bringing the water up to your lips.
And if you don’t have a knife?
No worries, just make a fire.
Make your fire and sit the hot coals on top of a piece of wood, using that to slowly burn out the shape of a cup. Once more, it’s incredibly crude, but it works.
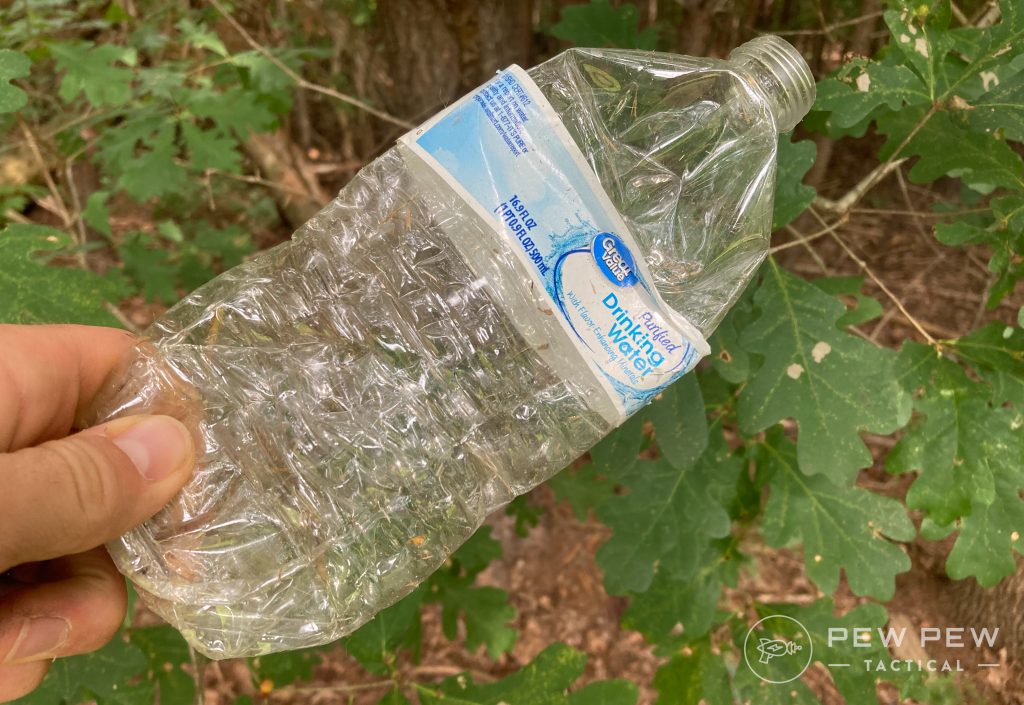
Reuse & Recycle!
Just about every hike, I find trash. It doesn’t matter how far into the woods I go, eventually, I come across beer cans, chip bags, or other garbage. Many of these items can serve as great ad hoc water containers.
For example, I’ve no idea how this got on my property – I don’t drink bottled water – but here’s a convenient find…a plastic water bottle.
I bet you could store some water in that.
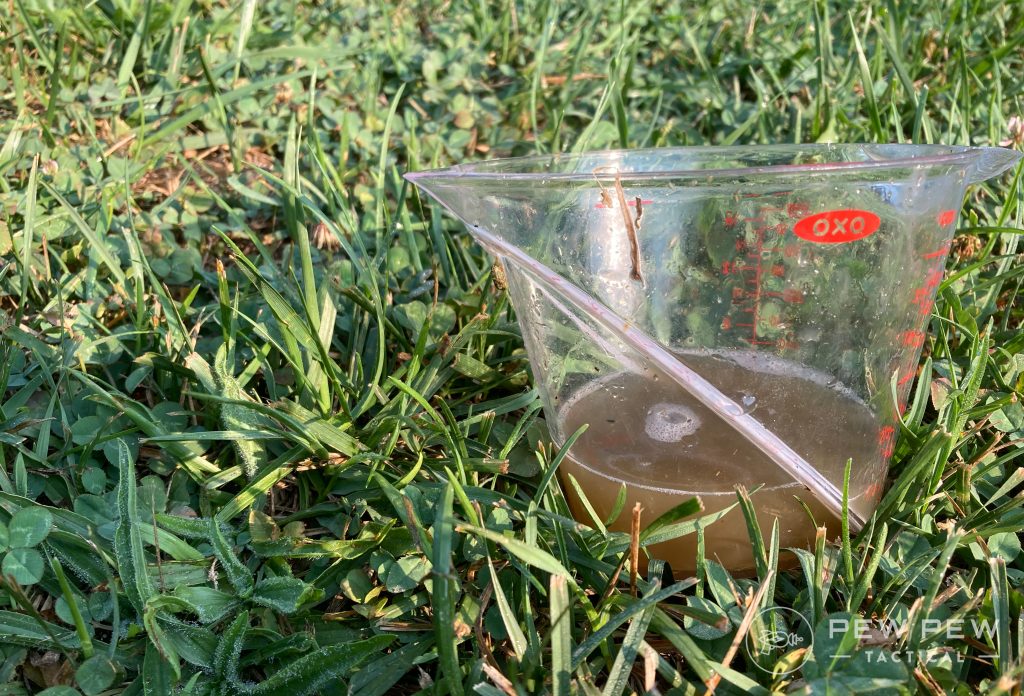
Miniature Cistern
Seeing that one of my solar still pits didn’t work, I repurposed it into a little cistern pit.
Provided you have some form of waterproof barrier, you can easily make the same. I recommend using clean rocks to line the edge though.
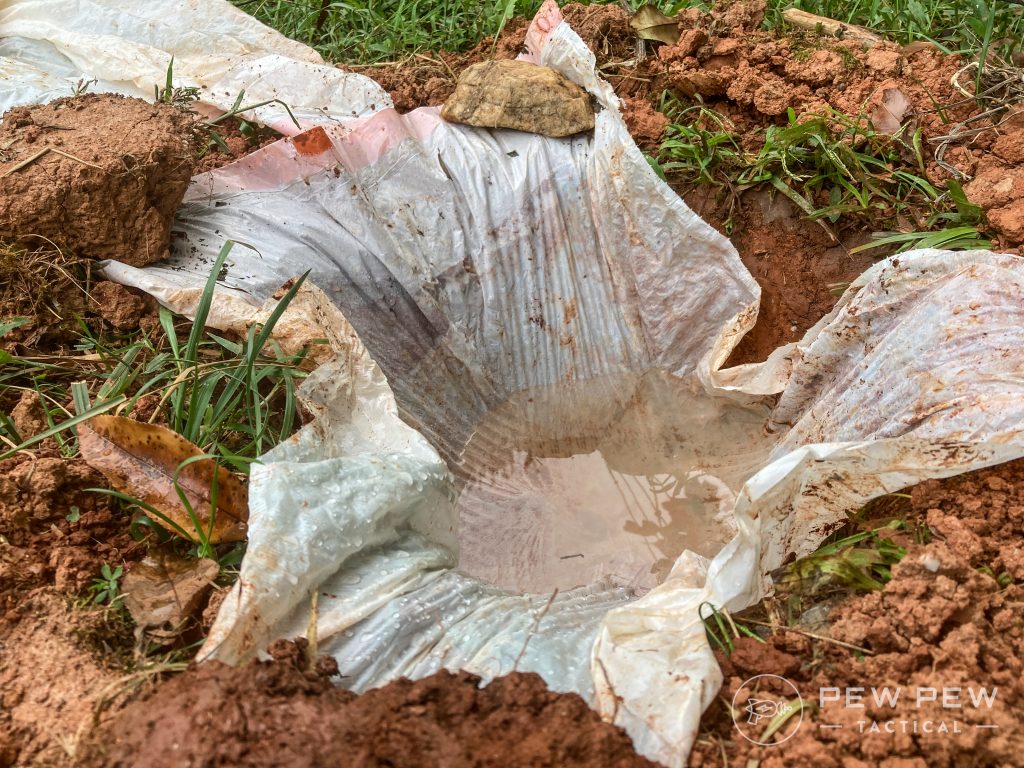
Everything is dirty clay where I’m at, so I ended up with some red-tinted water, but you at least get the idea.
Make a Clay Pot
Speaking of clay, if you are in an area where there is ready access to clay, making a clay pot isn’t out of the picture.
Though I’ve personally never done this, it’s most certainly been done before. Check out Primitive Technology’s take on how to do this.
Conclusion
It’s absolutely vital to have plenty of access to fresh water in a survival situation if you want to make it through the experience alive.
If a fresh spring or some other water source isn’t available nearby, you’re going to need to know some of the above methods so that you have a foundation to work off of.
Once you have these building blocks, you’re really only limited by your imagination.
Are there other alternatives to getting water that we didn’t cover? Let us know in the comments below! Want to be better prepared? Check out our Prepping 101 Guide for all your prepping needs.


1 Leave a Reply
When it comes to a solar pit be aware of the dangers of snakes taking shelter under the plastic. This is obviously a double edged sword as they can provide both liquids and food IF you can kill them.
But it's still something you need to be aware of