
1911 80% Tactical Machining Build, Part 2: Tools

Setting up with a drill press, vise, jig, and drill bits.

By
Eric Hung (Founder, CEO)
PPT Founder. NRA Pistol Instructor. USPSA/3-Gun/NRL22 Competitor. 250+ articles
Published Jul 8, 2014
We review products independently. When you buy through links on our site, we may earn a commission to help support our testing. Learn more.
Essential Resources
The 1911 80% is much harder than an AR15 80%. Disclaimer again. These two resources have given me a lot more confidence and I think you should check them out since they cover more than I ever could:My Setup
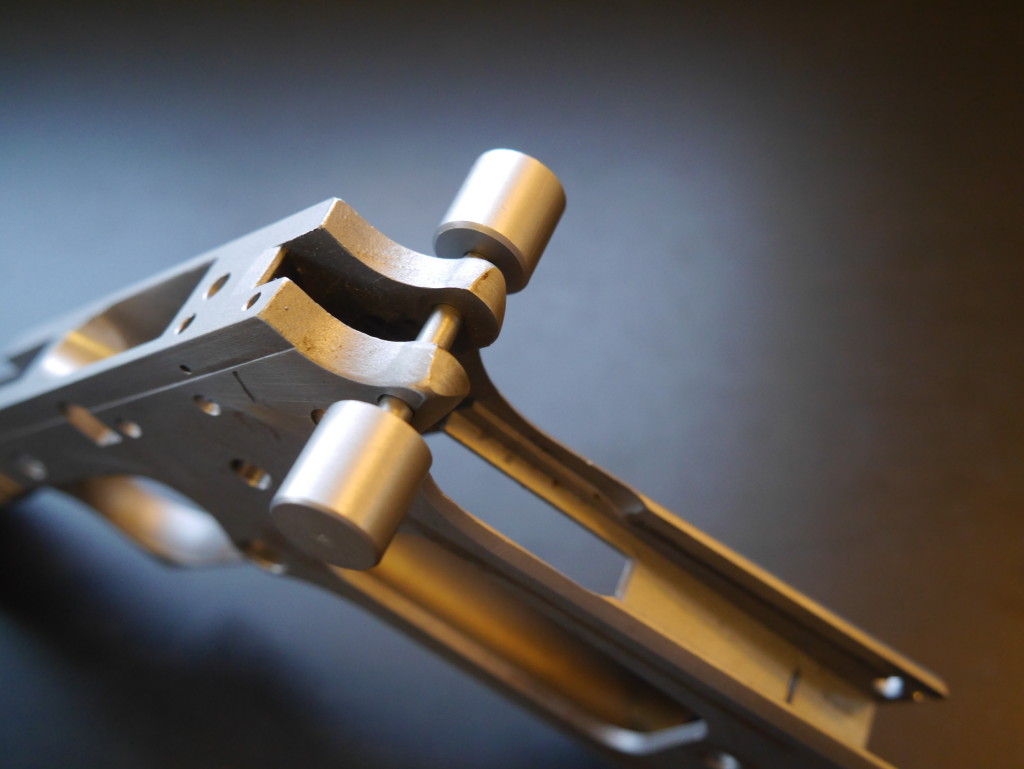
There’s many ways to skin a cat, and probably even more ways to finish your Tactical Machining 1911 80%. My resources are pointing me towards a drill press and cross slide vise. Those combined with the jig should make quick work of the hammer pin, sear pin, and even barrel seat. The hardest part I foresee is the slide rail. I’m going with shallow cuts with my vise and finishing up with files and lapping compound. A mill would probably be the best, so if you know someone that has one, I’d go that route. But as for me, here’s my setup:- Drill Press ($200): Craftsman 12-inch Drill Press. Edit: Several of you have said the chuck only goes up to 5/8 inches so it will not hold the 18mm end mill below. You will need to buy a different chuck. Please let me know which one you went with down in the comments. The top selling Drill Press on amazon for $160 for the budget conscious. It is 10-inch which will be plenty but still has the chuck problem.
- Vise ($45): 4″ Cross Slide Vise, also seen the same thing at Harbor Freight
Drill Bits
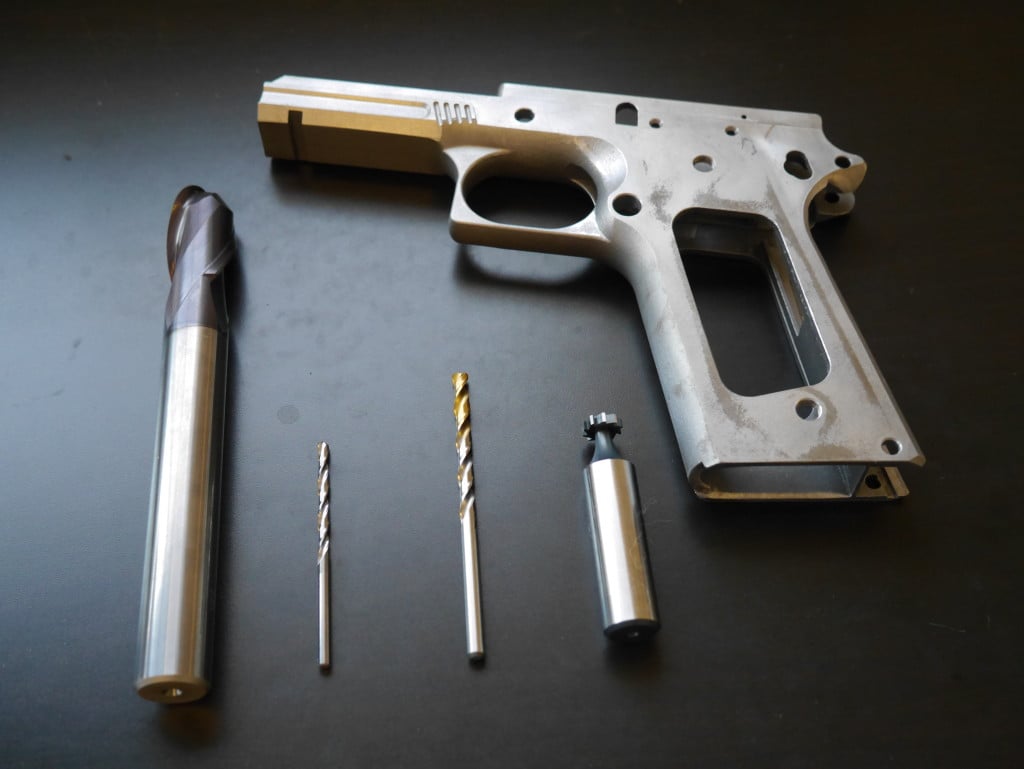
- 4mm Drill Bit ($3)
- Forney #35 Drill Bit ($8)
- 18mm Ball End Mill 4-Flute (~$70)
- I went with this Whitney 3/32 x 3/8 Key Seat Cutter ($17)
Essential Tools
- Tekton Needle File Set ($6): Held up great so far for quick frame/slide work, has square file perfect for the slide rail
- Digital Calipers ($20): Held up great for 3 years so far, sharp edges so you can etch with the Dykem
- Dykem Layout Fluid ($6): Easily see the cuts on your frame
- Bubble Level ($8): Check if everything is level, or use a smartphone app
- Wilson Bushing Wrench ($4): Good to not mar up your slide
- Wheeler Lapping Compound ($38): To finish up your slide to frame fitting
- Pin Vise ($12): Holds the burr to hand turn the plunger tube chamfer
- Burr Set ($5): For chamfering the plunger tube hole
- Sandpaper ($4): General fitting
- Craftsman Plastic Tip Hammer ($14): You’ll need a pretty good hammer for slide fitting
Nice to Have Tools
You’ll probably want to pick some of these up from Brownells to make your life easier:- Ed Brown Sear Jig ($50): For the trigger job. Probably not needed if you went the drop-in match trigger route.
- Square Ceramic Stone ($25): Super fine stone for sears and other surfaces
- Plunger Staking Tool ($32):The plunger tube seems really annoying to install correctly so I got the tool.
- Beavertail Install Jig ($30): Let’s you easily file down the frame. I put it on and it looks like Tactical Machining’s frame fits perfectly, so it is not needed.
Next Lesson
Part 1: Intro (Finding the 80%)
Part 3: Parts List
Part 5: Cutting the Slide Rail