We review products independently. When you buy through links on our site, we may earn a commission to help support our testing. Learn more.
Finally got the Tactical Machining 1911 Jig in the mail so I threw the 80% in there and got ready to cut the slide rails.
This is probably the hardest cut so I figured I’d do it first in case I messed up. Disclaimer again.
Setup
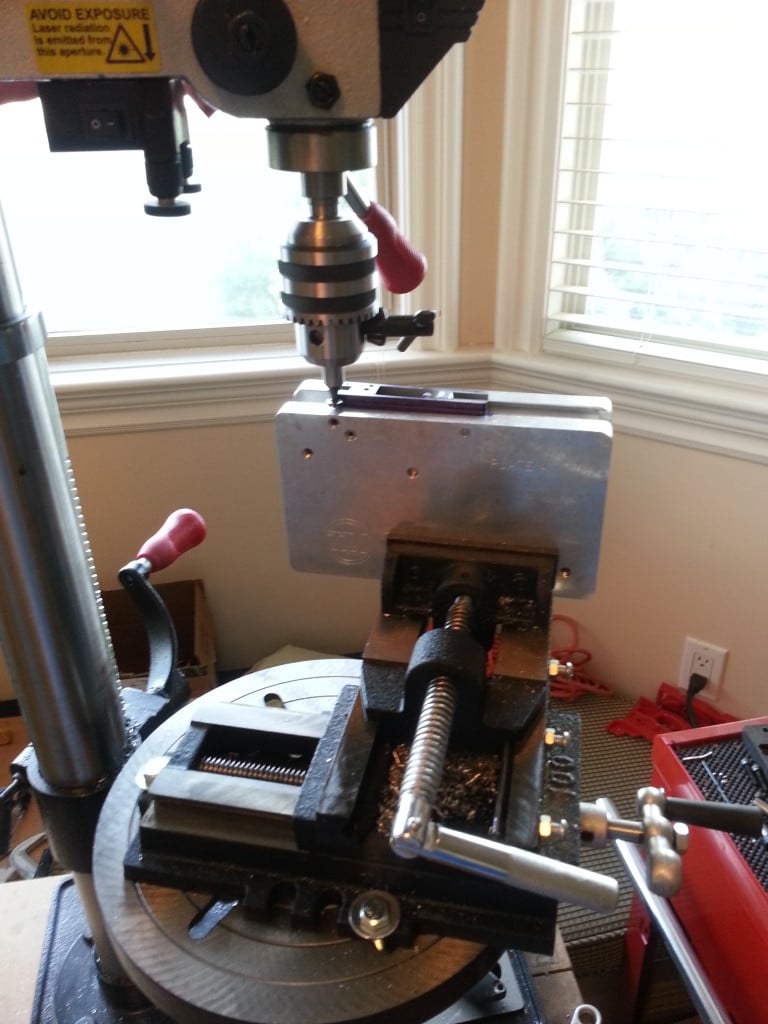
You’ll also need the bits, drill press, sliding vise, calipers, & Dykem I mentioned in Part 2. Tighten everything down and make sure you can smoothly move the main axis of the sliding vise.
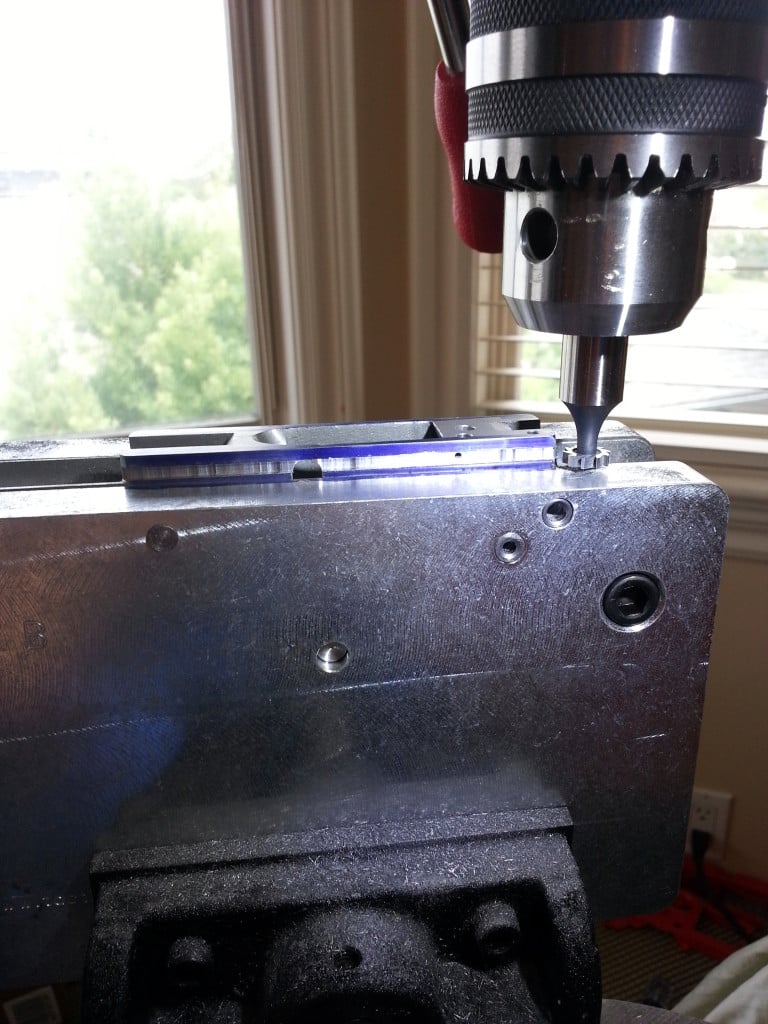
1911 Slide Cutting Setup
Measurements
Double check your resources and measure your slide with a good caliper. For me, I am going to cut down .105″ from the top, and go .05″ deep. The 3/32″ keyseat cutter comes out to be .09375″ while the slide’s thickness is .12″, so there will be some filing. The square file in the file set tapers from around .09″ to .011″ so it should be good to go.
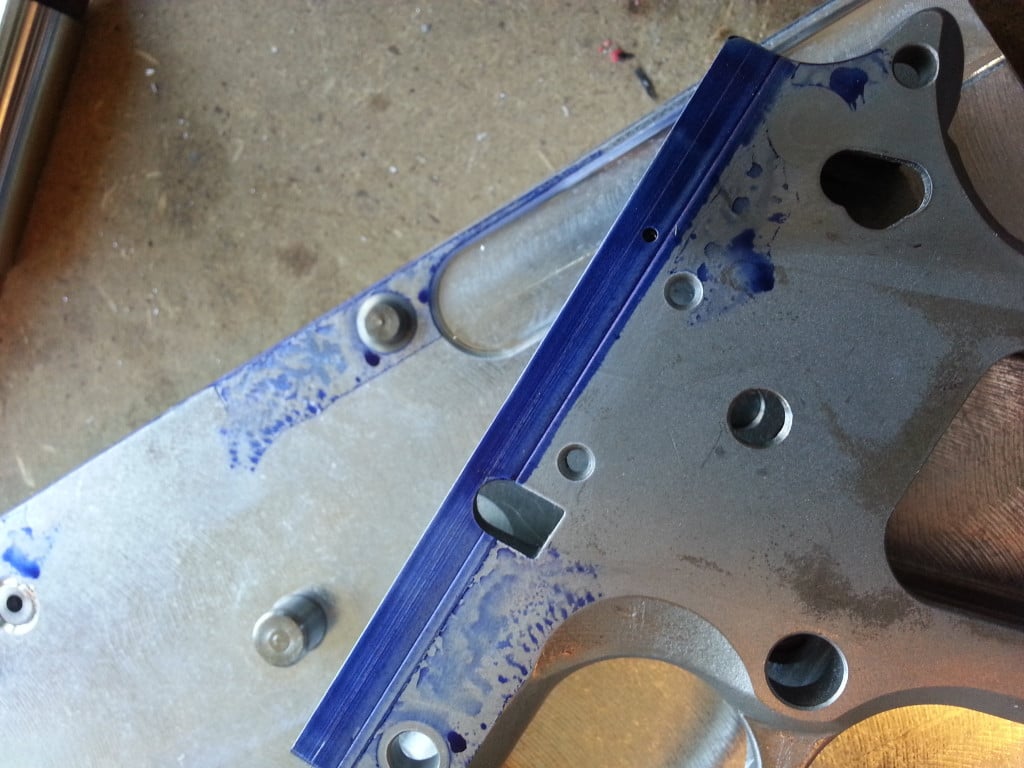
Dykem & Marking
Before you put the 80% into the jig, paint some Dykem on it. I got excited and put it into the jig first before painting so you’ll see blue all over the jig in the pictures. I would put it thicker next time too. Do it in some well-ventilated place and let it dry. Measure off .105″ on your caliper and lock it. I put the edge of the caliper on the top of the paperweight and let the sharp edge cut into the Dykem. Perfect!
Tactical Machining 1911 80%, Jig, and Dykem
Vise
Put the jig with the 80% into your vise. Make sure you’ll have enough space to move everything around. Last thing you want to do is reset halfway through when your jig hits the drill press. I’m definitely guilty…
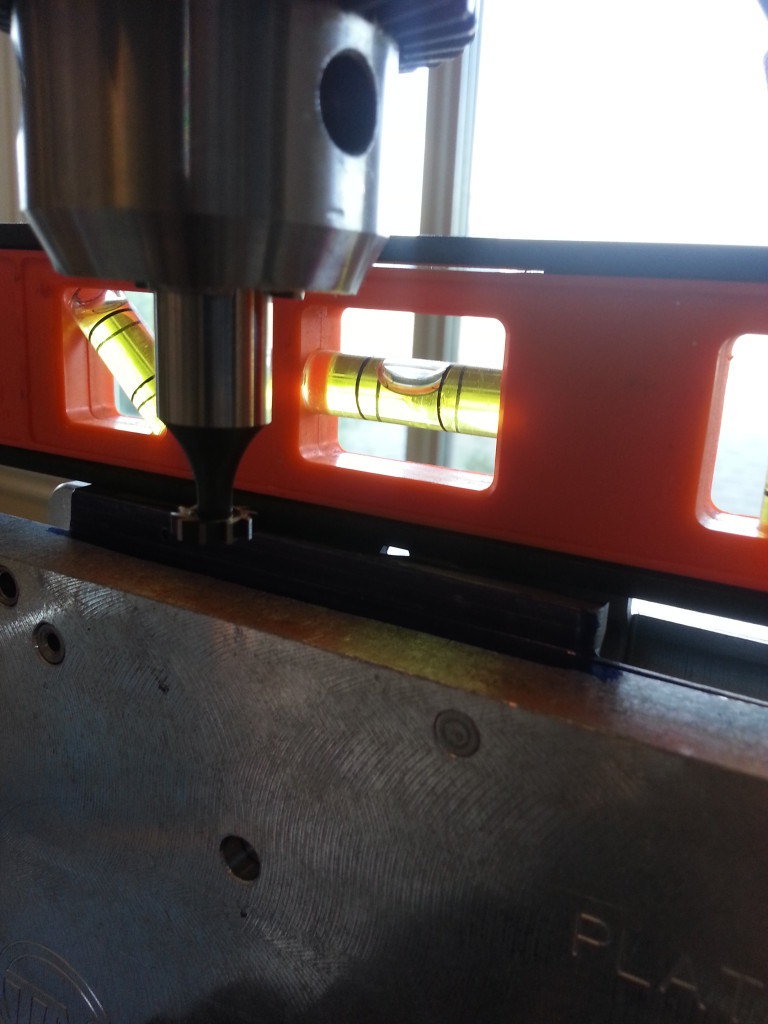
Get into Position
The TM jig fits well but you cannot expect it to hold the 80% perfectly level. Use your level and if needed, move the jig around.
Leveling 1911 80%
Move everything closer to each other so you can change the height of the bit. I prefer to move the bit up and down rather than the platform.
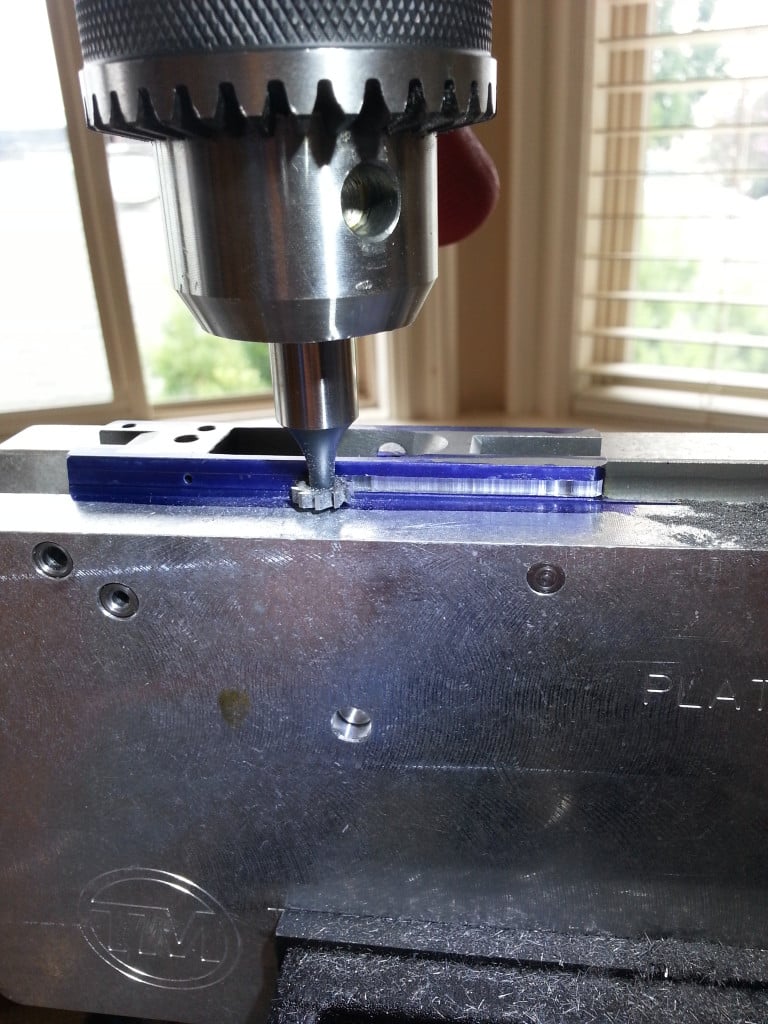
Cutting
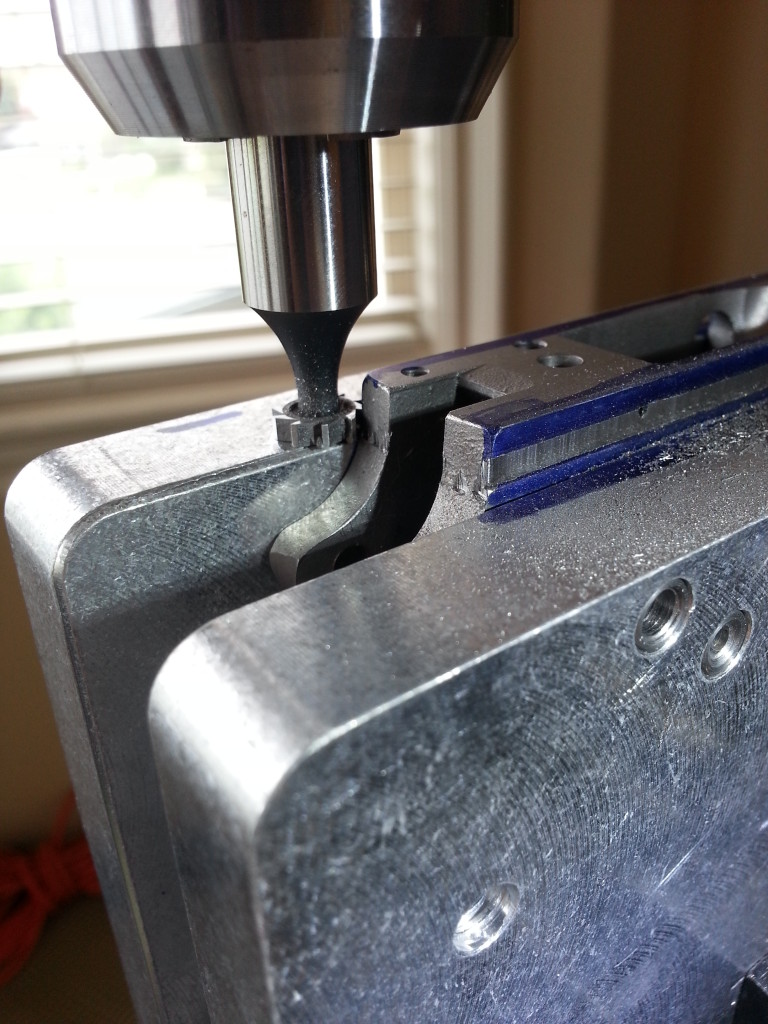
Measure twice…or ten times, then get ready to cut. I went for something around .04″ deep for the first cut. Make sure you hold the jig steady and not yank it…you can see my deeper cut about half an inch from the right side. Then just go nice and slow while holding the line you cut into the Dykem with the caliper.
Cutting 1911 Rails
Watch out when you near the end since I had the bit jump. Nothing a little filing can’t fix!
1911 Rail Cutting Booboo
I measured and everything was good, with just some variations from .04″ to .045,” so I went ahead with a second pass to get the proper end depth.
I setup the other side and did the same thing.
1911 Rail Cutting Opposite Side
Keep the jig as is so you can do the barrel seating cut next. You’ll have plenty of time to file and lap the slide to fit the frame.