
1911 80% Tactical Machining Build, Part 4: Basic Fitting

1911 barrel bushing to slide fitting, trigger fitting, and beavertail safety fitting.

By
Eric Hung (Founder, CEO)
PPT Founder. NRA Pistol Instructor. USPSA/3-Gun/NRL22 Competitor. 250+ articles
Published Jul 14, 2014
We review products independently. When you buy through links on our site, we may earn a commission to help support our testing. Learn more.
Fitting?
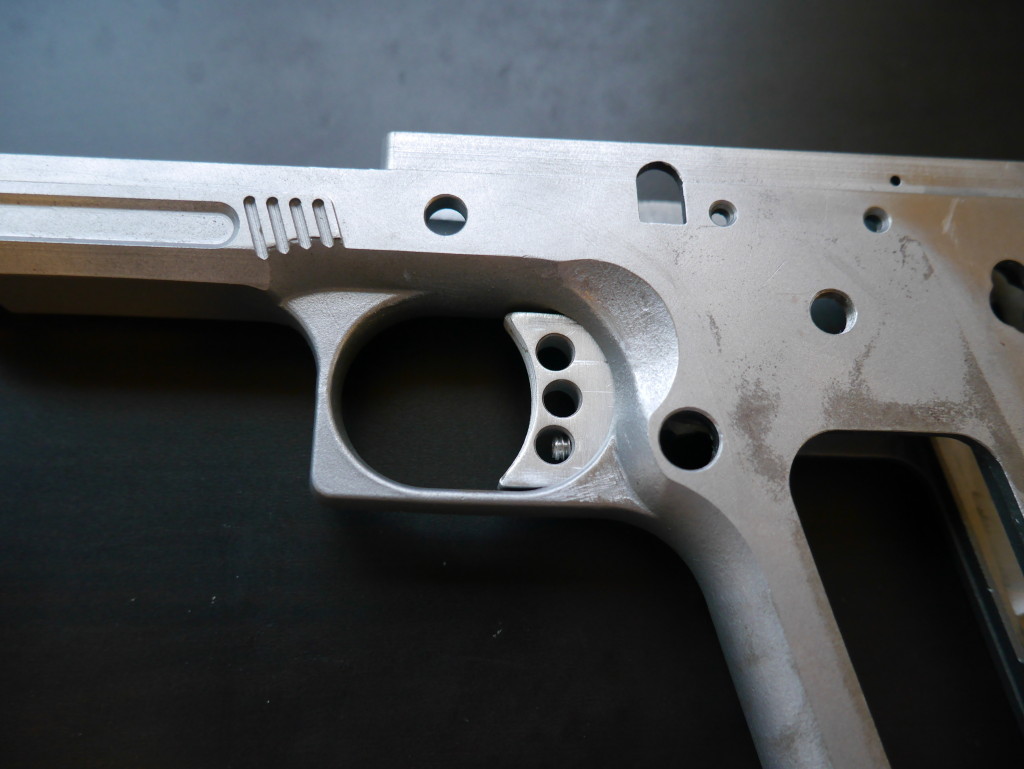
My parts list in Part 3 of this guide minimizes the necessary fitting of parts to the frame and each other, but there’s still a lot to do for a 80% 1911 project. I’ve gone ahead and done all the fitting possible while I wait for my Tactical Machining 1911 80% Jig. For more help, I’d check out the book & DVD I listed. Disclaimer again.Barrel Bushing to Slide Fit
I started blogging after I did this, so some of the pictures are “after” pictures. My apologies! The combo of a pre-fit Lake Storm barrel and my Fusion Firearms slide was perfect. The barrel fit so exactly that I was actually kind of scared something was over-sized, but I just had to get it in the exact angle.
Trigger Fitting
Edit: Article on Installing and Fitting 1911 Triggers. The Wilson Ultralight Match Trigger was not going in so I did the Sharpie method and ended up filing a decent amount off the top and bottom, and a little off the sides. From the videos, you could also possibly see some resistance from the trigger bow. I also sanded the inside of the frame a little since it looked like there were some sharp burrs.
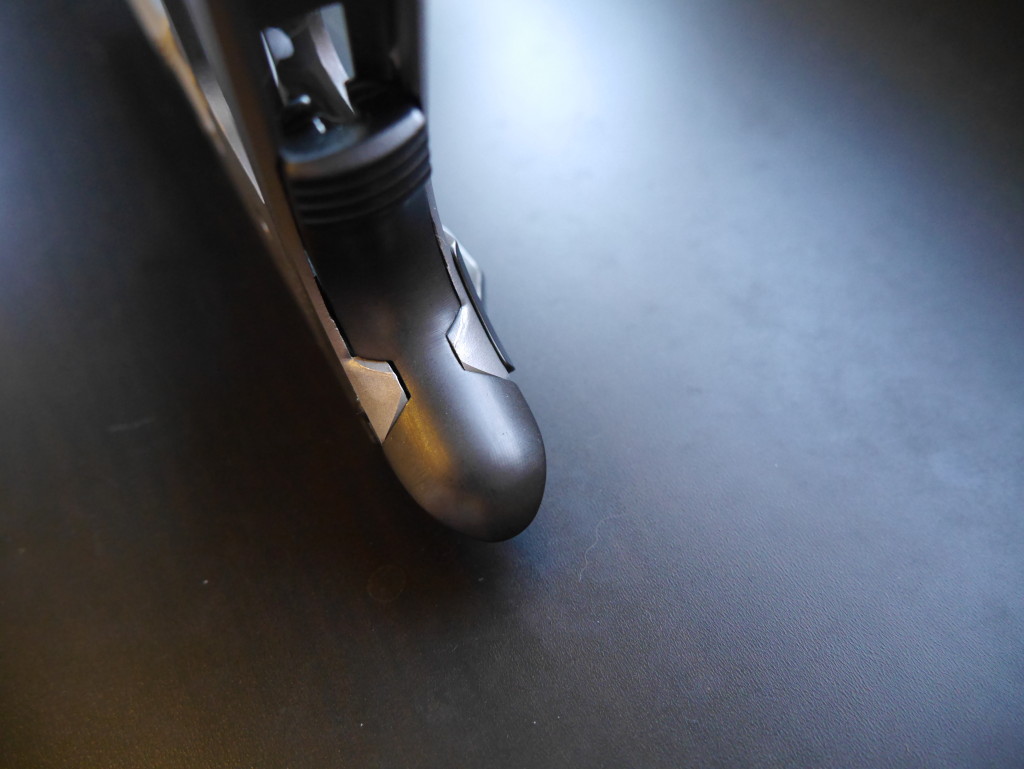
Beavertail Fitting
I originally got a Wilson Drop-In Beavertail but it left a quarter-inch gap on the TM 1911 80%. I exchanged it for a regular Wilson Beavertail which fits well enough to not need filing for proper function. But a properly blended beavertail is really one of the marks of a custom 1911. I’ll leave it until I get the jig and make the frame 100% first…just in case.
Next Lesson
Part 1: Intro (Finding the 80%)
Part 5: Cutting the Slide Rail
Part 7: Hammer & Sear Pin Holes