I’m a man who likes things simple, really simple. This includes how-tos.
Since I like simple how-tos, I figured I’d create a simple how-to for creating or transferring an NFA item — specifically, how to use eForms to apply to transfer or create an NFA item.
I resisted the NFA for a long time. I didn’t want to deal with the NFA paperwork and wait times, and there was nothing I wanted bad enough to deal with it. Then eForms came out, went away, came back, and got better.
After seeing how short the wait times were, I dived into the world of eForms and made my first short-barreled shotgun. After getting through the process and seeing how easy it was, I decided to break it down into Barney style for everyone else.
Table of Contents
Loading…
But First…
This guide is mainly focused on the ATF Form 1, which is an application to make and register a firearm. From 1s are typically completed for people who are looking to legally make short-barreled rifles, short-barreled-shot guns, or make their own suppressors.
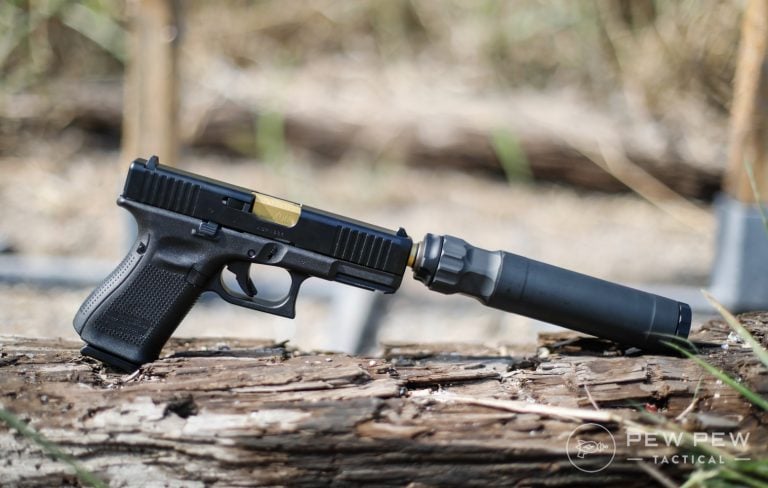
If you are buying an NFA item that has already been made (like a suppressor), you will need to complete a Form 4.
As of this writing, you cannot use eForms to transfer NFA items from person to person. That will require a paper form.
What You Need Before You Start
Must-Haves
- Computer or laptop with Internet access (eForms is not optimized for mobile use)
- A government-issued ID
- Fingerprints: digital or paper fingerprint card
- Passport style photo (clear background, shoulders to head visible)
- Chief Law Enforcement Officer information
- Markings for NFA Items (if making one)
- A valid trust (if applicable)
Nice to Have
- Secure storage location for all completed documents.
Step-by-Step Instructions
Step 1: Sign Up To eForms
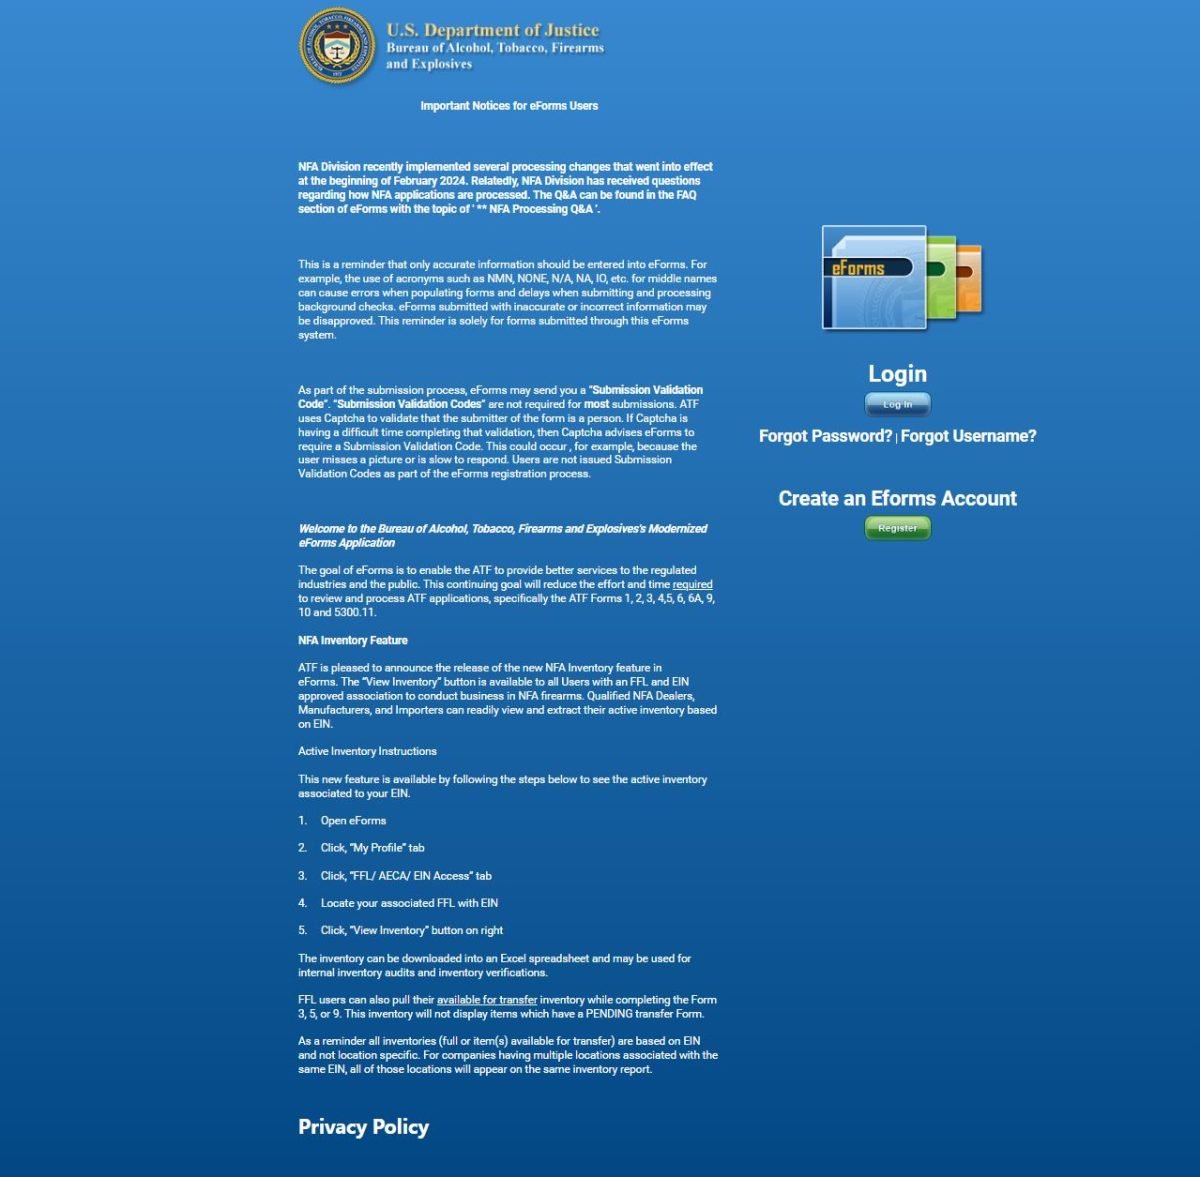
The first thing we have to do is create an account on the Eforms website.
Go to eforms.atf.gov. You’ll have two options: create an account or log in.
Oh, and the website has not been optimized for mobile use, so a laptop or larger screen is recommended.
The information they want is basic — nothing crazy. If you can sign up for Netflix, you can create an eForms account. Once your account is created, you’ll be taken to a landing page, where we start our journey.
Many options will be presented, but most people should focus on Form 1 and Form 4.
Step 2: Decide Which Form to File
Now, we have to pick the correct form to file. Most people will only need to focus on the Form 1 or Form 4.
The Form 2 is a Notice of Firearms Manufactured or Imported. It’s used by qualified FFLs to report the manufacture or importation of NFA firearms.
Form 3 is used to transfer NFA items while being exempt from the tax stamp. It’s typically used to transfer NFA items to a retailer who sells items.
Form 5 is also used to transfer NFA firearms between descendants in the event of the death of the original NFA Item owner.
If you make an NFA item, you’ll complete Form 1. In my case, I wanted to convert a 590A1 into a short-barreled shotgun. This meant I had to fill out a Form 1.
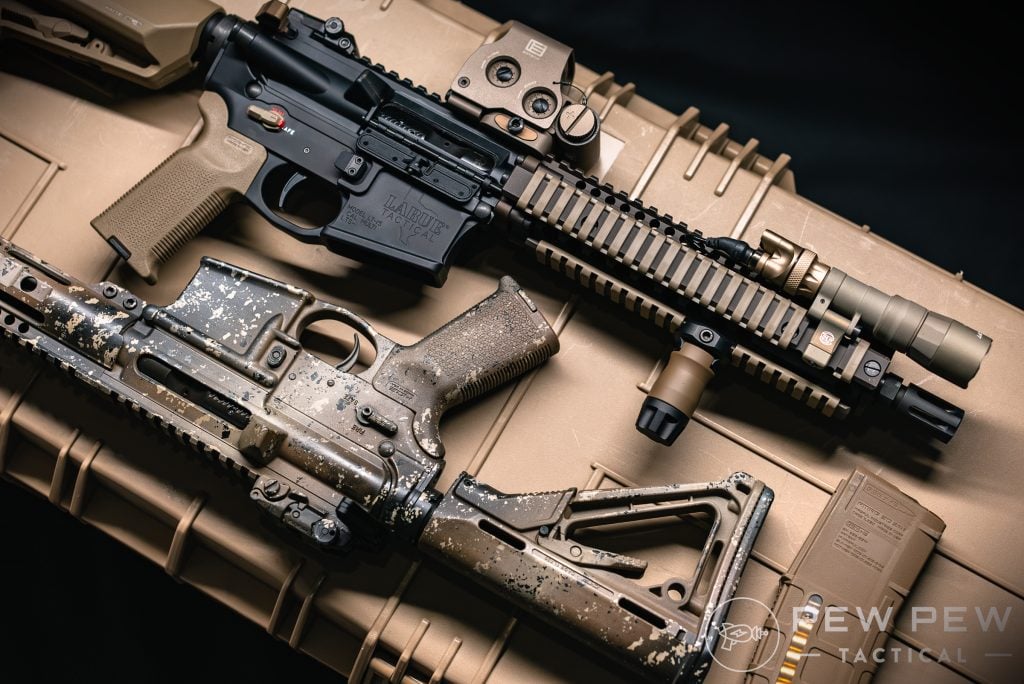
If you’re turning an AR pistol into an SBR, you use a Form 1. If you’re milling a suppressor from a piece of steel with your lathe and CNC machine, you use a Form 1.
Form 4 is used to transfer an NFA item. Suppose you’re buying an already-built SBR, SBS, suppressor, or machine gun. If you are buying an NFA item from an FFL or dealer, they will fill out the Form 4, but you’ll still need to provide them with information.
Step 3: Photos & Fingerprints
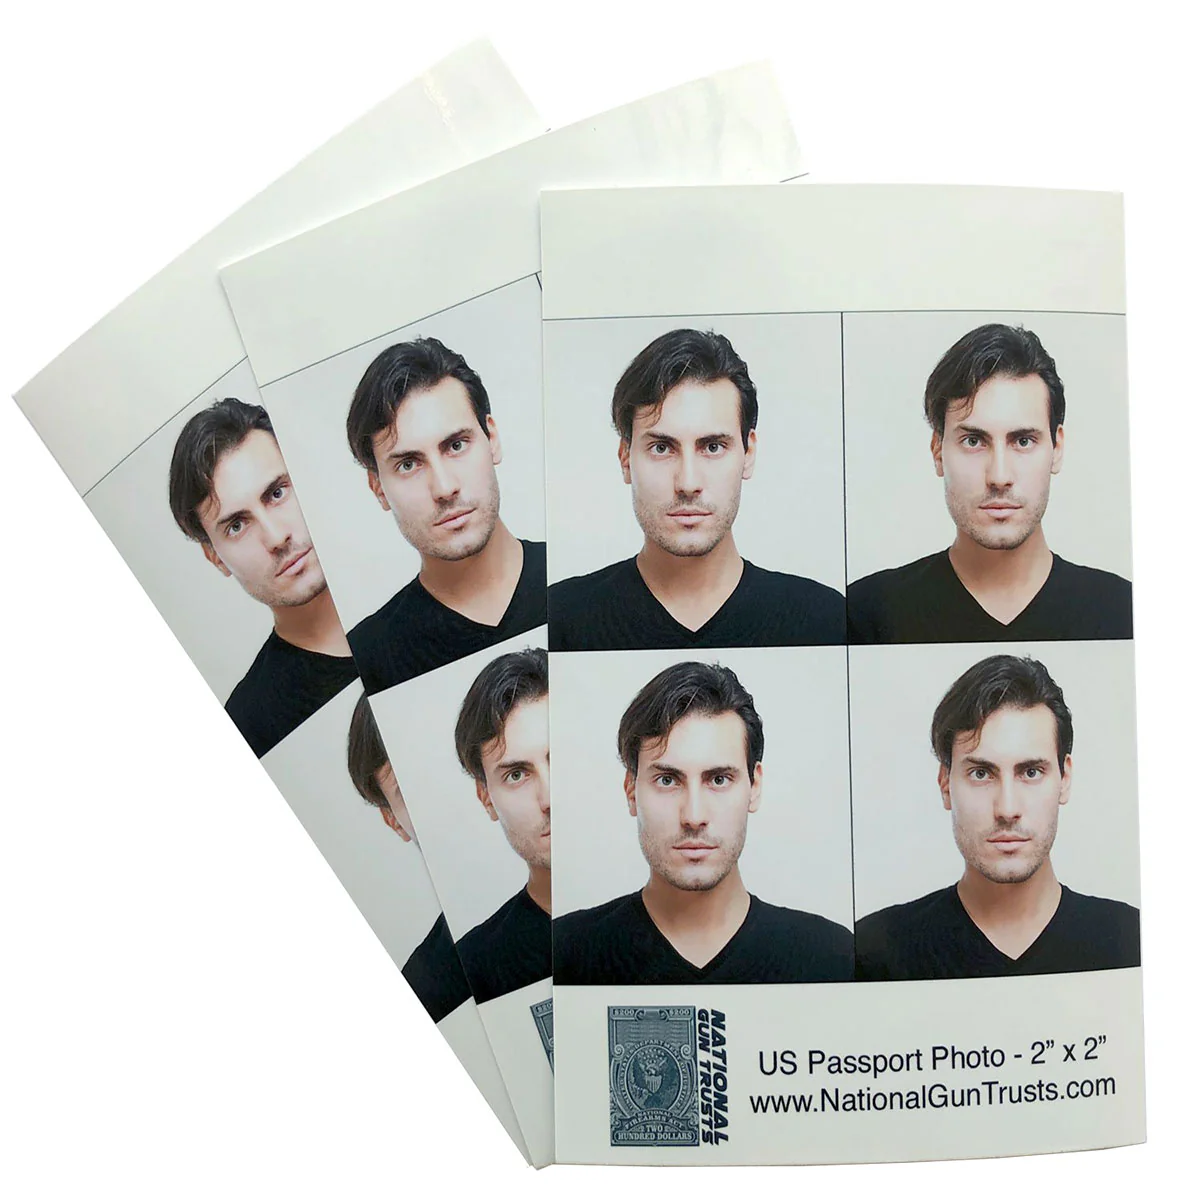
Before we fill out our forms, we need to secure our fingerprints and photos. The photo is really easy. It’s essentially a passport-style photo. You need the top of your shoulders to the top of your head clearly visible, centered, and against a white background.
A piece of poster board and an outdoor photo in the dimmer evening light works well; use a 1:1 ratio. If you do paper forms, it’s a passport-sized photo, but for eForms, the file size needs to be under 12 MB. My wife took a photo of me, and it was accepted without a problem.
The fingerprints are a little tougher. You can use a paper card and mail it after you file your forms, but I prefer the digital fingerprint method.
Most UPS Stores have a digital fingerprint service. You have to make an appointment, and they specifically have an ATF option. You’ll scan your fingerprints, and within a few minutes, they will be emailed to you in an encrypted file. (Do not open the file on your phone. It will corrupt the file.)
You can upload these yourself if you are completing a Form 1, or you may need to email the file to your FFL for a Form 4.
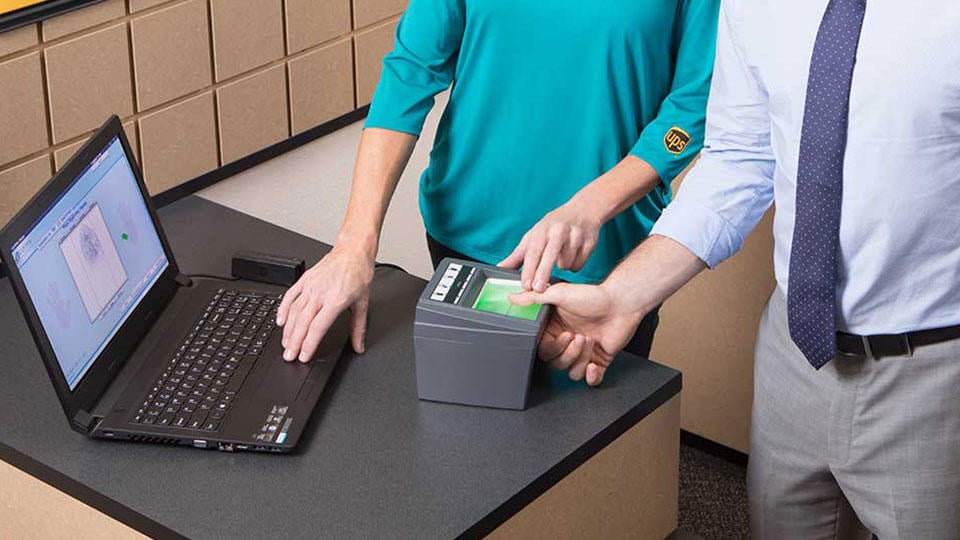
You’ll upload that file to the eForms websites. It’s super easy, and you can save the file to use for other NFA forms. The hardest part of this was dealing with the guy ahead of me who didn’t have an appointment and was a real jerk to the store staff.
If you are using a trust with multiple people on the trust, each one of them will need to be fingerprinted and photographed.
Step 4: Filling Out The Forms
Finally, we can fill out the forms. I’m betting by now you’ve browsed them a bit to see what’s required. It’s surprisingly simple.
The Form 1 requires you to fill out the form yourself. It’s easy, and in a surprising move of government efficiency, a lot of information used when you sign up for the eForms account will automatically be transferred over.
You’ll click No FFL, and proceed to fill out the information. A lot of this you’ll know right off the top. You’ll also need to know your Chief Law Enforcement Officer (CLEO), a Sheriff in my case. Users have to enter this information, so make sure you have it handy.

Luckily, we no longer need said CLEO to approve the form, but you are still required to notify them.
You’ll also have to enter information regarding the weapon that has been manufactured. I was using a 590A1 receiver, so I had information to enter. You’ll select the make and model and enter your weapon’s serial number.
They ask for photos of the markings. This step isn’t required, but I submitted a photo to prevent something from getting stuck in the dreaded “Pending Research” limbo.
If you are making your own 80% receiver or your own suppressor, you won’t have this information. Instead, you’ll click the By Manufacturer Code button and enter FMI, which means Form One Registration.
You’ll also need to click the box next to “My item description is not in the list, create new item.” Then, you will need to fill out the basic information of your build. You also need to create a model number (box 4d) and serial number (box 4g).
You can make up any name or model number you want. If you want to call it the Travis Special and use 42069 as your serial number, you totally can. Just remember anything you put on the application has to be engraved on your gun or suppressor.
Your FFL will fill out the form in the event of a Form 4 eForms transfer. You’ll have to fill out a Responsible Person Questionnaire. Your photos and fingerprints are attached to this form.
If you are filling out a Form 1, you will also fill out this Responsible Person Questionnaire.
If you are using a trust with multiple people, then each person will have to fill out this questionnaire. It’s fairly simple all around. This questionnaire will be filled out once, but you’ll get two copies in your email.
You’ll also get a cover letter attachment. If you’re like me, you’ll read the top of it where it says:
“Within 10 business days of submission of the referenced eForm application, the applicant must submit two completed fingerprint cards to the ATF address shown above. A copy of this cover letter MUST be submitted with the fingerprint cards.”

If you’re like me, you will get paranoid that you messed up and didn’t submit your fingerprints. Scroll down below that and your information, and you’ll see your name or trust name and “REC’D,” which means they got your prints — don’t worry.
The other email is your submitted application. There are two copies; one is for the ATF, and the second is for your CLEO. You’ll need to print this CLEO form, identifiable by the red words “CLEO COPY” at the bottom of the form.
Step 5: Notifying your CLEO
Print your CLEO Notification form. The CLEO form needs to make its way to your CLEO as soon as possible. You can mail it to your CLEO or hand deliver it like I did. I addressed it to my Sheriff and dropped it off with the Sheriff’s secretary.
I live in a small town, and it was easier than mailing it. However, larger communities might not allow hand-delivery, but mailing is always an option.
So, what does the CLEO have to do with this notification?
Nothing. It’s just a notification. The CLEO doesn’t need to do anything. They can store it, destroy it, or make paper airplanes out of it. Once you hand it over to them, everyone is done with it.
Step 6: The Waiting Game
Welcome to the hardest step. The ATF will keep you notified of any updates to your application status. As long as you’ve completed the application, filled out the questionnaire, and paid the tax, it should move from submitted to approved.
The waiting game is the hard part. If you’re like me, you’re on the NFA subreddit and seeing people get approved in a few days. You’ll be repeatedly refreshing your email and signing into the eForms website, waiting for approval.

One day, you’ll check, that email will be there, and it will be a fantastic day. With the implementation of the eForm system, the wait times have declined significantly. My first Form 1 only took a week to get approved. That’s a significant change from an era of nine months to a year of wait times.
If you’ve completed a Form 4 and got approval, you can pick up your NFA item. If you filed a Form 1, you still have one more step.
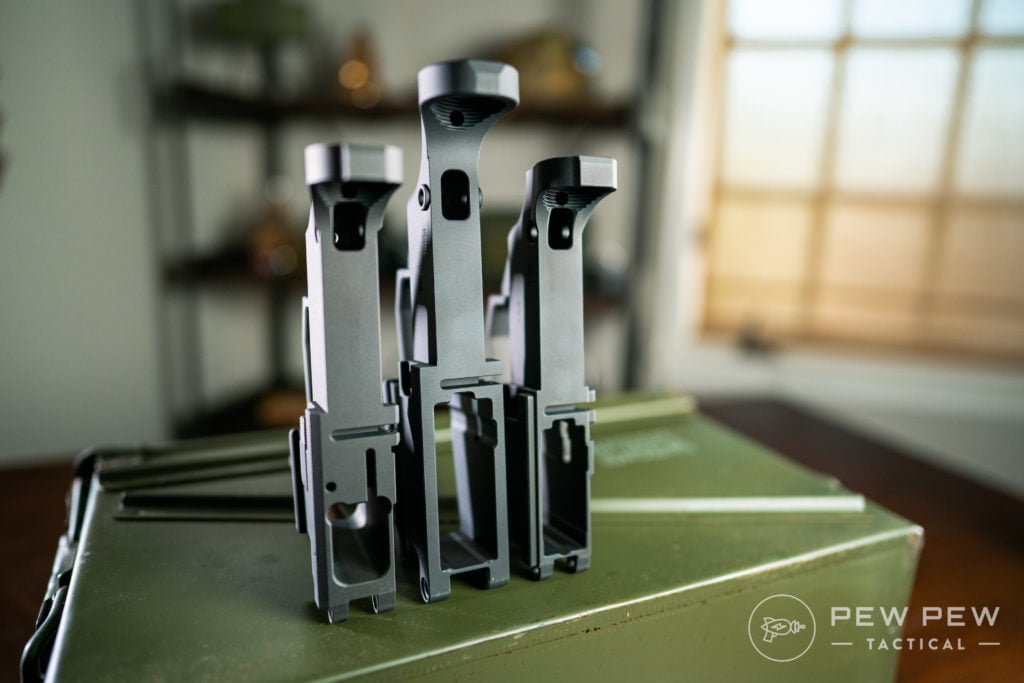
Step 7: Engraving
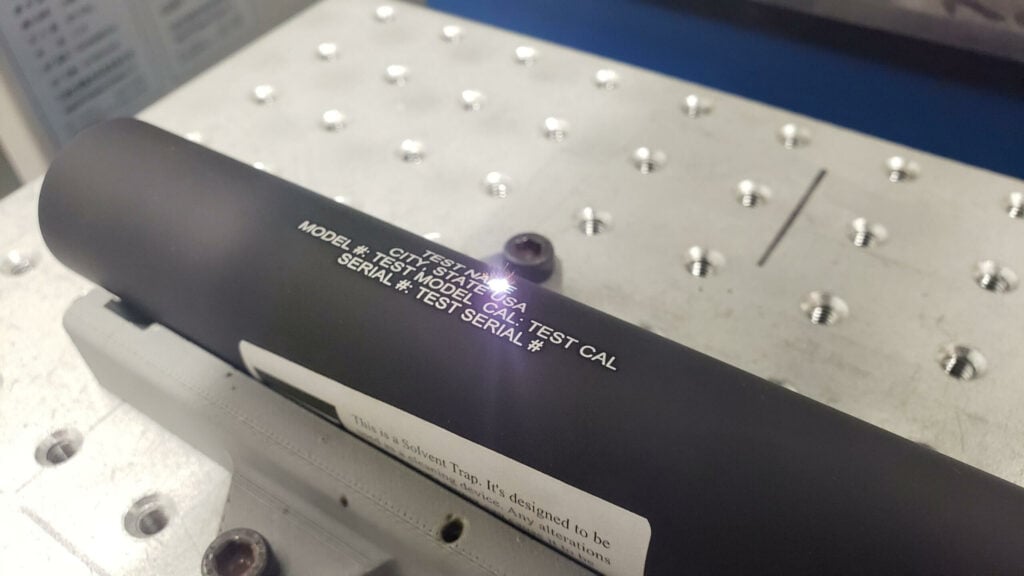
If you’re making an NFA item, you need to get it engraved. The engraving requires the letters and numbers to be at least .003 inches deep and 1/16th of an inch tall.
Seek out a place that specifically does NFA engravings. Your local Things Remembered isn’t the move here — get it done right.
If you are Form 1’ing an existing weapon and turning it into an NFA item, you have to engrave your name or the name of your trust, along with the city and state where the NFA item was created, on the weapon.
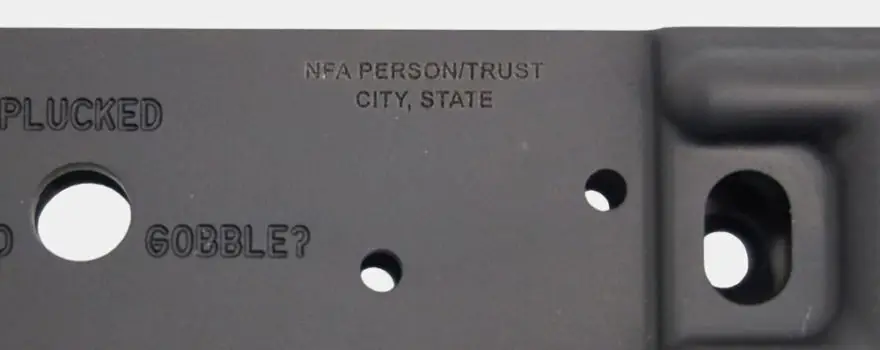
If you’re making something like a Form 1 suppressor or turning an 80% receiver into an NFA item, you have to engrave your name or trust name with the city and state in which it was produced, as well as a model and serial number that you put on the Form 1.
You’ll also need to put the specific caliber on the item. You cannot use the ‘Multi-Cal’ as a catch-all.
Once your items are engraved, you can now build, shoot, and enjoy your NFA item. I literally ran to my engraver when my Form 1 was approved.
Shortly after, I was on the range listening to my short-barreled shotgun sing!
Common Mistakes to Avoid
- Incorrect serial numbers – ensure all firearm details match your application exactly.
- Failure to notify CLEO – though it’s not required for approval, you still have to let them know. Don’t forget this step.
- Opening the encrypted, digital fingerprint files — it will corrupt them, so just don’t do it.
Final Thoughts
It’s a real hassle to have to deal with the NFA and the ATF just to enjoy a slightly shorter or slightly quieter weapon.
However, it’s a law we have to obey if we prefer to be on this end of the bars while getting to shoot the fun stuff.
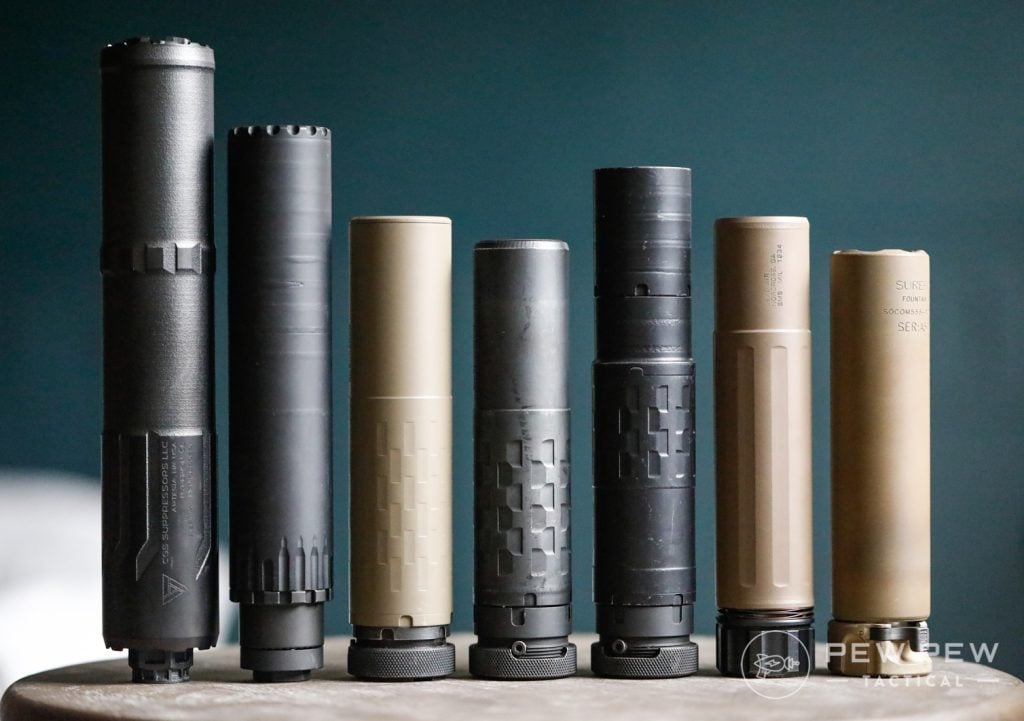
Do you plan to make any NFA items? What form are you filing? Is there anything we missed? Let us know in the comments below! Looking for suppressor recommendations? Check out our article on the Best AR-15 Suppressors!


2 Leave a Reply
Any insight on who fills out the form 4 online? The FFL or the purchaser?
Perhaps a little too soon to say it will work, but optimism is always appreciated.