December 2023: Added pistol stoppages video.
Do you want to be a better defensive shooter?
Of course, you do! So…can you attend a defensive firearms course across the country…basically once a month?
If you can, great! But if you can’t…welcome to the club.
So what do you do in between classes? Drills!
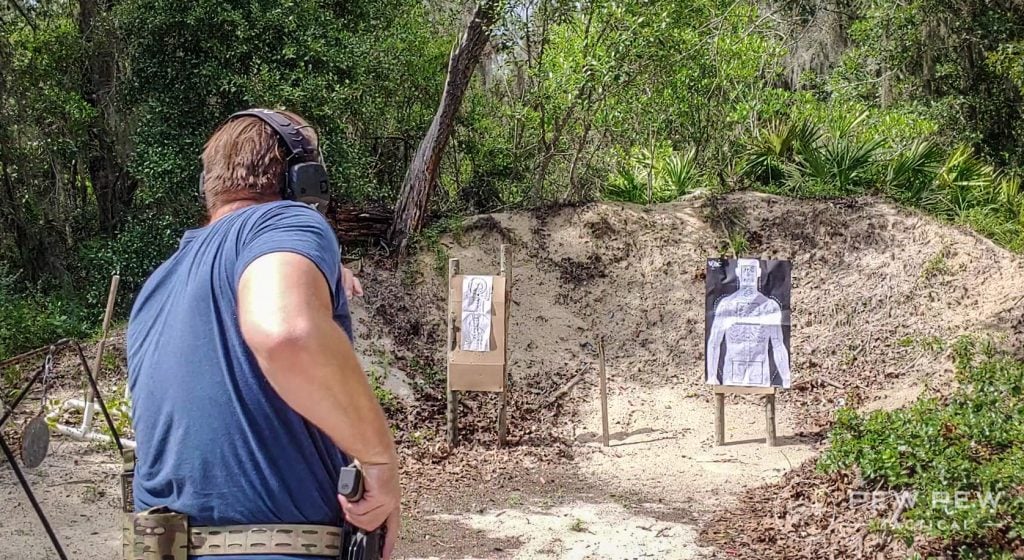
Defensive firearm drills are a great way to work on new skills and keep the ones you have sharp.
We’ve put together a few defensive firearms drills to keep your skills sharp & build a solid base in defensive firearms use, all from the comfort of your local range.
Table of Contents
Loading…
Why You Should Trust Us
I’ve spent a lifetime shooting that started in a family that hunted every season they legally could. From there, I joined the United States Marine Corps and spent five years as an infantryman.
In the middle of my Marine Corps career, I began writing and have never stopped. I soon earned my NRA instructor certification and use my knowledge to help guide students.
I love shooting, and I love guns — weird guns, old guns, new guns, tactical guns, and especially shotguns. I’m a continual student of firearms, and I strive to educate myself to provide the best information possible to the readers of Pew Pew Tactical.
Additionally, I write most of the drill-based and laser training articles you see here on Pew Pew Tactical.
Malfunction Clearing
This drill is all about learning to get your gun back into the fight when it goes down with a malfunction. This specific drill is designed to teach shooters how to defeat a malfunction.
All standard PPE is required.
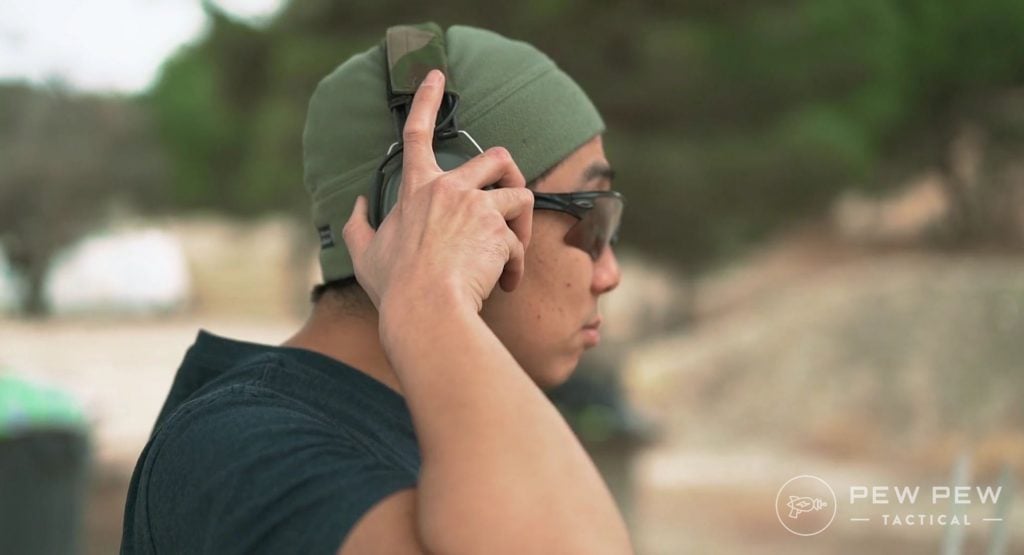
Start the drill in the ready position, as if you had just fired and are going to fire again.
If you are using a timer, wait for it to sound off. When it sounds, the drill begins.
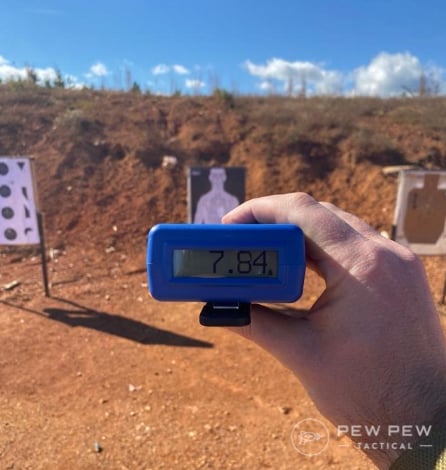
If you aren’t using a timer for this drill, just start when ready.
Pistol
Use an empty brass case or a Snap Cap to simulate a complication.
With a pistol, remove the magazine — retain it or drop it (if you’re carrying a spare mag).
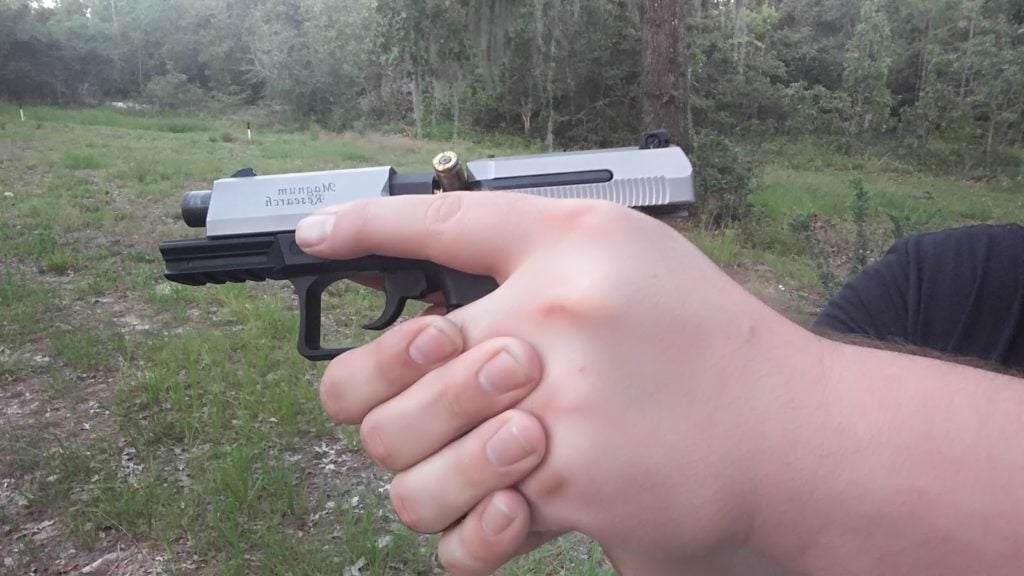
Pull the action to the rear several times as you tilt the weapon ejection port down. Once the malfunction is cleared, reload the weapon and fire.
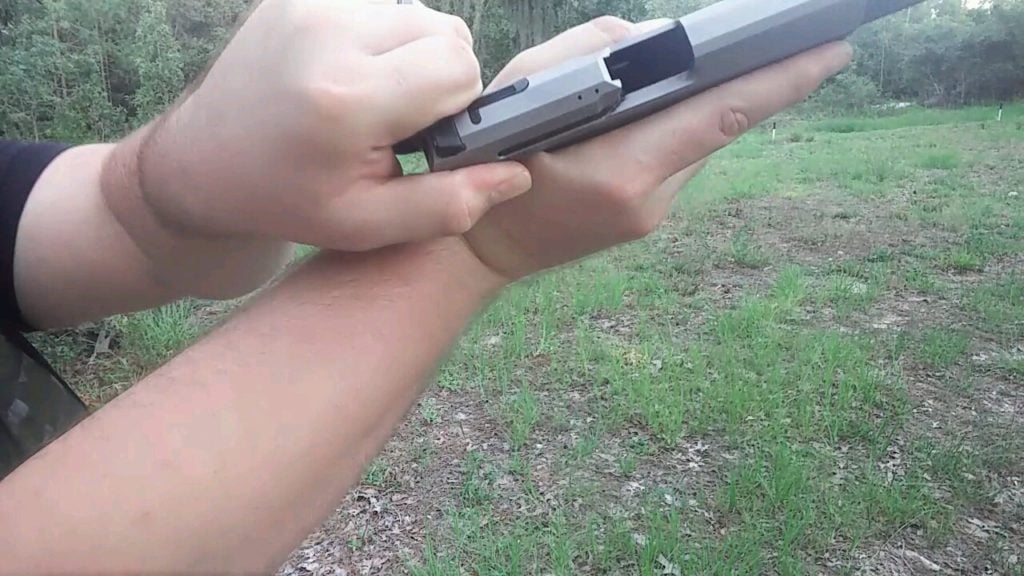
Firing a shot on target completes the drill.
If you want to learn more about pistol stoppages, check out our video below.
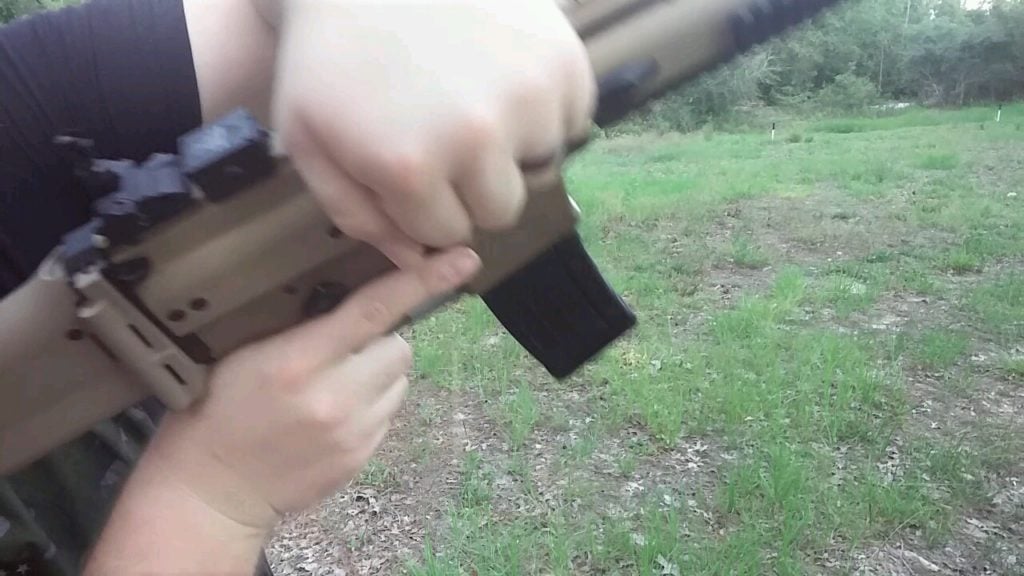
Rifle
Each rifle functions slightly differently, but this drill assumes you are using a modern rifle. If not, adapt the drill the best you can.
Starting in the firing position, drop the magazine with the firing hand as the nonfiring hand locks the bolt to the rear.
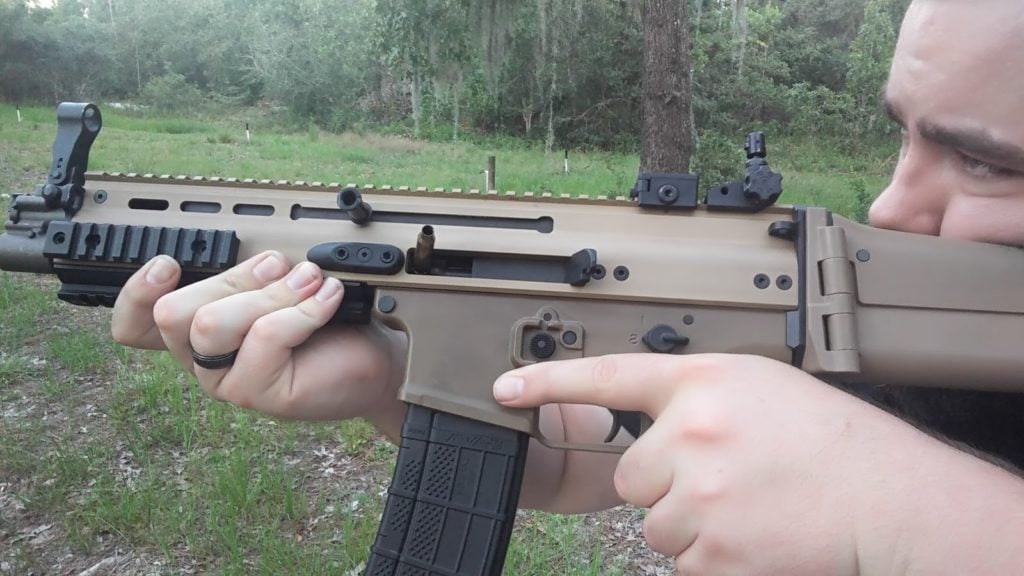
With the bolt to the rear, the jam should clear; if it does not, clear the brass with your hand.
Reinsert the magazine and fire a single shot, and the drill is over.
Shotgun
This drill is for shotguns with tubular magazines — revert to the rifle drill for box mags.
With a pump shotgun pull the pump fully to the rear. If necessary, reach in and remove the malfunction.
With an automatic, lock the bolt back to the rear and clear the malfunction with your hands.
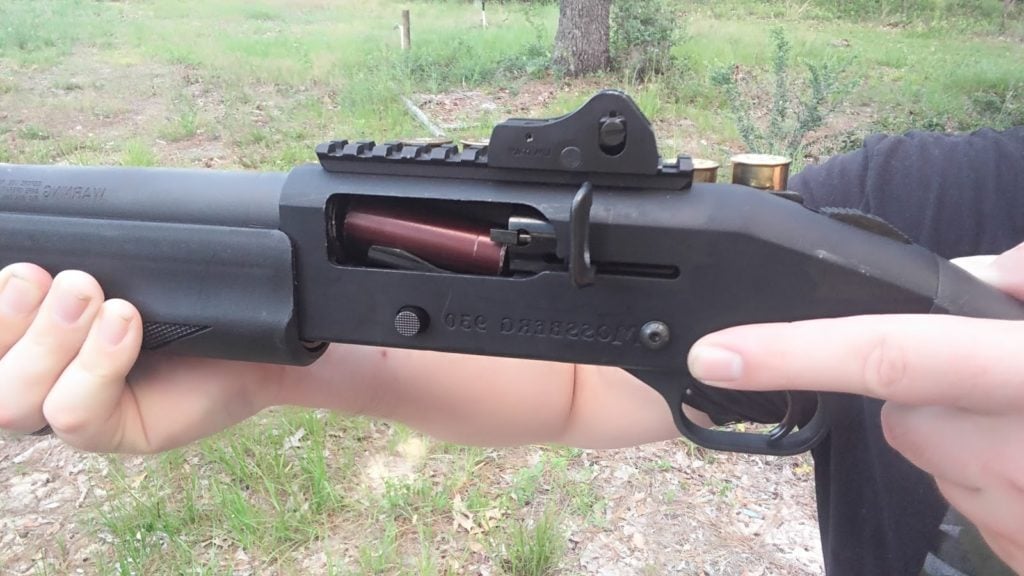
Put another round in the chamber and fire a round.
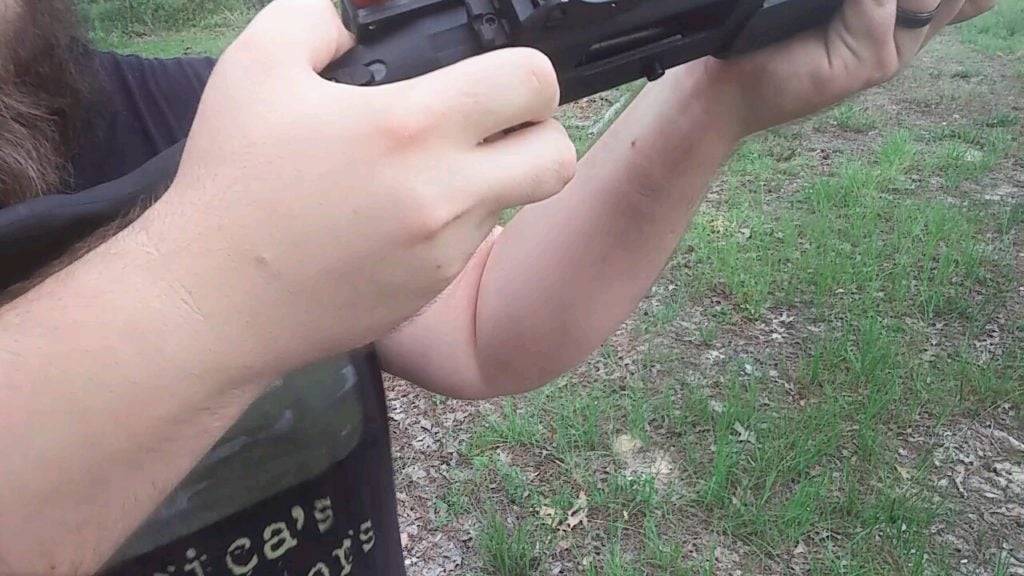
Make It Harder — Randomly load an empty case into the magazine and let the malfunction surprise you.
Failure to Stop a.k.a Mozambique
This drill involves two shots to the chest and one to the head, and it’s the same drill as any weapon platform.
The Failure to Stop Drill, or Mozambique, is mostly useful with a rifle or pistol.
A failure to stop drill with a shotgun tends to be unnecessary, but can be done.
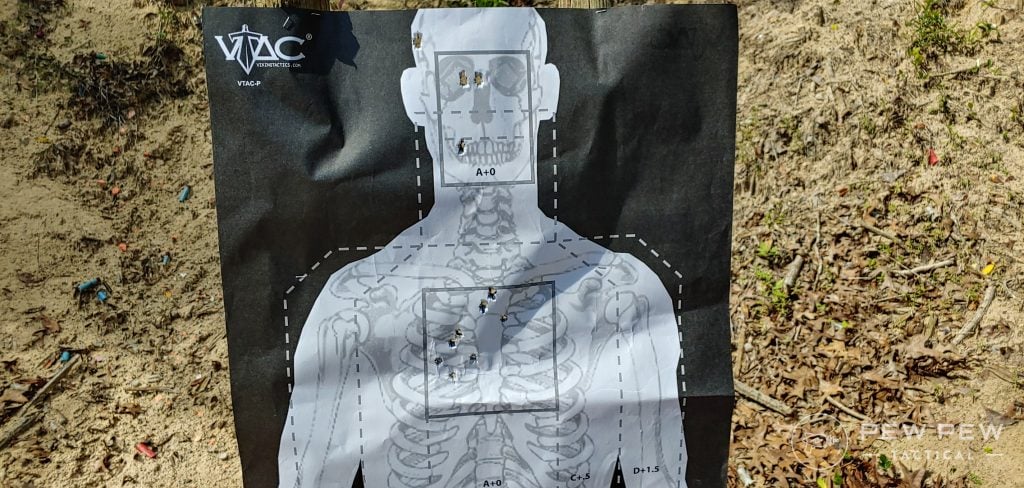
Using a silhouette target with distinguished chest and head areas, set your target up anywhere from 7 to 10 yards with a handgun and 15 to 25 yards with a rifle or shotgun.
If range rules allow, start with the handgun holstered or long gun at the low ready.
On the go signal, fire two rounds into the chest of the target and one round to the head.
Then keep the weapon aimed at the target to ensure it’s down.
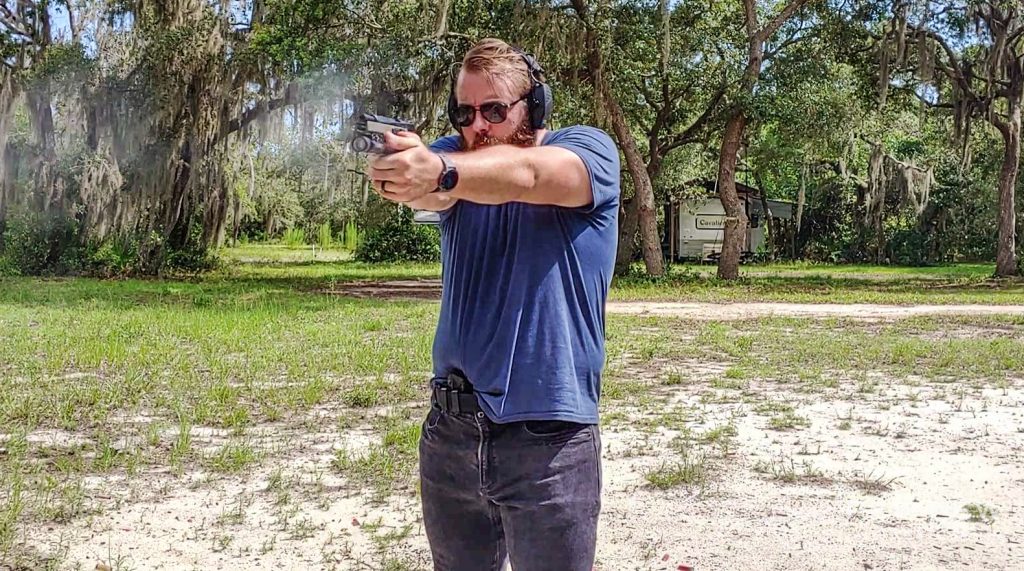
This drill stresses shot placement into critical areas of an opponent and also teaches shot transition drills on the same target.
Shot placement is the most critical factor in ending a defensive encounter, more so than any kind of supposed knockdown power.
Make it Harder – Place a 3×5 index card on the chest of the target and a playing card on the head of the target. Shots will only count if they hit the index or playing card. This challenges the shooter’s shot placement skills even more.
Read more about the Mozambique and its origins in our article here!
Box Drill
The Box Drill is almost identical to the FSD drill; however, it’s shot on two targets.
Like the FSD, you can use any weapon’s platform to complete this drill…as long as it can hold six rounds.
I place the targets about a yard apart because it’s faster to engage with your dominant hand.
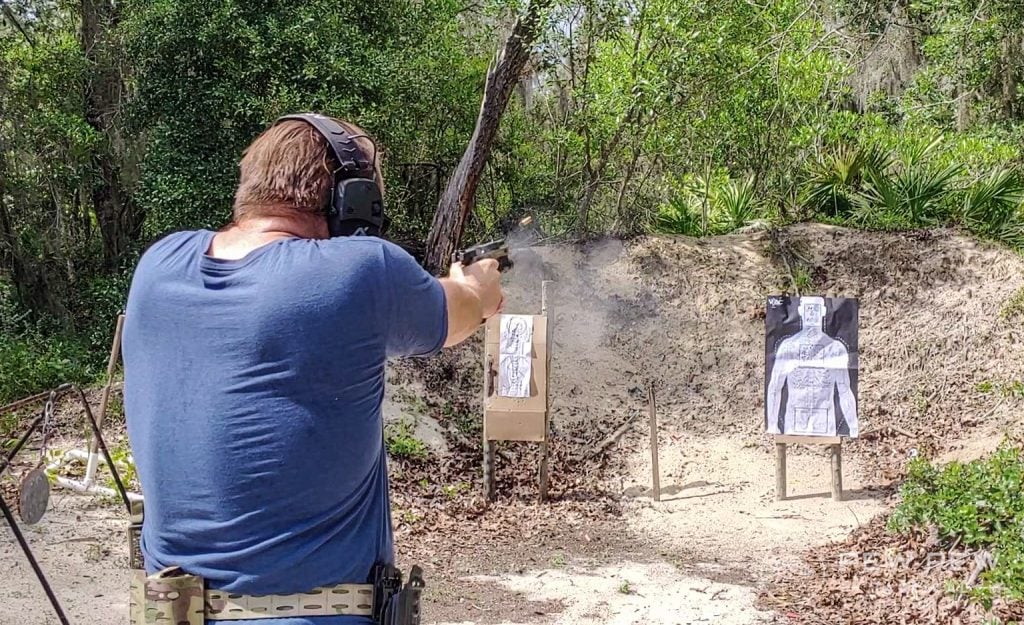
Engage the first target with two to the chest, transition to the second target, and fire two to the chest.
On the second target, take your headshot, then transition and finish the drill with a final headshot on the first target.
This drill stresses shot placement and multiple target engagement.
It forces you to think under stress and focus on kicking ass in a proactive way.
Make it Harder – You can make it a little harder by placing the targets further apart if possible. If not, mix in a reload in between shots. Make it interesting by loading three rounds per magazine and reloading right in the middle of the drill.
El Presidente
The El Presidente was designed by the King of Combat handgun shooting, Jeff Cooper. This drill challenges a pistol shooter’s ability to draw, engage, transition targets, reload, and then re-engage multiple targets again.
The drill should be completed in 10 seconds — five if you’re an advanced shooter.
You’ll need three man-sized targets set 1 meter apart, with the targets staged 10 meters from you.
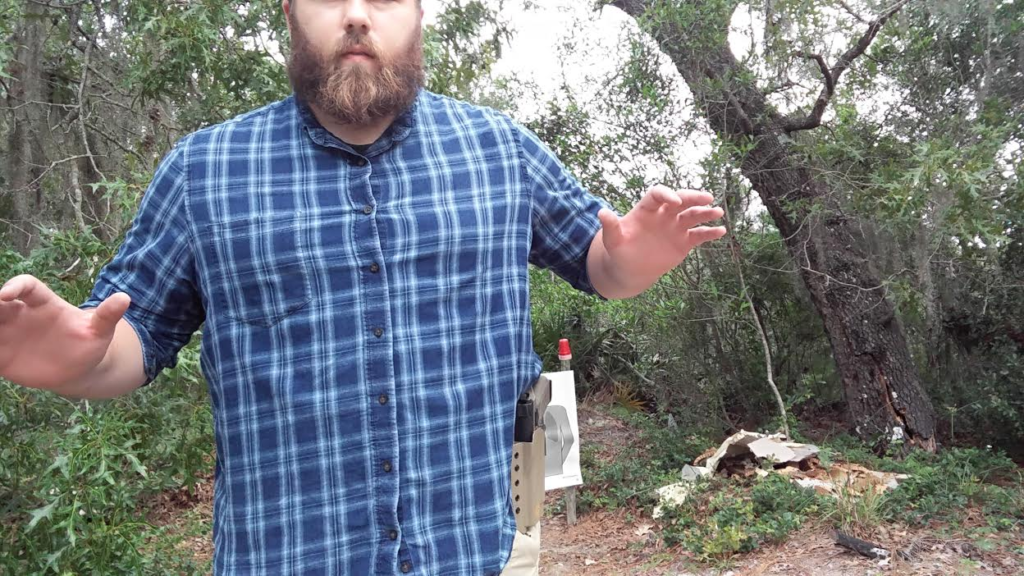
Start with a holstered handgun and a spare mag carried as you please — six rounds in each mag.
You’ll need a timer to really gauge your ability, but if running it just for fun, don’t worry about it.
Begin with your back to the targets, and hands in the air, in the false surrender position.
On the go signal, turn, draw and shoot each target twice. Then reload, and shoot each target two more times.
The drill is quite challenging and does have a lot of moving parts. As such, finding a range that will accommodate it might be tough.
We offer an in-depth dive into El Presidente here.
1 to 5 Drill
Designed by Kyle Lamb, the 1 to 5 Drill is perfect for any modern defensive rifle.
Kyle Lamb was a Sergeant Major in the U.S. Army, a Delta Force Operator, and participated in numerous deployments, including the Black Hawk Down incident. He’s the lead instructor at Viking Tactics and the subject of a serious man-crush on my part.
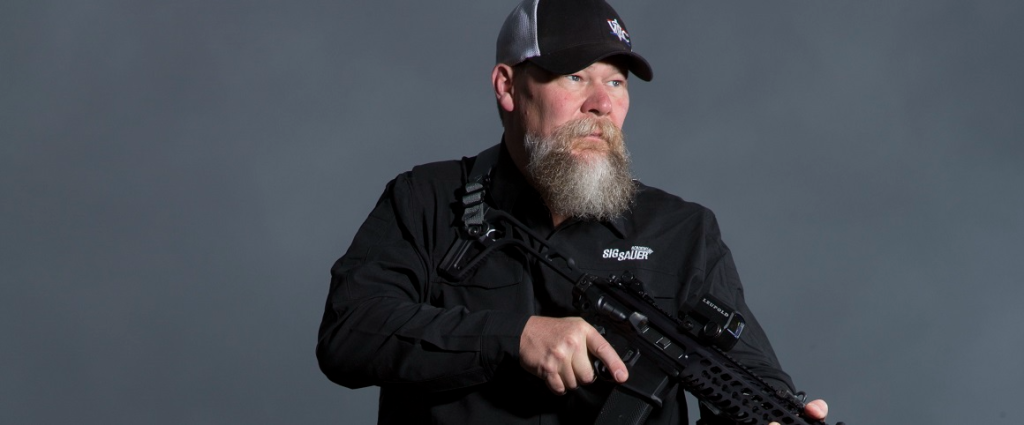
Lamb designed the drill to stress shooting until the target is down. Instead of focusing on the double-tap and transition, you’ll place a multitude of rounds on multiple targets.
You’ll need three man-size silhouettes set about a yard apart. The targets are only 5 yards from you.
Load one magazine with 15 rounds, insert it and make ready with your rifle.
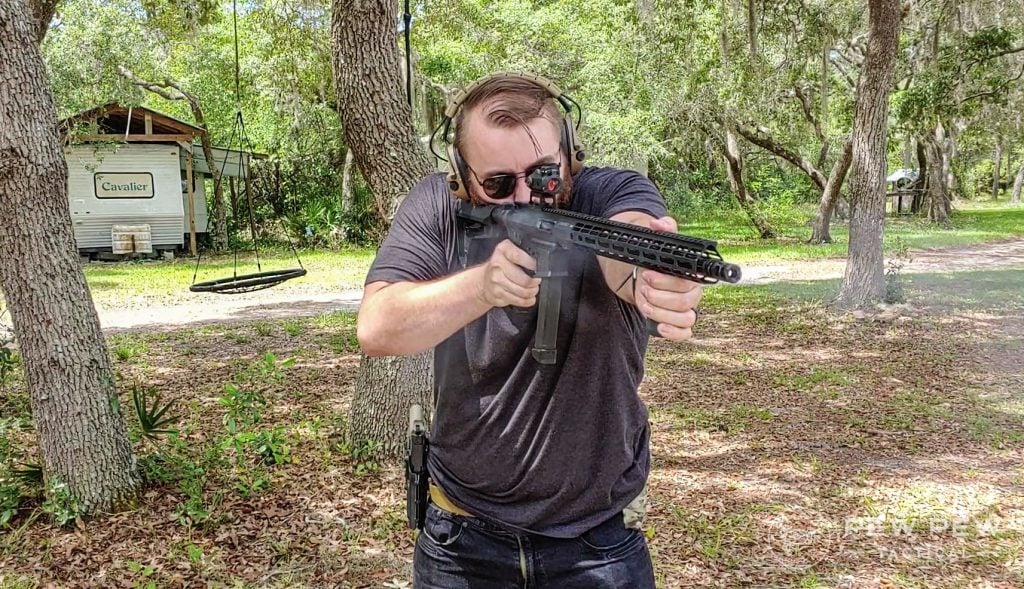
Start in the low-ready position with your rifle. On the signal, put one shot on the left-most target, two shots into the center target, and three shots into the rightmost target.
Next, you shoot four shots on the center target and finish with five shots on the left target.
You should be able to do this in about five seconds. Anything less means you are doing pretty dang good.
Shotgun Casino Drill
I love my shotguns, and there is a drought of shotgun-specific drills.
However, I did see John at Active Self Protection post something called the Shotgun Casino Drill, which is new to me.
Shotguns are low-capacity weapons that require you to learn to reload to run one properly. This drill stresses speed combined with reloads and makes the shooter think.
You’ll need four targets, a pump or semi-auto shotgun, ten rounds of ammo, and a means to carry spare ammo on the gun or body. I prefer side saddles, but it’s up to you.
A shot timer is also required, with the par time set to 30 seconds. All four targets should be set up in a row, placed five yards from the shooter. Load the gun with four rounds.
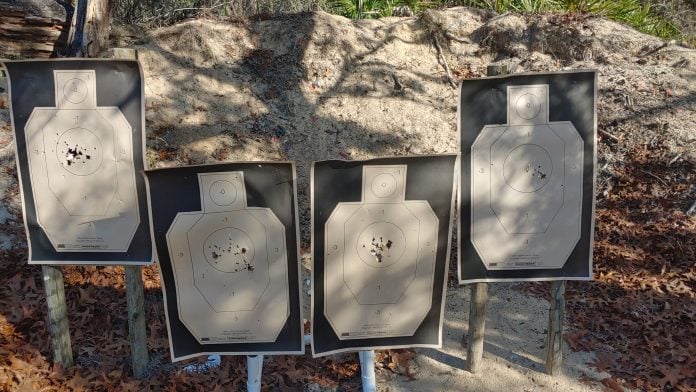
Your goal is to fire one round into target one, two rounds into target two, three rounds into target three, and four rounds into target four. That’s ten rounds, but you start with only four in the gun.
How you achieve the goal and the method by which you reload is up to you. You can start loading extra rounds as soon as the timer goes off if you choose, reload as needed, or run port reloads after the first four.
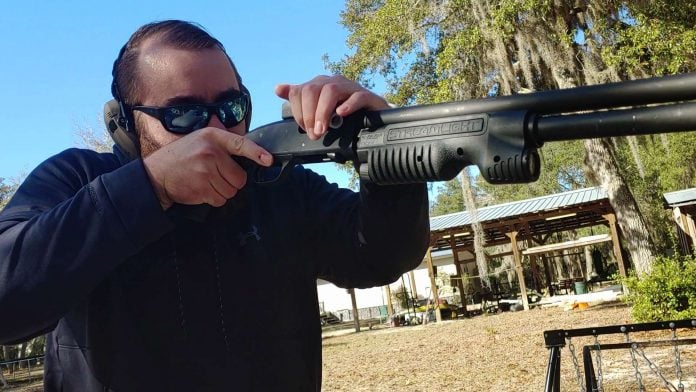
It doesn’t matter as long as you get the appropriate amount of rounds into the appropriate targets within 30 seconds.
This drill stresses your recoil mitigation, target transitions, reloading skills, and ability to think under pressure. It’s a fair bit of fun, and you’ll likely have no problems passing.
If you’re faster than the clock, you can always adjust the par time as necessary to make you move faster.
Shooting and Moving Multidirection Live Fire Drill
Mike Seeklander is the real deal. He’s a pro shooter, Marine, and an all-around awesome guy.
He teaches classes, has written numerous books, and has contributed to the firearms world in a very positive way. One of his creations is the Shooting and Moving Multidirection Live Fire Drill.
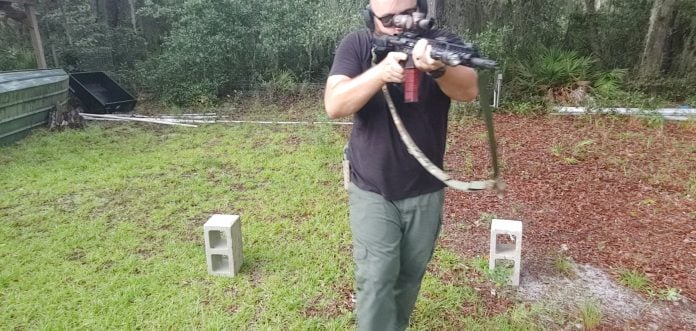
This rifle drill incorporates movement in nearly every possible direction and stresses shooting on the move and proper footwork.
The drill requires a rifle, at least ten rounds, and two obstacles.
Obstacles can be poles, barrels, or anything else suitable. They should be in line with each other and spaced about five feet apart. The target should be set fifteen yards down range.
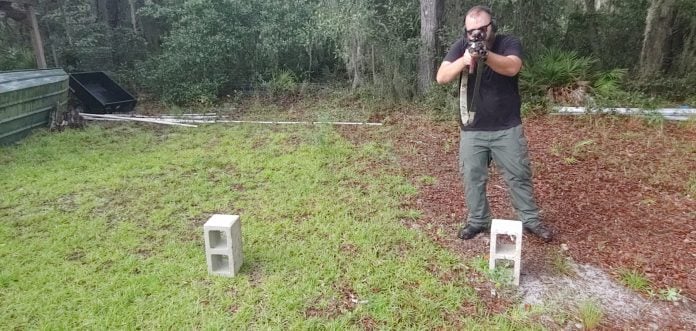
Start by standing in between the two barrels and then begin walking in a figure 8 around the two obstacles. While walking, have your rifle at the ready and engage the target as you move around the barrels.
This forces you to focus on proper footwork, movement, and accuracy. Use a relatively small target to demand excellent accuracy. Using an IPSC target and focusing only on the A-Zone is a great option.
Make sure you are using a fighter’s style of movement. Avoid crossing your ankles, and move one leg at a time without dragging your feet.
There is not necessarily a par time for this drill; the focus is on moving and shooting.
Due to the movement required, it is wise to practice without live ammo a few times. I run this drill with my Mantis Blackbeard system fairly frequently and get a lot of practice even without live ammo.
Sage Dynamics Eleanor
Aaron Cowan at Sage Dynamics was a driving force in the widespread acceptance of optics on duty and defensive handguns.
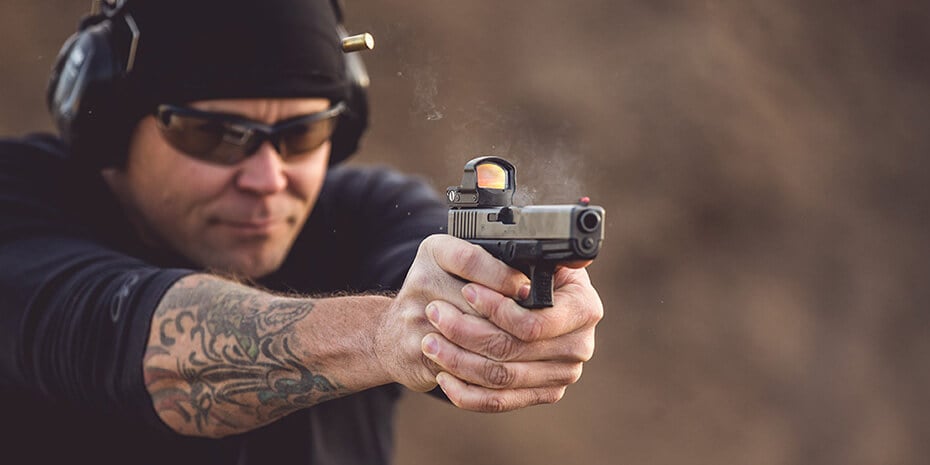
He’s a soldier and law enforcement officer that now spends his time educating the masses on firearms.
Today we are talking about a drill he devised specifically for handguns and rifles with red dots, although it’s also applied to rifles.
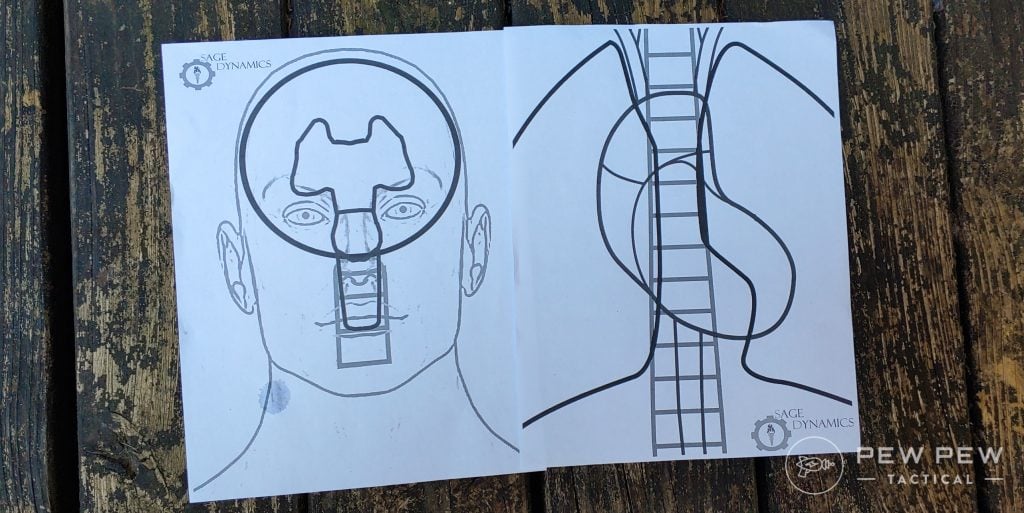
The drill is called the Eleanor and requires you to be both fast and accurate at very close range. It requires a specific target, which is free to print from the Sage Dynamics website.
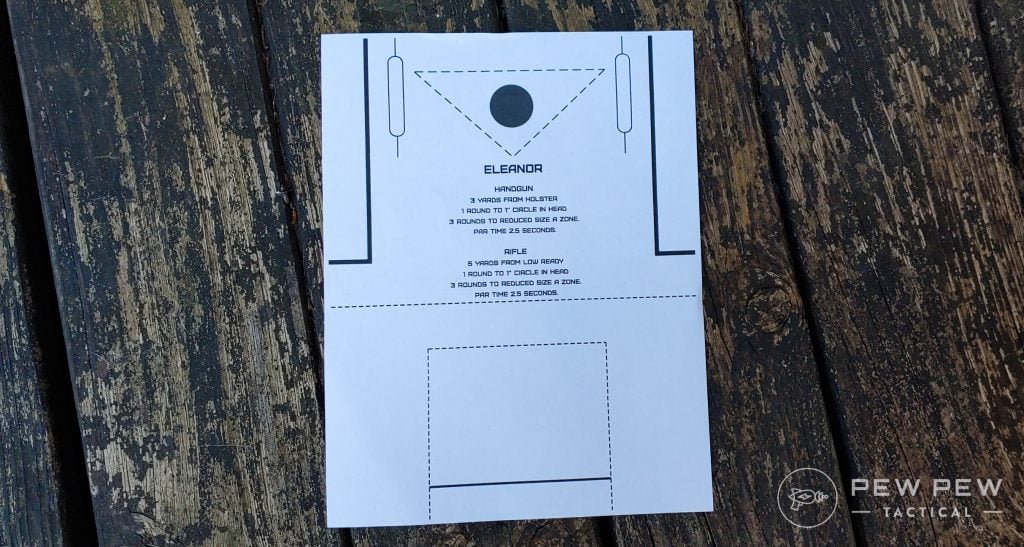
The idea behind the drill is to practice rapid close-range shooting with excellent accuracy while also being aware of the height over bore issues with a red dot. Depending on your platform, the drill may change slightly.
With a rifle, you fire at five yards from the low ready. With a handgun, you fire from three yards from a holster. For both styles, you’ll need a magazine loaded with four rounds, a shot timer, and the Eleanor target.
At the beep, you’ll shoot the dot in the top of the target with a single round, then transition to the reduced size A zone (aka the square) and fire three rounds into it. Par time is 2.5 seconds to land those four shots.
This drill can be quite a challenge. I’m not ashamed to say I failed it several times and only barely passed when I eliminated concealment as part of the drill.
It’s fast and requires you to remember that height over bore issue and land those shots with a good degree of accuracy.
Shoot Two – Load Two
Even in the most kitted-up combat shotguns, you are likely only getting nine rounds or less. So, it’s essential for any shotgunner to know how to reload their weapon.
The S&L drill helps shooters master how to load a shotgun in the middle of using it.
A shotgun’s tubular magazine is an advantage since you can constantly load the gun as you shoot. Being a speedy reloader is the key to mastery.
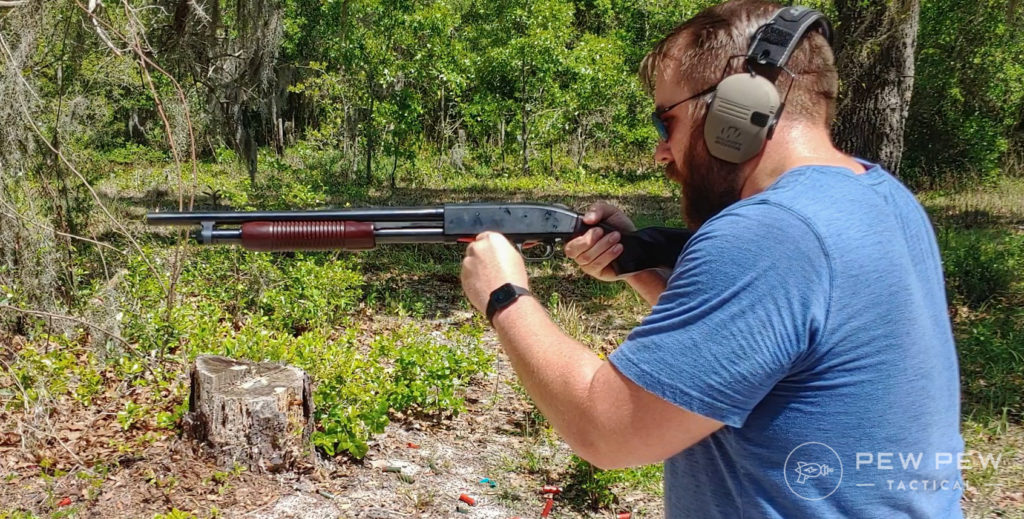
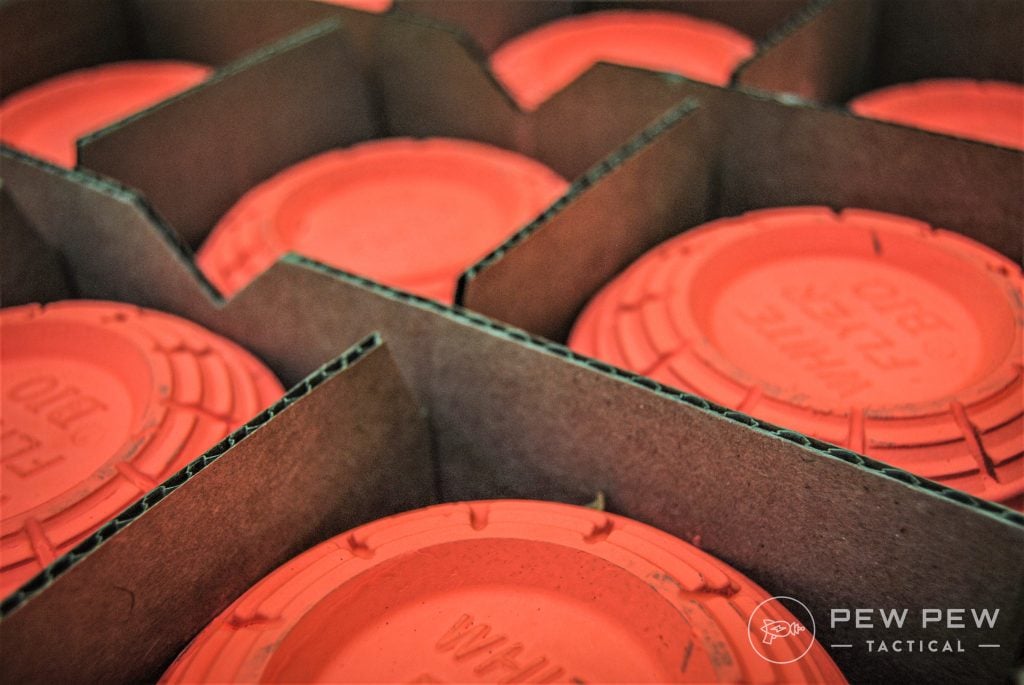
Place any target downrange, and start 10 yards from it. I prefer to use clay pigeons set on the berm for shotgun training. Shotguns rip targets apart, so paper targets are kind of not needed. Clay pigeons explode and are fun to shoot.
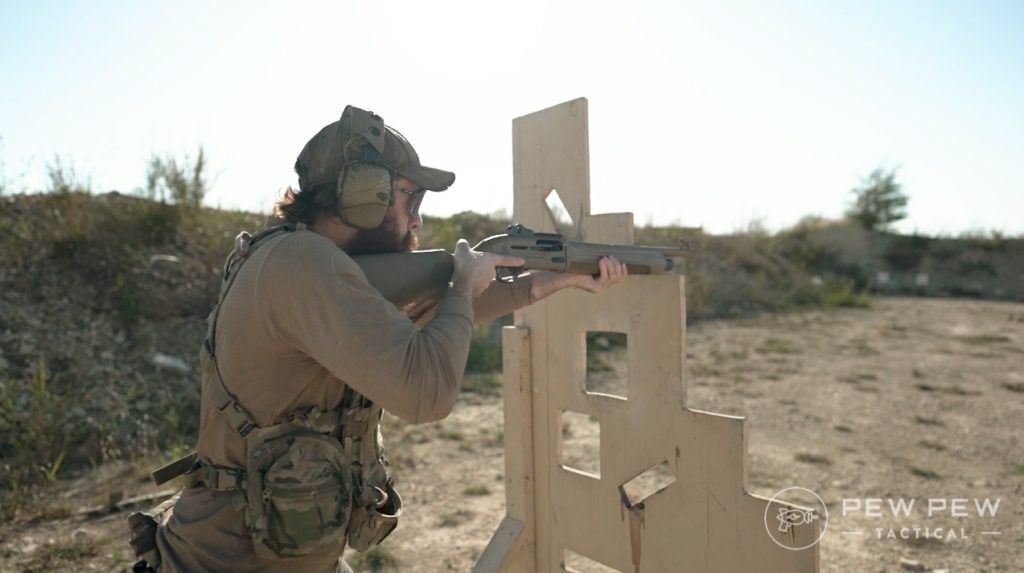
You’ll need at least five shotgun rounds — Three in the tube and two secured outside of the shotgun to load the gun.
Shoot two rounds, reload two shells.
You want to reload with your non-dominant hand and keep the shotgun pointed at the targets.
The key to this drill is repetition. The faster you get, the better.
A way to measure your progress is by keeping time. Shoot two, reload two and observe your time.
Accessories to Maximize Training
I’ve mentioned a few accessories above, and I want to go ahead and double down on just how handy they are.
These tools will make it a lot easier to train and ensure you get the most out of your training.
Shot Timer
A shot timer is an invaluable tool for tracking your skills and ability to shoot.
Sure, a target makes it possible to see how accurate you are, but a shot timer shows how fast you are. You can record the data and track your progress.
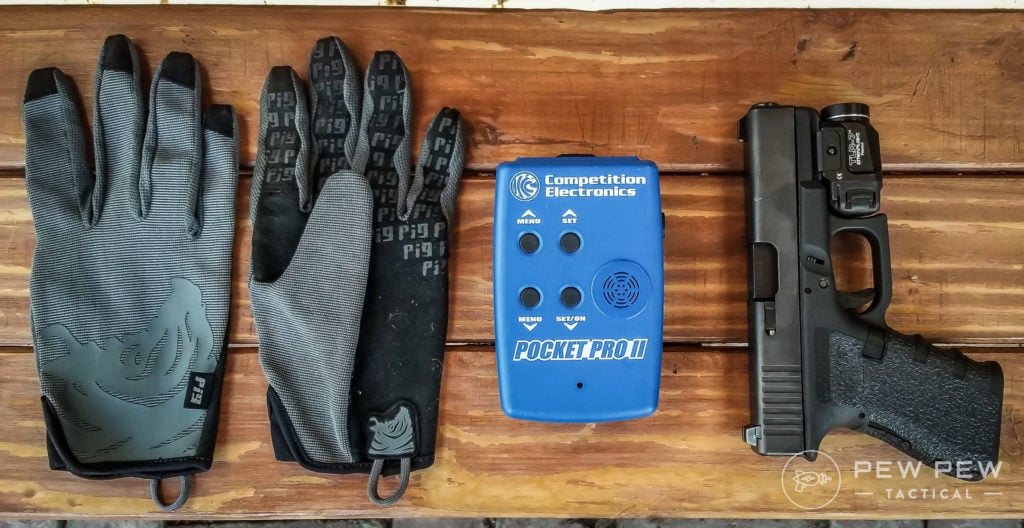
A shot timer also adds stress to your shooting, making you work to overcome that stress.
If you can’t afford a shot timer, there are several apps that function decent enough. They aren’t perfect, but they’re better than nothing.
See our round-up of the Best Shot Timers!
Good Targets
While just about any target can work, I prefer targets that resemble an actual opponent. This makes it easy to determine how I’d deal with a real defensive situation.
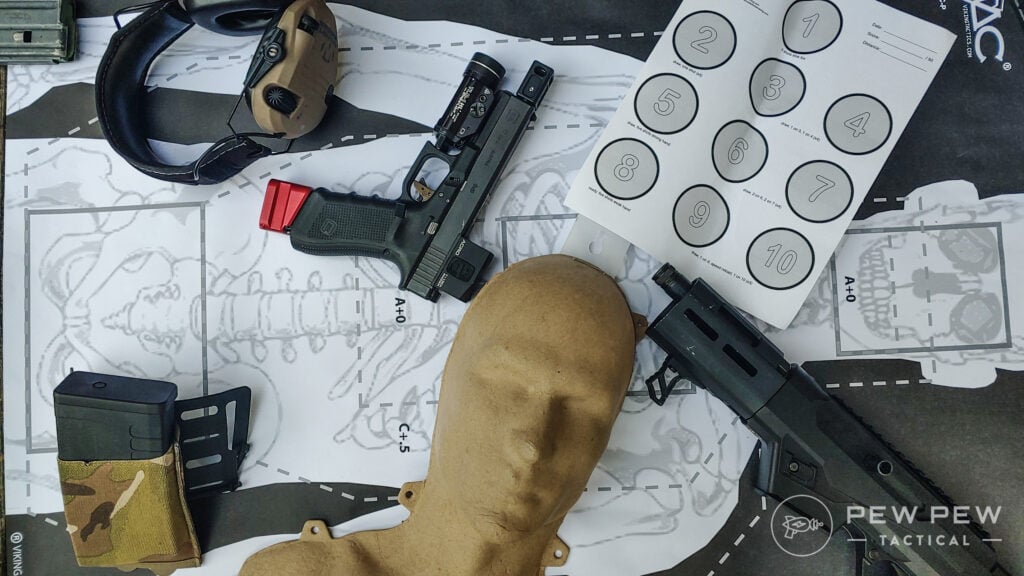
For a round-up of our faves, see the Best Targets & Stands.
Snap Caps
Snap Caps are invaluable training aids in general — be it dry fire, basic firearm safety, or inducing malfunctions. These rounds are quite distinct from actual rounds but are built perfectly to the spec of a real cartridge. Snap Caps are cheap, easy to find, and are made for nearly any caliber imaginable.
Our faves are below:
But we also have an entire article dedicated to the Best Snap Caps for you to look at.
Why These Drills?
There are lots of great drills out there to improve your shooting ability. The ones I’ve chosen here were done for a purpose.
First, they are great drills to master.
Second, they can be done with minimal supplies.
Third, they can most likely be done or modified to be done in accordance with your range’s rules.
Final Thoughts
When it comes to training, remember that success is not measured overnight. You tend to get better in increments. Be patient and keep training.
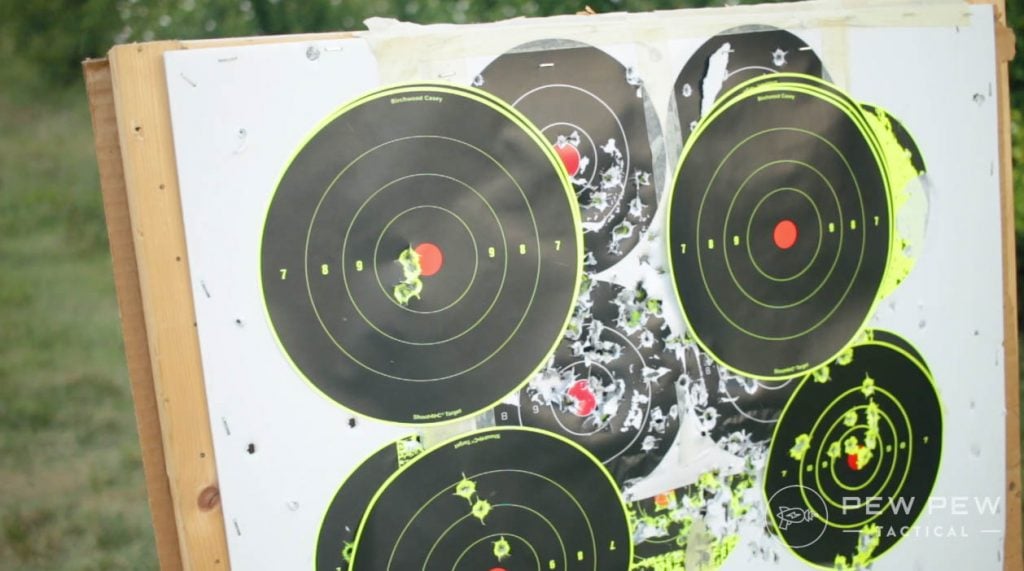
Got drills of your own…or any of your favorites we’ve missed? Let us know in the comments below. And if you’re looking to save some money on ammo, check out the Best Low-Round Count Drills and our guide on Dryfire Training.



14 Leave a Reply
Your pop up completely blocked the page. It’s just as easy to X the tab as it is to X the pop up. My curiosity isn’t strong enough to wonder if your article is good.
And another pop up completely blocked the page while writing this comment. You really don’t want me to read or comment.
Hi Travis,
I am a left-handed long gun shooter who is right-handed (cross dominant). Should I still load the bottom-loading shotgun with my non-dominant hand? Thanks.
Mel
A Type 2 Malfunction, shown above, which is a Failure to Eject or a Stove pipe malfunction, does NOT require the removal of the magazine. This causes additional time to remedy the failure to fire. You can tell a Type 2 by a dead trigger, as the firearm is out of battery, so there is no "click" at all.
To fix a Type 2 - Rack and simultaneously flip the weapon 90 degrees to the right (as you rack), to release the stuck "Stove piped" cartridge, and then reassess if you need to fire the weapon. This works for pistol, rifle or shotgun.
A Type 1 Malfunction, Failure to Fire, can be treated in the same manner as a Type 2 Malfunction to deal with an inoperative (unfiring) cartridge, or you can dispense with the flip as a Type 1 Malfunction's telltale sign is the audible Click and no boom.
What you show above in the verbiage is the remedy for a Type 3 Malfunction, a stuck cartridge or double feed. There you would lock the slide back, remove the magazine, cycle the action 3 times to remove the stuck case or clear the double feed, then replace the magazine and reload, reassess.
Dear friends,Very fine article ,always security.Mario
Just comment on the 2 to the chest 1 to the head.
In one of my Tactical Handgun training courses, the instructor (police training captain for the local metropolitan city)offered an alternative to the head shot. He pointed out that the head moving is a hard target plus unless you hit in the center of the face there is a possibility the bullet might not penetrate the skull at a bad angle. His suggestion was to put 3rd shot in the groin area where several large arteries merge from the legs. Also hitting hip area will drop the perp due to the damage.
As a side story he said he once had is gun pointed at the chest of a perp who was not obeying his commands. He lowered the aim point to the family jewels and he immediately complied.
Remember you are shooting to stop the threat. Breaking the pelvis or blood loss from a hip shot will most likely not stop the criminal from continuing their attack.
Great stuff guys. I learned a lot.
Shooting them til they’re down, 1 to 5, may be fun but it’s a terrible defensive technique. A prosecutor may challenge you on each and every round you fire, and the last few when the target is already going down will be hard to explain and could be costly.
You are shooting to stop the threat. Just because they are on the ground does not mean they are stopped.
Sid's favorite shooting drill is as follows: grab a Glock, insert a Glock OEM mag, rack the Glock slide, pull Glock trigger, watch the target disintegrate before Glock's sights. That is all.
//Signed (with love),
No Sig for Sid!
P.S. Sid just bought a Glock 19x during (Glock) Black Friday. Sid recommends changing the name of "Black Friday" to "Coyote Friday" now...
These drills as indicated here are fine, for general practice to build basic skills. For defensive use practice though you are better off with reaction drills with moving targets and not stationary targets. For example, the Box Drill - if all you ever do is stand in front of a stationary target for the Box Drill you will learn how to duplicate that drill on a stationary target, but from experience with being in several defensive engagements I can tell you that the box drill skill is kinda out the window when it comes to you and the bad guy both moving around.
If all you ever do is practice on stationary targets you will get good hitting stationary targets, but when the bad guy is not stationary and you are not stationary and things are fluid and moving and unpredictable you tend to take what you can hit so the 1 in 5 drill with a moving target is probably the better drill out of the ones presented here.
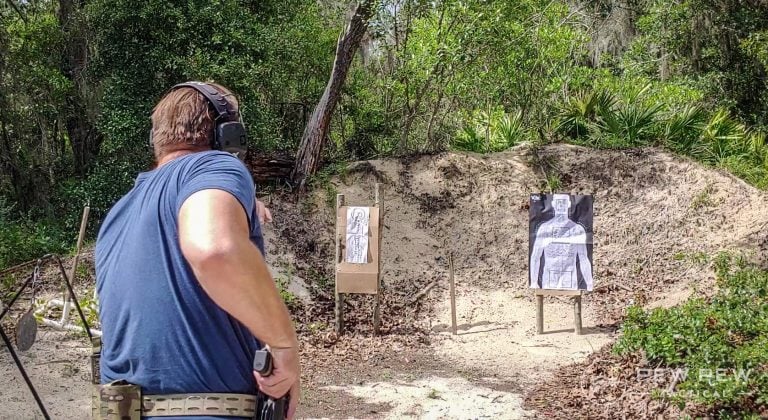
The next thing is the (what I call) 'bird wing' false surrender position in that picture with the caption 'El Presidente'. That's sooooo old school from a 'school' that never really was and wrong and real life isn't like that in actual defensive encounters, you don't put your hands up like that away from your weapon then go for the weapon. We've had shooters come through our course who had practiced like that for years and it had become their automatic habit of first reaction and they need to be de-trained so they can complete the tactical defensive gun use course. It wastes that precious second needed to engage the bad guy and one of the things you do not have on your side in a defensive shooting situation is a luxury of time so don't waste time adopting all these poses you see before going for your weapon. Every move you make, every thought you have, has got to be geared towards defense and presenting that weapon to stop the threat. You don't plan to go for your gun by using a 'false surrender', you actually do it from the very beginning - the 'false surrender' thing is also a big signal to the bad guy you are going for your gun when those hands start moving to grab your gun and in that short time period they can fire before you can get your gun plus during that time your hands are up in that 'false surrender' position they can get closer to you helping them get a better chance at hitting you if they fire.
I don't think the El Presidente drill, or any other drill that starts off with people in certain positions, teaches people to go to that position when they're stressed or feel endangered. It's just a way of people have a constant start for the purposes of training and having a benchmark. I don't think there's been any CCTV cam or dashcam shooting video where someone threw up a false surrender before executing a drill verbatim like how they were taught.
We've had people come to class thinking that's what they supposed to do. It really does teach some that's the way its supposed to be.
Basically: We teach lethality based under stress from the first class session and not how to shoot from a 'starting' position for a 'drill' to learn how to stop a stationary threat. When people show up with that stuff doing it automatically we have to detrain them from that because most real life defensive encounters aren't like that.
Not the best pick for snap-caps because their rim's are soft aluminum and so break off. Also, they are not weighted correctly and are too light. And, yes, believe it or not, your pistol will feel differently if it is not loaded with correctly-weighted rounds.
I went through lots of different caps, threw most of them out for the above reasons, until I found B-Unique. (www(dot)dryfiresnapcaps(dot)com). Their caps are not only correctly weighted, but also have solid brass rims which don't break off and are balanced like the real things, too. I don't dry-fire without my magazine loaded with them to be sure the 'feel' is right.