When it comes to the AR-15 platform, one of the parts people seem to just take for granted and not understand is the gas block.
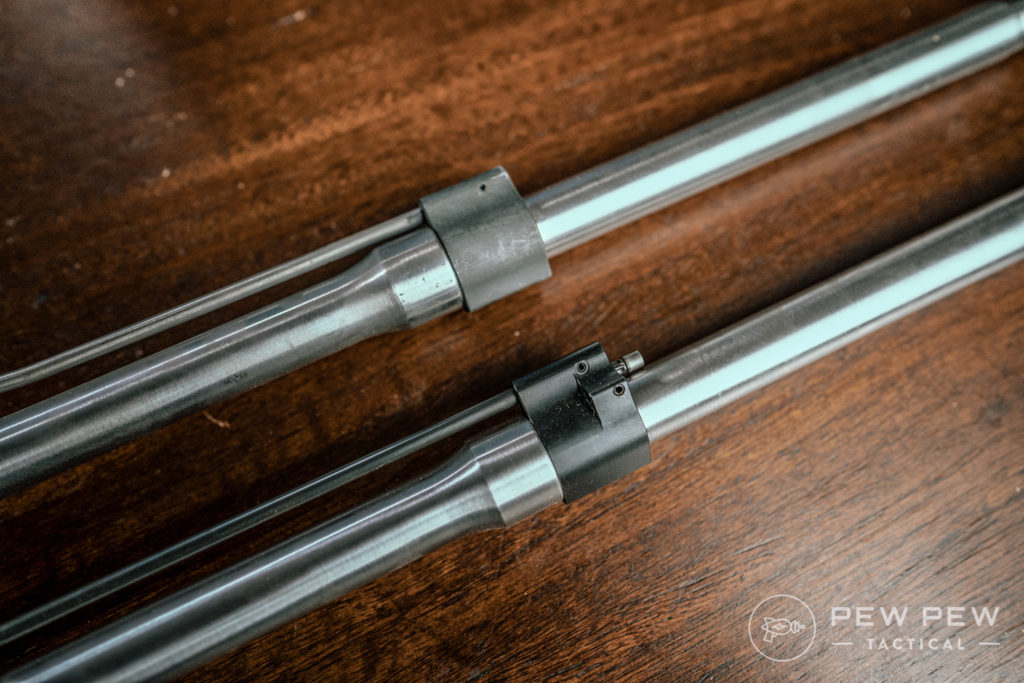
Not all gas blocks are created equally, and installing one can be easy or hard depending on the situation.
So, we’re going to walk you through the steps it takes to properly install a gas block on your AR.
By the end, you’ll have a better understanding of how to DIY.
Table of Contents
Loading…
What’s a Gas Block?
First, let’s examine what a gas block is and why it is an important part of an AR.
When a round is fired, gasses from the powder burning are siphoned off through the gas port in the barrel.
These gasses are then funneled through the gas block, into the gas tube, and back to cycle the gun.
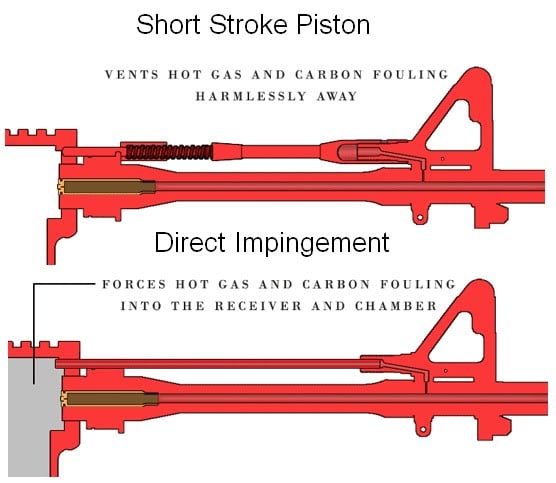
The gas block houses the gas tube and snuggly sits on top of the gas port in the barrel.
By creating a tight seal over the gas port, as much of the gas as possible passes to the gas tube. This drives the bolt back in a direct impingement system or powers a piston in a gas piston system.
Too little gas making its way back to cycle the gun leads to a breakdown in the cycle of operations.
Too much gas can lead to other issues — namely, gunky buildup and the need for frequent cleaning. But that is related to the gas port size and isn’t the focus here.
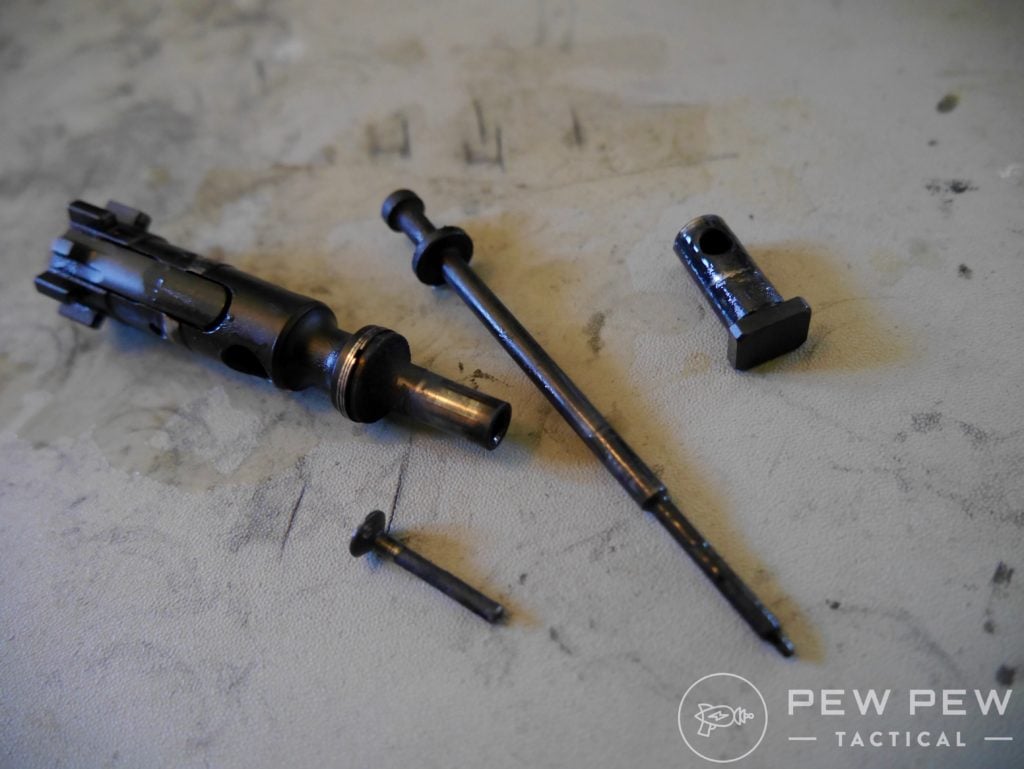
Want to know which gas system is better? Check out our article on Direct Impingement vs. Piston: What’s the Difference?
Triangle Sight Post vs. Low-Profile vs. Clamp-On
In the world of gas blocks, there are only a few different styles and three attachment methods.
As I said, not all of them are created equally.
To understand why some are better than others, we need to examine each and understand where they fall short.
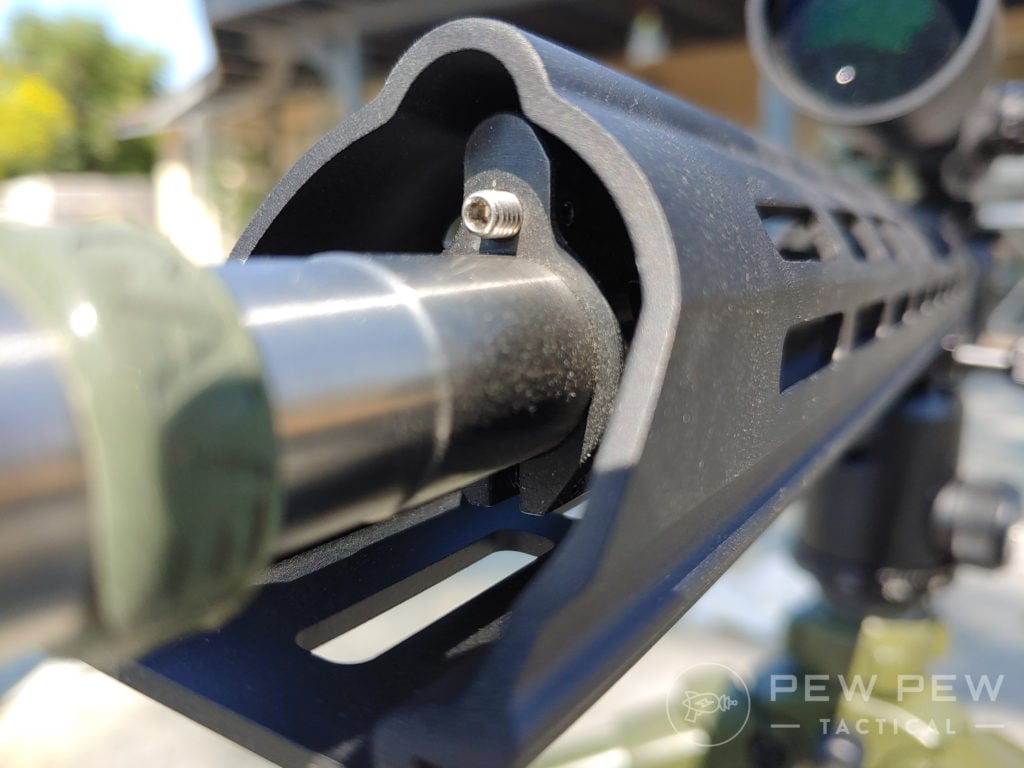
Triangle Front Sight Post/Gas Block Combo
Let’s start with the triangle front sight post/gas block combo. This design has been around for a long time and has proven itself reliable.
This type of gas block requires pinning to the barrel, which is a strong method for attachment. But after pinning, the barrel is permanently modified.
As long as these are pinned straight, they will stay there for a long time.
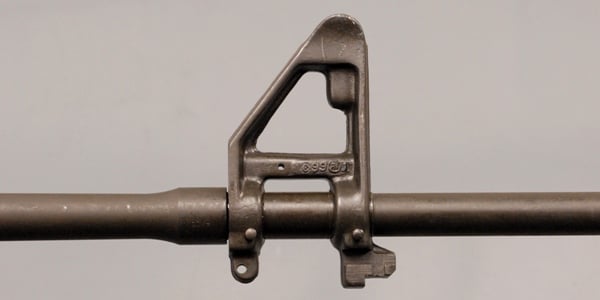
The biggest drawback to the triangle posts is how it limits handguard and rail selection.
Some people also dislike that the post is always there with no way of flipping it down or out of the way. Others consider this an advantage as they know they have a sighting system always present.
Low-Profile Gas Blocks
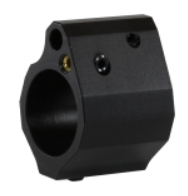
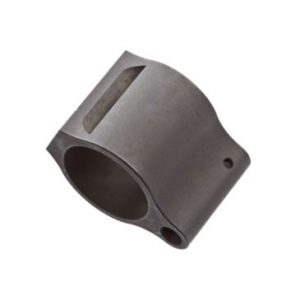
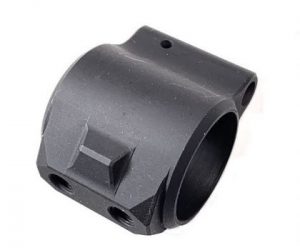
Low-profile gas blocks are probably the most prevalent today.
They require either pinning, similar to that mentioned above, two set screws, or clamping onto the barrel.
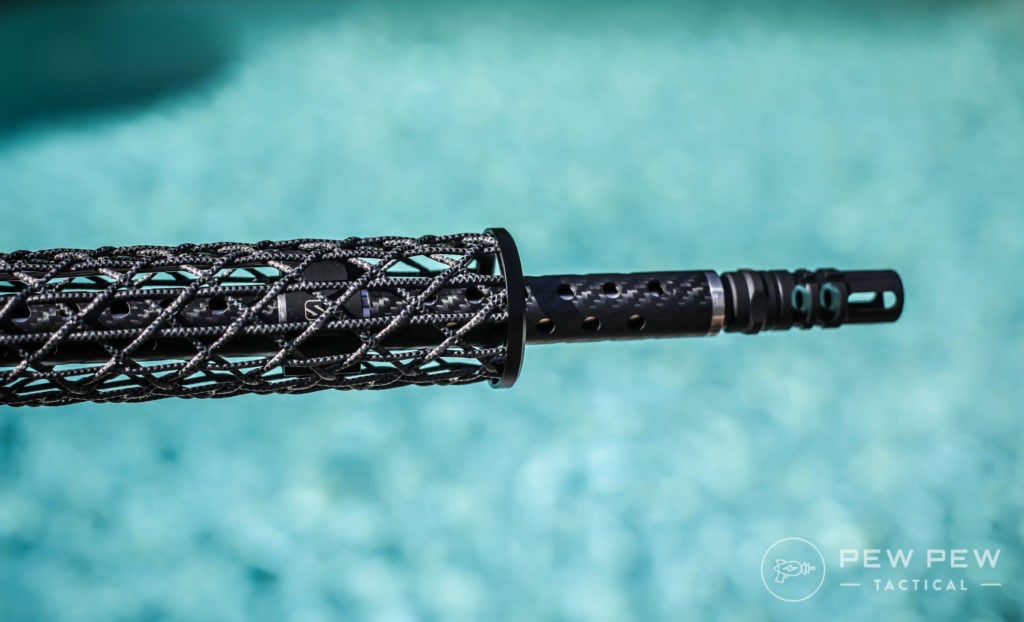
These nestle under handguards tucked away. Though some will be bulkier and not fit (looking at you pic rail gas blocks…)
We’ve already discussed how pinning provides a strong method for attachment, as long as it is done correctly.
Nothing changes if you have your low-profile gas block pinned.
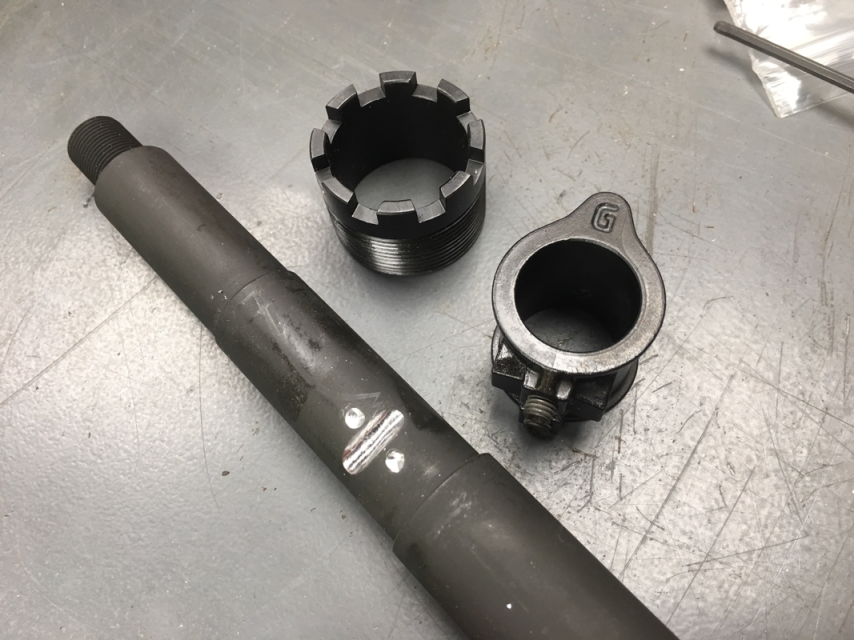
Set screws are also a great attachment method.
These will come in either pairs or sometimes in sets of three, like on the Faxon gas blocks.
The biggest issue people have with this method is the screws walking out as the gun fires.
Properly installed, high-quality screws can be made nearly permanent, though.
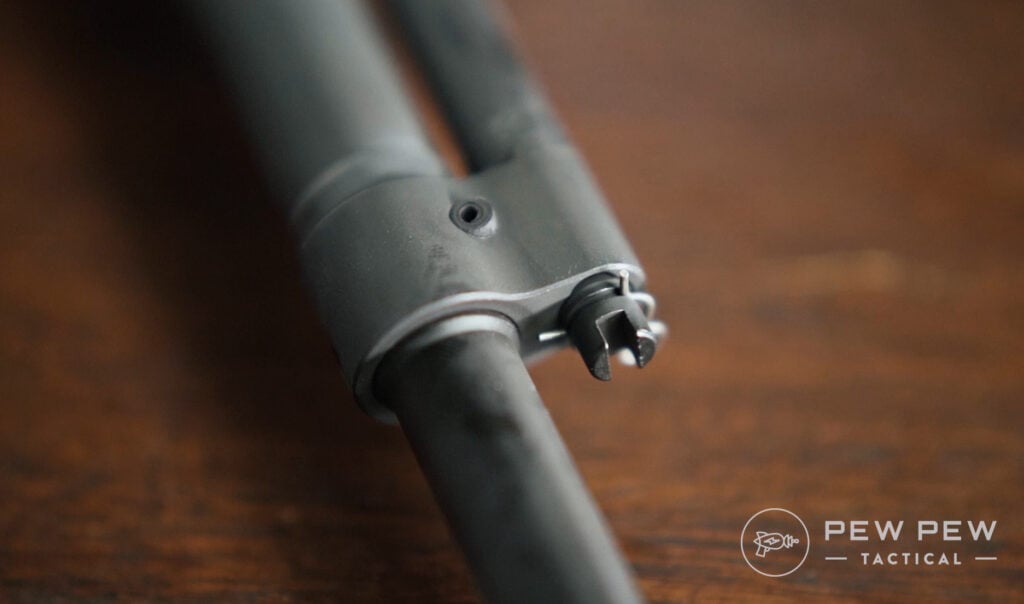
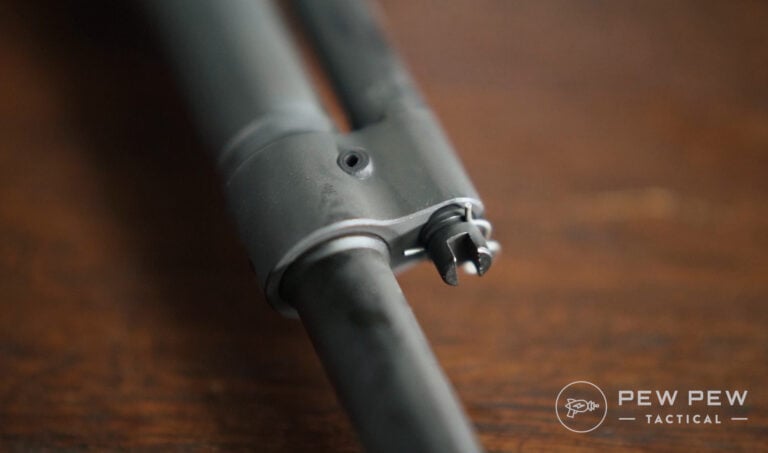
First, I recommend having your barrel dimpled.
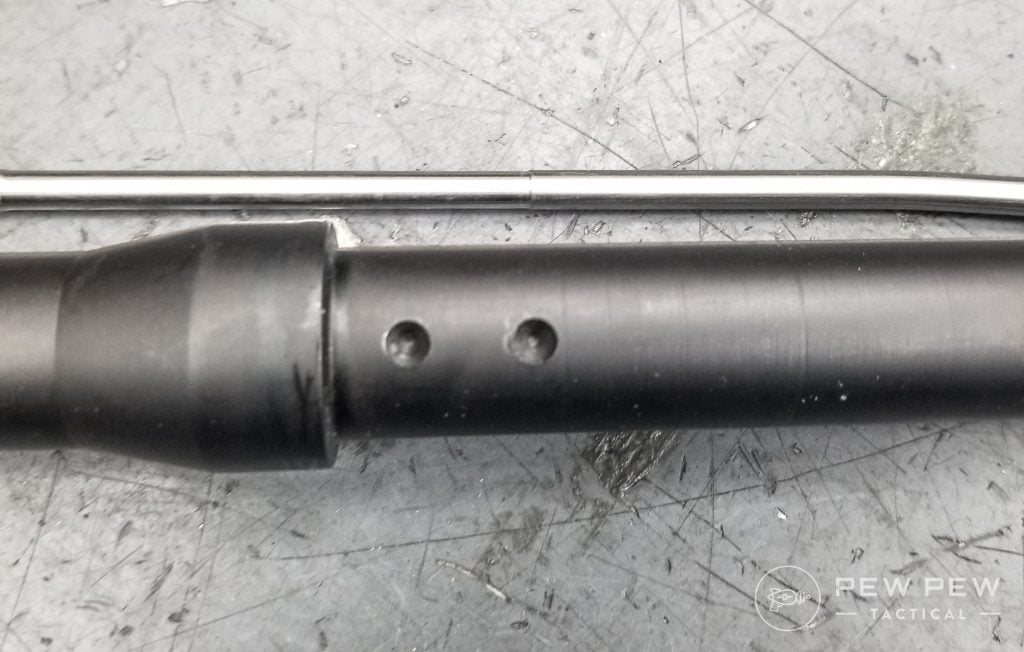
There are some mixed feelings here regarding barrel harmonics and accuracy shifts, but in my testing and years of shooting, I’ve seen very little to support that.
A small dimple in one or more set screw locations allows the screws to sink deeper and better engage the barrel.
Next, the use of good-quality screws helps a great deal.
Knurled set screws, like those purchased from Trajectory Arms, engage the metal around them and hold better than standard set screws.
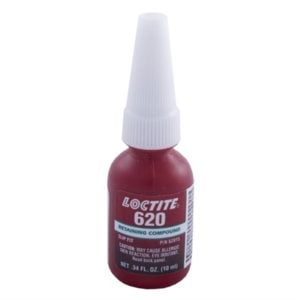
Lastly, applying red Loctite and properly torquing the screws down will hold them in place.
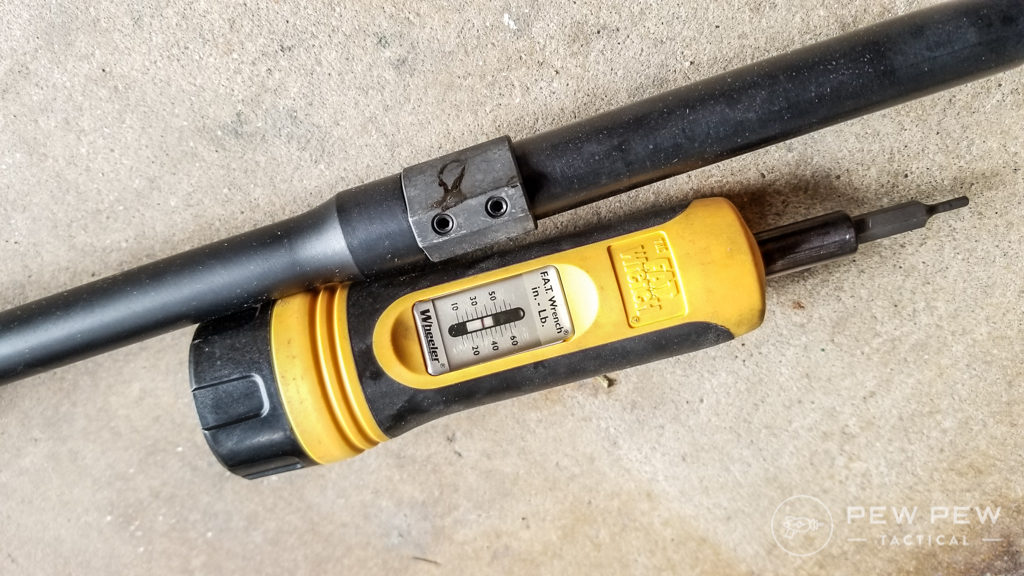
Proper torque for these fasteners comes in at 25- to 30-inch-pounds with the thread locker applied.
Prices accurate at time of writing
Prices accurate at time of writing
-
25% off all OAKLEY products - OAKLEY25
Copied! Visit Merchant
Clamp-On Gas Blocks
Finally, we have clamp-on gas blocks. I’m going to be upfront and say that I have never once recommended these as the cons have always seemed to outweigh the pros.
Screws on the bottom tightly clamp the gas block onto the barrel and hold it firmly.
In practice, I’ve only ever seen them leak gas from not being properly tightened. I’ve also seen the screws sheer off while tightening.
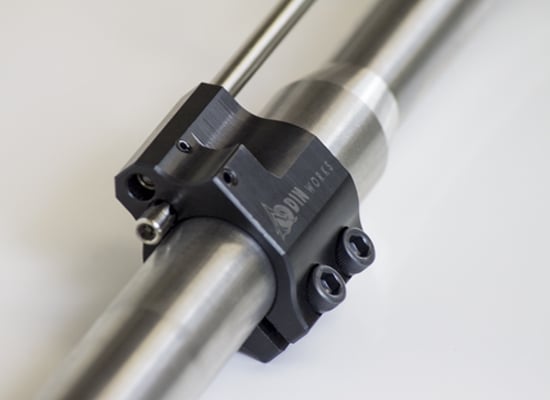
Unless you have no other option, I would choose something else.
How to Install a Gas Block
Installing a gas block is a fairly straightforward process. But it does have some small details that people seem to overlook.

For this article, I’m going to focus only on installing a low-profile gas block.
You really shouldn’t pin your own unless you have the proper tools. Gunsmiths are your friends, folks.
1. Clean Your Parts
Make sure your parts are clean. Your barrel should be free from any carbon build-up that would affect the size.

The gas block should be degreased. Also, make sure to degrease the set screws so that the thread locker holds properly.
This is one of the steps people seem to miss and you don’t want your screws backing out.
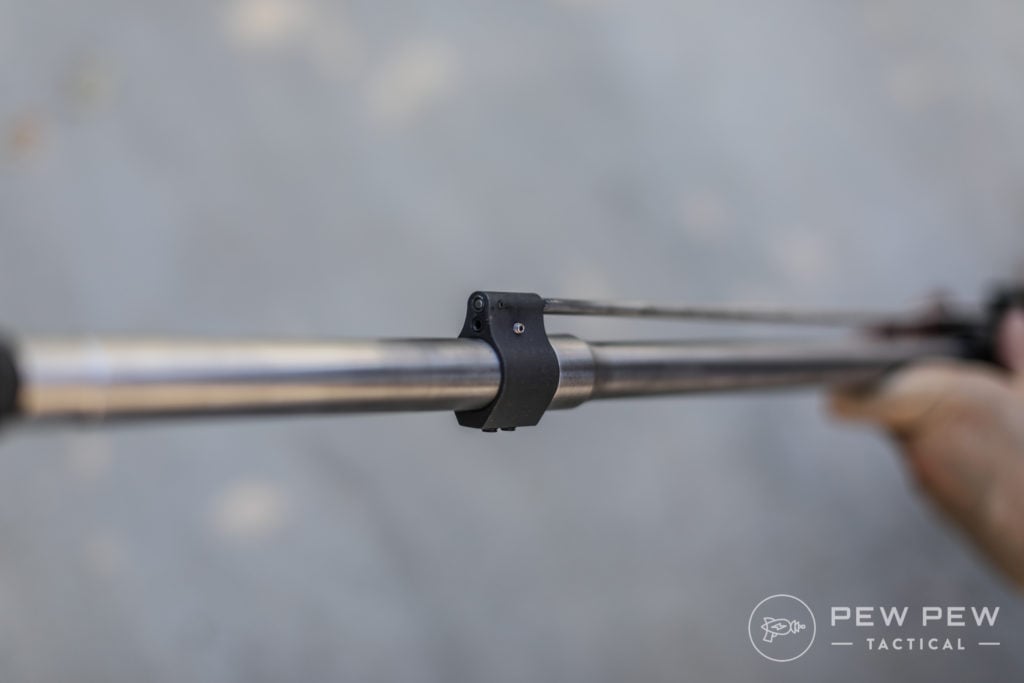
2. Insert Gas Tube Into the Gas Block.
It’s important to ensure the opening on the tube faces down into the gas block so it lines up with the porthole there. Otherwise, you’ll be taking it out and doing it again.
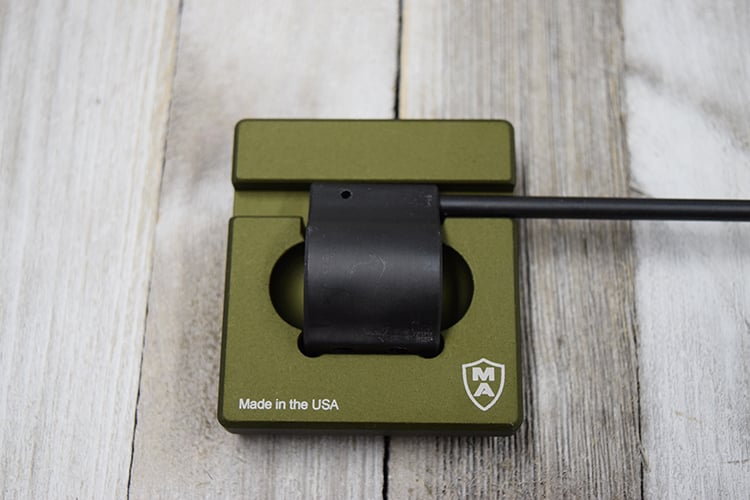
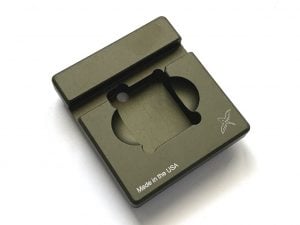
I am a fan of using the Gas Tube Pin Tool, which is a joint project with Modern Armory and Forward Controls Design.
3. Drive The Roll Pin Through Gas Block
At this point, you will use a small roll pin starter punch to drive the roll pin through the gas block. This starts it into the gas tube.
Switch to a roll pin punch and drive it until it is flush — some are barely sub flus — on both sides.
Prices accurate at time of writing
Prices accurate at time of writing
-
25% off all OAKLEY products - OAKLEY25
Copied! Visit Merchant
4. Slide Gas Block Onto Barrel & Make Sure Its Aligned
Next, you’ll slide your gas block onto your barrel.
Ensure the gas tube goes over the barrel nut into the upper.
The next step is crucial! Ensure the gas block is properly lined up.
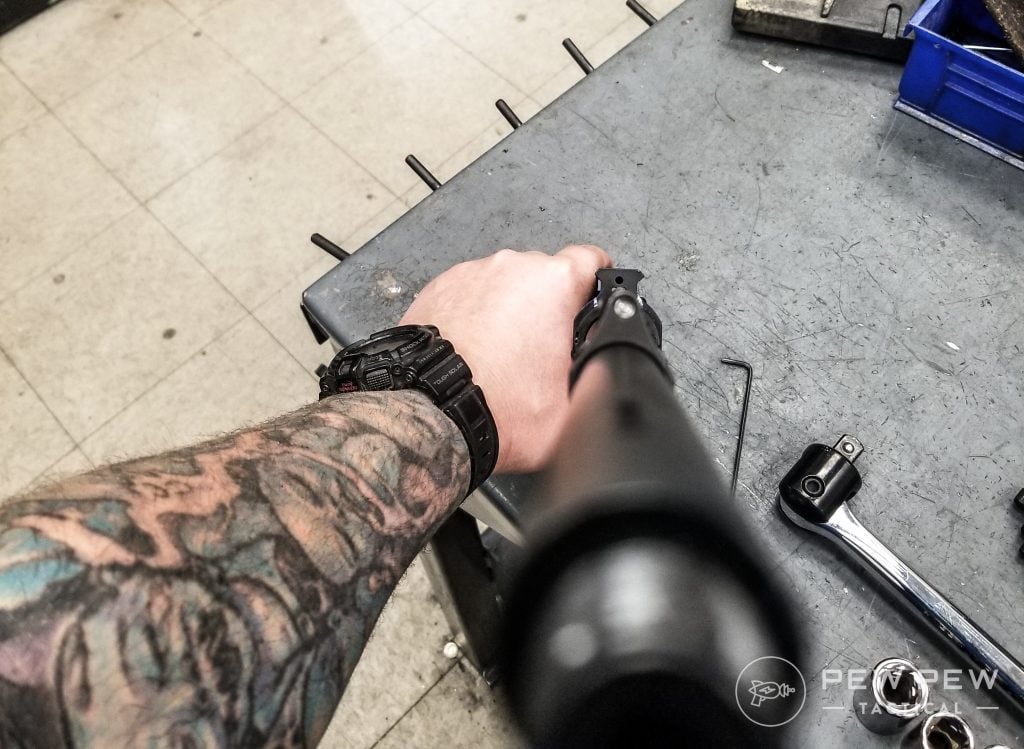
The top of the block, as well as the tube, should be at 12 o’clock, matching the top of the upper.
If things are not properly aligned, your gas system is going to run on empty and your gun will not cycle properly.
5. Screw The Gas Block In Place
The last step is to screw it in place.
Take one screw, apply a small amount of Red Loctite (271) and insert the screw in.
You want to screw it in place until fits snug, but not fully tightened.

Recheck your alignment of the gas block and make any adjustments necessary.
You will then repeat the steps with the second screw, including rechecking alignment.
I cannot stress that enough.
6. Tighten Everything Down
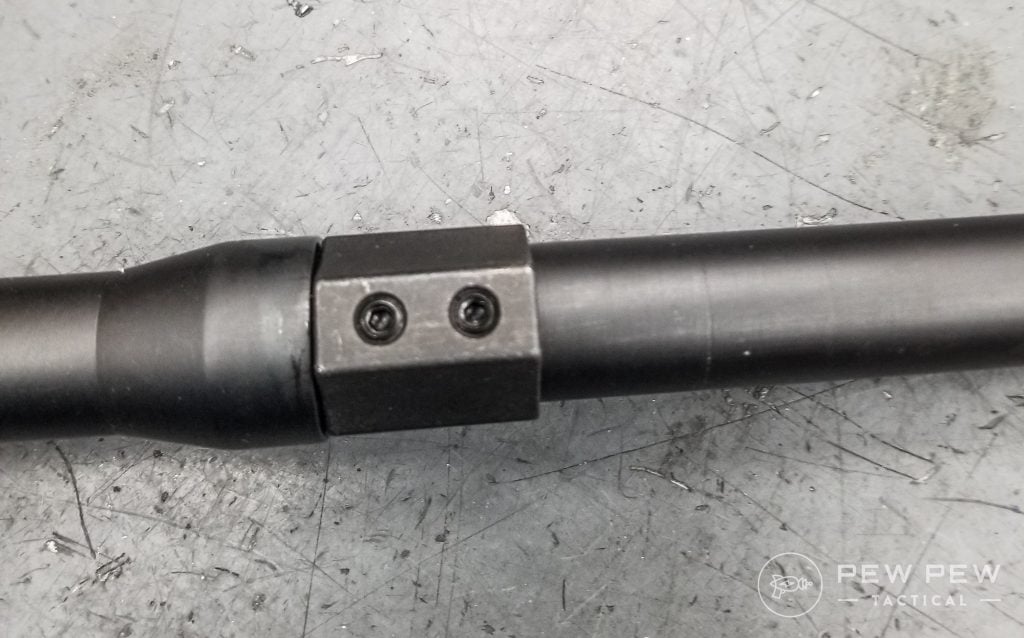
If you are satisfied that it is lined up properly, tighten one screw then the other until snug before finally torquing down to 25 to 30-inch-pounds.
The thread locker then needs to cure a minimum of 8 hours. I usually let it go overnight before shooting, though.
Should You Flip the Switch?
Adjustable gas blocks are a thing.
The idea behind them is that by turning a screw, you can open or close a section allowing more or less gas through the system.
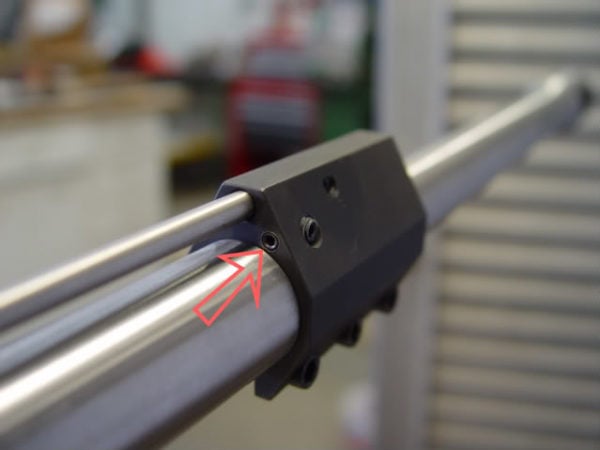
They can be a wonderful addition to a gun if you are tuning your system to a single load like competition shooters will sometimes do.
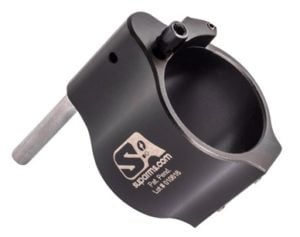
Go for a high-quality adjustable gas block, though. Superlative Arms and Seekins are brands we like!
For even more suggestions on adjustable gas blocks, check out our rundown of the Best Adjustable Gas Blocks.
Prices accurate at time of writing
Prices accurate at time of writing
-
25% off all OAKLEY products - OAKLEY25
Copied! Visit Merchant
However, even the highest quality adjustable gas blocks are going to leak more than a standard.
It’s an inherent flaw to being able to tune the gas with the turn of a dial.
Prices accurate at time of writing
Prices accurate at time of writing
-
25% off all OAKLEY products - OAKLEY25
Copied! Visit Merchant
For any sort of duty or defense gun, I recommend a high-quality standard (read that as not adjustable) gas block as your primary choice.
The key here is to get one that is has undergone testing and passed, and meets the needs you have.
A great example of this is the low-profile gas block from Centurion Arms.
Prices accurate at time of writing
Prices accurate at time of writing
-
25% off all OAKLEY products - OAKLEY25
Copied! Visit Merchant
With strict quality control in place, Centurion turns out some truly amazing products, and their low-profile gas blocks are some of the smallest on the market without sacrificing quality.
Another great option is the GBF (Gas Block Forward Controls) from Forward Controls Design.
With slight modifications to the military standard, FCD has incorporated some quality of life features like a semi-blind hole with an access port, bossed sides for ease of pinning, and tolerances designed to make it as tight fitting as possible.
Prices accurate at time of writing
Prices accurate at time of writing
-
25% off all OAKLEY products - OAKLEY25
Copied! Visit Merchant
What About Shooting Suppressed?
I’ll tell you a secret — you don’t have to have an adjustable gas block to shoot suppressed.
If you buy quality parts from the start — in this case, barrels that have properly sized gas ports, gas blocks that fight snugly and don’t leak, and a buffer system that is properly weighted for the rest of the system — you’ll be fine.
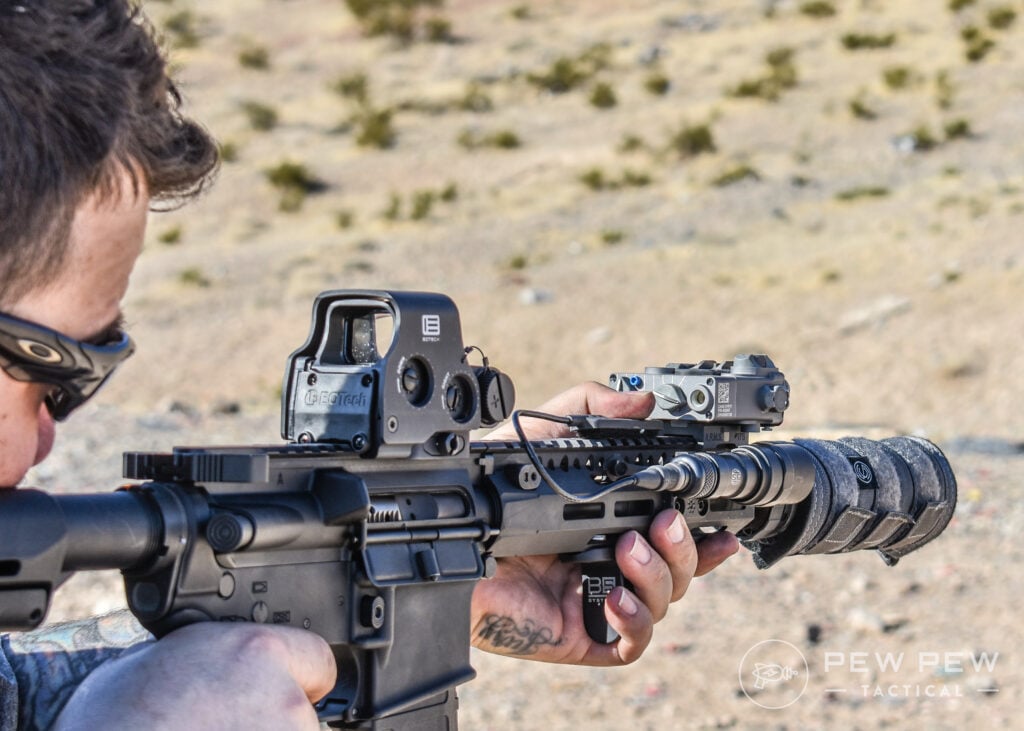
If, on the other hand, you chose to buy barrels with hogged out gas ports, run gimmicky buffer systems…well then yeah, you might need to be able to adjust some stuff.
Conclusion
The gas system is a vital part of the AR platform, and the gas block plays a pretty major role there.
By spending money on a quality part that will get a tight fit, keep gasses trapped and flowing where they should, and that won’t move around on you, you ensure the operation of your gun.
Spend the extra time and money to dimple your barrel and/or pin your gas block so that it doesn’t walk around at the worst of times.
Also, figure out your needs — are you shooting only one exact hand load and tuning your rifle to it? Maybe you should consider an adjustable gas block.

Are you planning on scavenging ammo off the ground during the zombie apocalypse? Maybe a standard gas block might serve you better.
Mission dictates gear.
Are you working on your first AR build? Built a few and checking to see if we have any good advice? Let us know in the comments below! Continue your AR building journey with How to Build an AR Upper and Lower Receiver.





5 Leave a Reply
The suggestion to run overgassed is exactly how the M4geries of the teens were operating - carbine gas on a 16" barrel. The position of the carbine gas port earlier in the cycle increases the amount of pressure in the bolt carrier and also speeds the action cycle - with negative results. First, the bolt speed goes up, and can even exceed the next cartridge rising fast enough to strip and feed into the chamber. Converting from rifle to carbine buffers does this, too, accelerates the action which can create double feeds. The empty case can't escape the action fast enough to get out of the way of the next round. Part of this problem is that the case still has a lot of pressure inside of it, and it takes time to relax - which delays extraction.
The perfect timing for an AR is to run with no extractor at all - gas pressure in the case pushes the bolt back for it to be ejected. Carbine gas on a 16" barrel is barely in the window, and a lot of owners complained about it, depending on how hot the ammo was.
Another problem with high bolt speeds is bolt bounce. The returning bolt carrier is running so fast that when the bolt slams forward and locks, the impact literally rebounds - the bolt unlocks and starts to retract. The danger here is if the hammer has already fallen, initiating powder burn and creating high pressure just as the case slides back slightly out of the chamber. The result is called a "kaboom," which involves damage to the rifle, potential hand and eye injury, etc.
This is one of those situations where it's better to practice the rules of the AR with port size and timing until their dynamic relationships are understood, before breaking the rules. Picasso had to know art before he could push the boundaries to create a new view of art. There is no "beginner's luck" with dynamics, it's the same as "there are no retired base jumpers."
The industry example of how overgassing was fixed with M4geries was mid gas - which imposed a known rule about where to put the gas port. It's best about 5" from the muzzle - just measure a 20" M16 and it's obvious. That puts the port at the best place for timing, which is more critical in the gas pressure curve. It lets the case relax, instead of forcing the extractor to rip out of the rim attempting to pull it out before it's released. It also slows the cyclic rate down to pick up cases, allowing them to rise and be stripped. Overpressure really doesn't help make things "more reliable," it actually reduces the operating window and creates an narrower one subject to other problems. Much like cam timing in a race engine - I've found car guys who have studied valve timing to keep pistons from hitting them get it, but bolt action gunners are less somewhat uninformed. They never unlock the bolt while the barrel still has pressure in it, a self loading action does - as does the average engine in a commuter car.
When you study multiple disciplines and then cross to another, lessons learned still apply and the new understandings are enhanced because of it. AKA Scott Adams, who has literally said he likes to fail at new things because he learns from it. I suspect most of us are a bit more conservative than that, learn the rules of the AR before breaking them.
If you are assembling a gas block with the standard split roll pin, there are tips and tricks. First, pinch the end of the pin with vice grips to make it smaller - the uninstalled pin is a larger diameter than the hole and has to be compressed to fit. Dressing the end of the pin to remove a square edge also helps, as it allows the pin to squeeze into the hole.
An even more radical finesse point is to break the edge of the pin hole and chamfer it slightly to funnel the pin in. Using spiral wound pins makes most of this unecessary, but suppliers go cheap (milspec) and don't offer them much.
Some install the gas block onto the barrel to act as a fixture, which helps, others buy special tools to prop it up for work. They same can be done with wood block, magazine spine or whatever to lift the gas portion of the block up to make it level. That will allow starting the pin more easily - once it's firmly gripped, then checking from the other side to see the tube is squared up allows either hammering or squeezing with taped pliers to force the pin in.
you guys are awsome...
Set screw gas blocks are often accused of backing out yet the actual occurrence is rare. A rental range in Vegas which has some on the line for tens of thousands of rounds a year reports their experience in a major thread on a gun forum and has no issues. Once that gas block goes thru some heat cycles it sets and the more you shoot it the more it seals up, too.
If the gun is mag dumped and barrel temps work up they will exceed the melt point of red threadlocker, its exactly how it's disassembled - heat higher than it can tolerate. Like applying it to exhaust bolts, it's redundantly useless and a lot of DIY mechanics make the same mistake. That's why Stoner spec'd staking - it can't melt. Stake the set screws don't glue them if reliability is a concern. Most civilian shooters aren't life and death situations, and some PMCS before you go out pays - check them.
One issue with gas blocks is the setback from the barrel shoulder - there are two different specs - military, with the block expected to be spaced the thickness of the handguard cap forward, and the other dead flush. A lot of malfunctions crop up installing a block flush on a barrel ported for a cap and the mismatch chokes the gas flow. Too far rearward has also resulted in the gas tube hitting the inside of the gas key because of the rare time variations create a stacked intolerance. Helps to check the fit to see the key isn't bottoming out.
When installing a tube it may help to invert the upper with bolt chambered and then slip the tube into the key bending it slightly to fit - when a mag is in, the follower pushes the bolt up and lifts the key. A misaligned gas tube may rub or even get struck, they don't really center in the upper keyhole.
I'm working on my third build and reading the finesse points over the last 15 years online you accumulate some knowledge that others paid good money to discover. These are the little details which make a lot of difference in reliability.
Thanks for the article. Very clear and concise info.