So, you just mounted your new scope, everything is on tight, but then you shoulder your rifle, and wham…the reticle looks off.
Mounting your scope is one thing, but getting level is its own separate process. But don’t fret; it isn’t hard with the right tools.
Today, we will cover the basic steps of how to properly level your scope. No frills here, just a basic rundown.
Steps for Leveling Your Scope
1. Get the Proper Tools
This first step takes a small extra investment money-wise but will make the process easier. These are also handy tools to have around if you ever plan on expanding your gun collection.
We highly recommend two things — a gun vise and a set of scope bubble levels.
-
25% off all OAKLEY products - OAKLEY25
Copied! Visit Merchant
A gun vise allows the rifle to be securely held so that you can ensure the rifle itself is level without the risk of it moving all over the place during the leveling process.
Scope bubble levels let you easily check to see if both the rifle and the scope itself are level simultaneously, which is the ultimate goal.
-
25% off all OAKLEY products - OAKLEY25
Copied! Visit Merchant
2. Level the Rifle in the Vise
You will want to secure your rifle in the vise, preferably on an already fairly level surface.
The level used for this step typically attaches to the gun using a magnet or Picatinny interface. These levels are extended out from underneath the scope to allow you to see them easily.
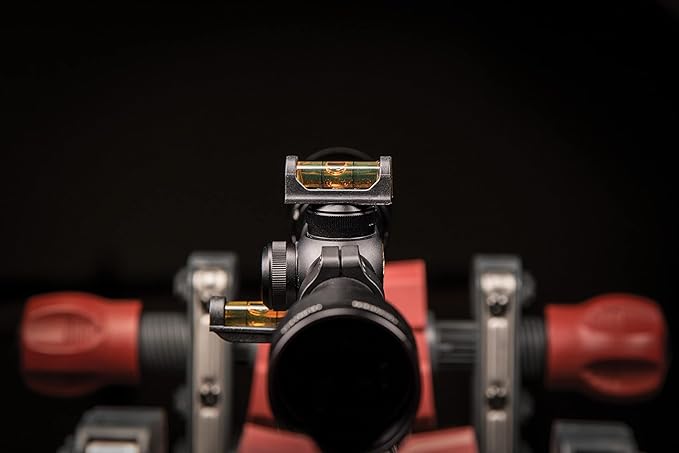
Next, you will want to place the first scope bubble level on a completely flat part of the rifle. The most common places to put the level is on the scope rail or a flat part of the receiver.
If your receiver is round on the top and you do not have a scope rail, you can try removing the bolt or opening the action and attempting to place the level on the action rails, as shown below.
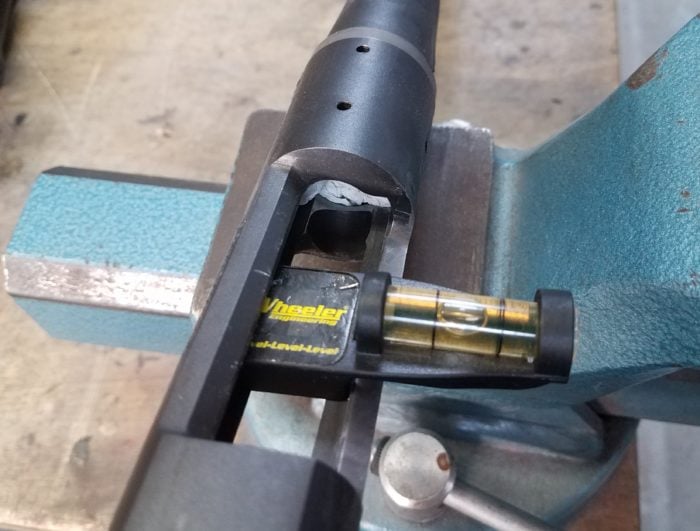
Once the level is placed on a flat surface, you can adjust the rifle within the vise to level it.
3. Level the Scope to the Rifle
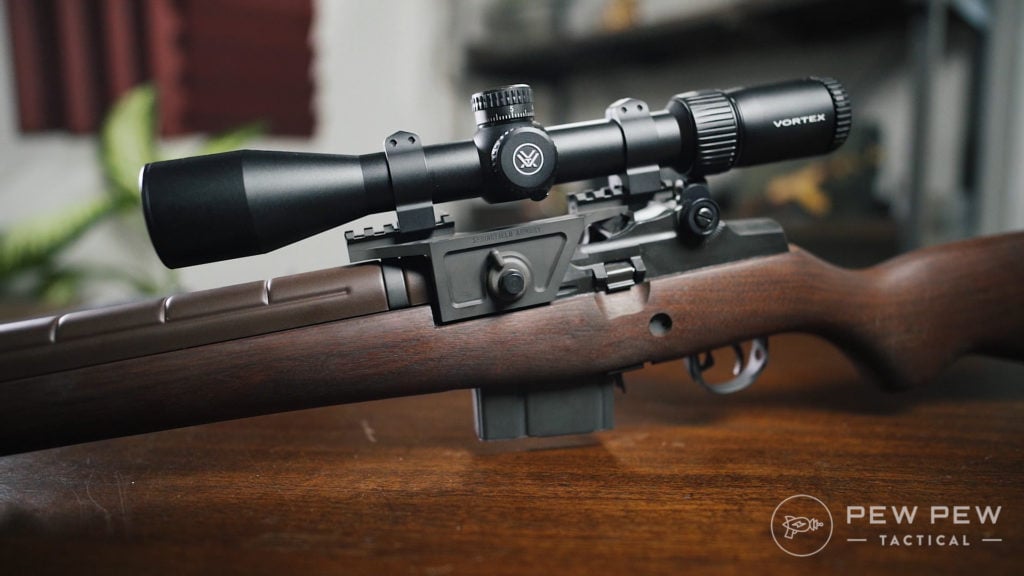
Now that the rifle is level, it is time to level the scope.
Place the second level on a flat surface of the scope. This is usually on the top turret of the scope.
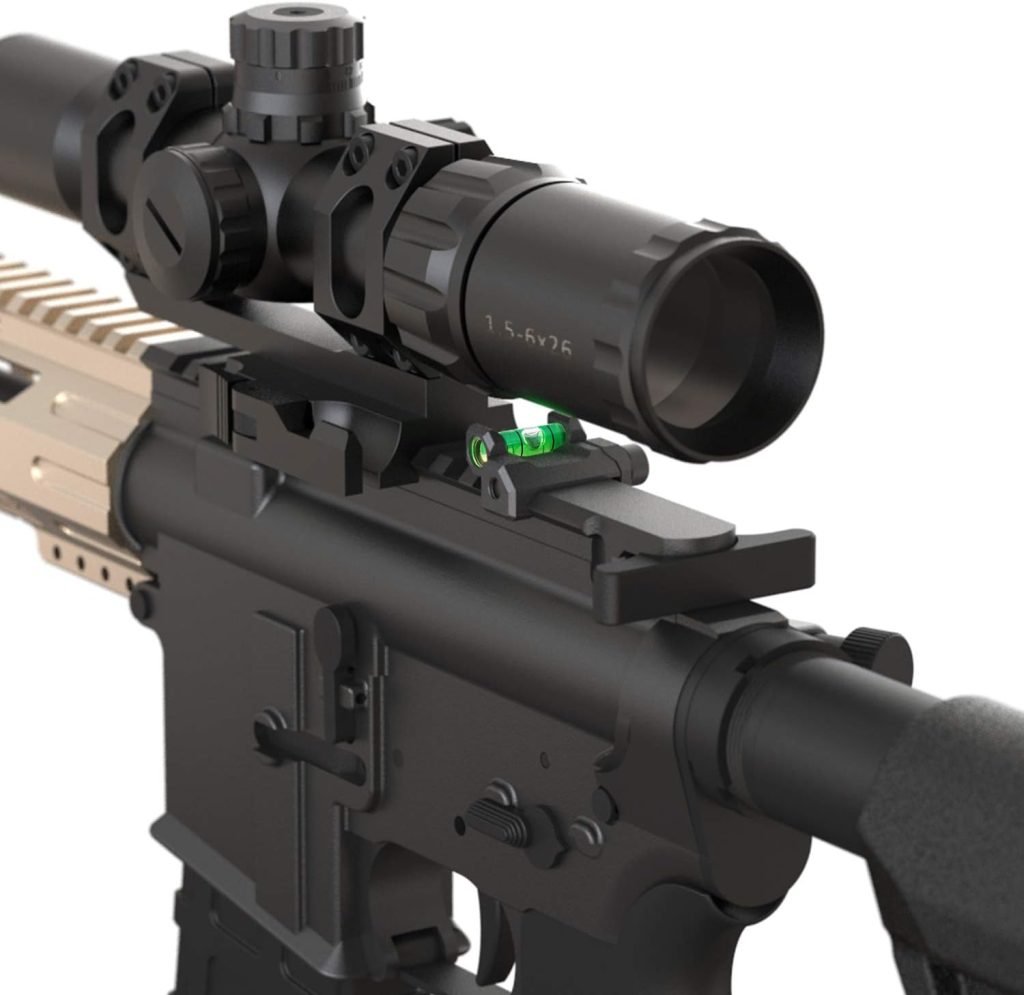
In the case that the turret isn’t completely flat, scope bubble rings are available that can attach to the scope body itself.
-
25% off all OAKLEY products - OAKLEY25
Copied! Visit Merchant
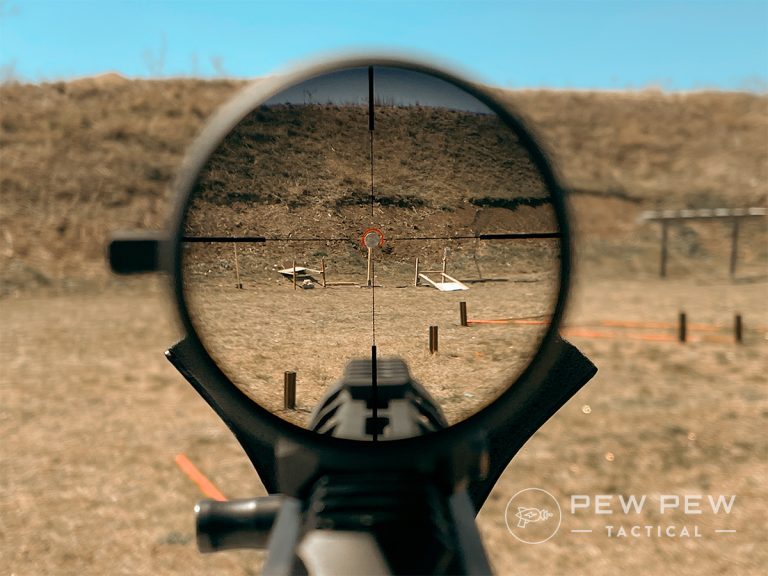
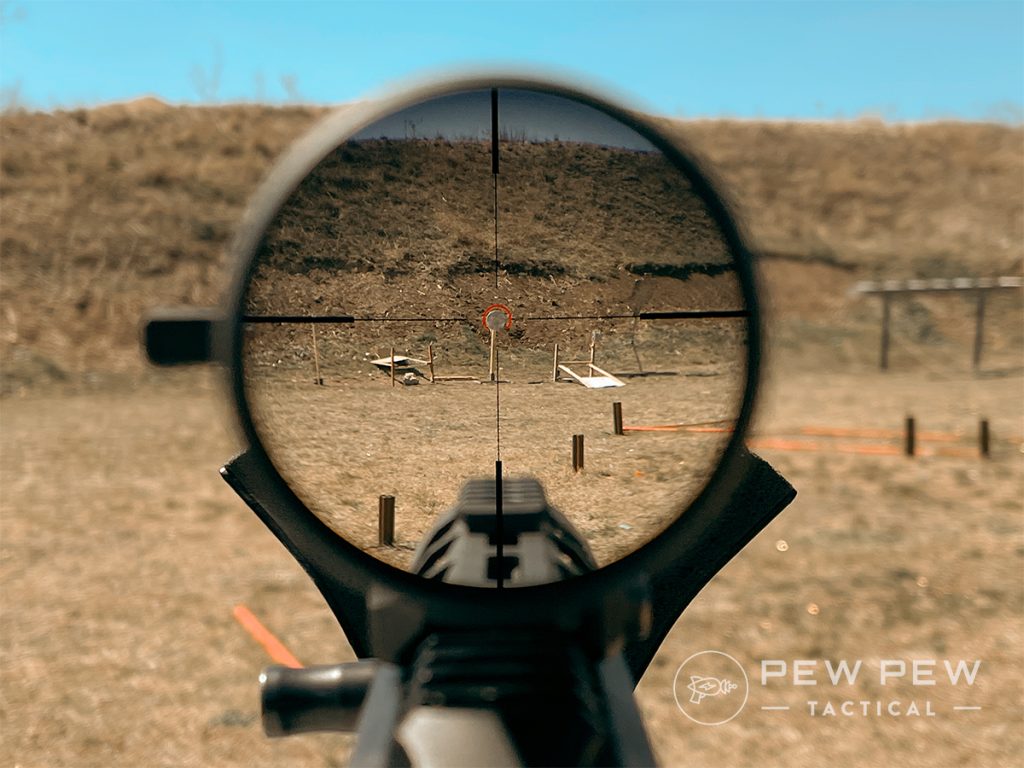
Once the level is placed on the scope itself, you can gently adjust the scope left or right until the bubble is perfectly in the middle. The bubble should also match the position of the one that is on the rifle itself.
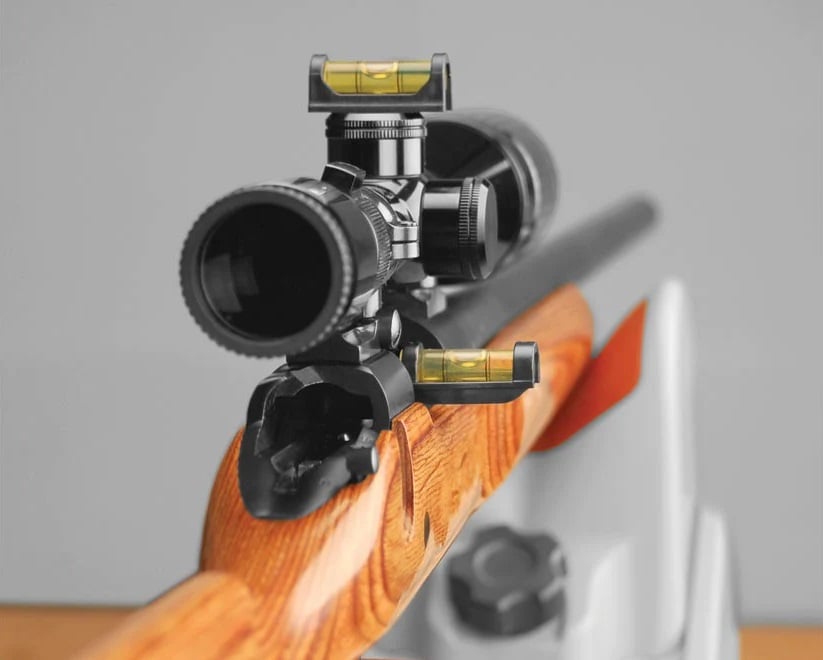
After the scope is leveled, you will want to tighten the scope ring screws using the criss-cross pattern specified in our scope-mounting article.
Ensure that the scope and rifle stay level during the final tightening process.
Final Thoughts
Leveling a scope is fairly straightforward, especially with the right tools.
However, there are multiple methods and tools depending on the rifle and the user. This is by no means the definitive or only way, just the easiest way in our experience.
Tell us about your leveling experiences below! Don’t have a scope picked out yet? Check out our article on the Best Scopes of 2023!






1 Leave a Reply
I quite liked the TXTactical scope leveling tool. Leaves out the necessity of using the bubble tools, since it creates a straight angle between scope and rifle