Sharpening a knife is one of the keys to ensuring proper performance.
A sharp knife is a safe knife believe it or not.
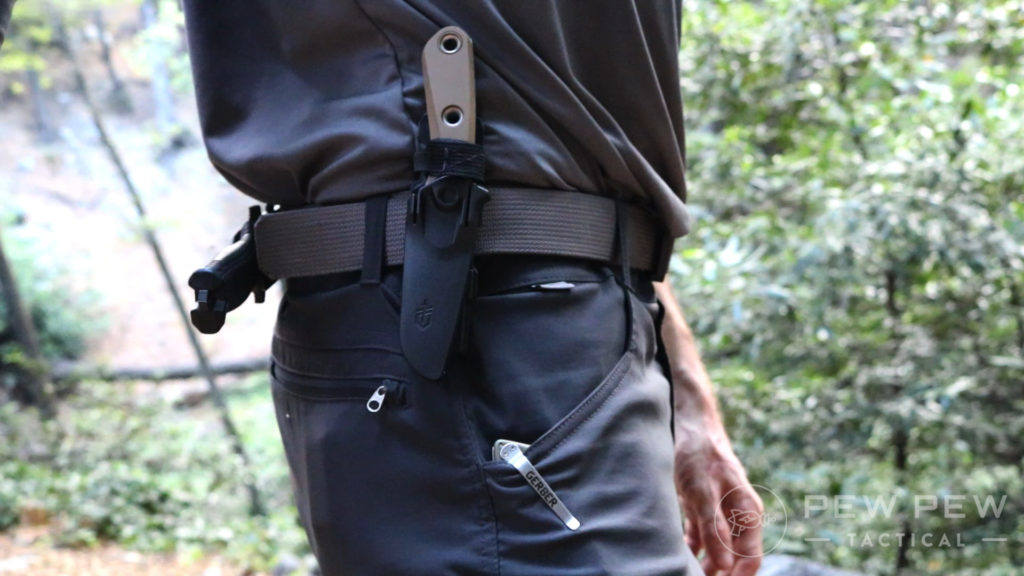
Dull knives create more effort and work to cut, increasing the chances of injury to the user.
Keeping a knife sharp can be tricky, though.
If, at first, you feel frustrated at your lack of skill and ability, fear not. Knife sharpening requires patience, practice, and time…like any skill.
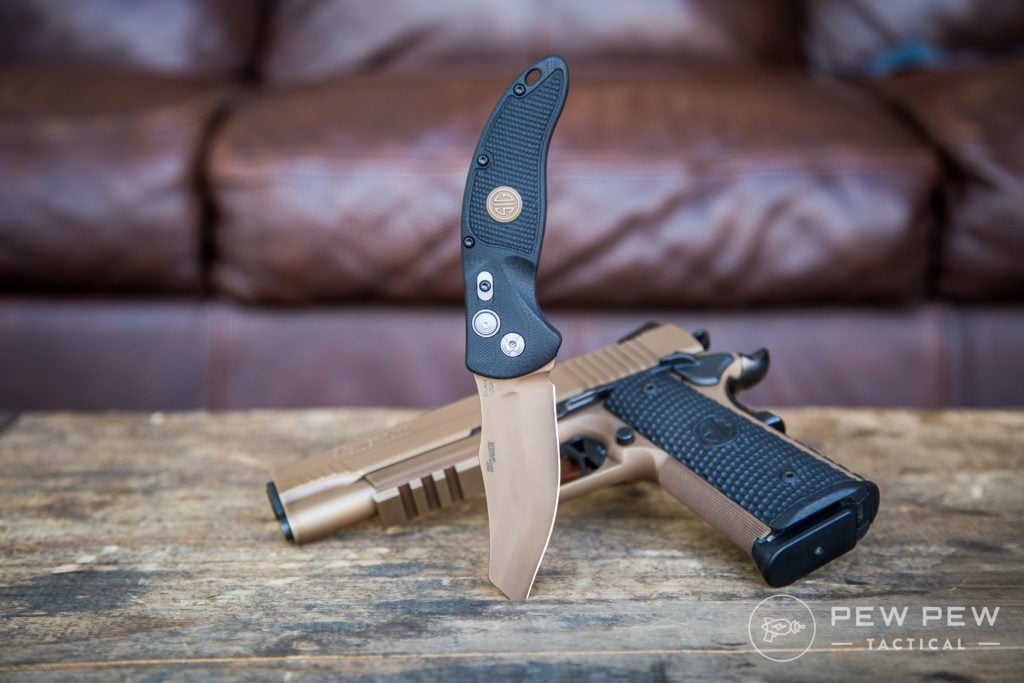
Different knife steels provide different levels of challenge for knife sharpening, but they can all be sharpened.
So, with that said, let’s jump into knife sharpening 101.
In this article, I’ll cover the different tools you might want for the job and how to actually sharpen a knife. We’ll also look at preventing and dealing with rust and how to generally care for your sharps.
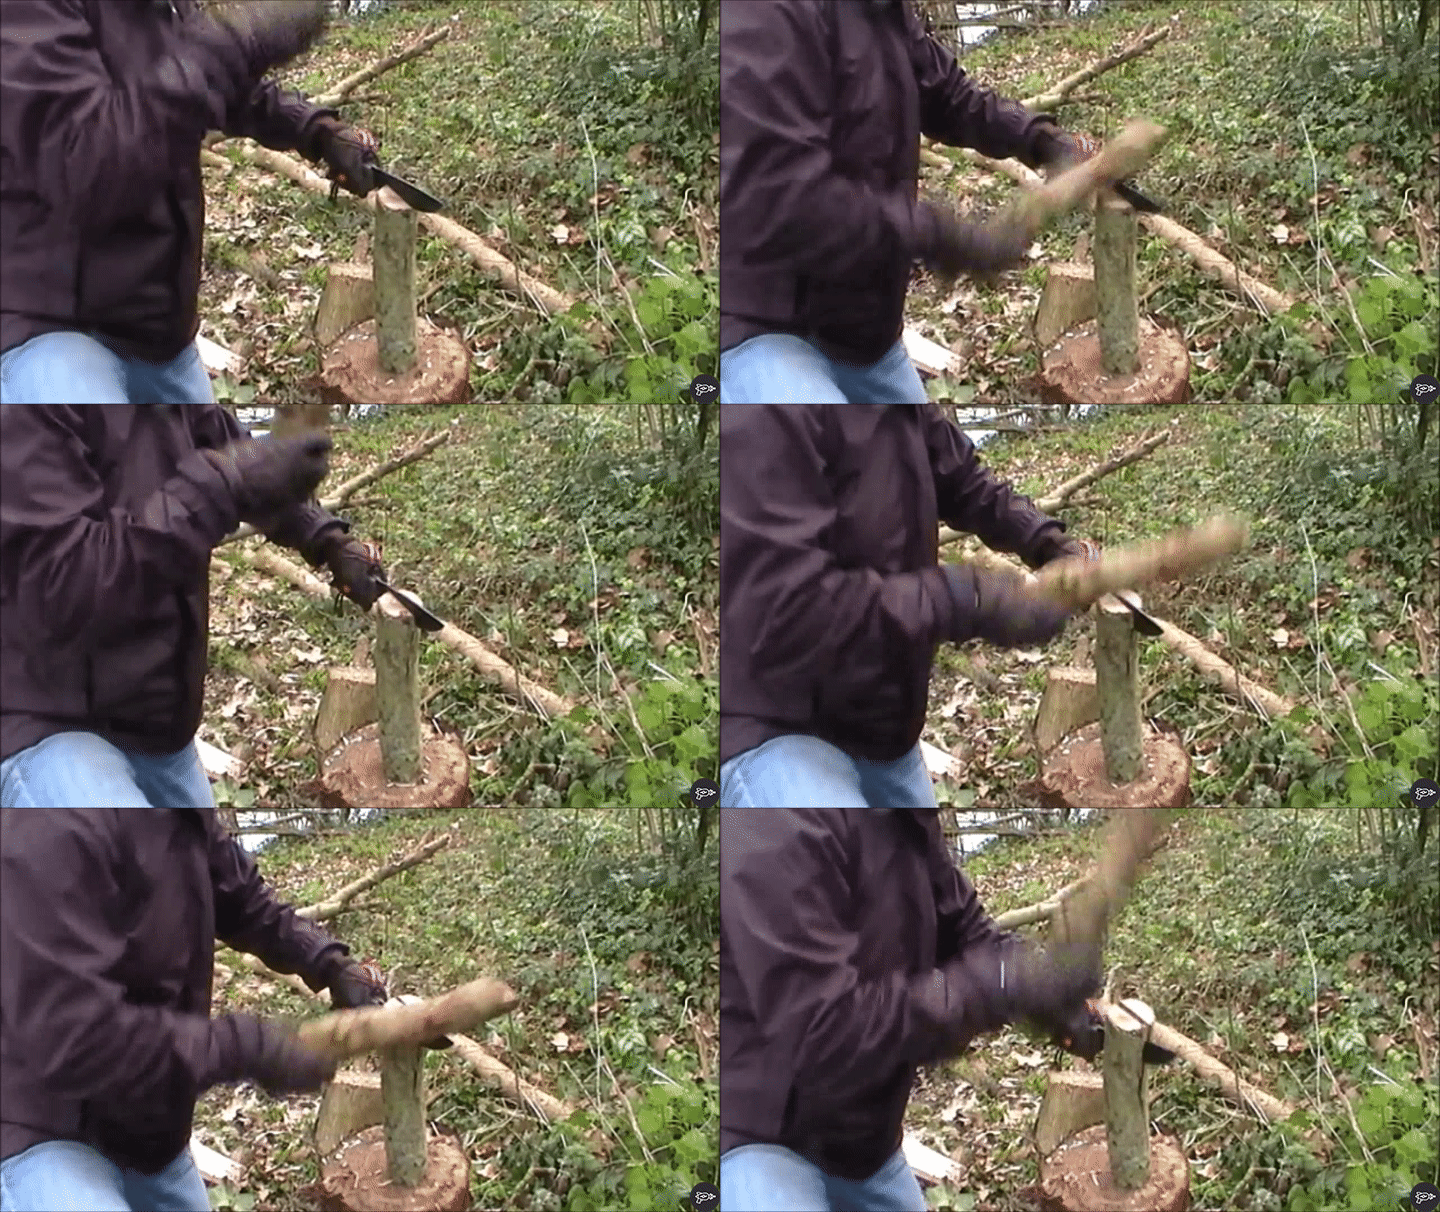
By the end, you’ll be well on your way to sharpening!
Let’s get to it.
Table of Contents
Loading…
Tools You Need
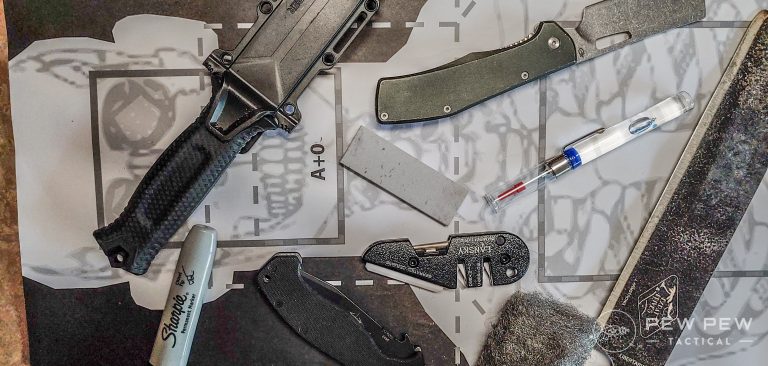
To start, you’ll need a sharpening tool. Two of the most common are whetstones and pull-through sharpeners.
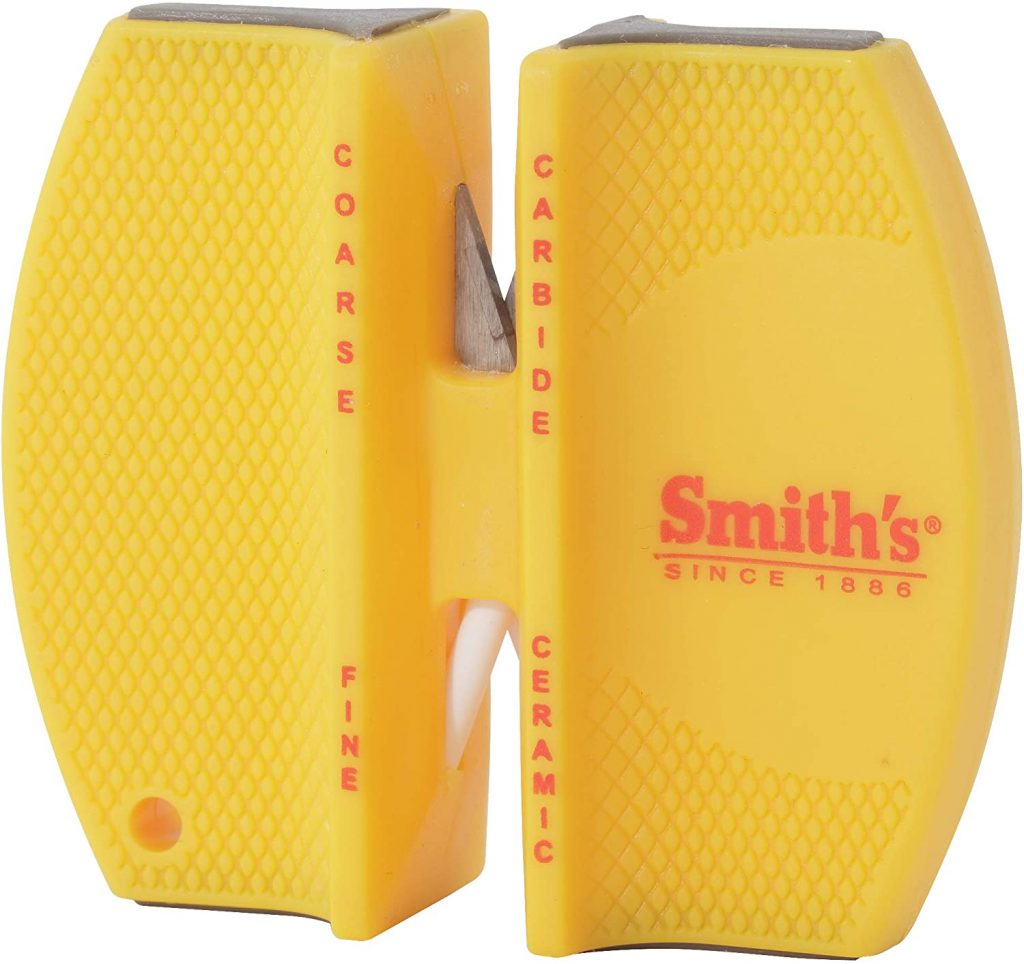
Sharpening tools like strops, sharpening rods, grinders, and honing steels are options but not as straightforward or as handy as the aforementioned two.
Plus, these tools are a bit more complicated. They’re best in the hands of those who’ve already mastered basic knife sharpening.
And of course, you’ll need a knife!

How to Use a Whetstone
A whetstone is a classic knife-sharpening tool that comes in various sizes and shapes. Some are mounted to tables, and others are small enough to squeeze into a pocket.
I use a simple Arkansas Whetstone that provides a 1,000-grit surface for taking dull knives to sharp knives.
-
25% off all OAKLEY products - OAKLEY25
Copied! Visit Merchant
Some stones feature two sides. One offers a rough grind for getting the initial edge, and the other side brings a finer grit to get a nice smooth edge.
It’s user preference on which you want. But, having a simple pocket stone for the field and a larger two-sided stone for finer sharpening at home gives you both options.
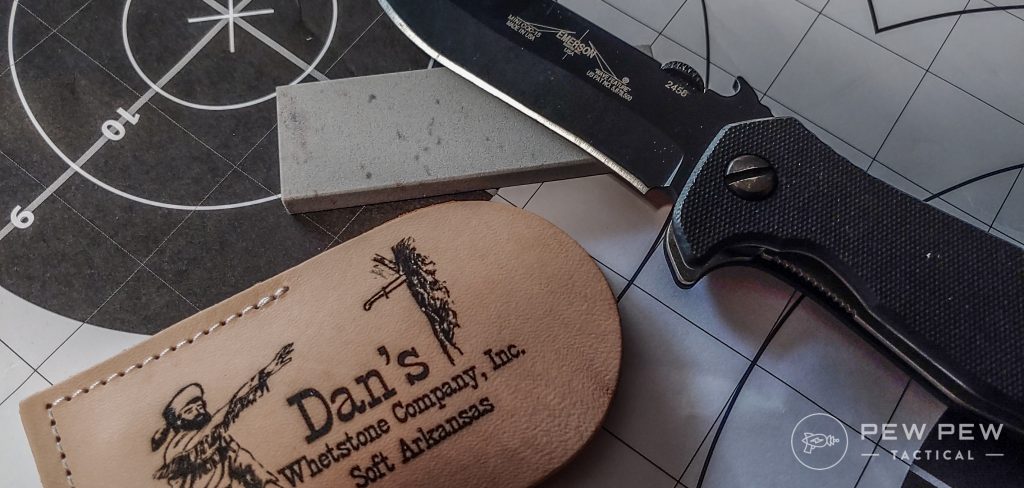
Sharpen with a Whetstone
Determine the angle you need to sharpen. If you want to keep the factory edge on your blade, then you’ll need to know the angle at which to sharpen.
The edge bevel is predictably measured in degrees, and most companies publish this information.
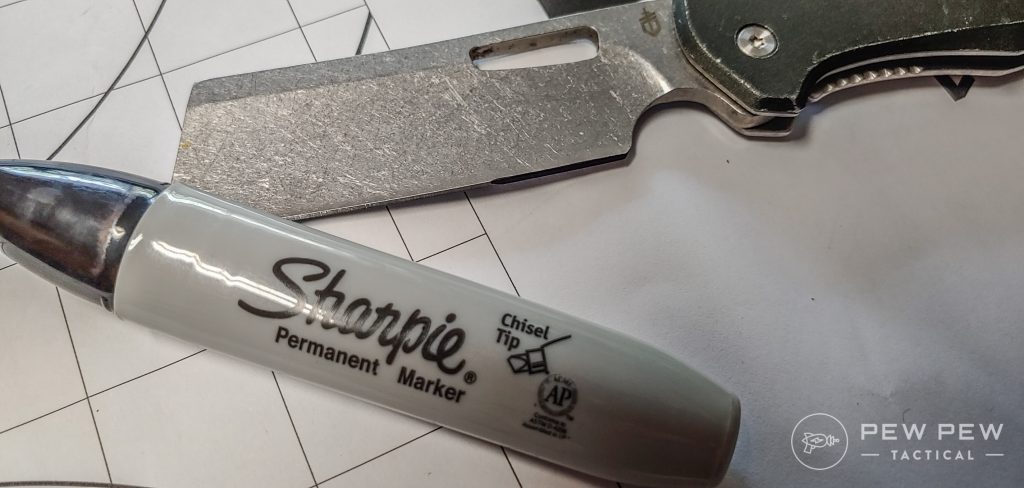
You can use a marker to mark the edge and then observe the marking. When it’s rubbed off completely, you know you have the right angle.
Edge guides also exist, but they have a habit of making you dependent on the guide.
Move the knife along the stone as if you were shaving off a layer of it. Only apply a light amount of pressure to the blade as you work it.
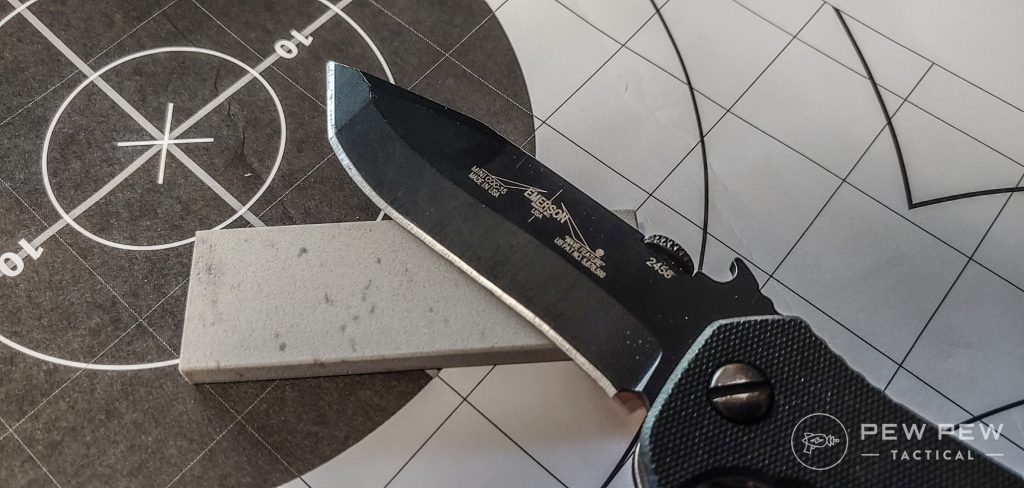
The entire blade should engage the stone with each pass, and you want to ensure you hold the same angle as you work.
Apply even swipes on each side of the blade when applicable.
A knife with a chisel grind, like most Emersons, only requires one side sharpened.
As you sharpen the knife, you’ll create a burr — an old layer peeling from the new sharp layer.
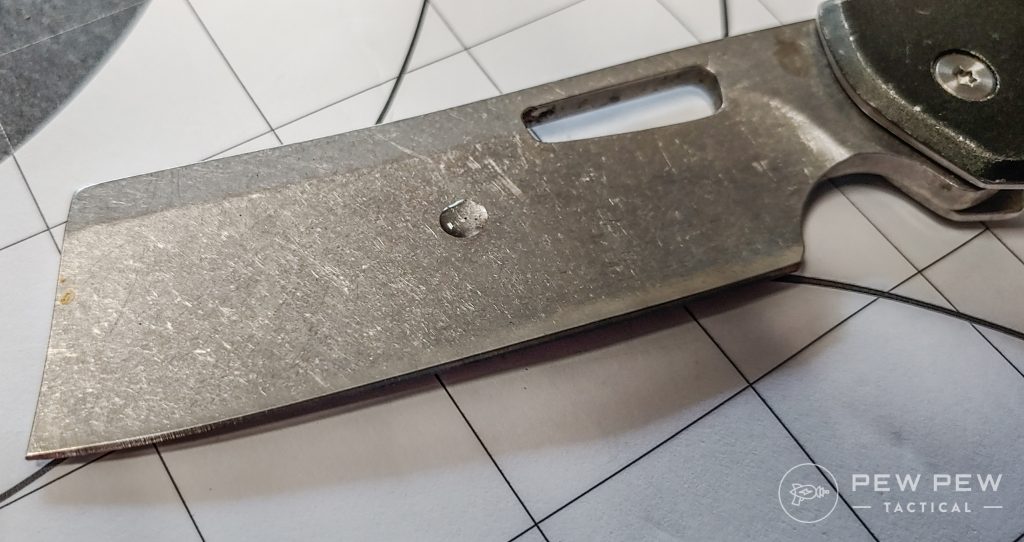
These can be felt when sharpening and can be a good clue that it’s time to flip the knife and sharpen the other side.
I use a seven-swipe rule — seven swipes, then I switch and apply seven swipes. It ensures I keep things even with the blade.
How to Use a Pull-Through Sharpener
A pull-through sharpener makes sharpening a knife relatively quick and easy.
These sharpeners use hardened sharpening stones that form a V in the center, and you draw the blade through the V.
-
25% off all OAKLEY products - OAKLEY25
Copied! Visit Merchant
Why would anyone use a stone when a pull-through works so simply?
Well, a pull-through can never hone a blade as well as an actual whetstone. They tend to leave rougher blades that take some smooth out of your cut.
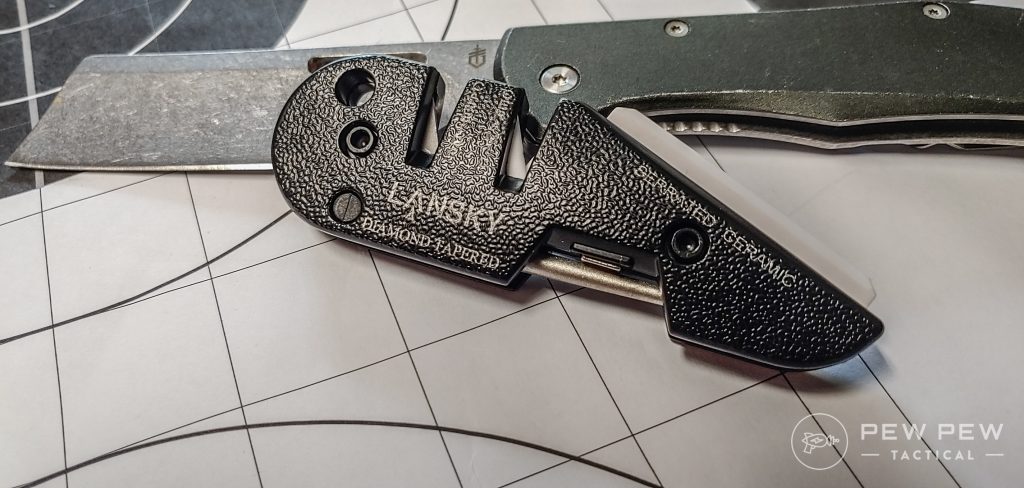
These things can exacerbate bad nicks but tend to fix small ones.
While they are convenient, I see them more as quick field sharpening options — something you use to get a quick edge and get to work.
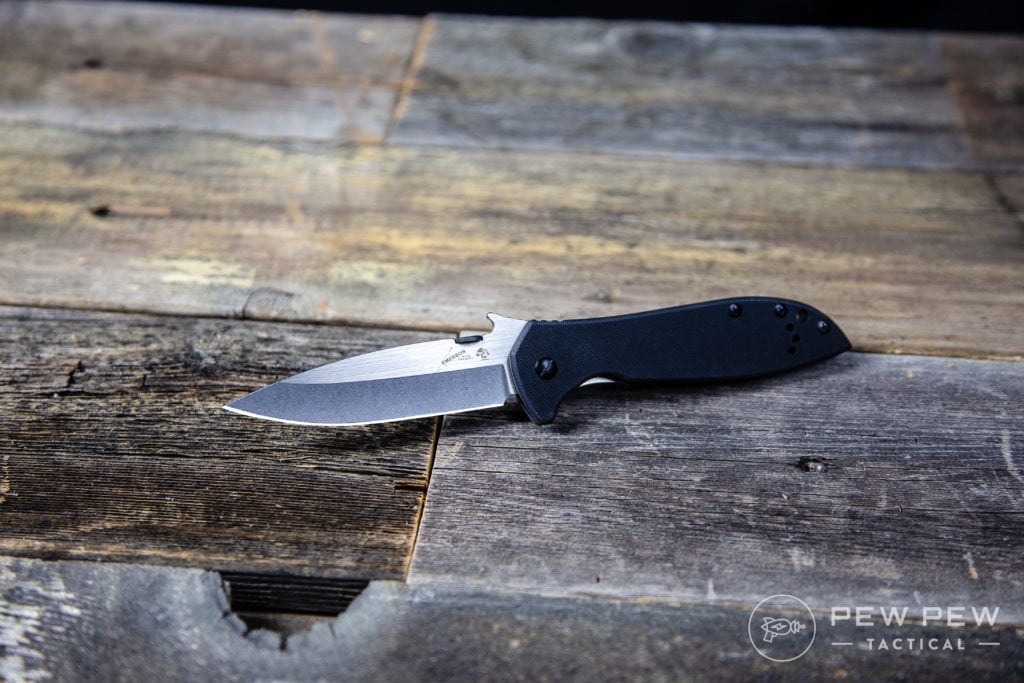
At home, you can refine your blade with a real whetstone and get that proper edge.
Sharpen a Knife with a Pull-Through
Draw the blade through the V shape.
When pulling the blade through the V, use good, even pressure and a steady pace. Inconsistent pressure and pace will create a rough, jagged blade.
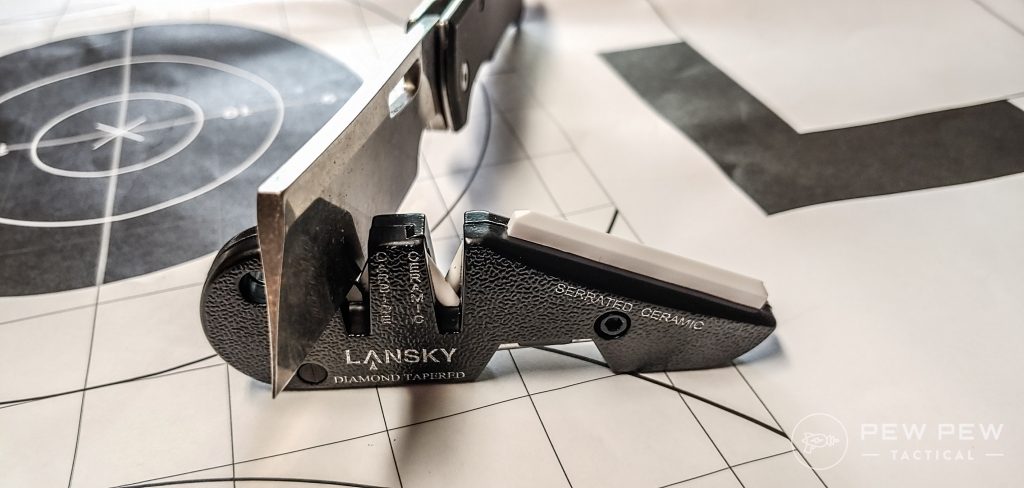
Run it through at a moderate pace while applying just slight downward pressure until sharp.
Dealing with a Rusted Knife
Rust can occur on both carbon and stainless knives.
Stainless tends to resist it a bit better, but even stainless blades can rust.
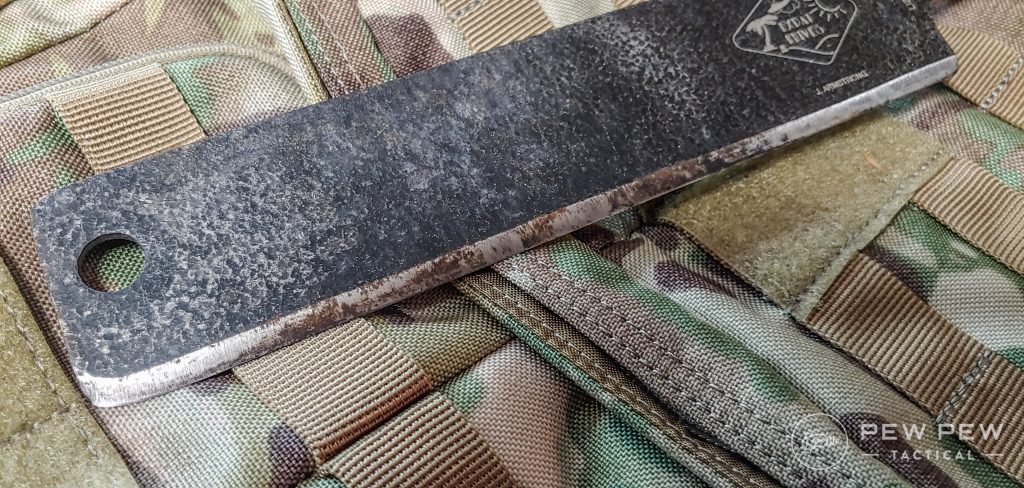
Carbon blades will most certainly rust, so you must take proper care of your carbon blades more frequently.
Preventing Rust on a Knife
The best way to deal with rust…prevent it in the first place!
It’s rather simple to do and surprisingly involves oil!
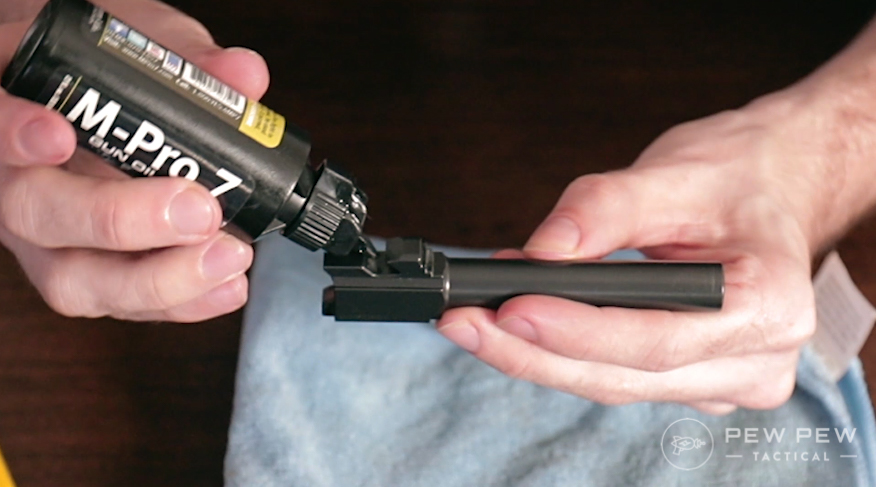
Applying oil to a knife blade ensures rust cannot occur, and you should do it after heavy use of the knife.
Obviously, rust depends on your environment, so you may find yourself doing it more often on a boat knife than a bushcrafting knife.
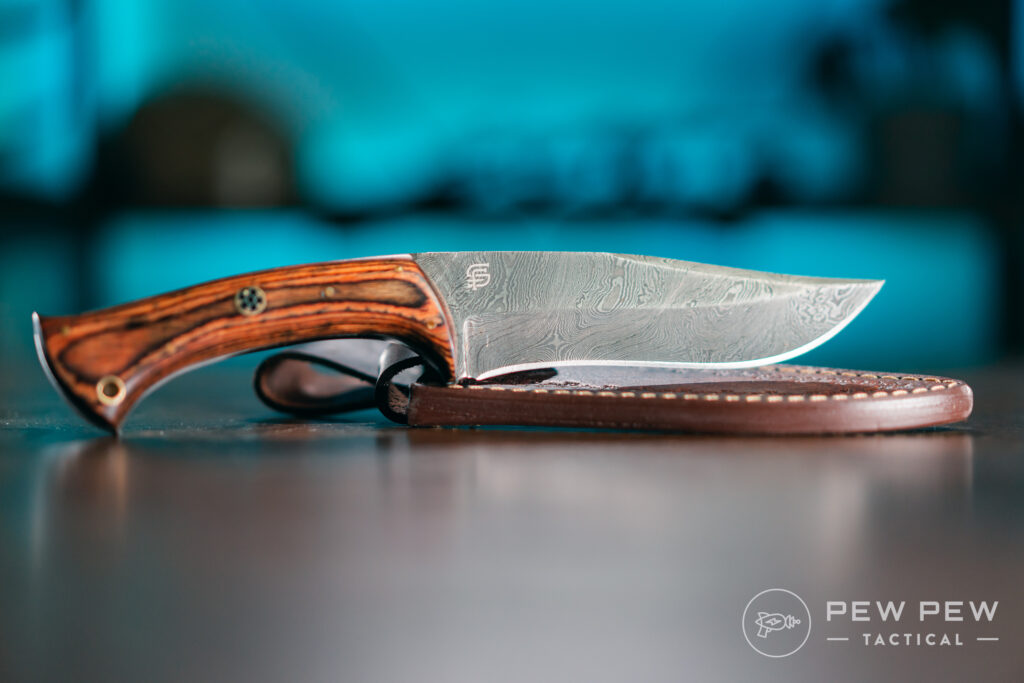
Even so, it’s not hard to apply oil. The big question is, what kind of oil?
If you plan to use your knife to do anything involving food, you need to pay special attention to your blade oil.
If you want to cut an apple open, skin a deer, prep some food, I suggest a food-grade mineral oil.
Mineral oil might suck as a lubricant, but it can prevent rust on blades.
-
25% off all OAKLEY products - OAKLEY25
Copied! Visit Merchant
Several companies make knife oil in small and convenient applicators that are specifically designed to be food safe.
If you don’t plan to get your knife anywhere near food, you can use all the toxic oils you want!
I’ve used CLP gun oil on my issued OKC bayonet before. It did a heckuva job keeping rust away.
Prices accurate at time of writing
Prices accurate at time of writing
-
25% off all OAKLEY products - OAKLEY25
Copied! Visit Merchant
CLP, 3-in-1 oil, Tuf Glide, or any rust-preventing oil will work.
Although, as mentioned before, these are toxic and disqualify the knife for food service.
Removing Rust from a Knife
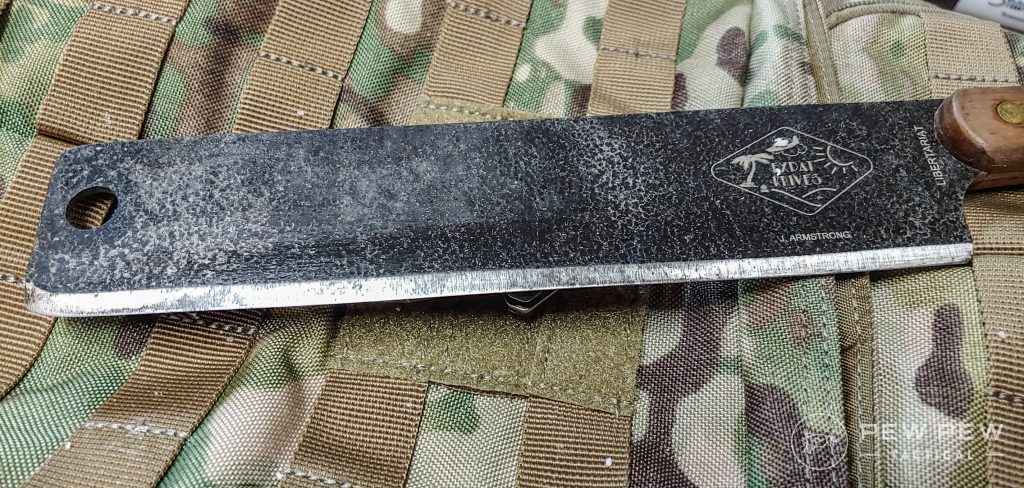
Let’s say you failed to prevent rust, or maybe you inherited a rusty knife and want to fix it up.
First things first, clean the knife. But cleaning shouldn’t necessarily be done with water and soap.

You can clean it with a dry rag and some oil to remove the rust. Dry it off, clean it up, and then we can talk about serious rust removal.
Get some baking soda, pour it into a bowl, and mix a little bit of water — enough so to create a paste.
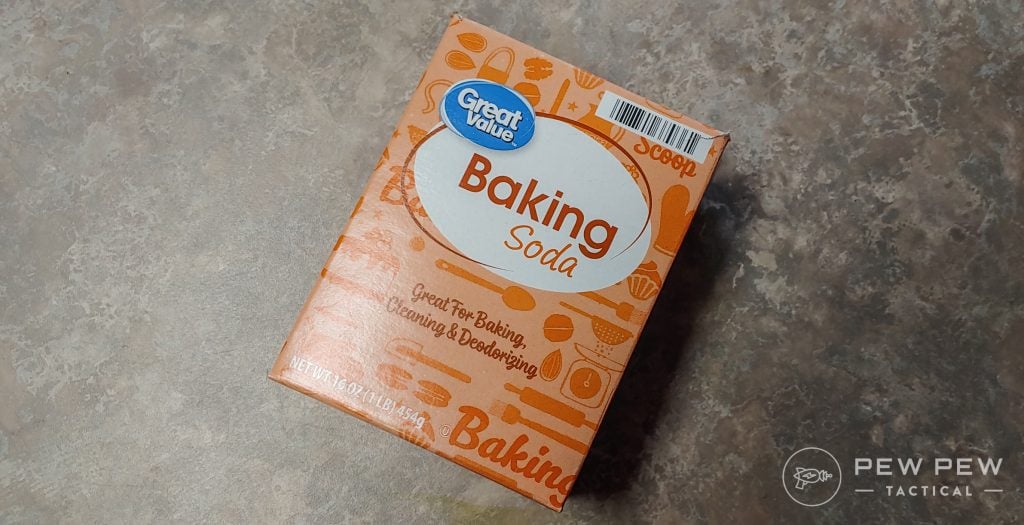
Apply the paste with Q-tips, an old toothbrush, or something similar. Let it sit for a minute or so.
Next, use an abrasive of some type to scrub the paste — fine steel wool, toothbrush, or something similar.
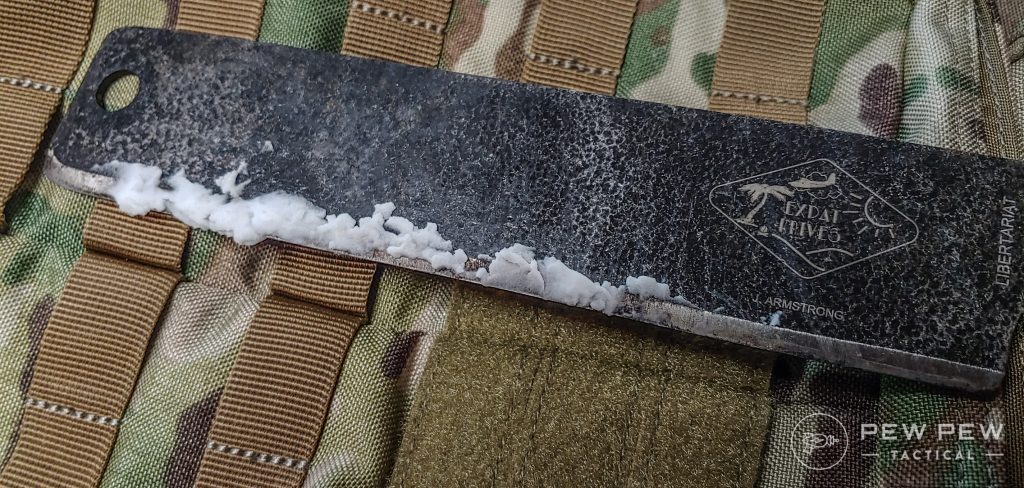
It needs to be rough enough to lift rust as you scrub. The green side of a sponge works well but ditch the sponge afterward.
Wipe the blade clean afterward. Then sharpen the knife and apply oil as necessary to keep it from rusting once more.
Dealing with Rust in the Field
In the field, you might not have steel wool, baking soda, and all that fun stuff.
But good news, you’re likely to have caught the rust early.
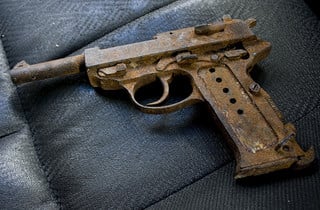
Here you can apply a little oil of some type and use a rag to scrub it clean.
But what if that rust won’t budge?
At the very least, a little oil should prevent further rust until you can get home and use proper rust removal techniques.
Caring for Folding Knives
With folding knives, you want to pay special attention to the joint where the blade opens. This joint is like anything mechanical and must be maintained.
As such, drop a few drops of oil into the joint every so often. This keeps that blade flying out smoothly and easily.
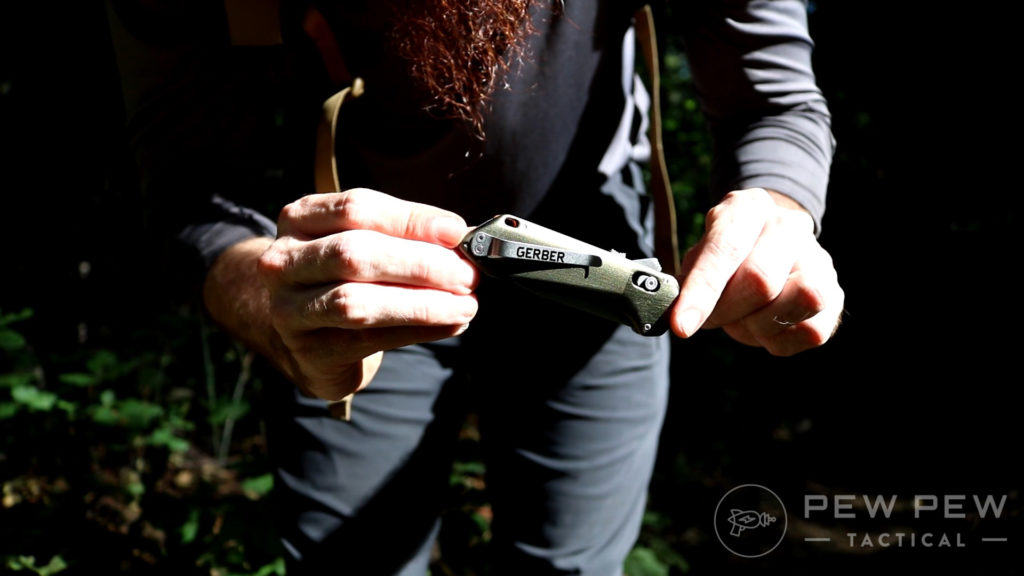
That said, don’t apply much more than a drop or so of oil. Too much will attract dirt and sand, and you don’t want that.
However, if dirt and sand occupy your life a bit more than normal, good old dry lube works as well.
-
25% off all OAKLEY products - OAKLEY25
Copied! Visit Merchant
After you oil the joint, resist the urge to toss it straight back in your pocket.
Cleaning Food Knives
If you use a knife for food prep, you’ll be interested in keeping it clean. So how do you keep things tidy?
Cleaning a knife doesn’t require much brainpower or effort. If you wash your dishes, you can clean a knife.
If it’s a pocket knife, I start by cleaning the joints. I use toothpicks to pick out gunk/dirt/sand/etc. and clean out old, congealed oil.
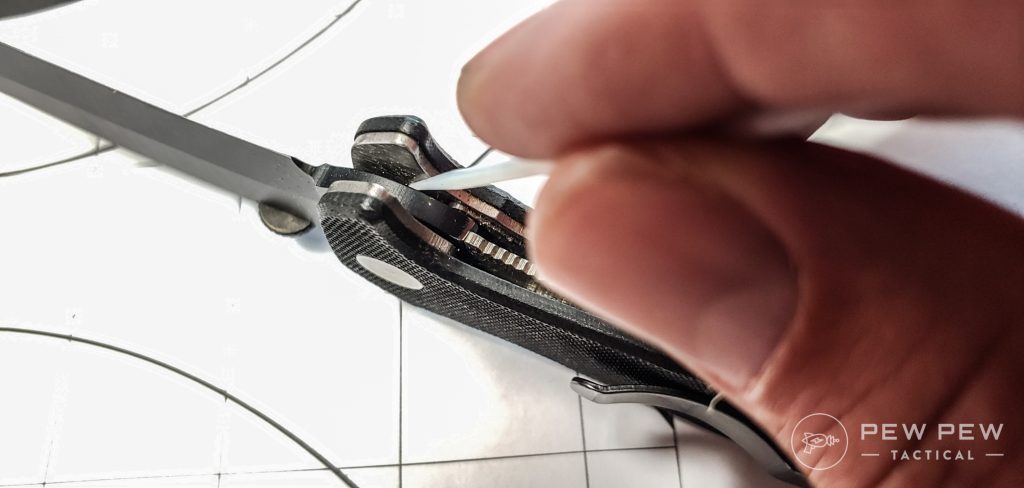
After the joints are picked clean, work inside the pocketknife to remove the gunk and junk.
Worth noting, Egger knives might need Q-Tips over toothpicks.
Once you remove the gunk (or if you use a fixed blade), it’s time to do the dishes…
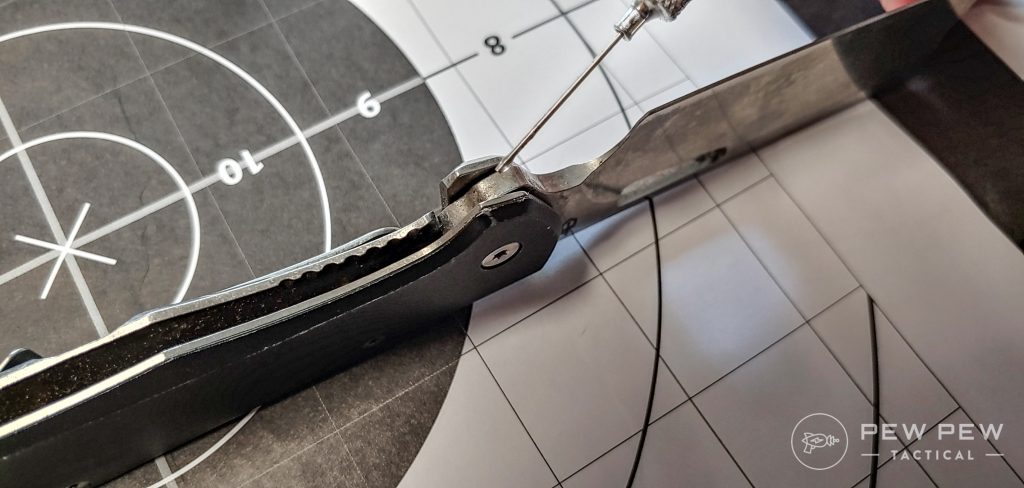
Seriously warm water, soap, a rag, and a little caution go a long way. Scrub it clean.
If it’s a multi-blade knife or multitool, work over each tool to ensure each function without issue.
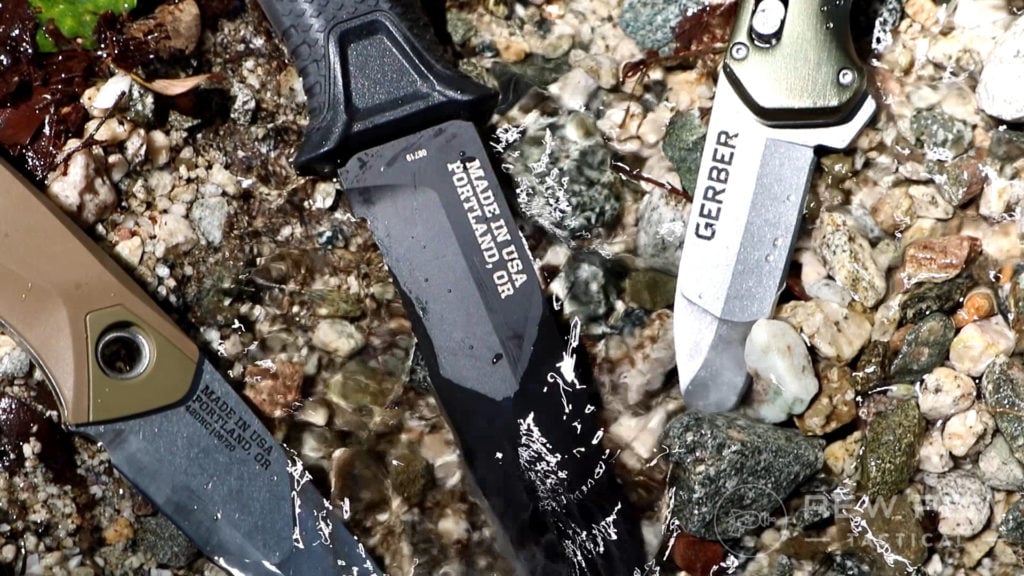
Once your knife has taken its sponge bath, dry it.
Use a towel to scrub the outside and, if possible, the inside. You might need something as thin as a paper towel to get in and dry the insides.
Allow the knife to fully air dry in the opened and unsheathed position.
Once the knife’s dryer than a Baptist county on Sunday, it’s time to break out the oil and lube it up.
Final Thoughts
Keeping your knives and assorted blades ready to rock and roll doesn’t take too much effort.
Sharpening and cleaning can be done as little as once a month, depending on how often you use the knife.
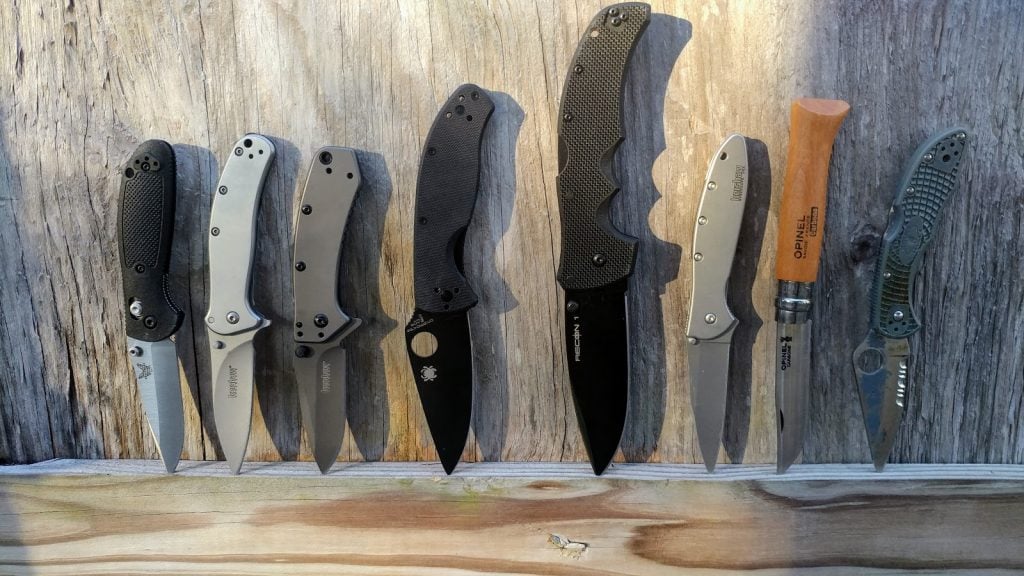
Share your sharpening methods in the comments below. Looking to pick up a new knife? We got a bunch of resources, from Self Defense Knives to Tactical Knives to Bowies, in our Knife Category!



8 Leave a Reply
Oh yeah, to add... add some table salt to the vinegar, about 1/4 tbs per 8-10 ounces of vinegar. I soak for 24 hours for heavy rust, but for slight non-pitted surface rusting depending on how 'slight' maybe 30 minutes to an hour usually does it.
Vinegar does an excellent job at removing rust. Put some in a container, drop the knife in it and let sit for 24 hours. Take it out, repeat as necessary (I never had to do it more than once on any steel tool). Use a tooth brush to remove any remaining flakes of rust. Rinse with water, dry completely. After that, heat enough with a lighter to melt some bees wax, careful though as you do not want it hot enough to affect the temper, rub the melted bees wax in and remove excess.
I've had knifes and tools I've done the bees wax treatment on some thst are 20 years old and despite being wet and left that way sometimes inadvertently they have not rusted again.
Most of my blades are convex. I usually don't need anything to keep them razor sharp other than a DLT leather strop with some Bark River stropping compound on it.
In Boy Scouts we learned from a knife maker the proper procedure.
Assuming there is a undamaged blade, and just a tune-up is required, then (I was taught) you push your blade into the stone. Note: depending on type of stone, lubrication may be useful or even maditory! And may only need some "spit" in the field.
Also I find with the push direction you can keep the proper anger by feel much better then a pull method.
There, "fixed it for you" ✌️
Read the article again. Quote “Move the knife along the stone as if you were shaving off a layer of it.”
Thanks for the info on knife sharpening and care. Couple of comments regarding the section on whetstone use: 1) you don't specifically describe or show by photo or short video the "how to". For instance, do you draw the blade down the stone toward you or do you push it away from you for the seven strokes (certainly, if you have used a stone before, you know the answer, but then I wouldn't be reading your narrative); 2) you advise the entire blade has to engage the stone for each stroke. Confusing. If you have a six inch long blade and a two inch wide stone, how do you make six inches fit onto the surface of two inches? Not so obviously that isn't what you mean but then, the meaning isn't clear so how about some pics?
Do not intend to be a fault finder but enjoy your messages and would like to see them be a bit more clear in their meaning. How about have someone who does NOT know what you are talking about review your tutorials before publishing. I know my customers would appreciate the help for themselves and their family members.
Best regards,
Mike Talton
L & M Enterprises USA LLC
Iowa
Agreed…… also for Emerson chiseled blade, it appears you are sharpening the wrong side!
I agree with Mike. I just bought a whetstone and can't figure out which direction I'm supposed to move the blade. A video would be extremely helpful here. Thanks!!