In a world where optics rule, some of us still like our iron sights.
To be clear, I love optics, and my serious guns all have optics. But I have way more fun shooting with iron sights.
Regardless of whether you think irons are outdated or not, most people agree that everyone should learn the basics of iron sights. And the best way to learn to use iron sights is to zero them.
Zeroing your irons will teach you how to use them and how they function. This will, ultimately, make you a better shooter.
At this point, especially if you’re newer to shooting, you may be asking, how do I zero my iron sights?

Lucky for you, we’re here to help. We’re going to dive into the basics of zeroing irons and help you get your sights set up.
By the end, you’ll be a zeroing pro!
Table of Contents
Loading…
Adjustments Only Go in Four Directions
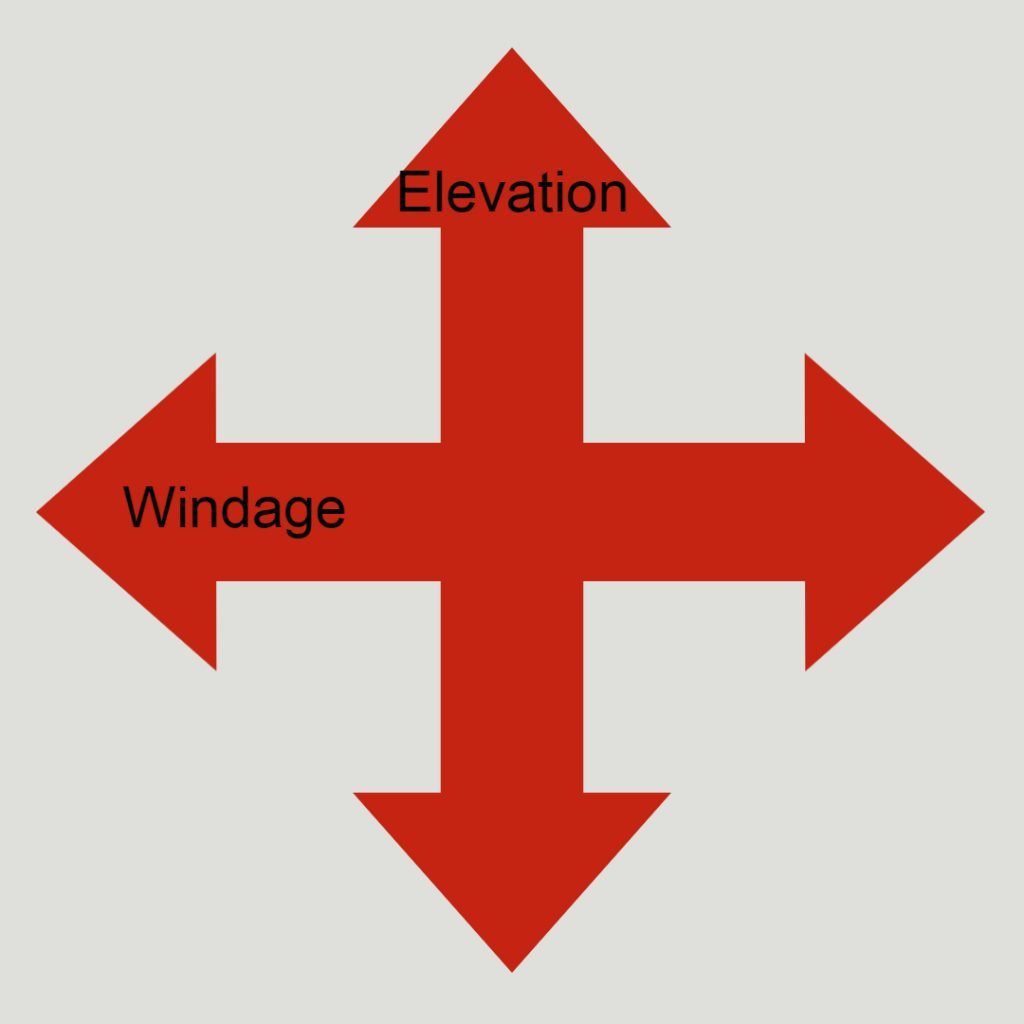
Basically, you are only making adjustments either up and down or left to right to zero your iron sights.
Elevation is the fancy word for your up and down adjustments. When you are hitting high or low, you adjust your elevation to correct the issue.
Windage is the fancy term for left and right. When your shots are landing left or right of the bullseye, you adjust the windage.
The Difference Between Point of Aim and Point of Impact
Point of aim and point of impact are two terms we’ll be tossing around a lot here, and I want to make sure we all understand what these terms mean.
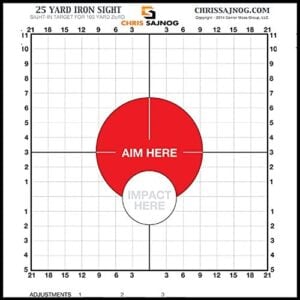
Point of Aim (POA) is what you are looking at when you align your sights.
Point of Impact (POI) is where the bullet is actually striking the target.
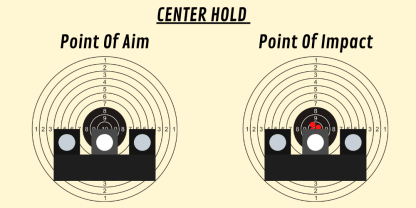
Your point of aim might be dead on the bullseye, but your point of impact can be high and left.
When zeroing iron sights, your overall goal should be to make your point of aim and point of impact align and be the same thing.
Understand Your Sights
Iron sights do not adjust universally and can vary greatly depending on the weapon and the sights it’s using.
Keep in mind that sights only adjust up and down and left to right. You need to determine which part of your sights manipulates elevation and which part manipulates windage.
Sights are not only different between rifles, handguns, and shotguns; they can vary within the same category. Take, for example, the AK series and the AR series of rifles.
Most AKs use the rear sight to dial in elevation, whereas A1-Atyle ARs use the front sight to do so.
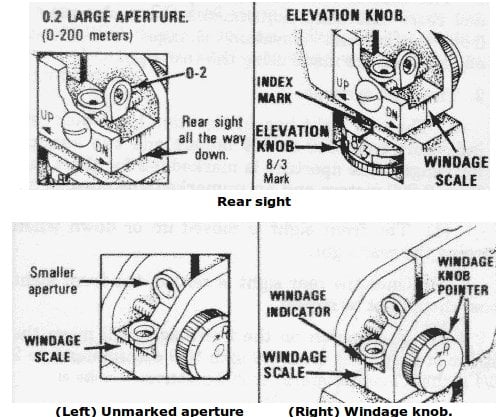
The same goes for handguns. Some handguns have fully adjustable sights, and others require you to drift the rear sight and swap the front sight for a taller or shorter model.
The direction you adjust will depend on whether your front or rear sight makes the windage and elevation adjustments. Iron sights are nowhere near as simple as they might look.
Adjusting Elevation
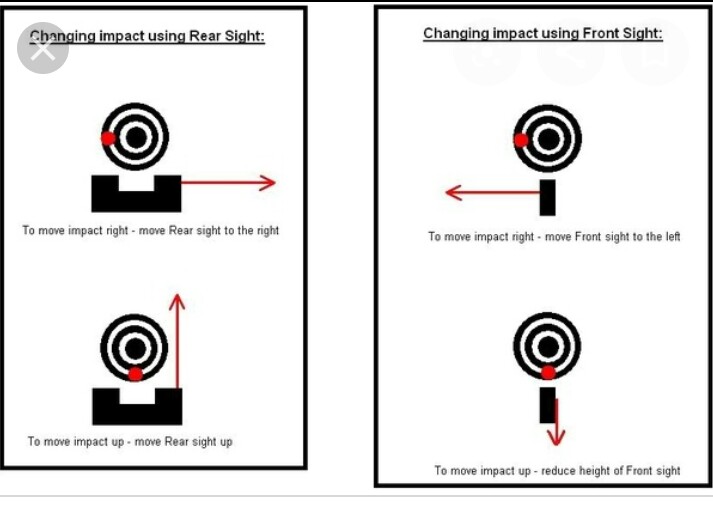
If your front sight makes elevation adjustments, then you’ll need to move the front sight in the opposite direction of where you want your POI to move.

If you fire and strike the target higher than desired, the front sight should be adjusted upwards to shift the POI downwards.
If your elevation adjustments are made with the rear sight, then the rear sight should move in the same direction as your intended POI.
If you fire a shot high, then the rear sight should be lowered.
Adjusting Windage
If your front sight makes your windage adjustments, then the same rule applies.

Shot lands left? You need to move your front sight left to shift the POI right.
If your rear sight makes your windage adjustments, then your sight moves in the same direction you want your POI to shift.
If you are hitting to the left of your bullseye, then you shift your rear sight to the right.

Before you ever load a magazine to hit the range, you need to understand how your sights work and how to make these adjustments. Checking the manual or online is typically your best bet.
Properly Align Your Sights
Adjustments won’t make a difference if you don’t properly align your sights.
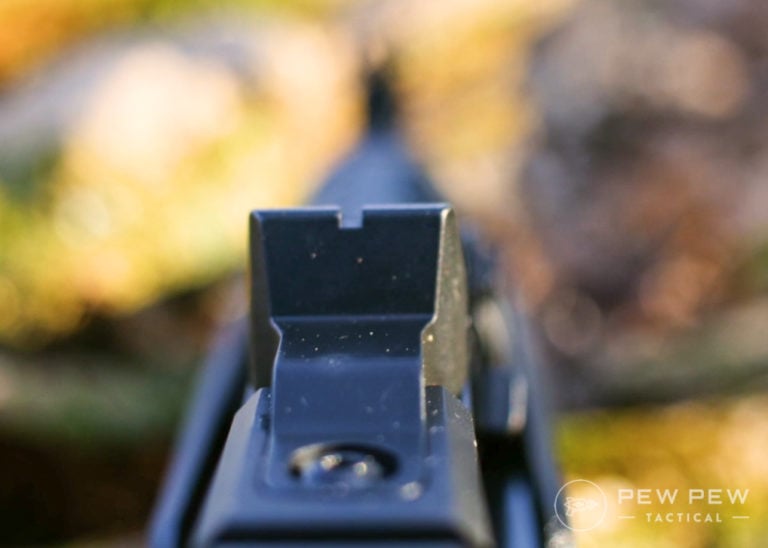
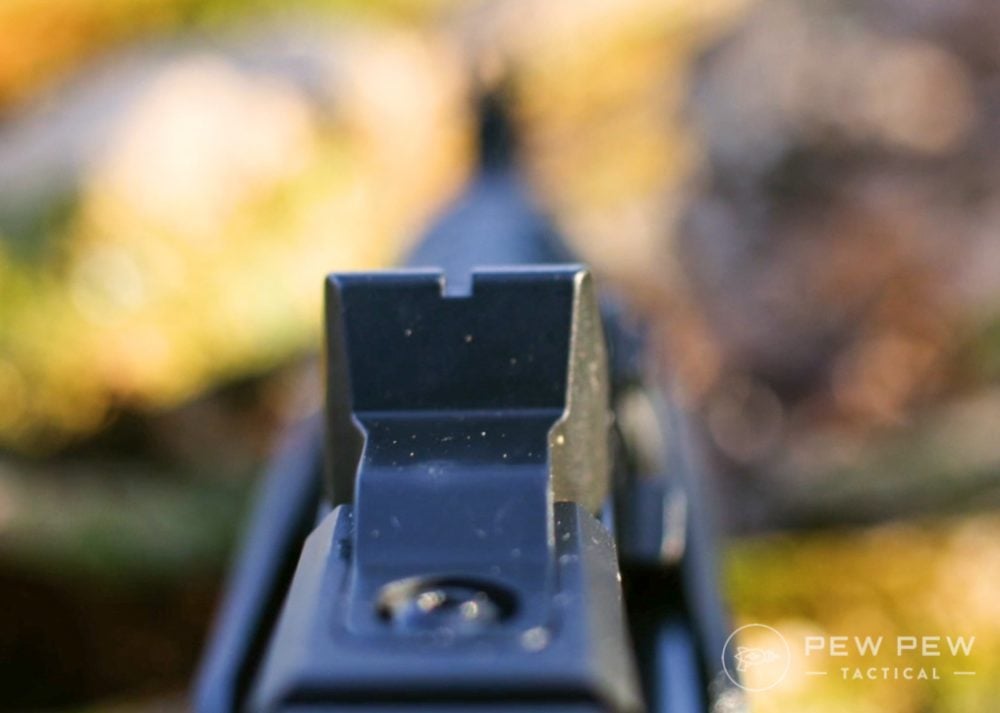
With open sights, you place the front sight between the two posts of your rear sights.
You want the front sight sitting as perfectly and as evenly between the two rear posts and flush across the top.
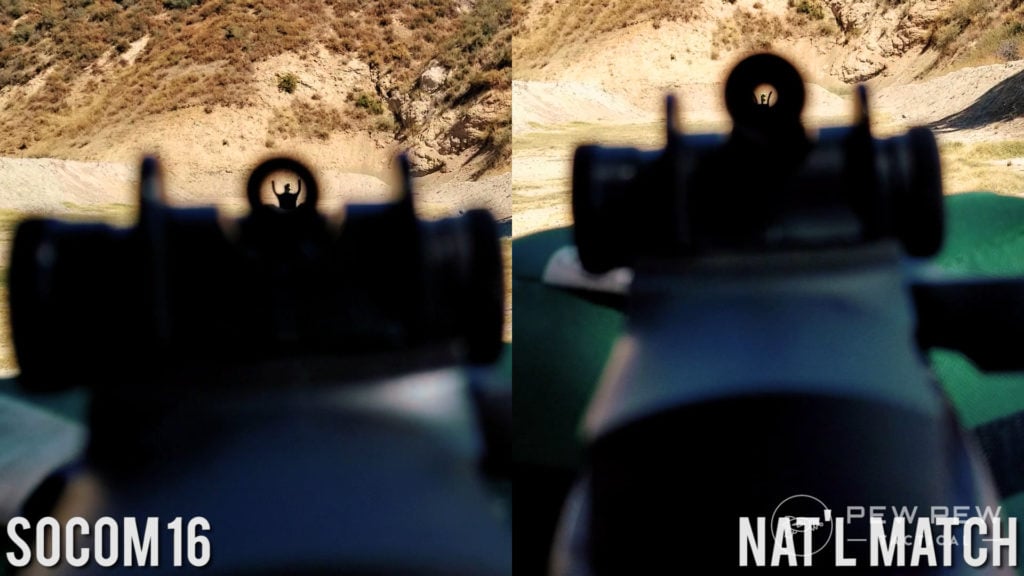
With peep sights, you place the front sight in the middle of the peep sight as best as possible. The smaller the peep sight, the easier it is to be precise.
How to Zero Iron Sights
Ok, so now that we have a basic understanding of irons and how to properly shoot with them, let’s get into the basics of zeroing.
Find a nice clear day when you can comfortably shoot at your desired range.

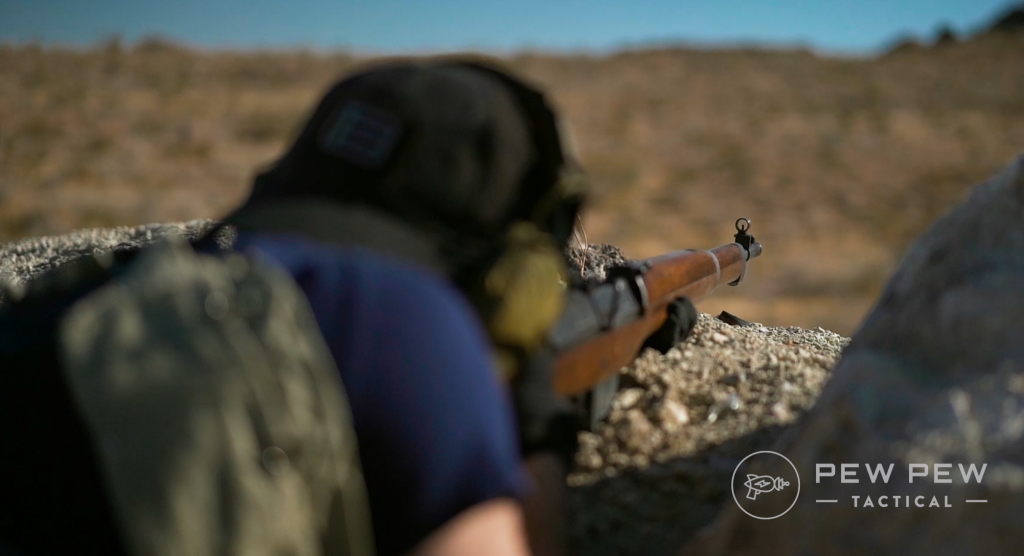
When zeroing rifles, we recommend shooting prone with a support or shooting off a bench to improve stability and remove as much human error as possible. Shooting a handgun while seated and supported is also recommended.

The distance, otherwise known as the range, at which you zero will depend on a wide variety of different factors, like the type of gun, caliber, and intended purpose.
A handgun and a rifle are most certainly zeroed at different ranges, and the same goes for different calibers.
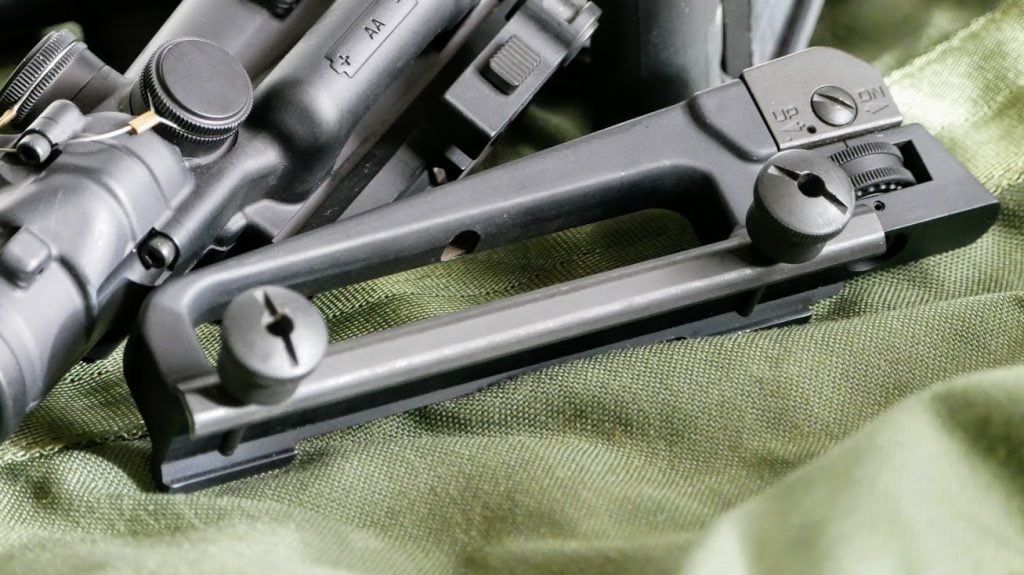
With a rifle, I’d suggest learning the ballistics of your round from your gun. Some popular platforms have something called battle sight zeroes.
These battle zeros, like the 50/200 yard zero with an AR-15, allow you to easily hit targets from 25 yards to 200 yards.
Additionally, you can zero the old-school way from a set distance that you’ll know you’ll be shooting at.
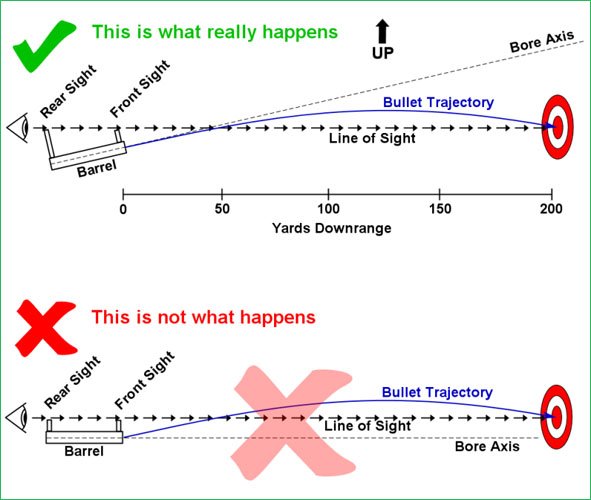
Handguns, especially defensive handguns, can be zeroed at 15 to 25 yards for reasonable shooting.
The range you select for your zero is completely dependent on your weapon and your use case.
The Target
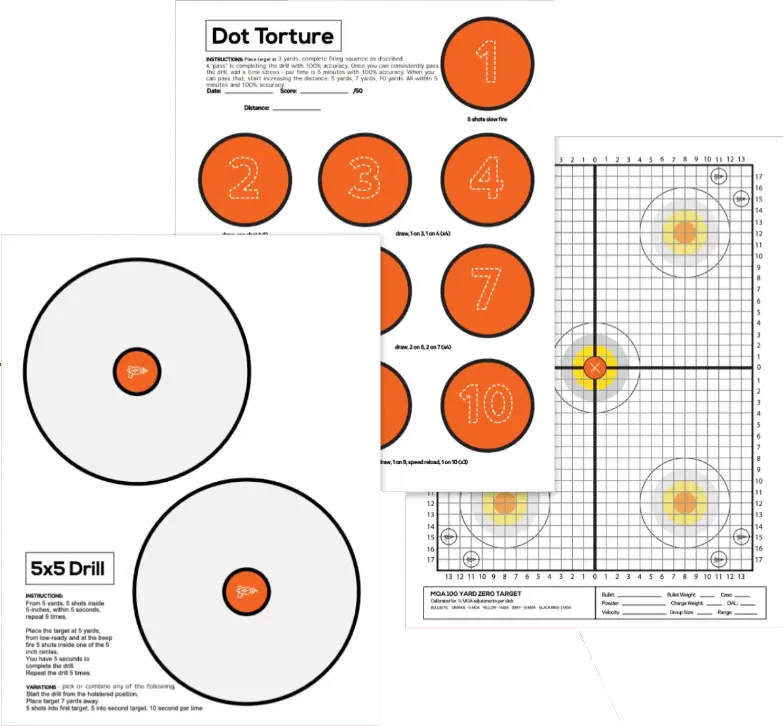
There are zero-specific targets, especially for those shooting AR-style rifles.
They can be handy but are not necessary. I do suggest a nice big target, at least — just in case your sights are so badly off that you need a big target to be on paper.
Prices accurate at time of writing
Prices accurate at time of writing
-
25% off all OAKLEY products - OAKLEY25
Copied! Visit Merchant
I prefer a traditional bullseye or grid-type target.
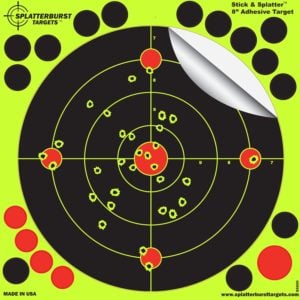
My all-time favorite is a target with a multitude of bullseyes—one in each corner to compliment the one in the middle.
Prices accurate at time of writing
Prices accurate at time of writing
-
25% off all OAKLEY products - OAKLEY25
Copied! Visit Merchant
These targets allow you to zero and confirm your zero on another bullseye without swapping targets.
Throwing Lead
Finally, your range is established, your target is set up, and you have a good stable shooting position. Now, to the fun part!
Load your mags, pop on your ear and eye pro, get tucked in nice and stable, take your time, and slowly fire three rounds with the best degree of sight alignment, trigger control, and grip you can summon up.
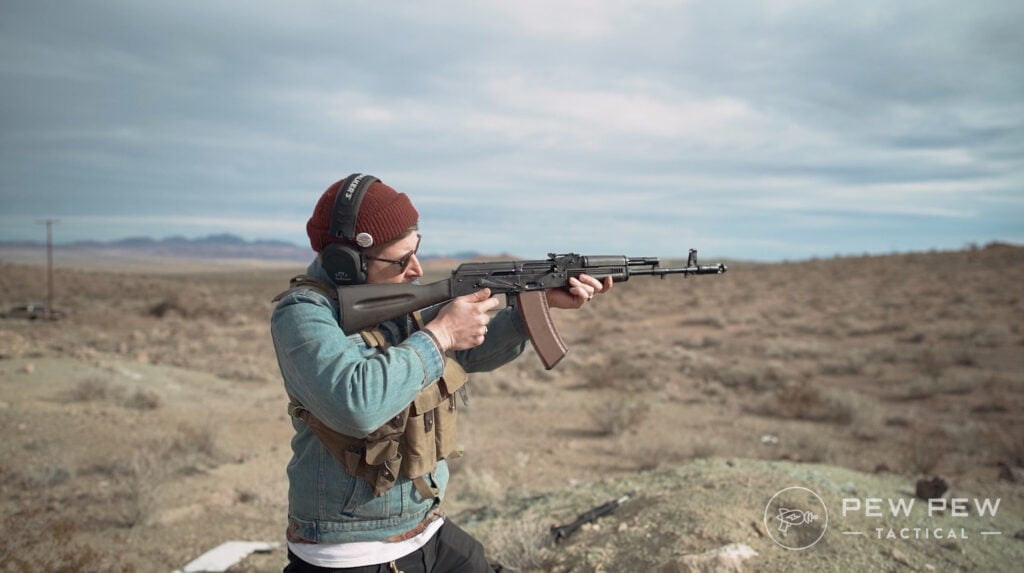
After you’ve fired these three rounds, trot your down range or use your spotting scope and observe your shot group.
From here, you can do two things.
You can do the efficient and fancy thing and measure how far your group is from the bullseye. If you know your sight adjustments in MOA, you can do the math depending on your range and dial it in precisely.
This is easy with A2/A4 style sights on AR15s, but with other guns, it’s a little tougher to do so.
If that’s too much math, you can do things a little less efficiently but more straightforward.
Observe your group and see where your POI stands in relation to your POA. How far above/below or left/right is it? Note it mentally, or even snap a pic with your phone.
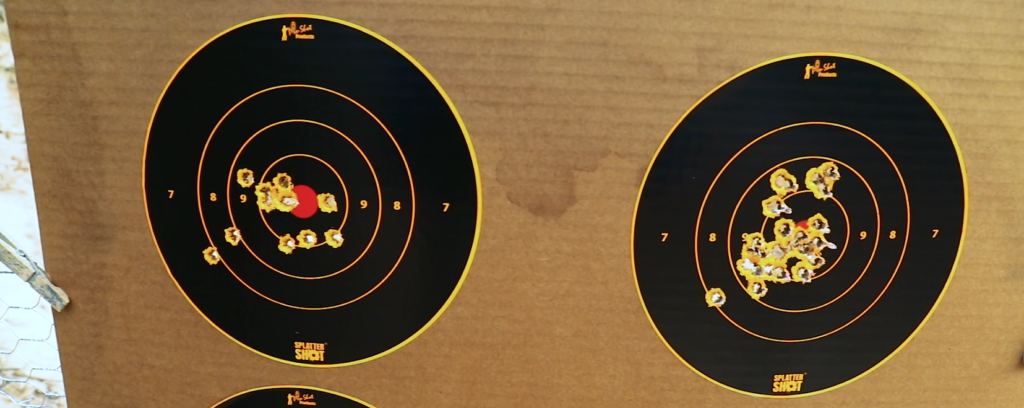
Go back to your gun and make conservative adjustments to try and push the POI to your POA.
Fire another three rounds and observe and adjust.
Repeat until your POI is aligned with your POA.

Final Thoughts
Zeroing is not a race, so take your time, get comfortable, and make it count. Learn your sights and how they function. Then take that knowledge to the range and get to sighting!
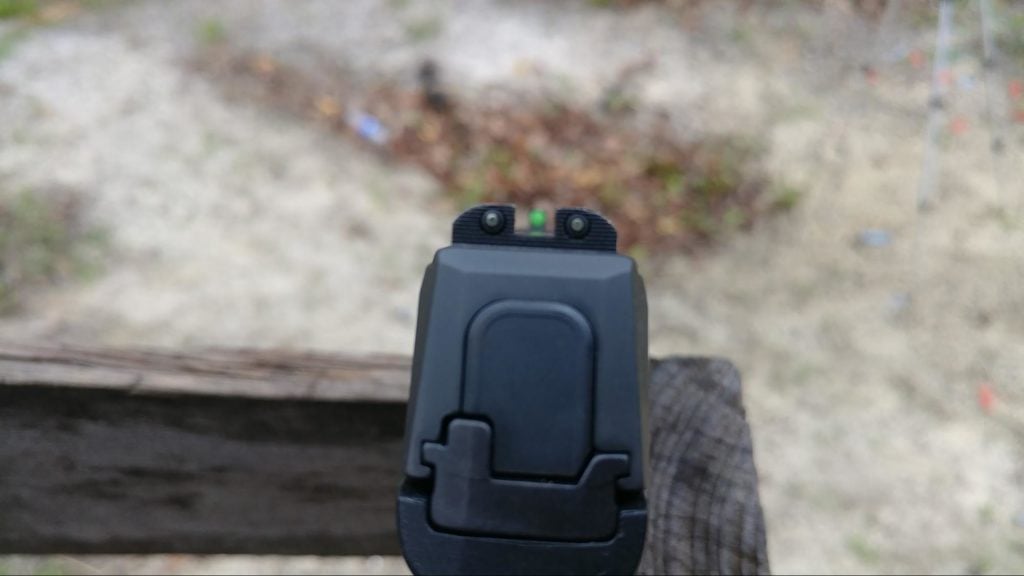
Remember, don’t be afraid to write elevation and windage instructions down if necessary. I’ve zeroed lots of weapons, and honestly, I still forget which way to adjust sometimes.

Most importantly, take your time. Make sure you are exercising the proper fundamentals. Throwing shots because of a flinch or crappy positioning will make zeroing awfully tough.
Please share your tips, tricks, and methods for zeroing iron sights in the comments below! Need sights? You’re in luck! Check out our round-up of the best Back Up Iron Sights for your AR!




2 Leave a Reply
Sometimes sites are way off from the factory and/or from people mounting them. I usually recommend setting up at a shorter distance just to ensure you are getting on paper. Otherwise, if you try to zero at something like 100, you might not even be getting on target because the settings are way off. Shoot at 25 to make sure you are on paper a couple shots, then adjust if you are not, or move out to get your actual zero if you are on target.
Great article and good advice on writing things down. My first zeroing took me a good 30 minutes or so due to just winging it. Too many waisted bullets too. Defined no shame in taking your time and writing things down. Carpentry term comes to mind measure twice cut once. Stop waistline bullets shooting with minimal adjustments, do the math, make the adjustment then shoot. No short cuts.