
Learn how to quickly install your Hiperfire Trigger. It might seem a little difficult but I walk through everything with tons of pictures and lessons learned.
Tools Needed
- Hiperfire Trigger: In this how-to, I’ll be using their top-of-the-line Eclipse trigger ($275), but the installation will be almost exactly the same for the other triggers. I love their triggers since it has almost no creep, a crisp reset, and a 1911-esque 2.5 lb trigger (other weights too based on spring selection).
- Screwdriver or punch: I only needed this to install the heavier spring which actually gives the lightest trigger pull and hardest hammer strike strength.
Installing the Hiperfire Trigger
Start with an unloaded AR-15 rifle and disconnect the upper receiver from the lower. All we’re going to need is the lower.
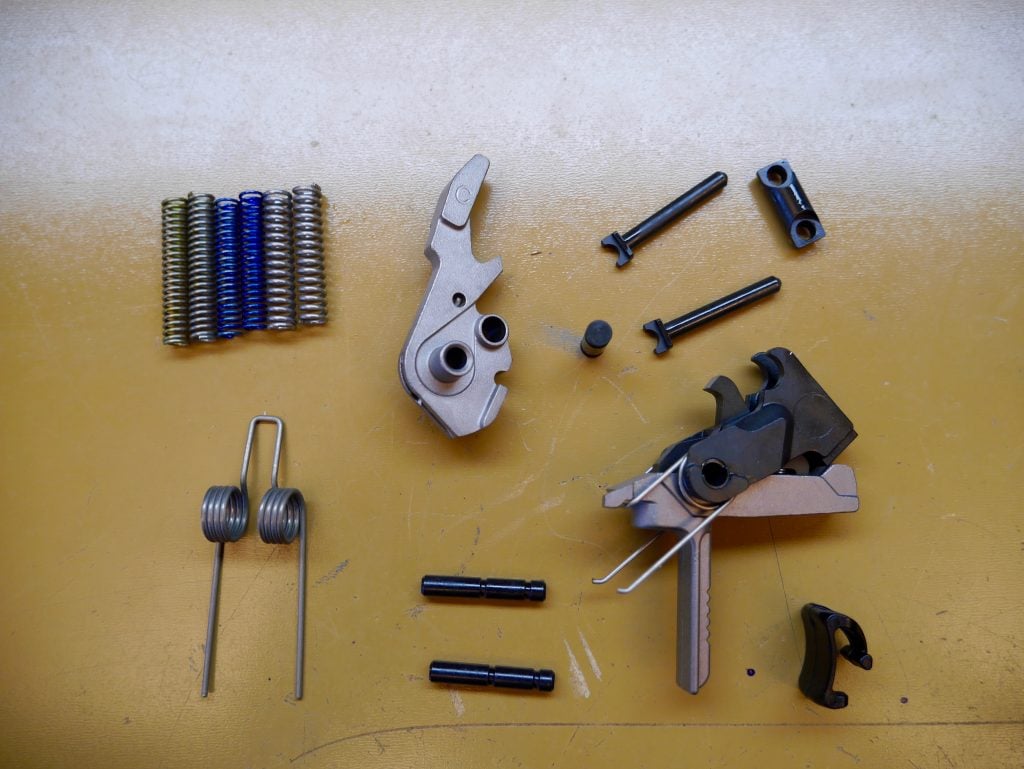
It’s a lot of parts and I was a little scared, but the instructions that come with the trigger are pretty good. And you’ve got my visual guide here too!
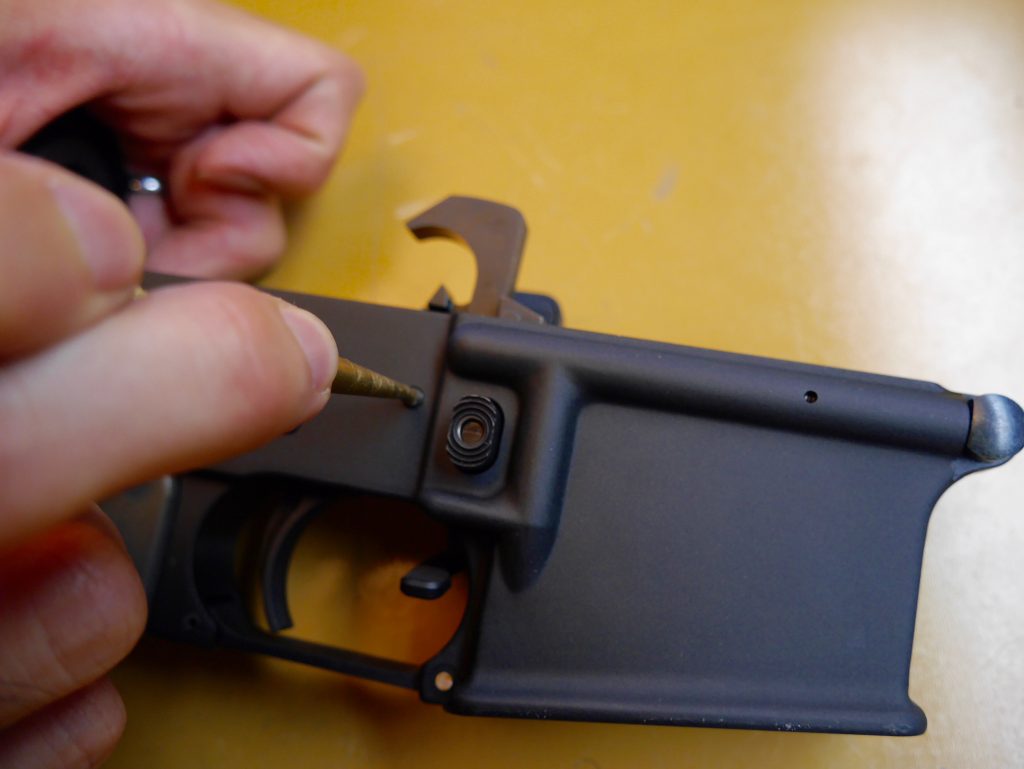
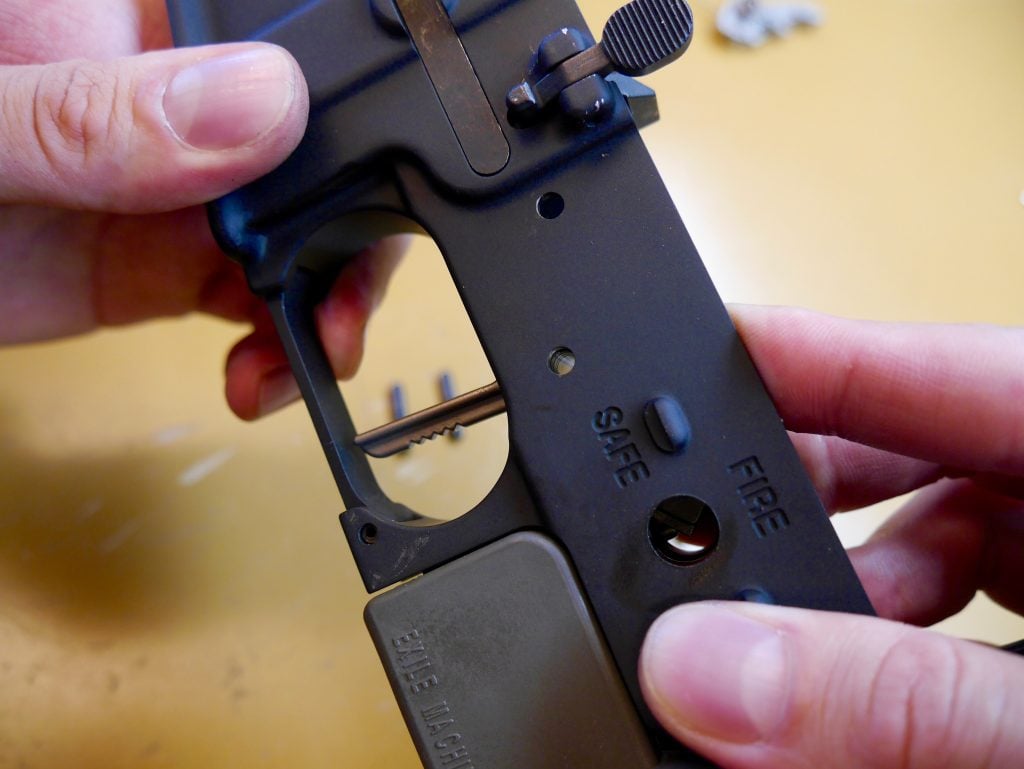
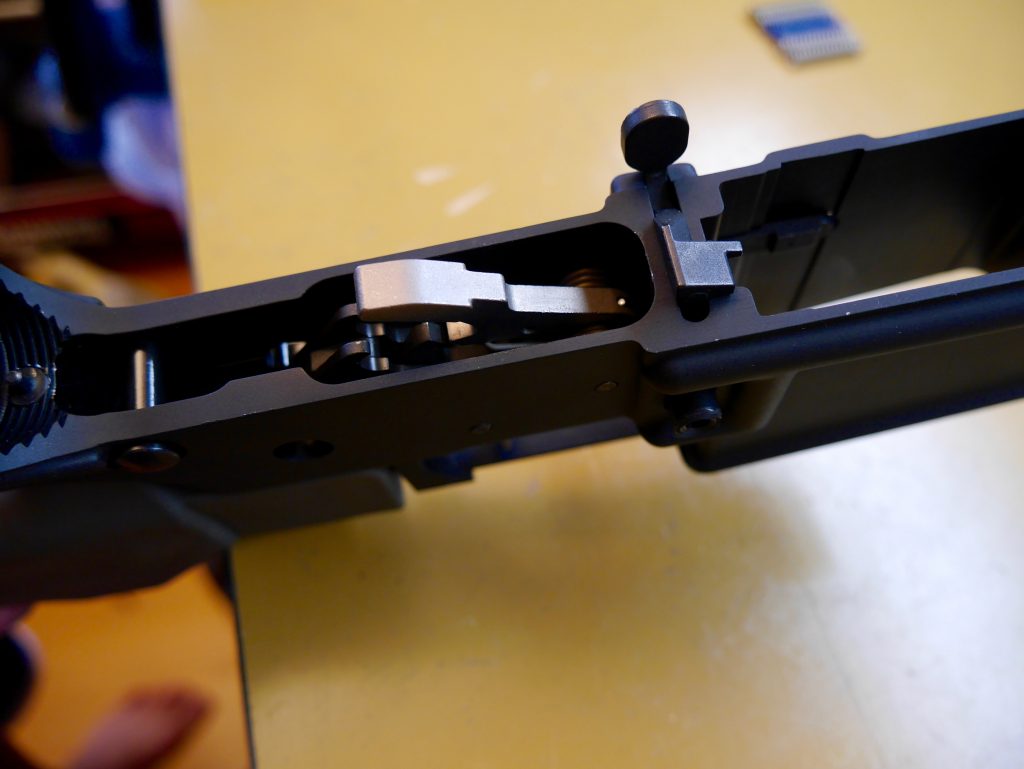
Remove the stock hammer pin to release the hammer. If you have the Magpul BAD Lever installed, you will have to remove that first since it blocks the removal of the pin.
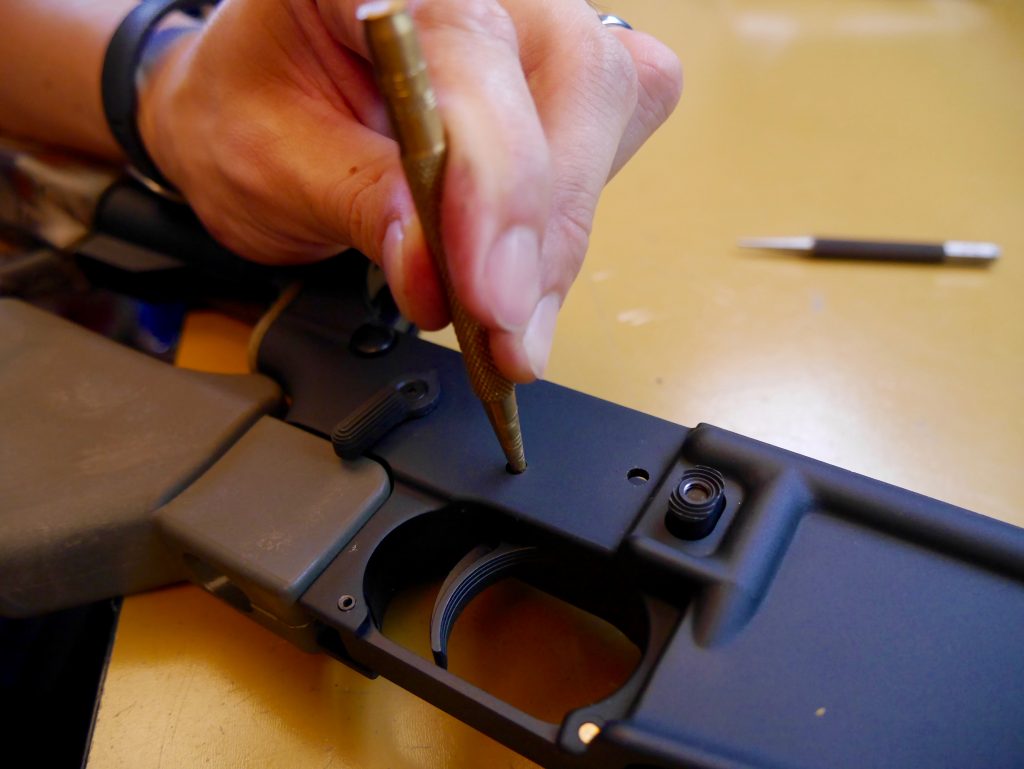
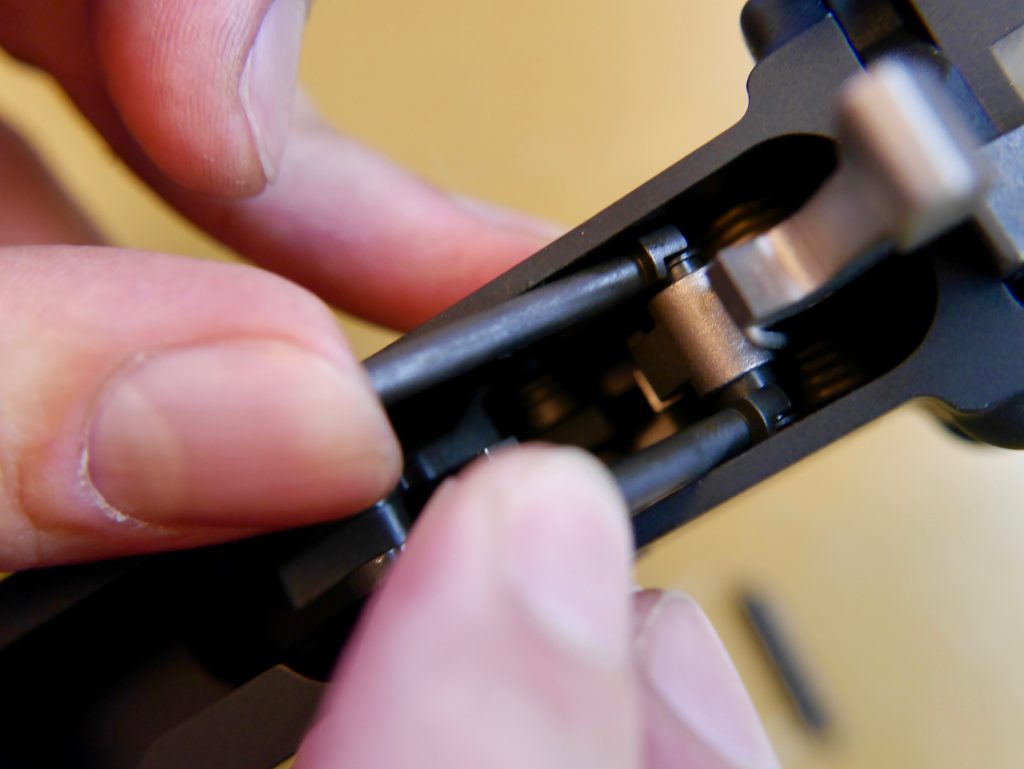
Followed by the second trigger pin.
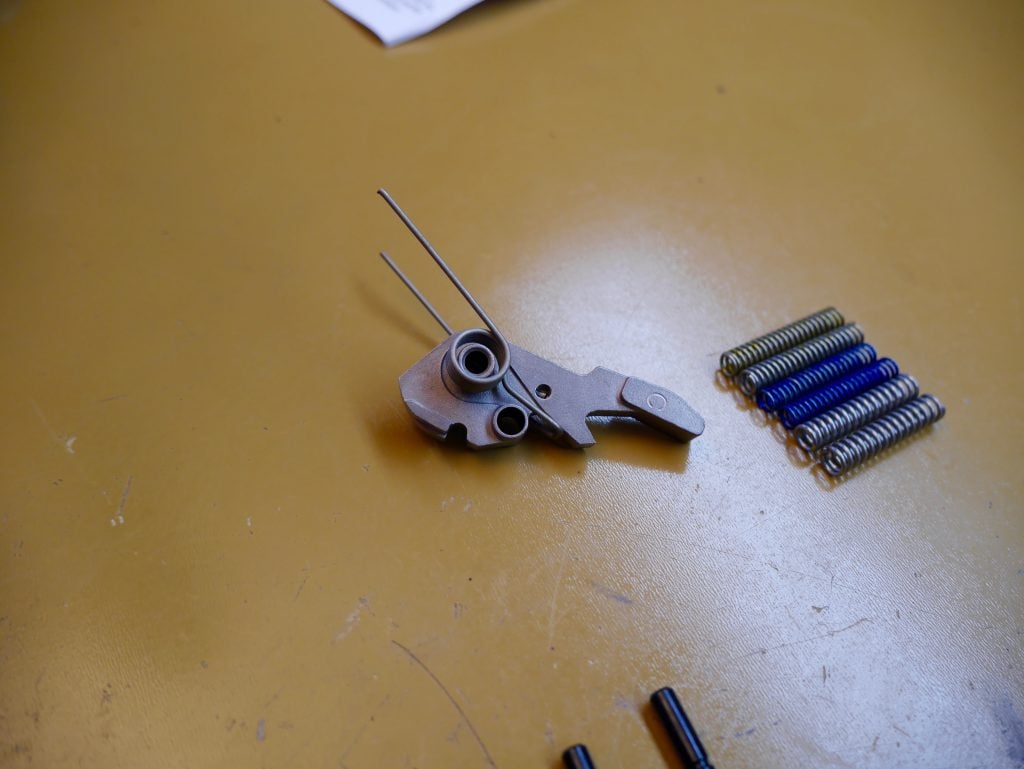
Install the spring on the hammer like shown above.

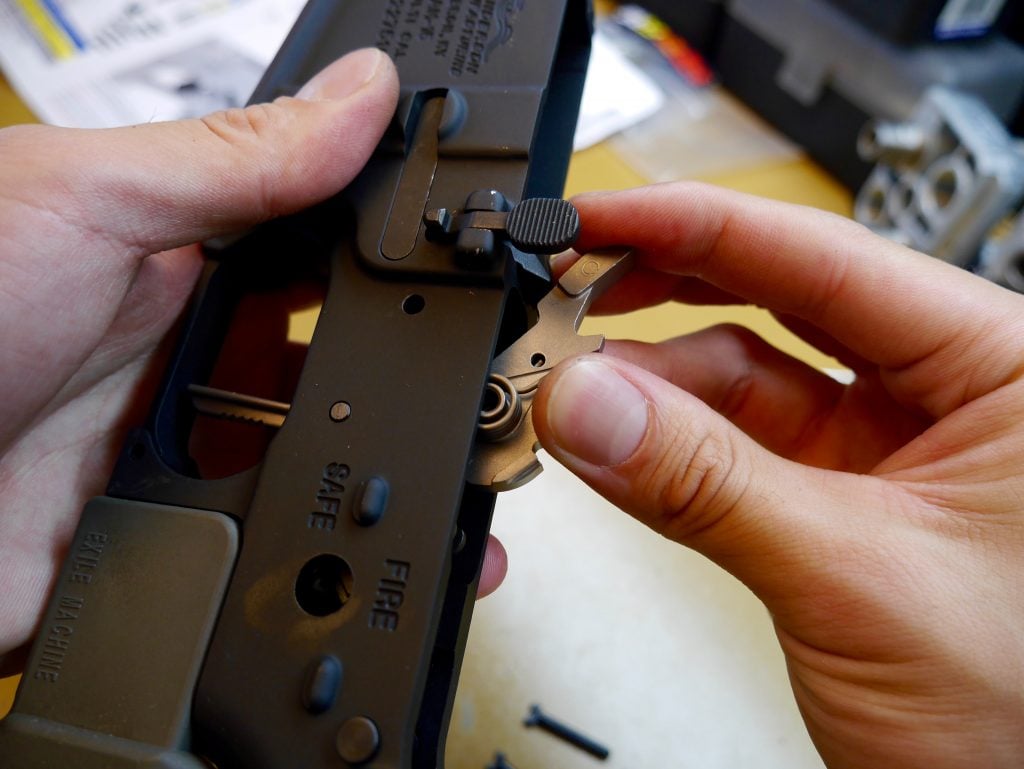
Drop in the trigger assembly. Mine came pre-assembled but the written instructions give a really good guide on how to put it together. Note that my safety was not installed at this point. I would install it prior to the trigger and first pin. If you don’t, the trigger will not work correctly (found out the hard way).
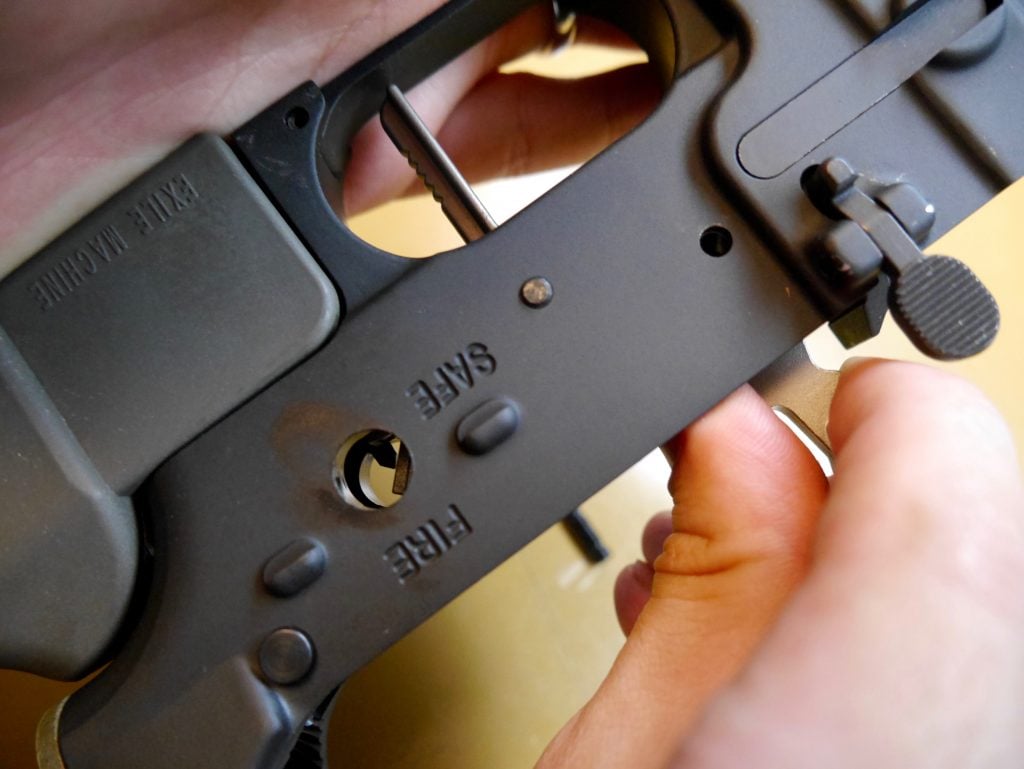
Align the pinhole and insert the pin.
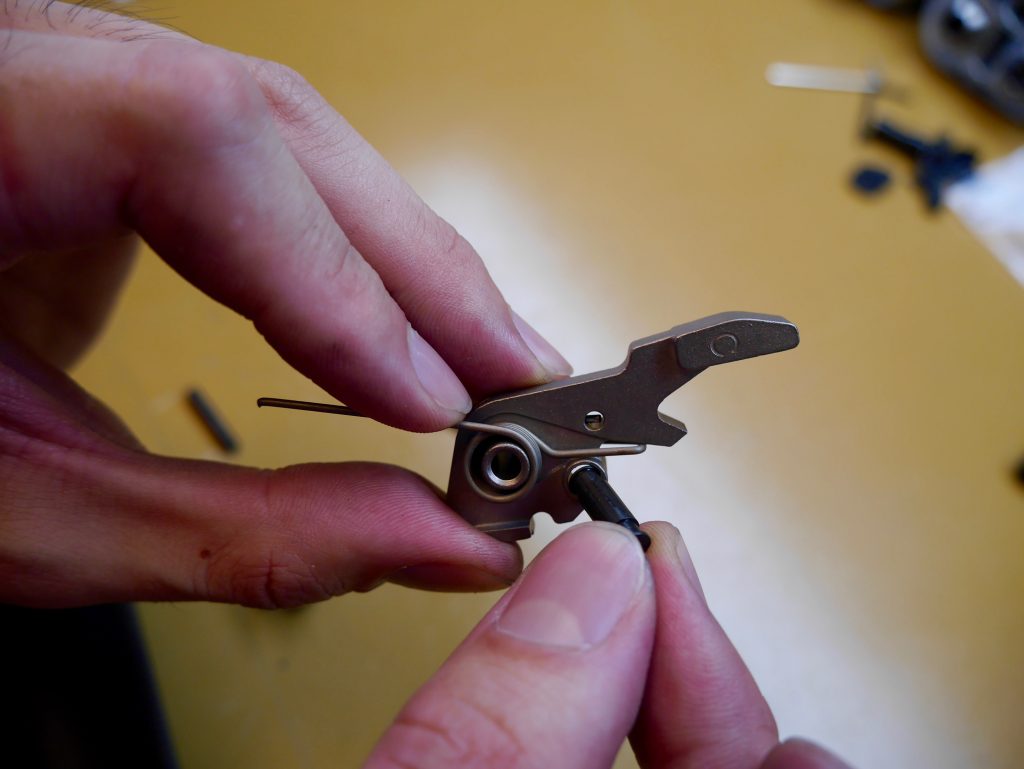
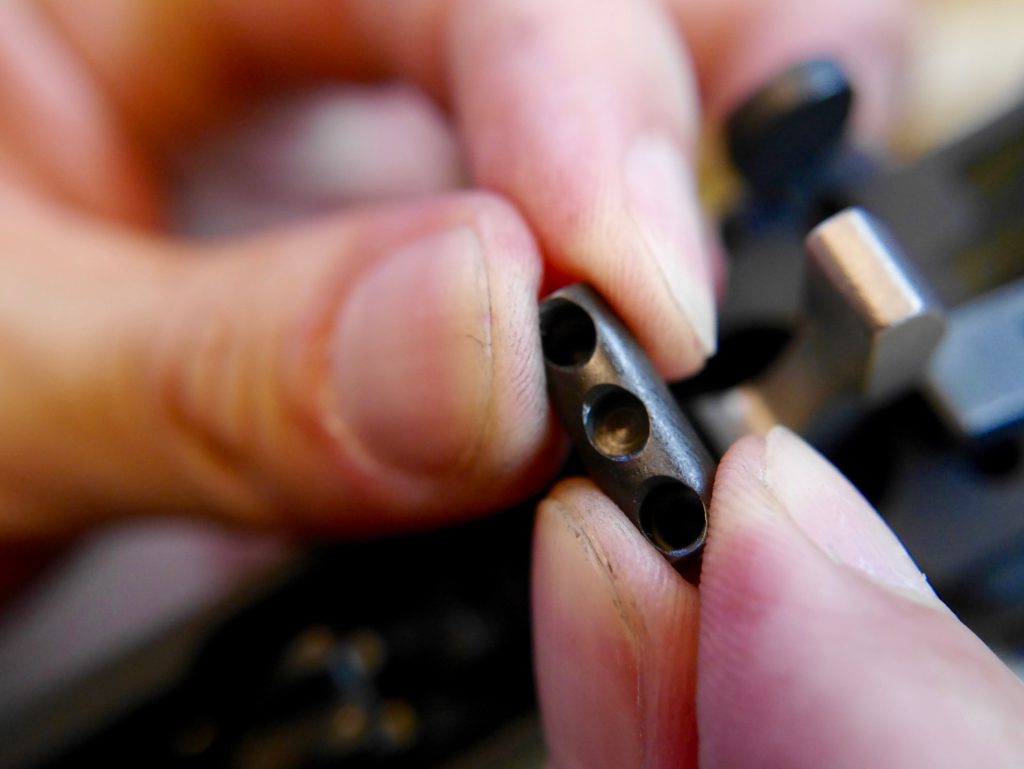
Take the hammer with the spring installed and add in the black toggle into the extra hole.
Place the feet of the springs towards the back of the receiver so when you push down you push against the force of the spring.
Align the hammer hole and get ready to insert the pin.
I like the cock the hammer so it’s easier to get the rest of the pin through. Once the pin is installed, I gently ease the hammer forward so I can get access to the toggle.
Take the two black posts and place them on the toggle you added to the hammer earlier. Note that I put them in the wrong way (another lesson learned the hard way…the things I do for you guys).
The posts should face outwards like shown.
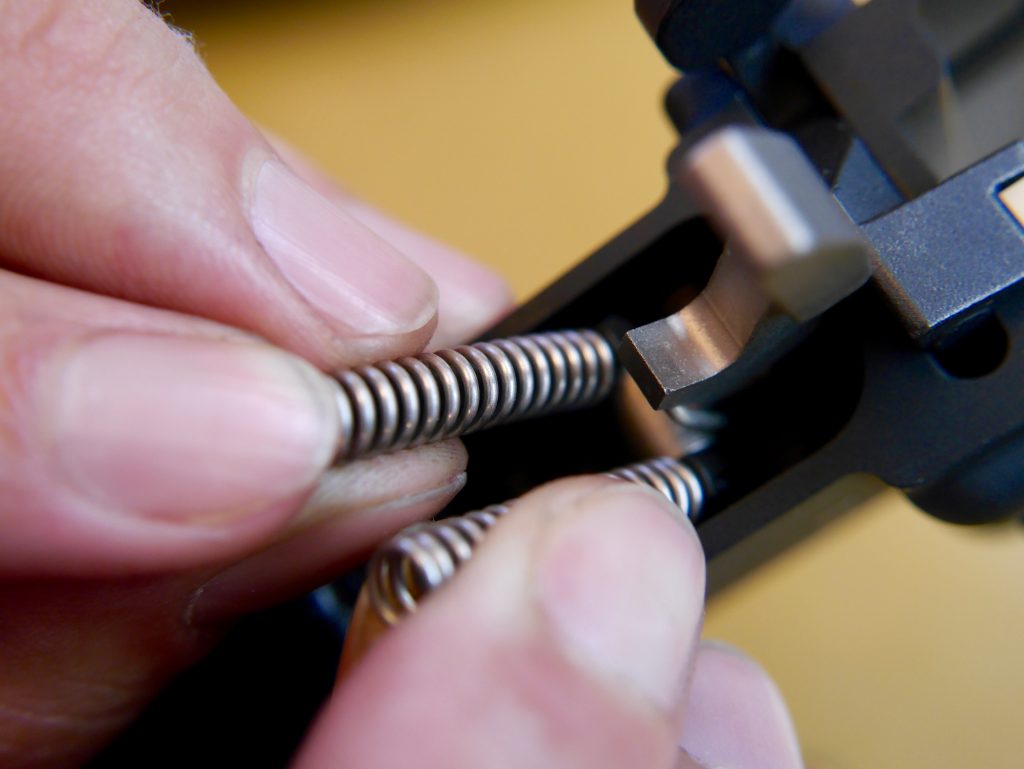
Add your springs onto the posts. I chose the silver colored ones which are the stiffest but give the lightest trigger pull (2.5 lb) and most hammer power to ignite even the most hard of primers.
Here takes a little practice, especially with the stiffer silver springs. Add the spring retainer which has a dimple in the middle and two holes on the sides for the posts to poke through.
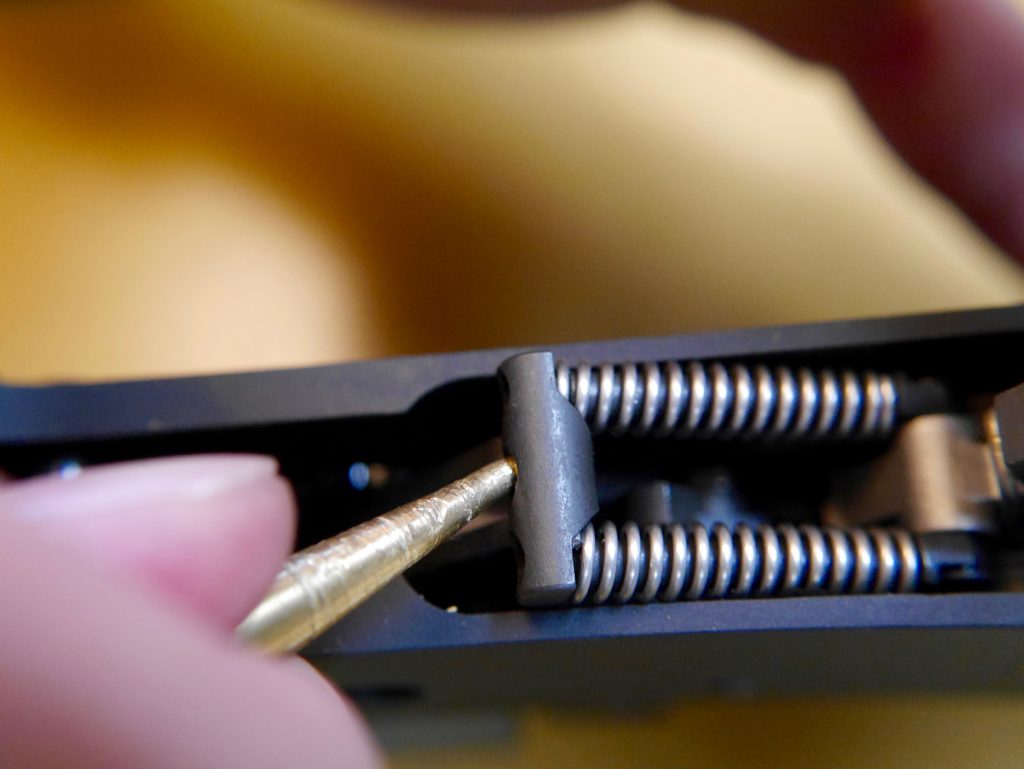
I use a punch to press down on the dimple and move the toggle switch down. If you’re using the other yellow or blue springs, I found I could do it with just my hands.
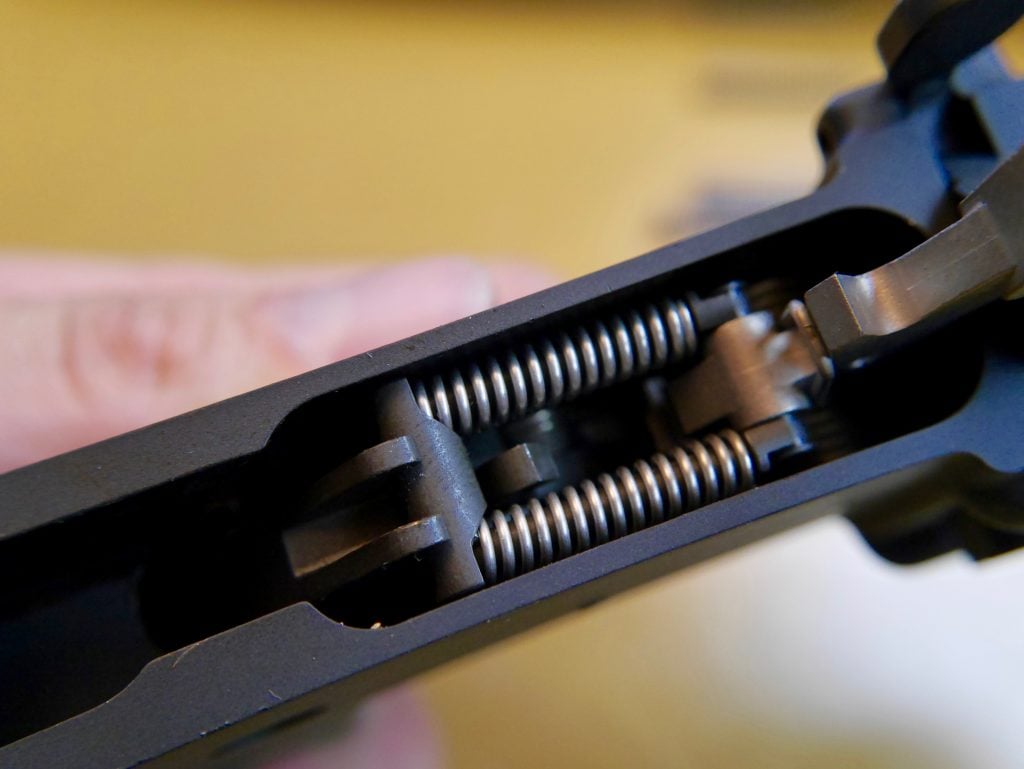
There it is…the completed Hiperfire installation! If you want to try out the different weights of trigger, just press in the retainer and carefully move it up to change out the springs. I found that the other springs gave me 3.5 and 4 lbs.
I initially tried it with just the straight post, but then decided to install the “Hipershoe” which I can’t live without now. You can either install it by inserting it on when you install the first trigger pin assembly, or by taking apart the trigger guard (much easier).
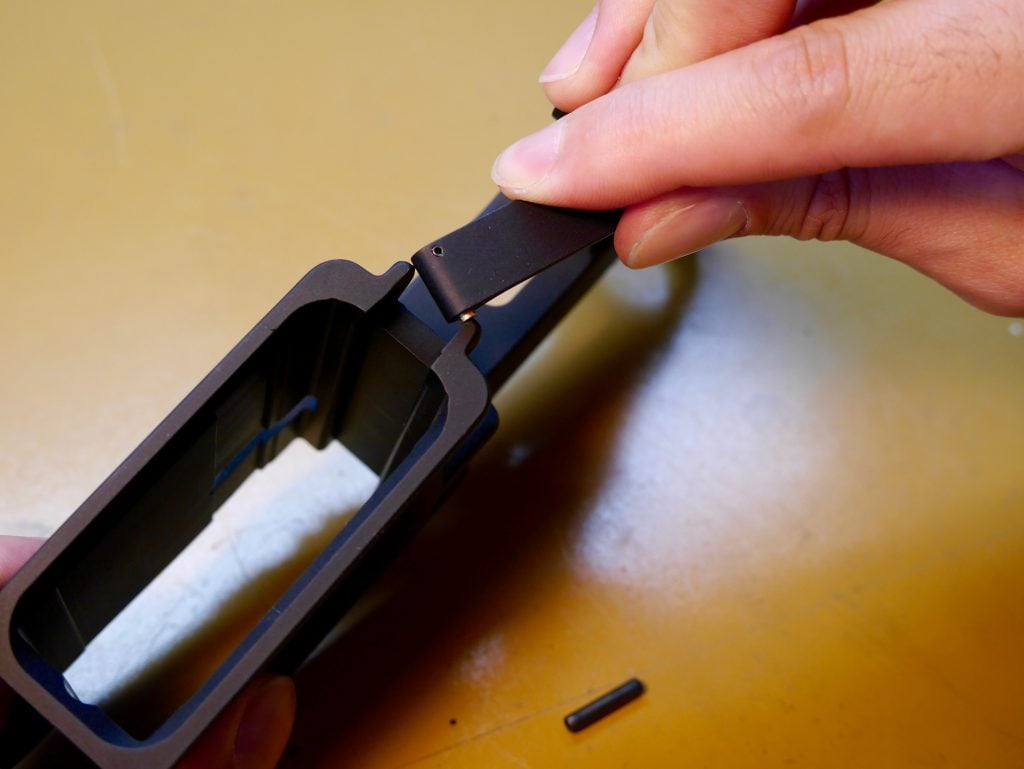
Just press in on the pin and the trigger guard should flip out easily.
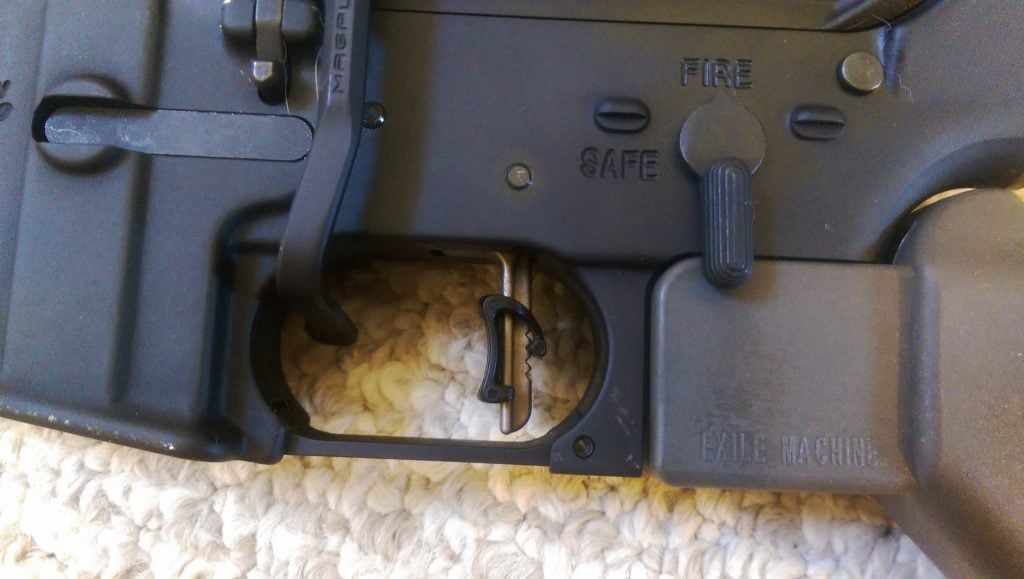
Play around with the up and down distances and I bet you’ll love it too. It gives my finger the perfect repeatable place to rest for every shot.
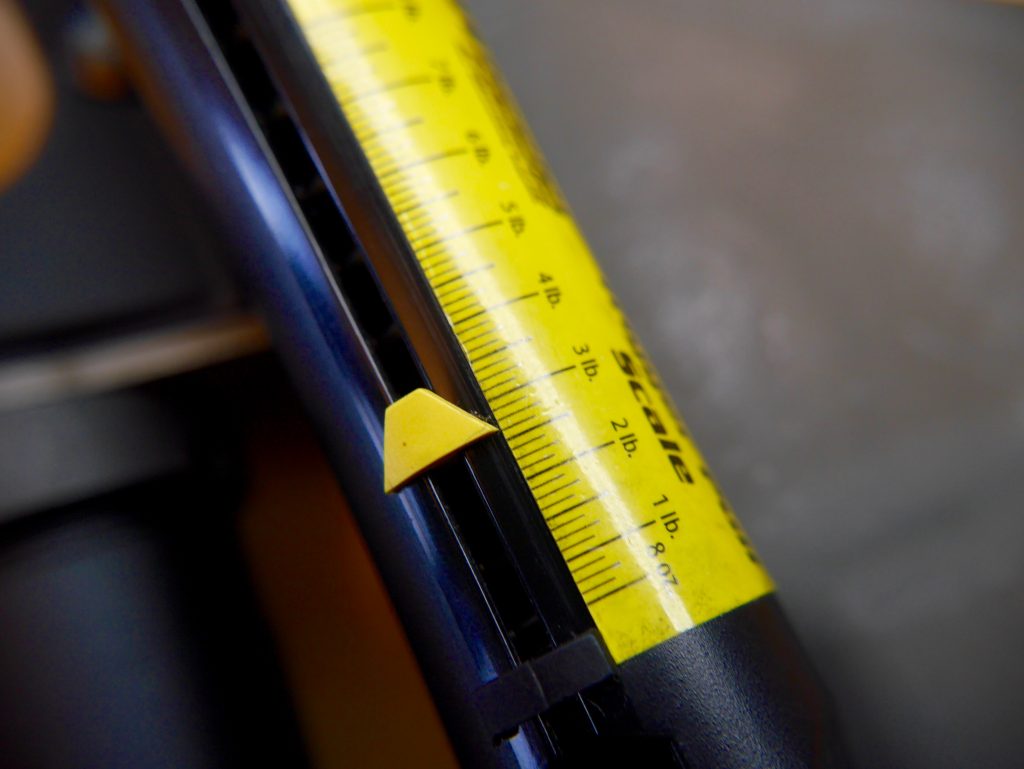
Check out the rest of the AR-15 Guides for more how-to’s and upgrade recommendations. To test your trigger, you’ll need a gauge. See our recommendations for the Best Trigger Gauges.


2 Leave a Reply
If your trigger guard is one piece and permanent, make sure that you install the "horseshoe when you first place the trigger in the lower.
Good tip, Roger!