If you regularly carry a weapon, it’s because you want to be prepared during a life-or-death situation, right?
Why not also carry the means to clean up the aftermath?
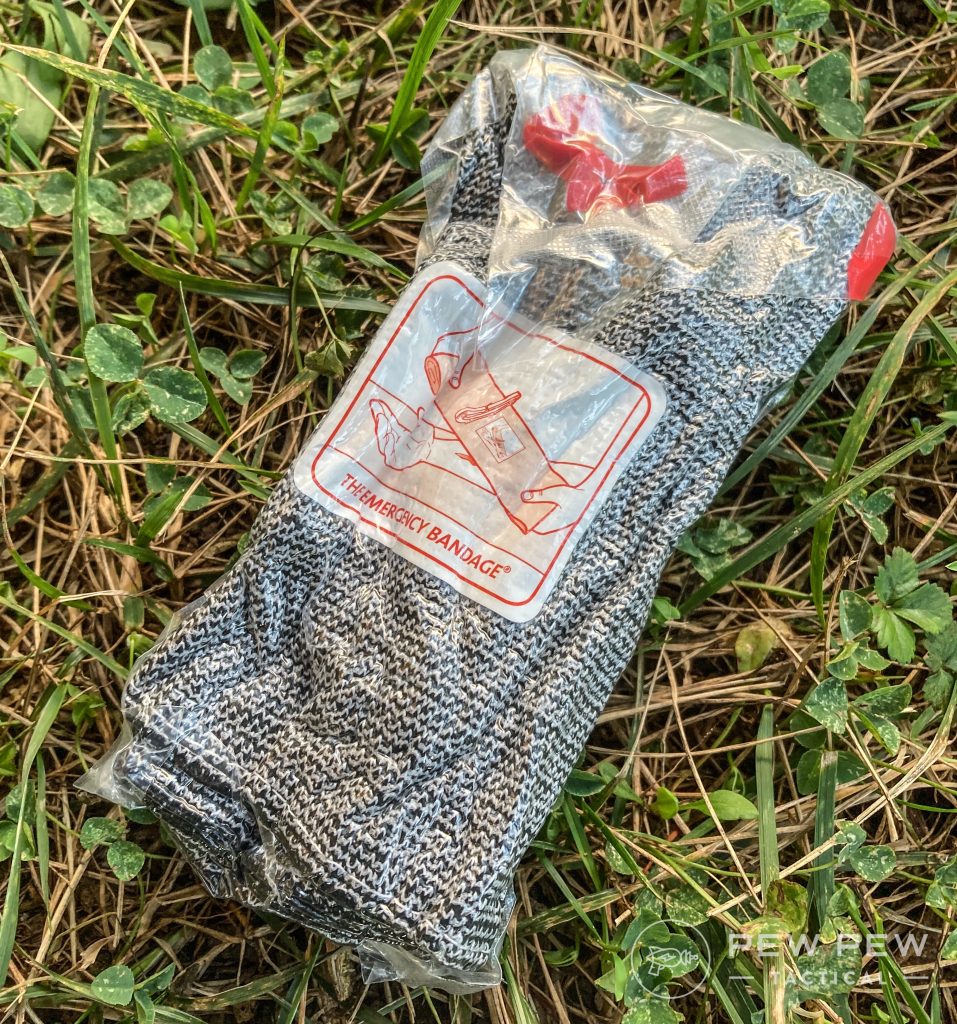
If a bad guy started pumping out rounds, there’s a high likelihood he will end up hitting people. After the threat is eliminated, you now need the means to keep people alive until professional help arrives.
Hemorrhaging is the number one reason people die after a wound — is there not some way that we can minimize blood loss until EMTs arrive on-site?
Fortunately, the answer is yes.
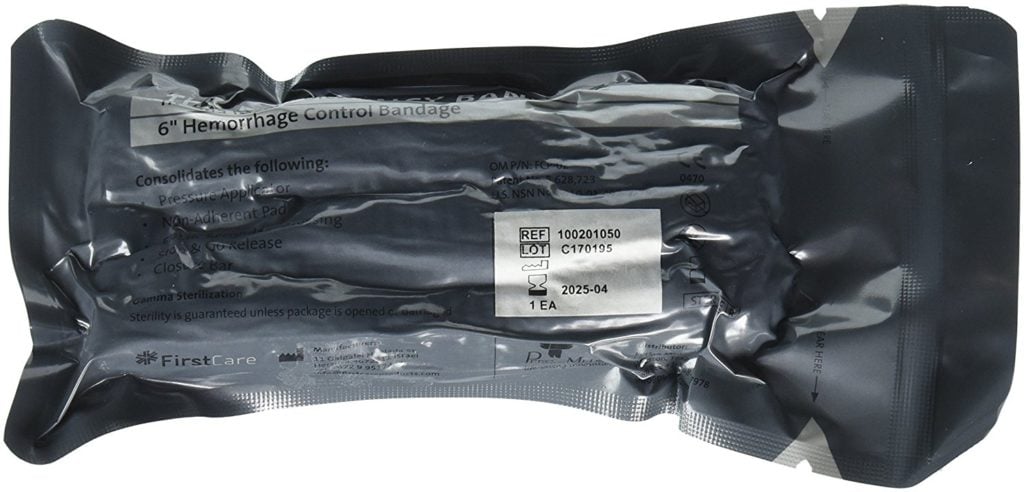
One of those ways is with an Israeli Battle Dressing. Today, we’re going to walk you through what an IBD is, why it’s useful, and whether you might want to stock it in your first aid kit.
So keep reading!
Table of Contents
Loading…
Where Israeli Battle Dressings Came From
Upon immigrating to Israel in 1979, Bernard Bar-Natan was soon drafted into the military in 1983. During his service, he realized that the treatment of injured soldiers on the battlefield could use some serious improvement.
He set his mind to the problem at hand, and the Israeli battle dressing was the result.
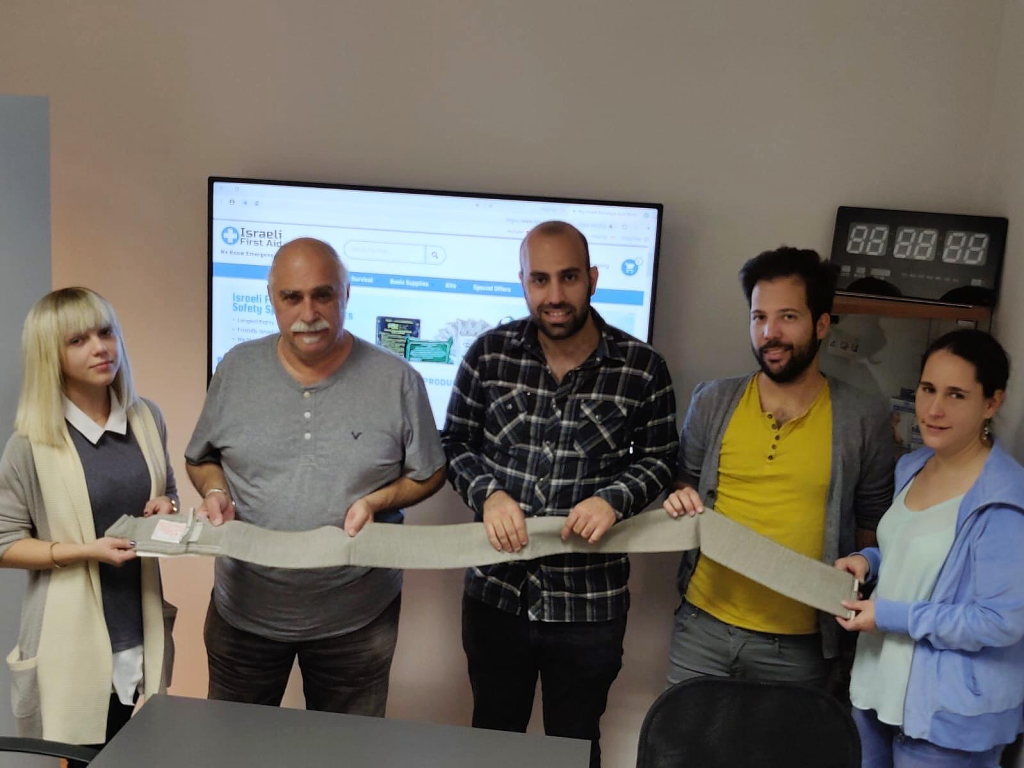
It wasn’t introduced within the U.S. until 2000, but since then, its popularity has spread like wildfire as people have come to realize just how functional of a field dressing this really is.
Why Israeli Battle Dressings Rock
There are several reasons why the Israeli battle dressing (IBD) rocks. To start with, let’s examine the clip. Aside from allowing you to keep a constant 30 pounds of pressure against the wound, the clip also allows the medic to have the freedom to move on to the next patient.
With enough IBDs, the medic can apply wound pressure to a whole host of injured people.
The clip enables one-handed wound compression as well. This makes it great for self-application if you end up injured at the scene of an active shooter event, earthquake, tornado, or whatever type of disaster is at hand.
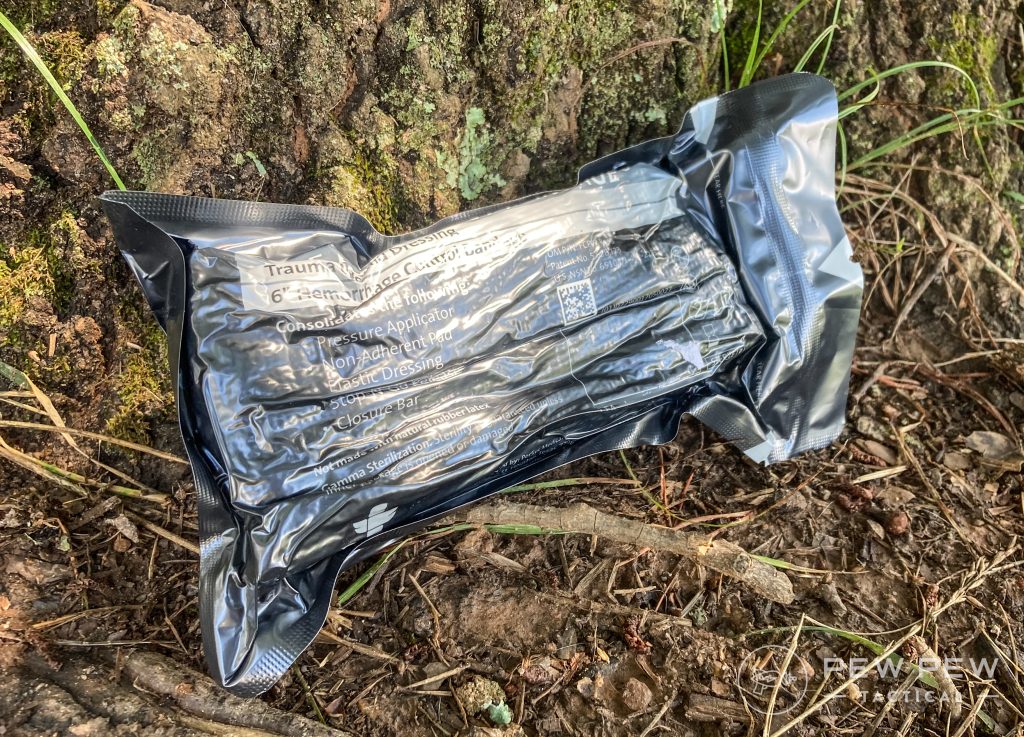
How to Use an Israeli Battle Dressing
It doesn’t do you much good to have an IBD yet not know how to use it! I highly recommend purchasing one you can open and train with so that you know what to do without hesitation when it matters most.
Let’s take a look at how to apply an Israeli Battle Dressing in different scenarios.
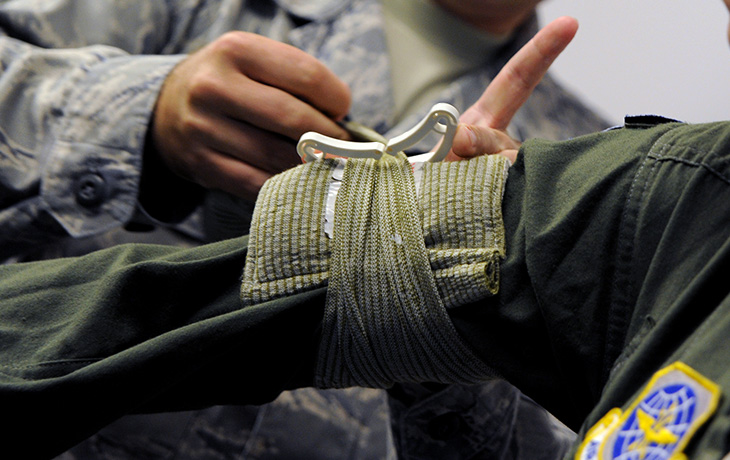
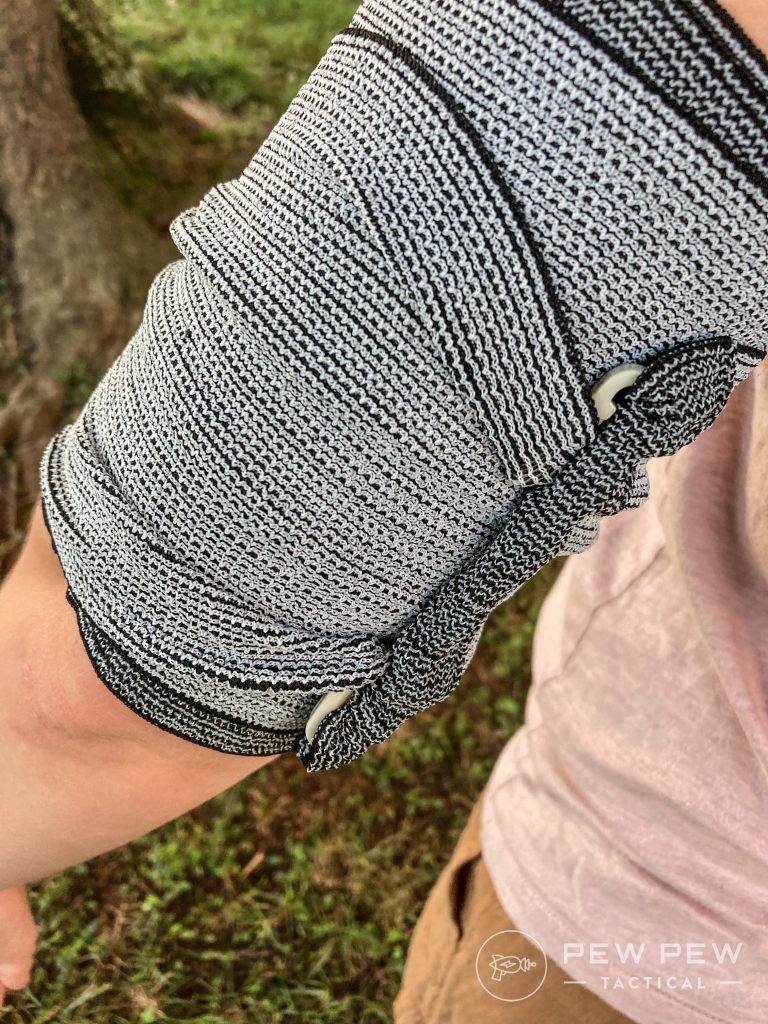
On a Limb
You’re out hunting squirrels with a friend when he trips. In the process, his .22 LR rifle catches on a branch as his left arm extends in front of the barrel to catch himself. He ends up putting a bullet through his left forearm.

How could an IBD be used here?
To start with, put the pad on the wound.
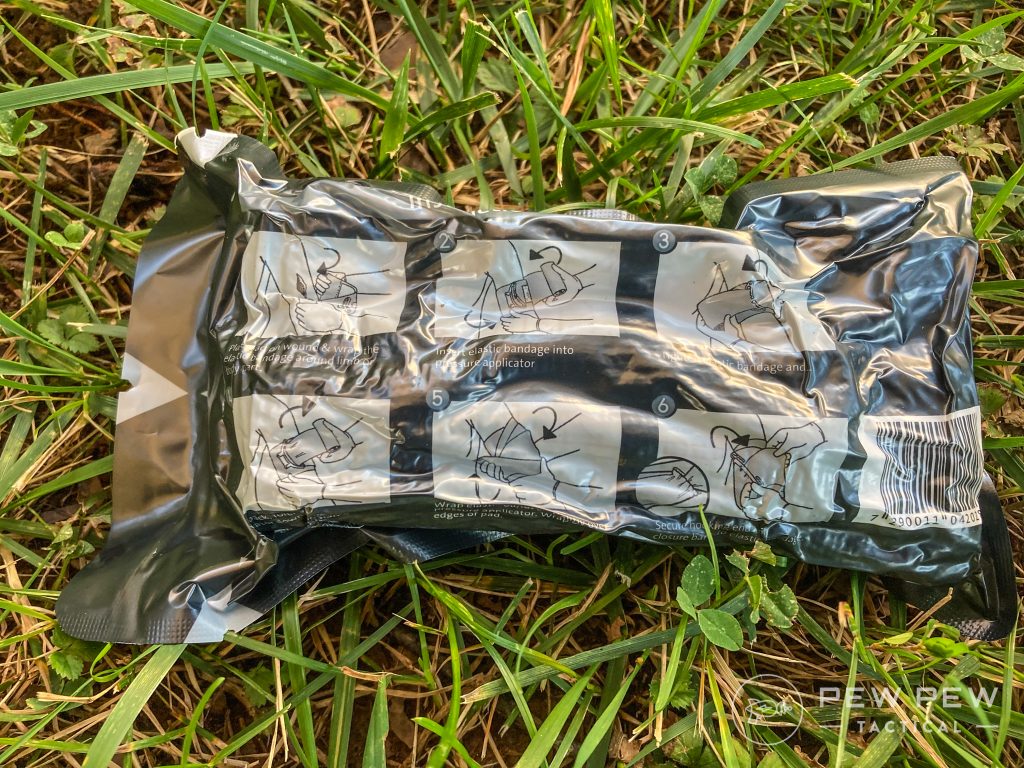
Next, wrap the bandage around the arm and insert it into the pressure applicator clip.
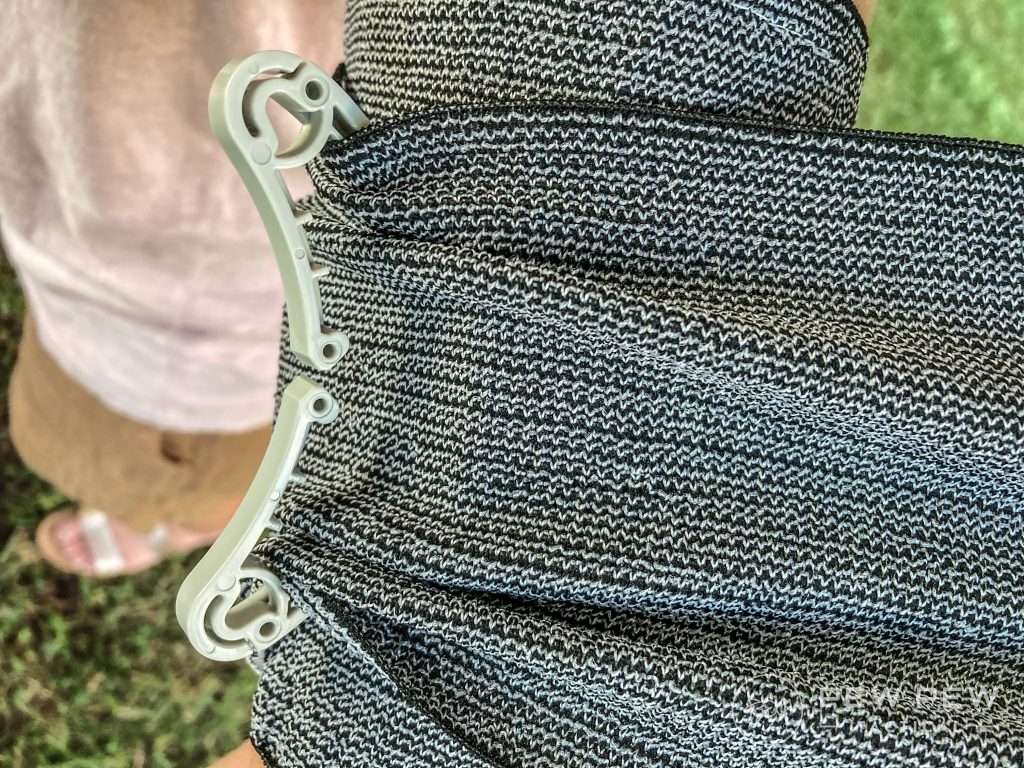
Once the bandage has been inserted into the “mouth” of the pressure clip and pulled tautly, keep tension on the band as you pull it back around the opposite way of the initial wrap.
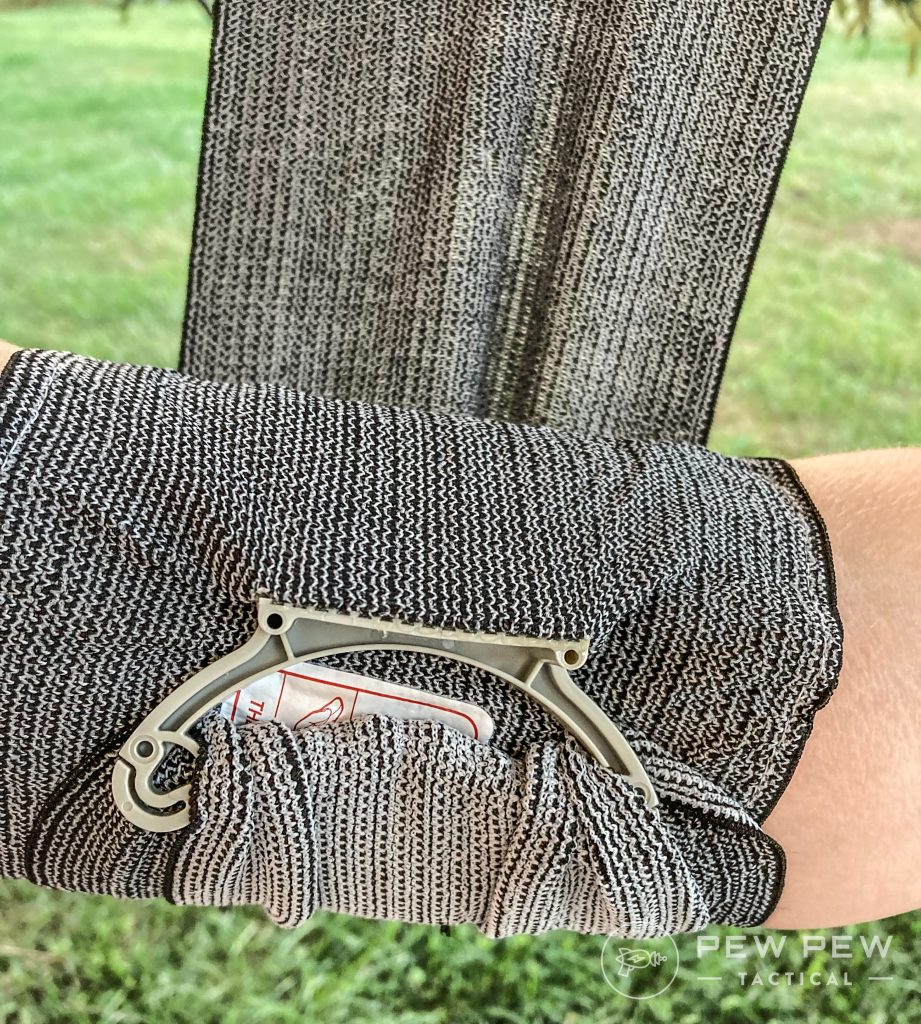
Wrap the bandage tightly around the wound — even over the pressure applicator clip.
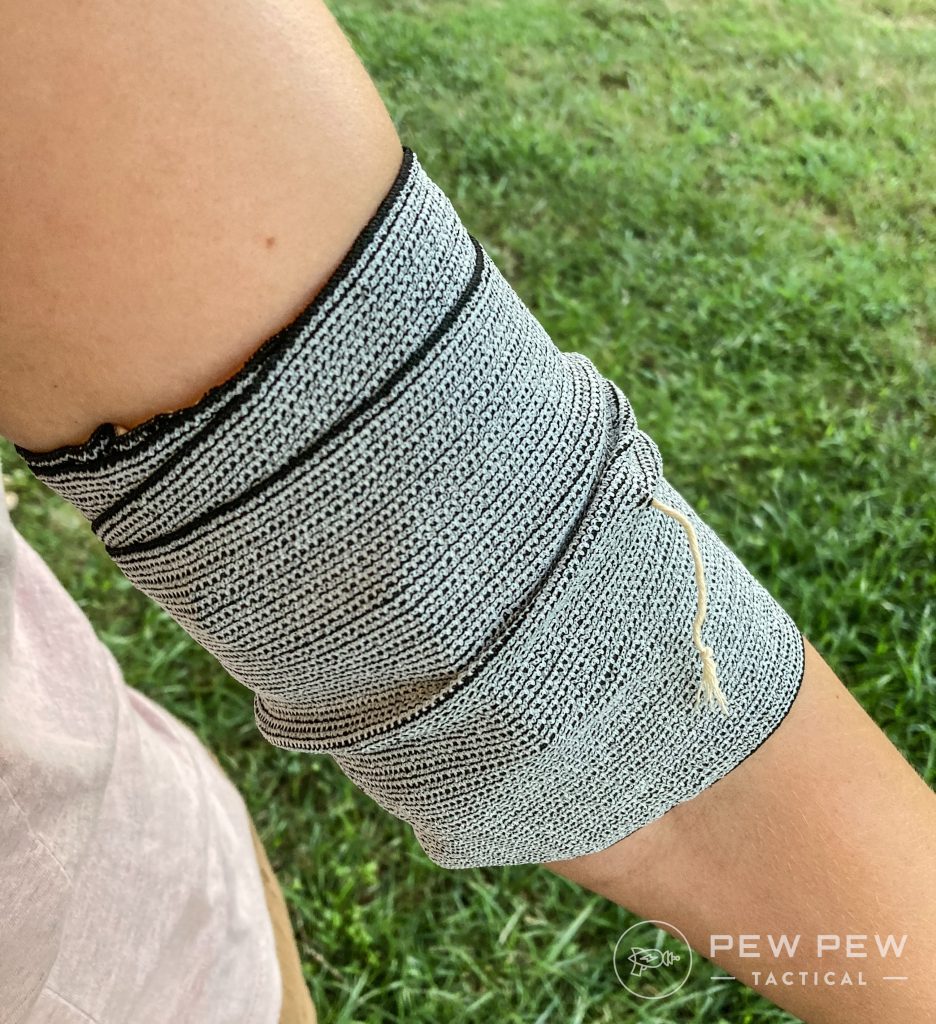
The final step is to secure the “hooks” of the pressure applicator clip over the bandage. Voila! You’ve done it! Now, get your friend to the hospital!
On the Neck
The light turns green at the intersection you’re waiting at, and the car in front of you eases forward only to be T-boned by somebody attempting to make the light. You hop out to help and find that a shard of broken glass has made a pretty nasty cut on the neck of the driver in front of you.
You can even use an IBD here, something I find pretty cool.
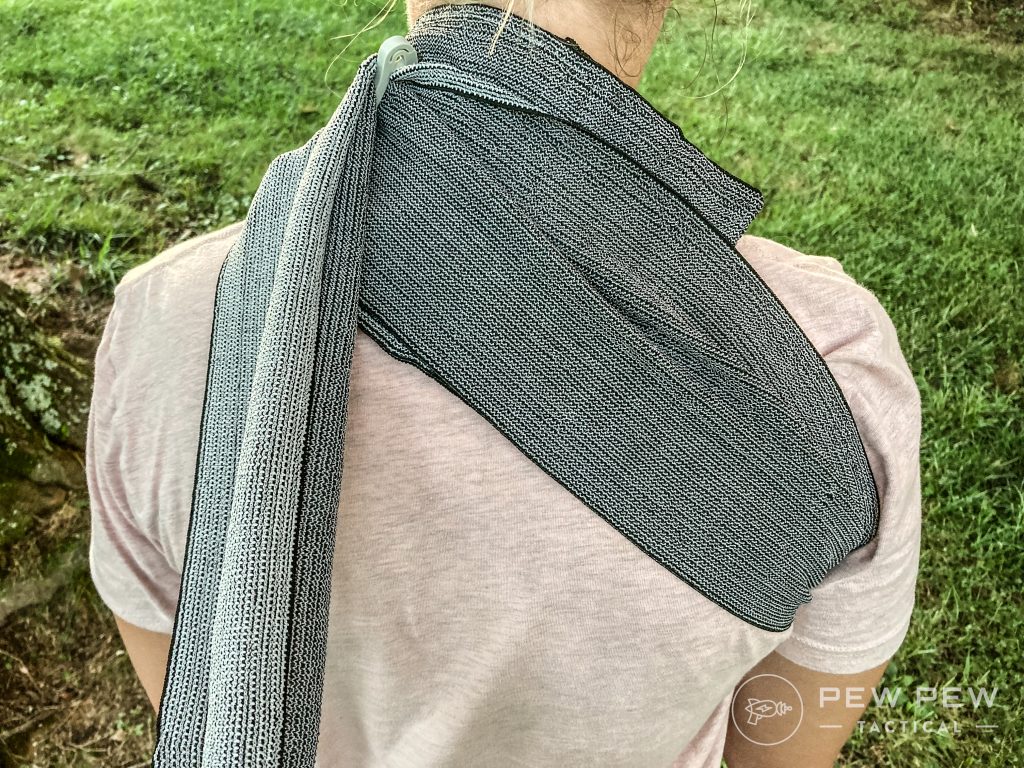
You’ll follow the exact same procedure here as you would anywhere else with an IBD, only this time you’ll be looping the bandage underneath the opposite armpit of the wound.
If you’re looking for a video format to learn from, check out the following excellent video here.
Prices accurate at time of writing
Prices accurate at time of writing
-
25% off all OAKLEY products - OAKLEY25
Copied! Visit Merchant
Are There Alternatives to Israeli Battle Dressings?
In a recent talk with a local gun store owner, he mentioned he was having a hard time getting IBDs at the moment — they were selling faster than he could order more.
So what can you do in this situation? Are there alternatives to Israeli Battle Dressings?
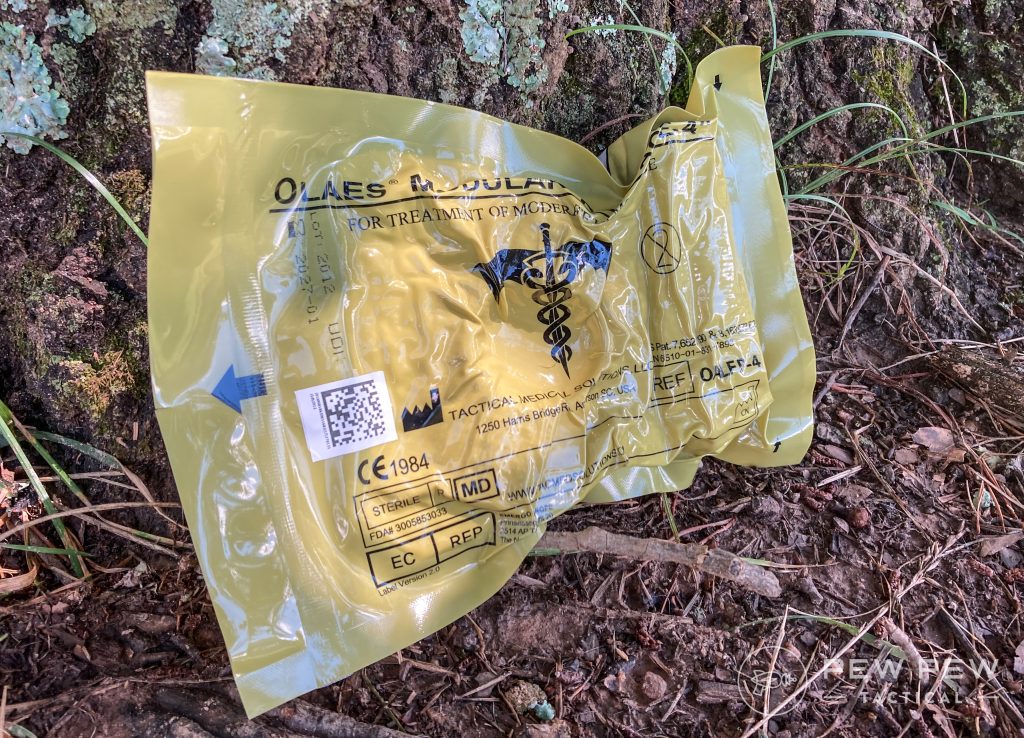
While there are others on the market, here are two that you may want to check out.
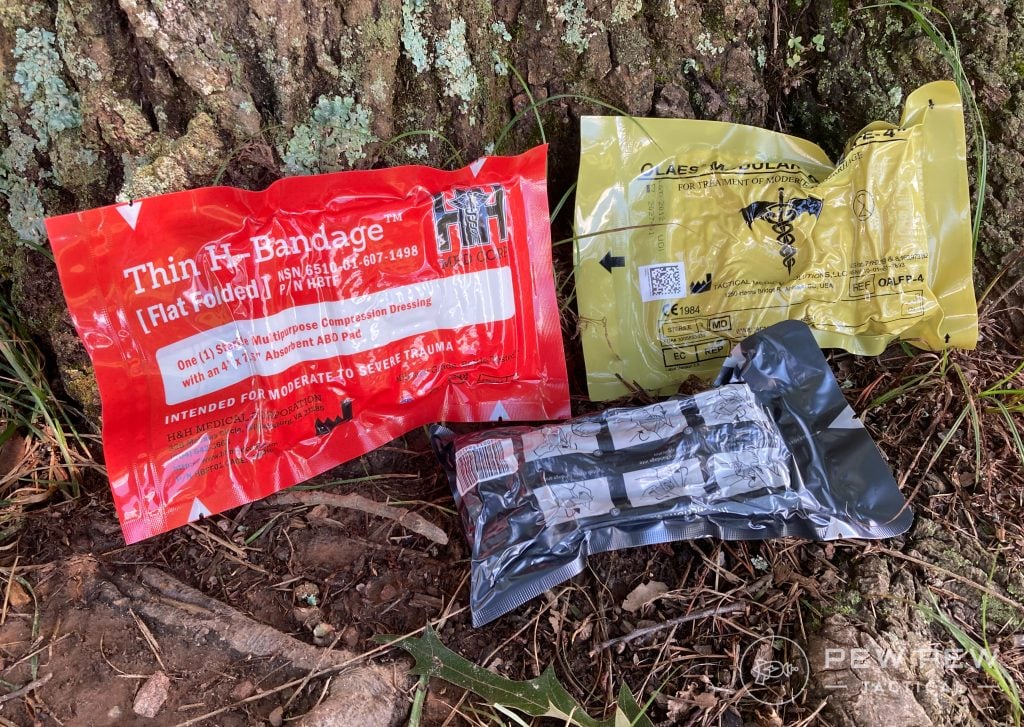
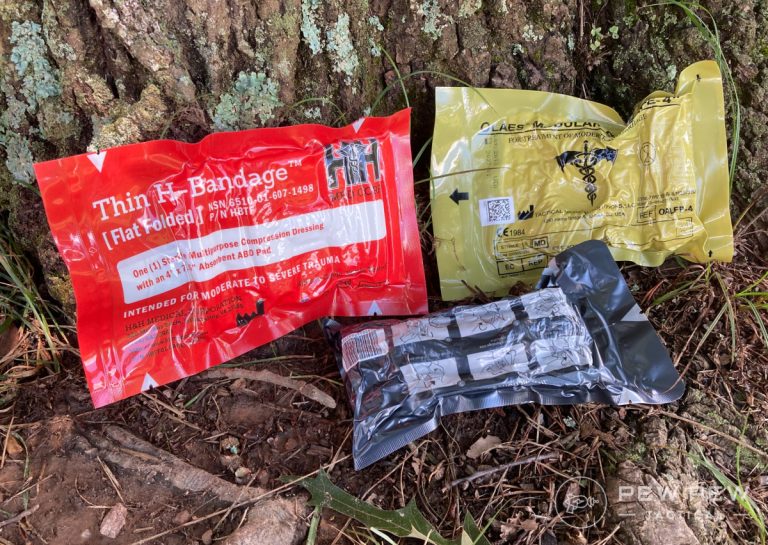
OLAES
According to Skinny Medic, if he could only choose one emergency compression bandage to work with, a 6-inch OLAES would be it.
That said, he thinks both the IBD and the OLAES are awesome. The only negative with the OLAES is its size.
Skinny Medic said this is why the IBD is usually on his person (in his vest) while the OLAES resides within his bag.
There are a couple of features that set the OLAES apart from other dressings as well.
One of these is that there are removable items behind the pressure pad.
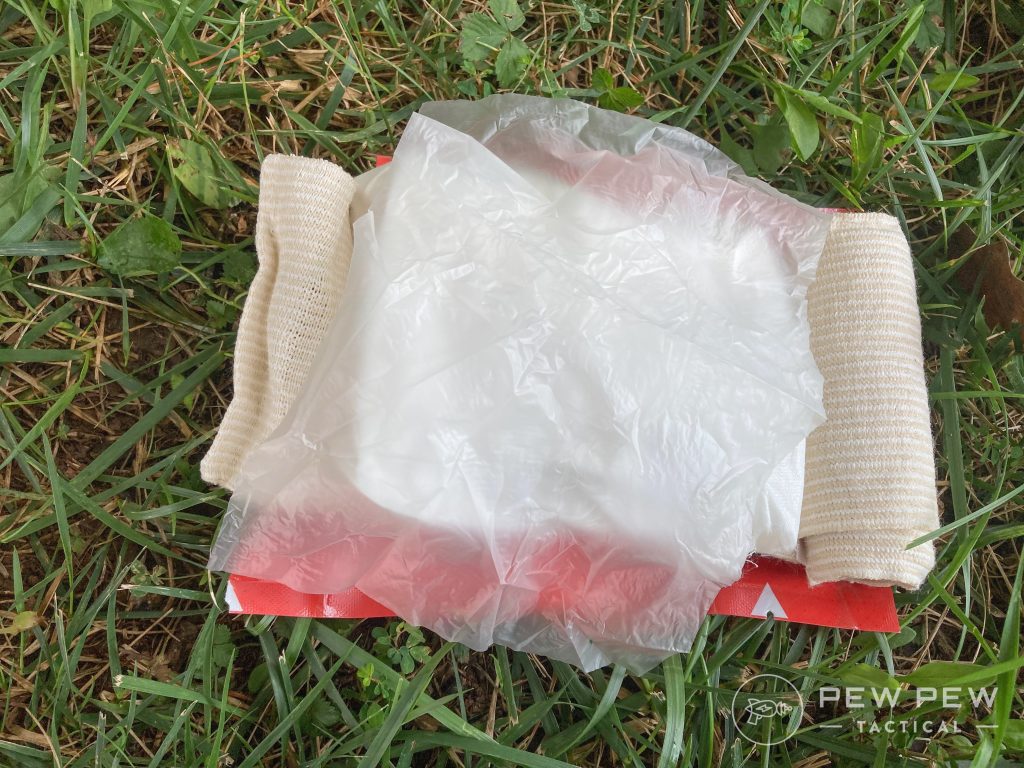
Not only is there a piece of sheet plastic underneath that can be used as an occlusive dressing for a sucking chest wound, but sheets of gauze can also be removed should there be both an entry and an exit wound, like a gunshot.
This way, you could pack gauze into one side of the wound as you apply the pressure pad to the opposite side.
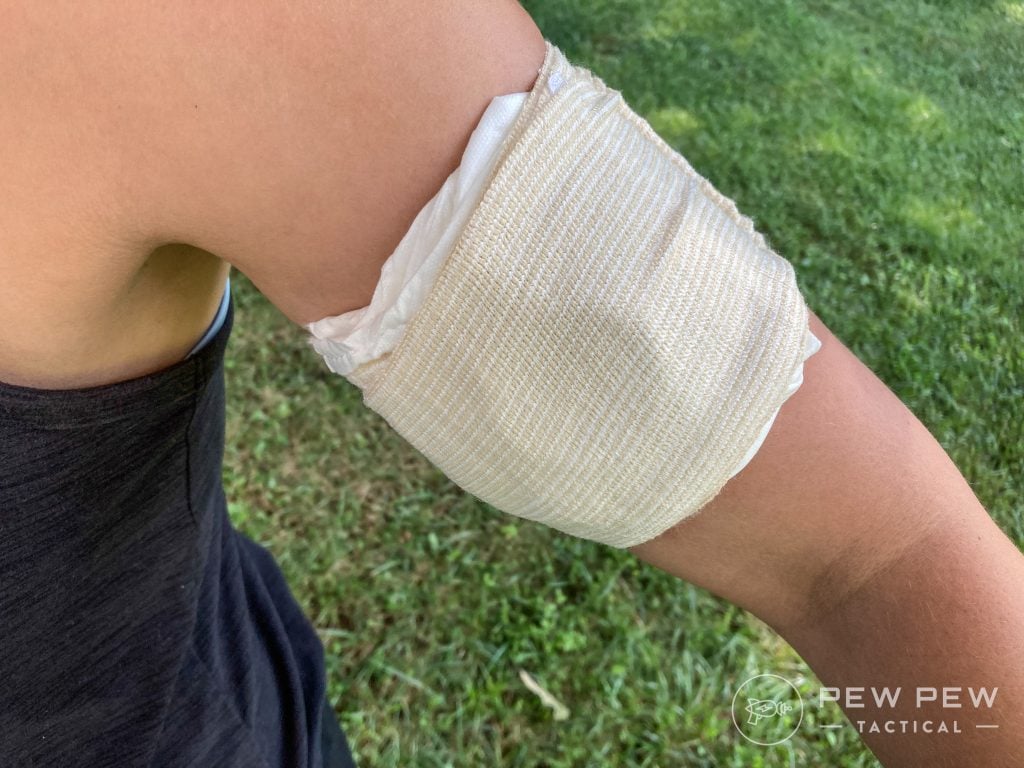
Another cool feature is that the edges of the bandage have hook-and-loop attachments at intervals as you unroll the bandage. This keeps the entire dressing from coming unrolled and bouncing around in the dirt.
You can keep the bandage sterile as you apply it, even if it manages to slip out of your hand at some point during the application process.
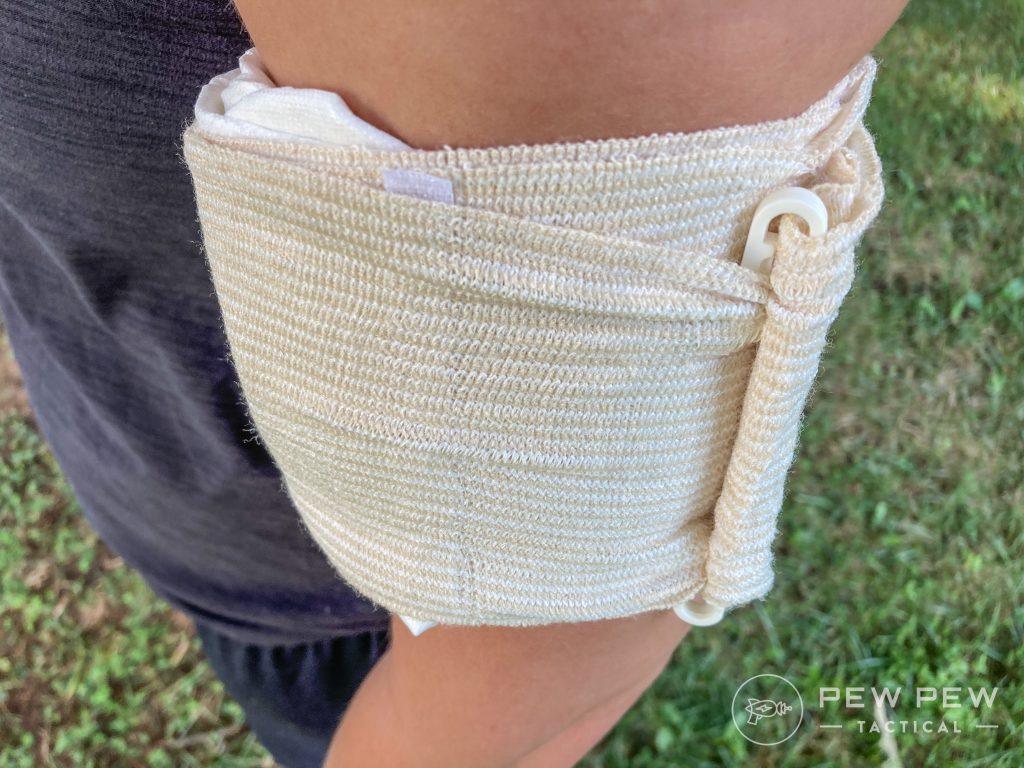
It’s a pretty cool feature and something you may want to consider if you’re looking at upping your trauma/first aid game.
Prices accurate at time of writing
Prices accurate at time of writing
-
25% off all OAKLEY products - OAKLEY25
Copied! Visit Merchant
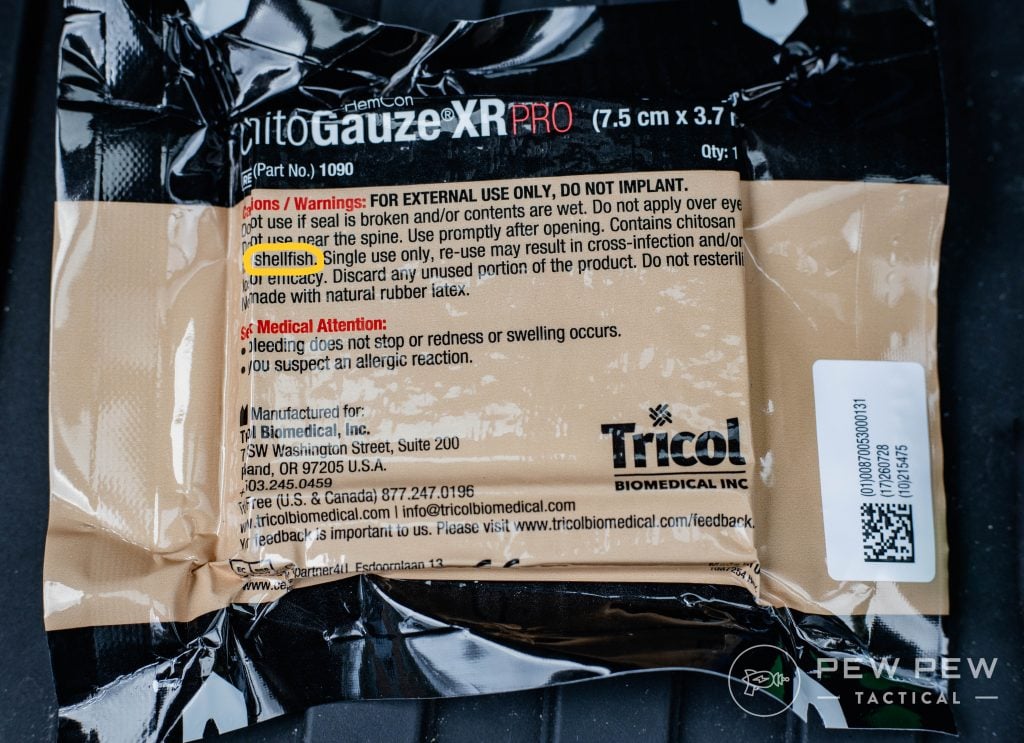
There’s also a new version of the OLAES called the ChitoGauze Pro that has chitosan hemostatic dressing inside — an agent that helps with blood clotting.
So keep your eyes peeled for these products; they’re both great additions to your kits.
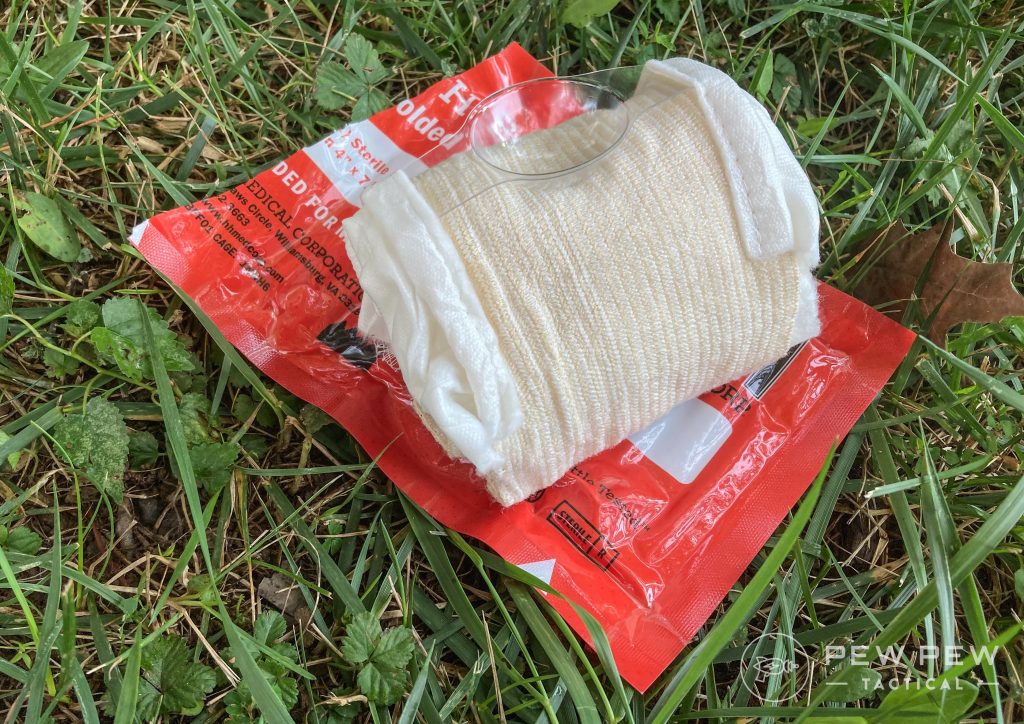
Thin H-Bandage
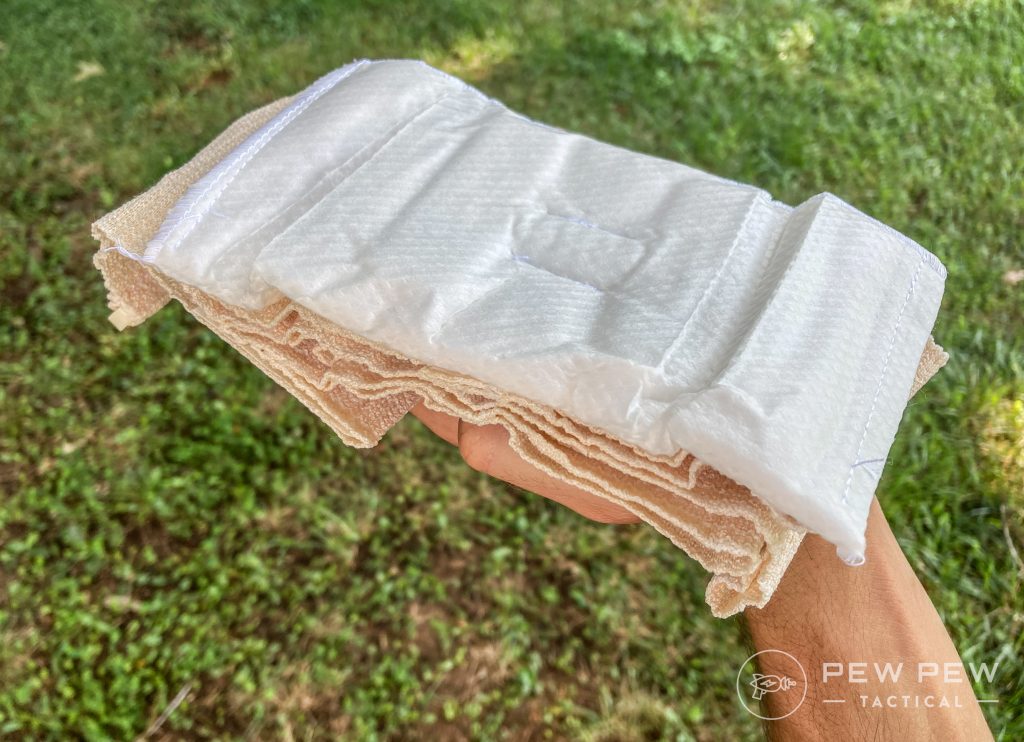
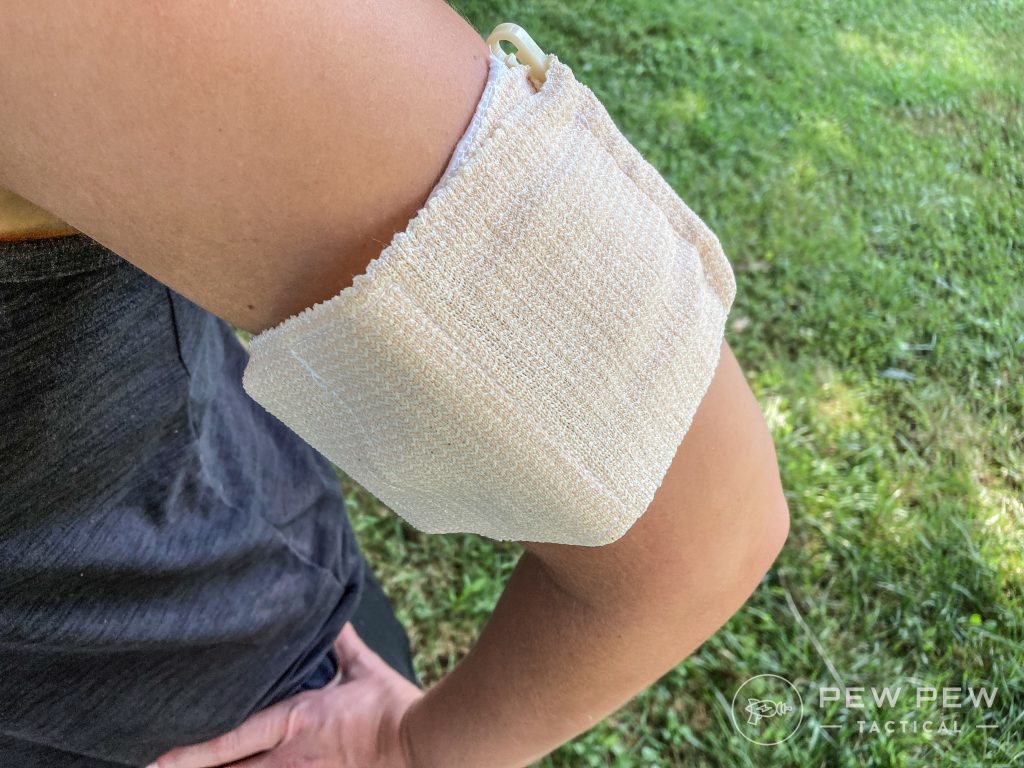
The “H” is not face down into the wound — it faces you, sitting on top of the wound.
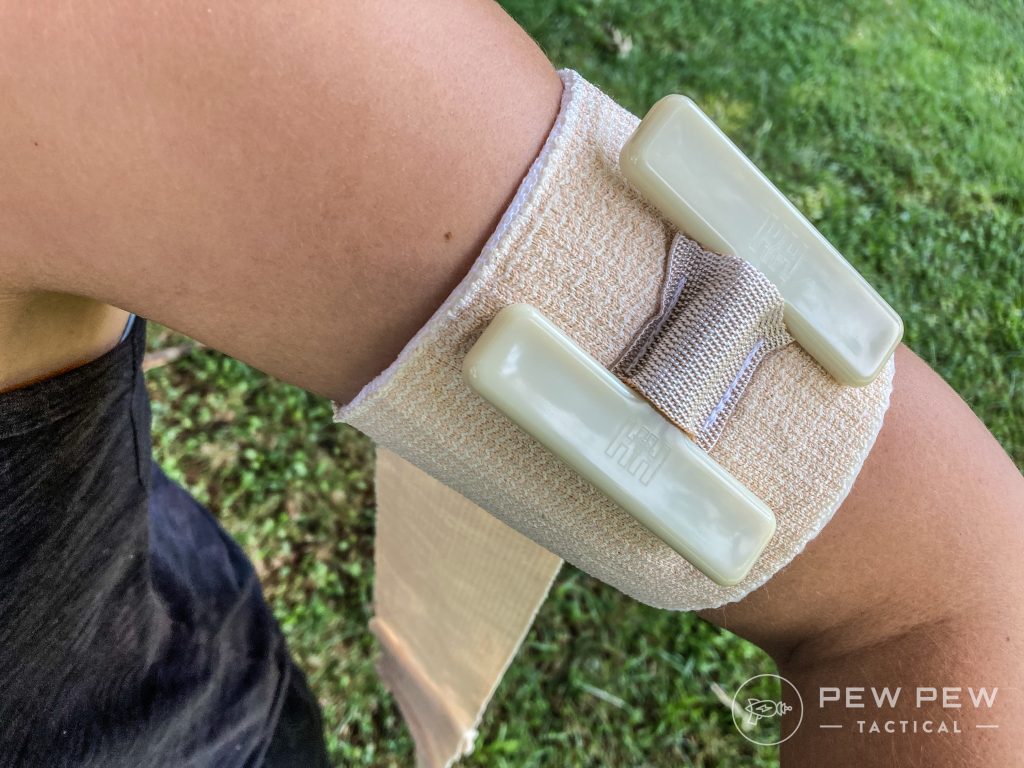
There’s Velcro on the short end of the bandage to help hold everything in place as you start the wrapping process. Wrap it around, and then loop around one stick of the letter “H.”
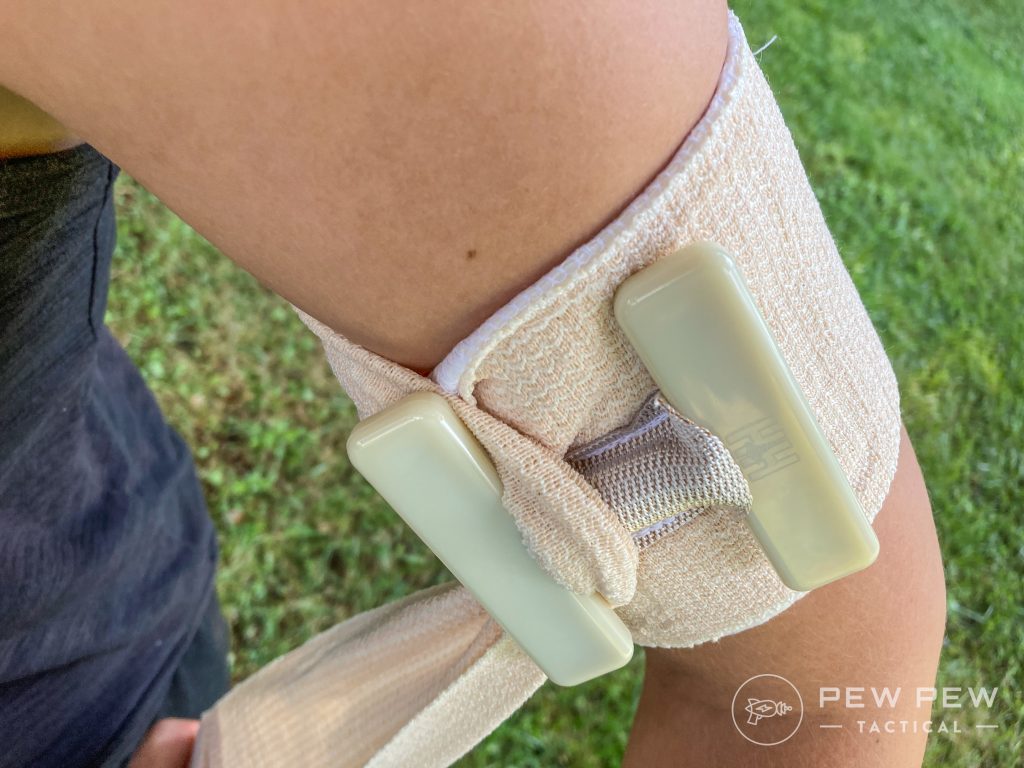
After doing this, pull it taut and wrap it around to the other side, where you will once more loop around the stick (the other one) of the letter “H.”
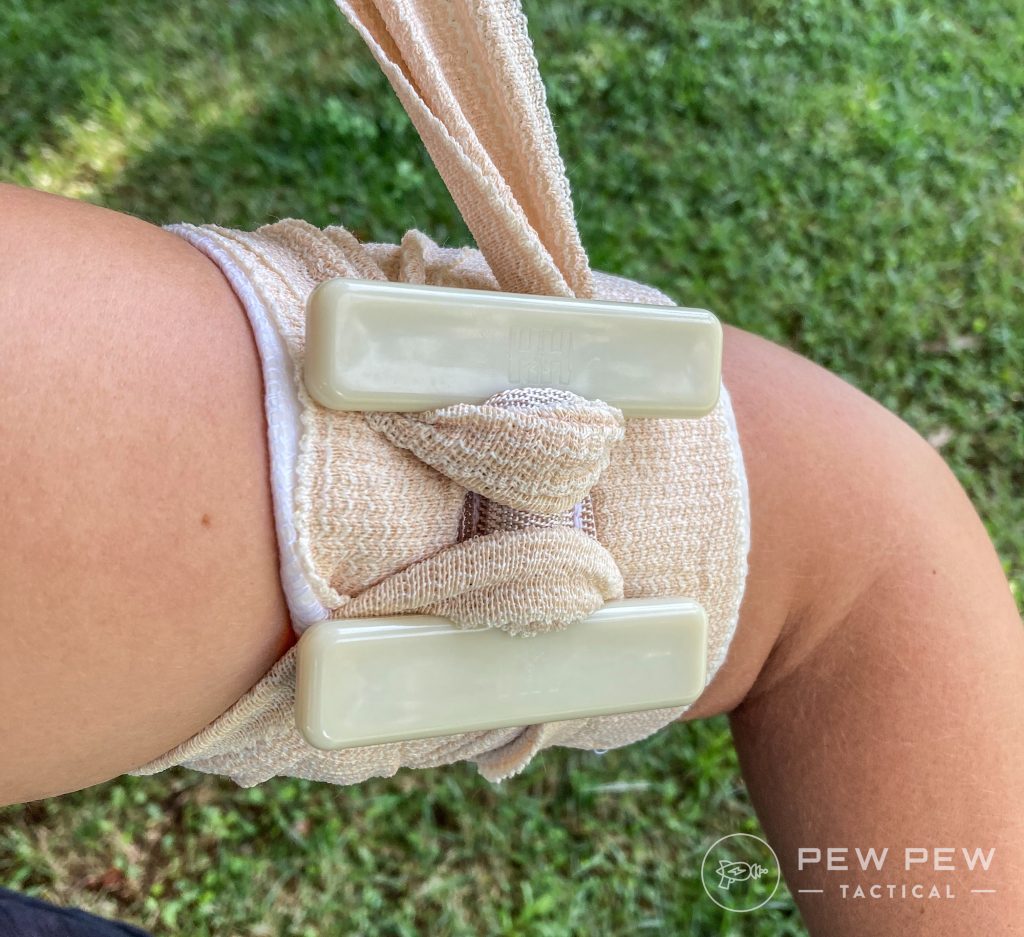
Then wrap the bandage taut over the letter “H” and use the clip to retain the dressing in place.
Prices accurate at time of writing
Prices accurate at time of writing
-
25% off all OAKLEY products - OAKLEY25
Copied! Visit Merchant
Final Thoughts
An Israeli Battle Dressing can make an invaluable addition to a bug-out bag, IFAK, trauma bag, first aid kit, hunting vest, or any number of other locations.
I highly recommend checking them out, training with one, and purchasing a few for your kits.
One cautionary note I will point out is that there seem to be several cheap knockoffs of the IBD online, which utilize a cheaper plastic in the clip that is prone to breaking.
While I’m all about saving some money, I think we can all agree that it’s best to have your trauma gear work as desired. Spend the extra $2 and get the IBDs that are the real deal.
Have you ever had to use an IBD before? Let us know in the comments below! And be sure to also check out article on the Best IFAKS!





10 Leave a Reply
It is a shame that life saving devices are so over priced makes it very difficult for many to prepare I guess it doesn't matter as long as some greed stricken bastard is making money
Thanks for the info, I have 3 IBDs. One in may firearms and range bag, one in my car first aid kit and one (the only one ever used) in the first aid kit in my wood working shop.
A friend was using one of my machines and had kick back and shot a wood fragment into his abdomen. This IBD was a true life saver !
You really need two of these, one for the entrance wound and one for the exit. Blood doesn't care which side it pours out of.
We sure could have used these in my early days in EMS (we did get an earlier version later on, and used for deep laceration as well as GSWs. I'm a firm believer in IBD's, and I train our little group in how to self apply as well as buddy care.
In my carrier Ouch Pouch, I keep two 4", one 6", and Abdominal IBD, an OLAES and an H-Dressing as well as a CAT and SWAT T. I'm going to order a couple of the Chito Gauze to add with my next check.
I always carry a 4" IBD and CAT in an ankle rig wherever I go. You never know when the life you save may be your own.
Great and all, but in a real life situation, it's unlikely you'll be carrying medical supplies. Best to train using improvised tourniquets.
Improvised tourniquets have an extremely low success rate and should not be promoted. Carry and use actual TQ's. It's better to wound pack/ apply direct pressure than to use an improvised "tourniquet".
Also if you're going to carry sufficient supplies to improvise a TQ, you may as well carry an actual TQ
If you're concerned about the size/bulk of a TQ, you can carry and train with a SWAT-T vs a CAT or SOF-T Wide, this will be far better than any improvised TQ. Or you can carry some wound packing gauze
I can't post links so here are the channels and titles of some youtube videos you can watch if you want sources for what I've said:
-Improvised TQ's: Mountain Man Medical "Why Improvised Tourniquets Don't Work"
-Wound packing Gauze: Prep Medic "The Best EDC Medical Item - Budget Friendly & Compact"
-SWAT-T: Mountain Man Medical "How to Use the SWAT Tourniquet"
How much medical equipment do you carry when you go to the mall?
A Micro Trauma Kit Now! doesn't take up much space, and I often wear one out and about. Then again, I'm an EMT as well.
For what it's worth, after the Boston Marathon bombing, there were 27 improvised TQs that were placed (if I remember that number correctly). Every single one of them was deemed insufficiently applied. Every single one.
Super useful! Training for EMT school right now, and I love finding new ways to stop the bleed.