If you enjoy a good bargain, you’ve probably stumbled across the Pinty 3-in-1 Scope Combo.
It promises a variable powered optic, near full-sized red dot, and visible laser emitter — all rolled into one.
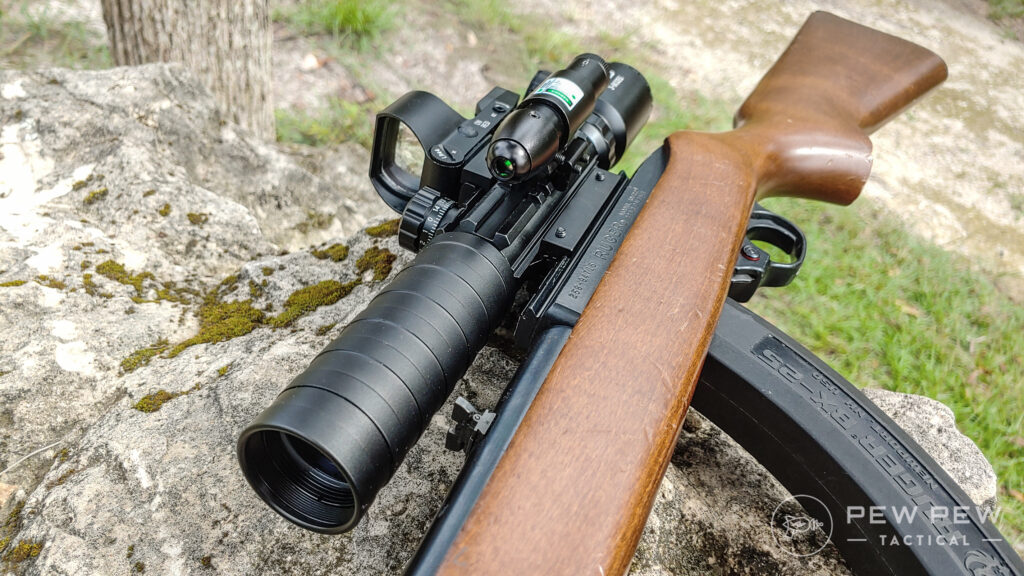
That’s a pretty tall order for an optic.
While the Pinty 3-in-1 endures some mockery online, I was curious to find out exactly what earns it such a…reputation, we’ll say.

I wanted to see just how terrible or good the Pinty 3-in-1 could be.
So, I reached out to the company, and they sent an optic to try out.
It’s worth mentioning, they advised (or maybe warned) “it was for beginners.”
Prices accurate at time of writing
Prices accurate at time of writing
-
25% off all OAKLEY products - OAKLEY25
Copied! Visit Merchant
But we are all newbies in the grand scheme of life, so here I am.
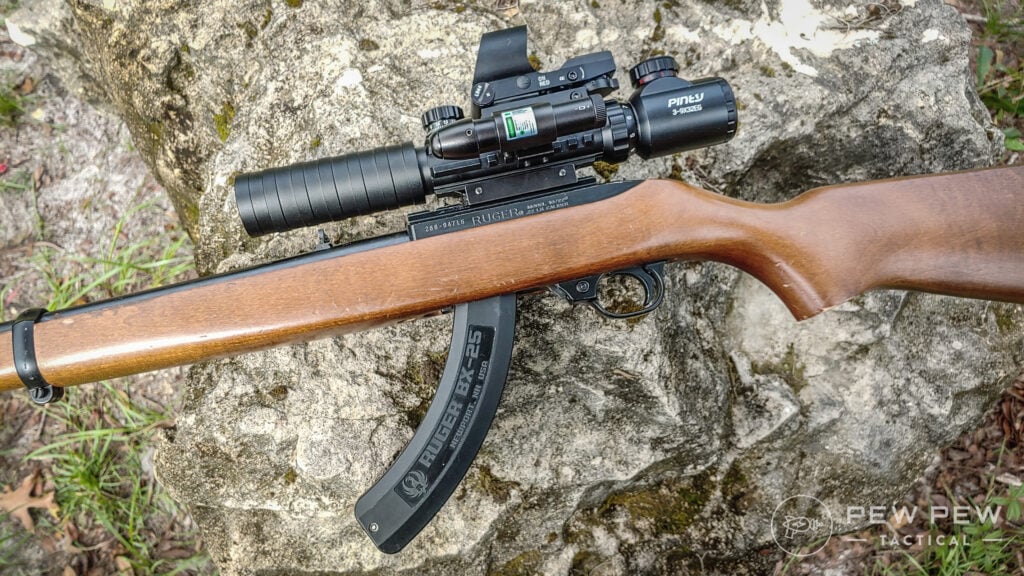
In the midst of an ammo crisis unlike no other, and under the guise of a beginner optic, I tossed it on my Ruger 10/22.
Prices accurate at time of writing
Prices accurate at time of writing
-
25% off all OAKLEY products - OAKLEY25
Copied! Visit Merchant
I have enough .22 LR ammo squirreled away to decimate small game populations throughout the southeast, so I figured why not get back to that “first real rifle” feel.
A rimfire test sounded fun!

So, with that, we’re going to dive into the Pinty 3-in-1. You can expect to see some specs and an explanation of how it all works, pros and cons, and how it holds up on the range.
Ultimately, I’ll tell you if it’s worth dropping some cash on.
Oh, and if you do decide to roll with the Pinty 3-in-1, you’re in luck. Pinty offers 15% off their site with coupon code “PEWPEW” for Pew Pew Tactical readers.
Table of Contents
Loading…
Assembly Required
First step…putting it all together. Yeah, some assembly required.

It involved a lot of rails and Allen wrenches.
The optic comes with a Weaver mount, Picatinny adapter, and riser to fit AR-type rifles. Fortunately, I needed no such thing for my Ruger 10/22.
I used the stock mount and attached the red dot and laser pointer to the scope, amazed that nothing was conflicting with anything else.
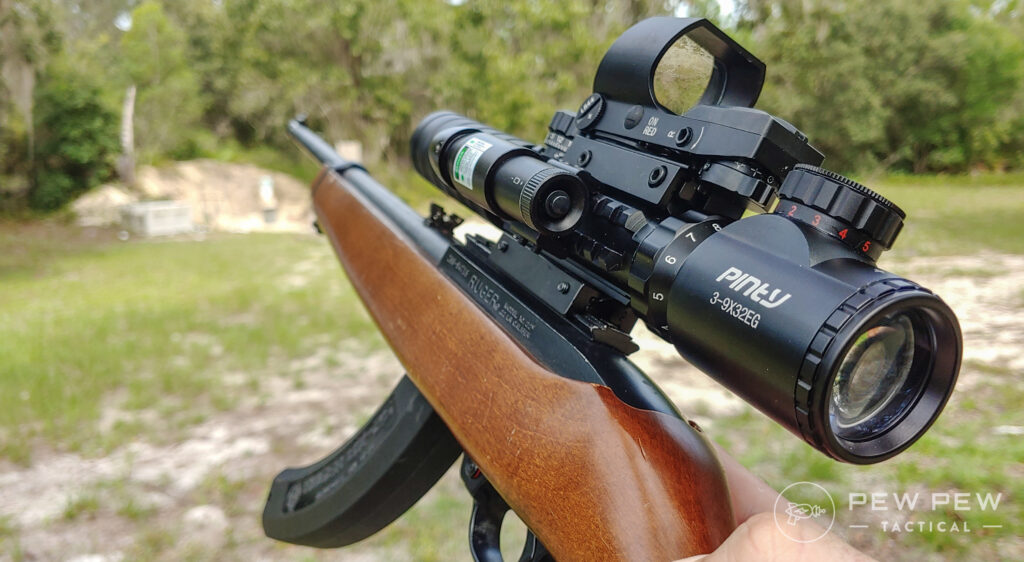
The magnification ring flows in the opposite direction of every other scope I’ve ever messed with.
A small throw lever is built into it, allowing you to switch magnification without the red dot getting in the way.
The entire setup is unnecessarily bulky and feels like it effectively doubles the weight of the little Ruger 10/22 Carbine.
Prices accurate at time of writing
Prices accurate at time of writing
-
25% off all OAKLEY products - OAKLEY25
Copied! Visit Merchant
Conveniently though, an extra section of rail rests on the other side of the optic. I guess you can tack on more stuff, if you choose.
Breaking Down the Optic(s)
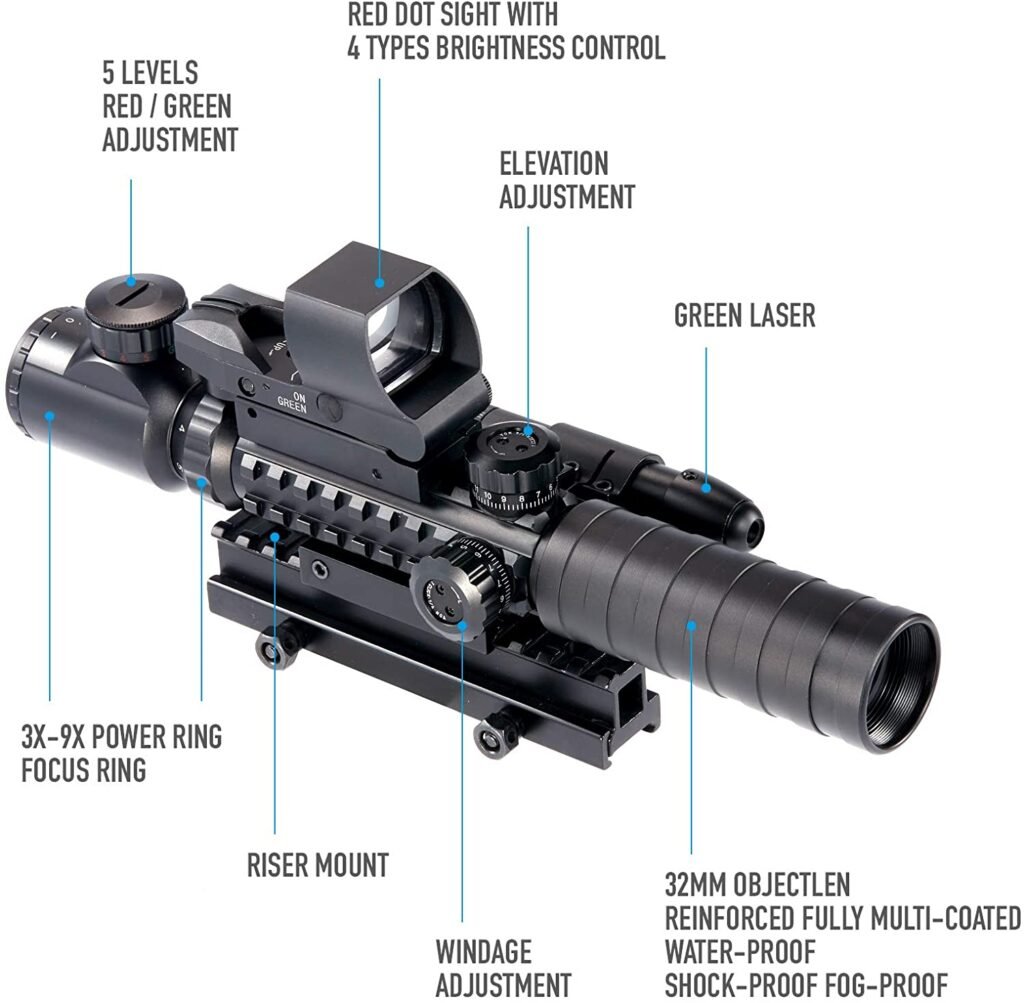
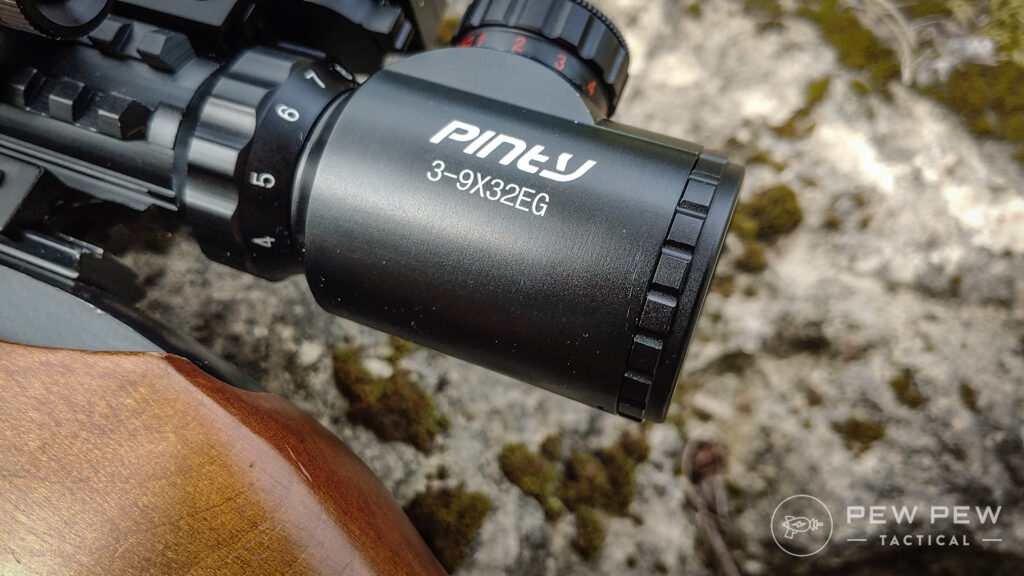
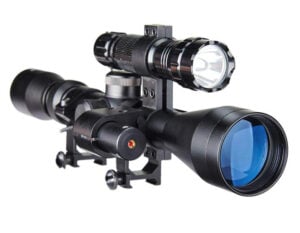
First up, the magnified scope-like thing that serves as the base for the other two. It offers a 3-9x power optic with a 32mm objective lens.
Strapped with a tri-rail for attaching things, the scope has both red and green illumination with five different brightness levels.
Recticle
The Pinty scope has an odd reticle, and it’s advertised as a “rangefinding” riflescope. I’m guessing the rangefinder comes in the form of the weird reticle design.
A standard crosshair exists with some hash marks but at an undetermined distance from each other.
Below that is a table shaped somewhat like a funnel. To be honest, I’m not exactly sure of its purpose.
The table might be the range finder, but I can’t find any exact reference as to what it is or what it does.
And this is where I mention; the Pinty scope came with no instructions to explain how to use this rangefinder. (So, any snipers in the comments, feel free to give me some insight.)
Also, when looking through the scope, you can see the glue that holds the lenses in place — just a fun thing to try and spot.
Scope Features
The scope comes with tactical turrets that are fingertip adjustable. Adjustments are ¼ MOA per click.
Clicks are audible and tactile, but my issue comes from a weird amount of pressure required to get the adjustments to occur.
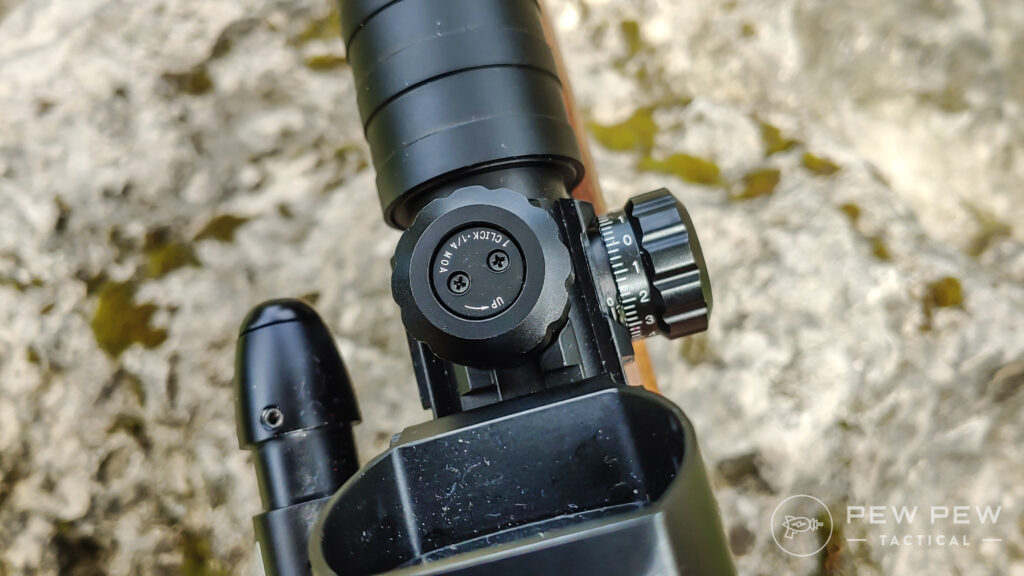
Sometimes it requires barely any pressure, and sometimes it requires a ton of pressure.
The problem is that too much pressure often makes the turret jump several clicks instead of a single adjustment.
This is especially fun when zeroing the optic…but more on that later.
Red Dot Madness
The red dot provides an open-top, square-shaped optic with both green and red illumination options and four different reticles. These include a circle and dot, crosshair, dot only, and circle-only.
Where does the red dot live?
Mounted to the top of my optic, serving as a close-quarters backup.
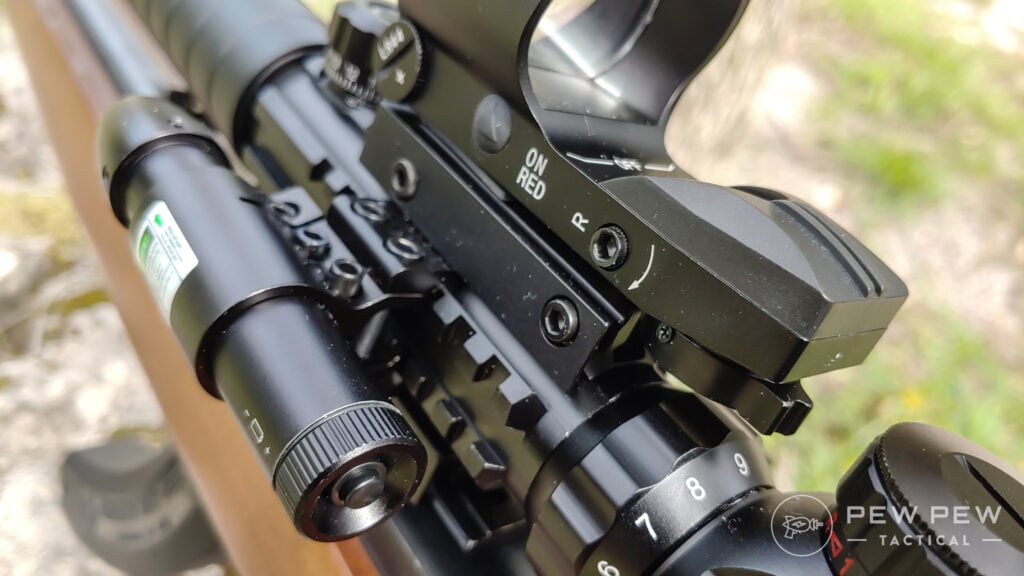
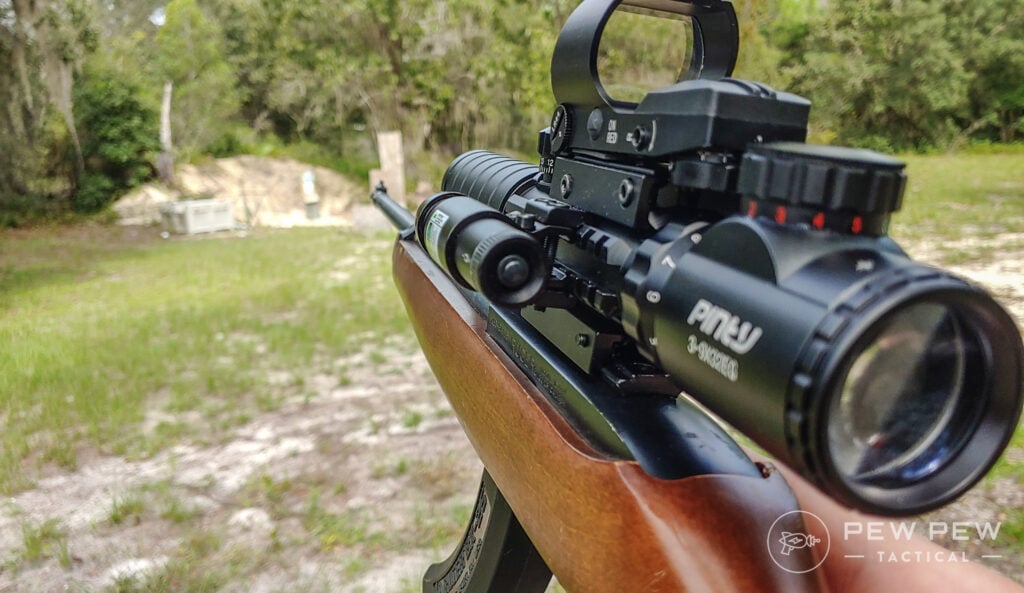
While mounting a red dot to a magnified optic isn’t uncommon, mounting a red dot this big to an optic is odd.
It effectively doubles the size of the optic and makes the entire package incredibly tall.
You need an Allen wrench to adjust the red dot, which is a hassle, but it is what it is.
Fun fact, the reticle’s position is not what you’re adjusting. You’re actually adjusting the entire body of the optic to place the reticle where you want it.

Real talk, this might be the jankiest design I’ve ever seen.
You can see the set of springs the optic sits on and watch it lower or raise as you spin the adjustment knob. It can be pressed down or left to right as well.
The Laser
Ever see a school laser pointer? Yeah, that’s what this reminds me of.
The laser comes tacked onto a small scope rail. It’s effortless.
Activated by a single button on the rear of the laser, it offers a very click feel.
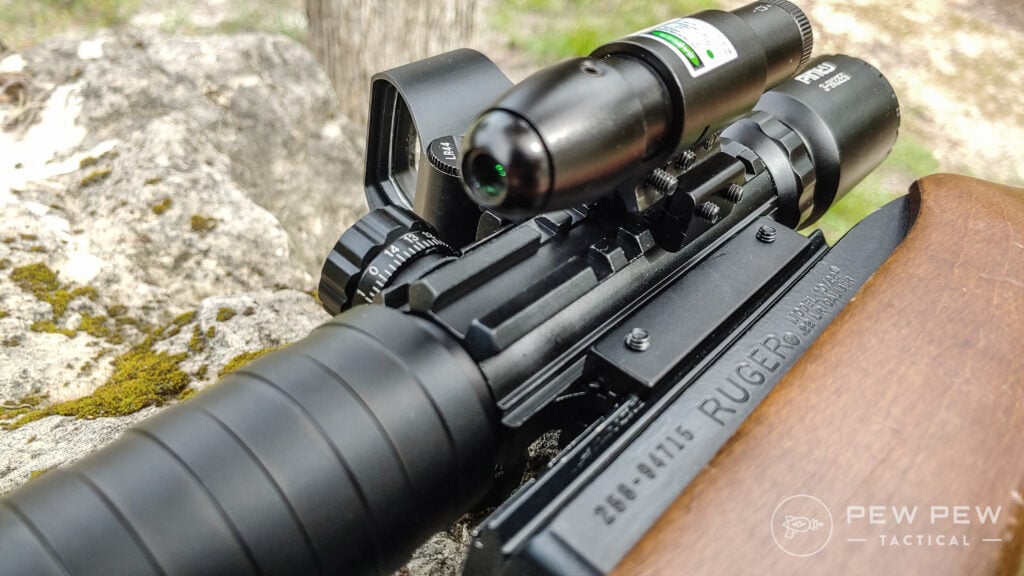
But the good news, this green laser does shine brightly. Even out to 50-yards, I can see it on target through the optic.
Surprisingly, the laser is one of the more capable aspects of this whole setup.
Out of everything, I had the most fun playing with it. It’s likely not super durable, but at least it provides some amusement.
Zeroing the 3-in-1
I consider zeroing a rifle a skillset I am very efficient at. Though not the hardest thing to do, I can proudly say it only takes a few rounds for me to get dialed in completely.

The Pinty 3-in-1 really gave me some trouble, though.
When I started with this gun and a basic target, the scope wasn’t even on paper at 25-yards. I was hitting low…way low.
15-Yards
I moved up to 15-yards and figured I’d have to work my way out, but even at that range, I still hit absurdly low.
At that short-range, I knew my zero would fail when I moved rearward due to height over bore and mechanical offset.
That said, I could get on paper at the very least.
I spun the adjustment turret two full rotations and tried again. Halfway there.
So I turned it another two full rotations. That got me on paper.
25-Yards and Beyond
With that, I moved back to 25-yards and zeroed once more. I spun it up a little further and then made my left/right adjustments.
It hit a little to the right, so I made small adjustments to get the zero dead-on.
At this point, I realized adjustments are far from a precise ¼ MOA.

Sometimes they make ¼ MOA adjustments. Other times, they are too slight to make a difference. And for the remaining times, they are massive.
All this makes getting the optic dead-on a frustrating experience.
Eventually, I got close enough for government work and left it as such. I was hitting the bullseye, well, the left side of it. But that worked well enough for me.
I finally moved all the way back to 50-yards, hoping I would still be zeroed.
Miraculously, I was!

Zeroing the Laser
With that done, zeroing was far from over. Now, it was time for the laser.
Luckily, that was supposed to be simple.
In reality, the laser jumped when I removed the Allen wrench from the adjustment screw. I’m talking big jumps across the reticle at the slightest nudge.

I had to be very gentle as I slowly pulled the Allen wrench.
After fighting with it, I shot to confirm and then promptly decided that a laser at 50-yards was silly.
Instead, zeroing to disregard the mechanical offset at 5- to 15-yards made more sense.
So I moved up to the 15-yard line and dialed it in. This was rapid and easy to do.

It also gave me a precise means to aim at close quarters without having to compensate.
Also, it’s a ton of fun to just fire from the hip and see your round consistently strike the target.
That is the best part of the whole setup, honestly. I barely ever play with lasers, and I forget how much fun they can be when shooting from the hip or from awkward angles.
Zeroing the Red Dot
Next, I zeroed the red dot.
Simple enough, right? Well, no, not really.
The adjustment screws are super tough to turn.
Probably because the entire optic moves…not the reticle. Adjustments take some serious effort, and they don’t glide smoothly.
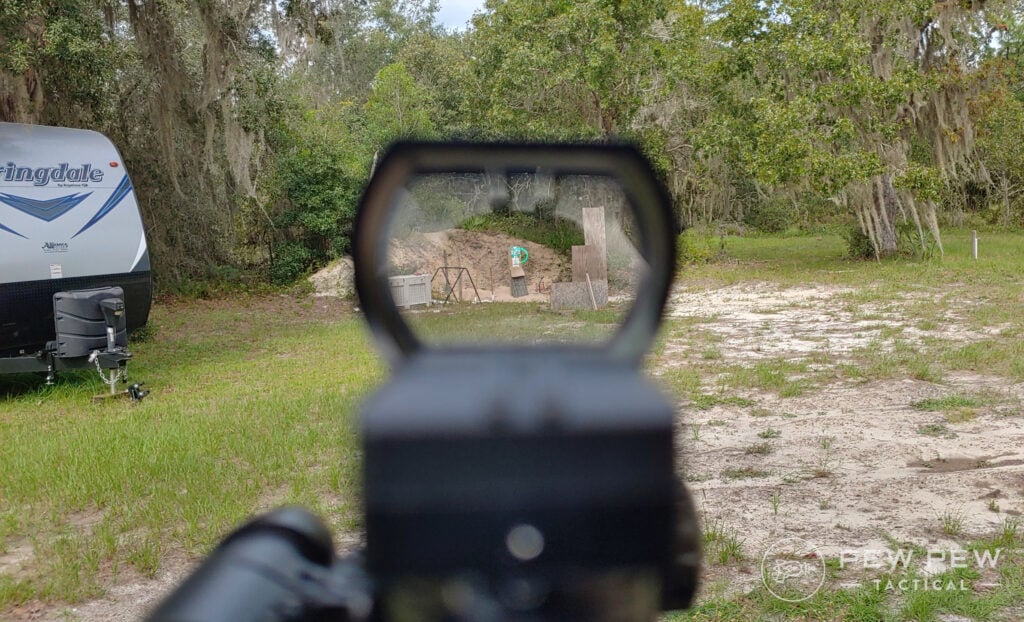
There is no ¼ MOA per click because there are no clicks.
I eventually kind of zeroed it. You can never get a precise zero from this optic due to its design, so the most you can get is close.
It works okayish at 25-yards, though. By works, I mean, will be on target.
You won’t be making precise headshots on a pest or a tasty rabbit.
To the Range We Go!
The entire setup works at 25- to 50-yards and beyond with the 3-9x scope, 25-yards to 15-yards with the red dot, and 15-to 0-yards with the laser.
My goal was to give each attachment a task to accomplish.
Outside of zeroing the optics, I spent 300 hundred rounds testing the scope at various ranges and tasks.
I even removed the optic, dropped it a few times, and tossed it back on.
It held zero!

Well, the laser and variable optic held zero. I don’t have the red dot necessarily zeroed, just close enough, so it’s kinda hard to tell.
The variable optic is illuminated, but the illumination is rather dim. I couldn’t see it while shooting outside in the mid-afternoon.
Also, the reticle is a bit thick and clumsy, but it’s on a .22 LR I use for plinking. So, I guess that’s fine.
I could kill a soda can, and that’s good enough, right?

Range-wise, you see a lot of weakness beyond 50- to 100-yards. Images become a bit blurry, and small targets are hard to see clearly.
Don’t expect a 500-yard performance out of this 3-in-1.
The laser provides the most fun but is also somewhat useless beyond just having fun.

The red dot I’d put on a pellet gun. Having to raise my head above the ability to form a cheek weld is a pain in the butt and gives me no permanent point of reference for using the dot.
But does it really matter? It doesn’t have a permanent point of zero anyway.
By the Numbers
Reliability: 3/5
I gave it some stars for the laser and variable optic but took two away because the red dot cannot be zeroed to actual bullet impact. The optics do all hold zero, even after being tossed and dropped a few times.
Ergonomics: 2/5
This is a heavy beast that cannot be compared to other scopes. The magnification ring takes a weird direction to spin, and the controls for the red dot are somewhat tough to reach. Additionally, the red dot is mounted so high you have to change your head position to utilize it.
Looks: 1/5
Look at it. People will make fun of you for it.
Value: 3/5
Sure, $99 nets you three optics that are good enough for a .22 LR. I would not trust any of these optics for a role beyond plinking, though. For plinking, $33 per optic isn’t a bad deal.
Not to mention, Pinty is giving Pew Pew Tactical readers 15% off the entire site with code “PEWPEW”.
Prices accurate at time of writing
Prices accurate at time of writing
-
25% off all OAKLEY products - OAKLEY25
Copied! Visit Merchant
Overall: 2/5
The Pinty 3-in-1 Optic is a plinker that can be frustrating at times but fun at others. The laser is silly but enjoyable, while the variable optic is decently clear. For 50-yard shots with a .22 LR, you’ll be well served. Beyond that range and for higher calibers, you are on your own.
Conclusion
So, overall would I buy the Pinty 3-in-1 optic?
No.
While its strength lies in clear glass and some flexibility, I feel that even the biggest newbs will quickly outgrow this optic.
If money is a factor, there are better options in every category that perform better than this model.
Pinty even offers plenty of budget optics that look to outperform these three. In fact, the company offers 15% off their site with code “PEWPEW” for Pew Pew Tactical readers.
We actually really love their standalone laser which excelled in our hands-on test of the Best AR-15 Lasers.
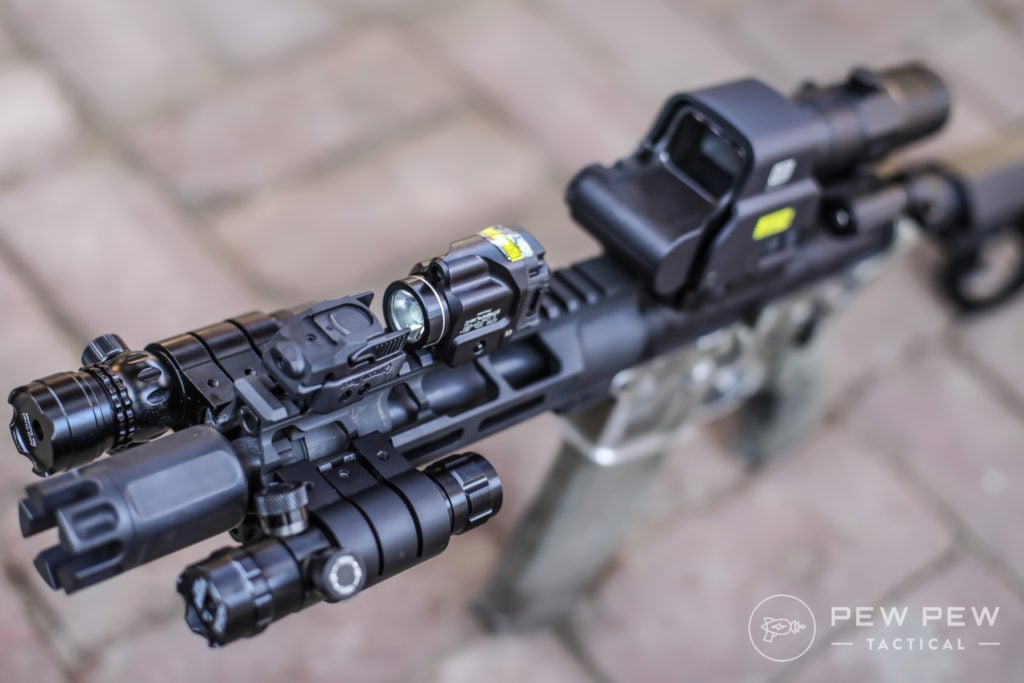
However, it’s better to bite the bullet, shell out a little more dough, and get a quality red dot and magnifier that will zero properly and last.
Prices accurate at time of writing
Prices accurate at time of writing
-
25% off all OAKLEY products - OAKLEY25
Copied! Visit Merchant
Do you have a Pinty 3-in-1? What do you think about it? Let us know in the comments! Also, if you want a good red dot or a LVPO, check out our list of the Best Cheap Red Dots, Best 1-6x Scopes & LPVO and our round-up of the 7 Best Red Dots for AR-15s.




8 Leave a Reply
Picked up a 3/1 just to see how "bad" it was. I'm thoroughly impressed. I can't believe such a bad review. What do you expect for under $100. It will zero, and hold it out to 300yds. Throw it across the yard and it's still zeroed. It's no sniper scope. It's ugly, It's bulky, it's not like the Chinese put to much thought into it's looks. But hell it works, and it's cheap. Don't expect it to last forever. If you want something with superb glass, lifetime warranty and exceptional distance buy a Vortex.
I got the 3 in one but I gave the laser and the red dot to my son-in-law the 4/16 -50 I put on a Ruger AR-15 and zeroed it in at 100 m and with 556 ammo it's right all the way up to 300 m haven't had any problems with it was just going to be temporary but I just left it on that gun since that was a cheap gun
Knowing this is an old post, it can still be seen by folks. Since it looked like a good budget deal with generally fair reviews around the web, as a noob, I bought the Plinky set up. Never intended to use it stacked. Put the laser and the red dot on my new first rifle, a $1000 AR, just to learn the basics. Trade the red dot for the scope for longer range. Hit a 2x2 target at 400 yds. Now, a couple years later, have upgraded the dot and scope. Still, as a beginner, even with the difficulties mentioned in the review, it was good for the learning experience. It's a cheap intro, and after I recovered from my initial experience and had a few more $, could upgrade to better quality.
I bought a Pinty 3 x 9 scope a few years back. It weighed a ton and made my AR very top heavy. The illumination dial didn't make it past one revolution before it failed to increase illumination or even turn on anymore. Without it, the cross hairs are so fine they can only be seen on a target at 50 yards. Beyond that and in the woods they are invisible. It was easy to zero even without a felt or audible click to the turrets and the scope held zero on my AR (at 50 yards of course). The scope now sits in a drawer, but the 30 mm. rings and mounts are rock solid and work very well. To me they are worth the 60 bucks I paid for the whole rig back then.
Damn, that’s actually pretty good advice. Maybe I should pick up something like this just for the ring mounts? But then again, I’ve also gotten Chinese mounts that are probably made of the same metal as this for like $3-$5 and those have been perfectly adequate
Ha ha ha.. an ammo crisis "unlike no other".
Ok. My scope had higher power then this one. Sorry.
My wife bought a similar scope. It took for ever to zero it in. The scope is ok at 200 yards on my ar15.
The laser, 50 yards.
It’s a fun toy.