Worried about the latest bug going around? Living in a Polar Vortex and bracing for winter storms?
Maybe you’re like the rest of us at Pew Pew Tactical, and preparing for the next big earthquake.
No matter what you’re preparing for, we want you to know we’ve got your back.
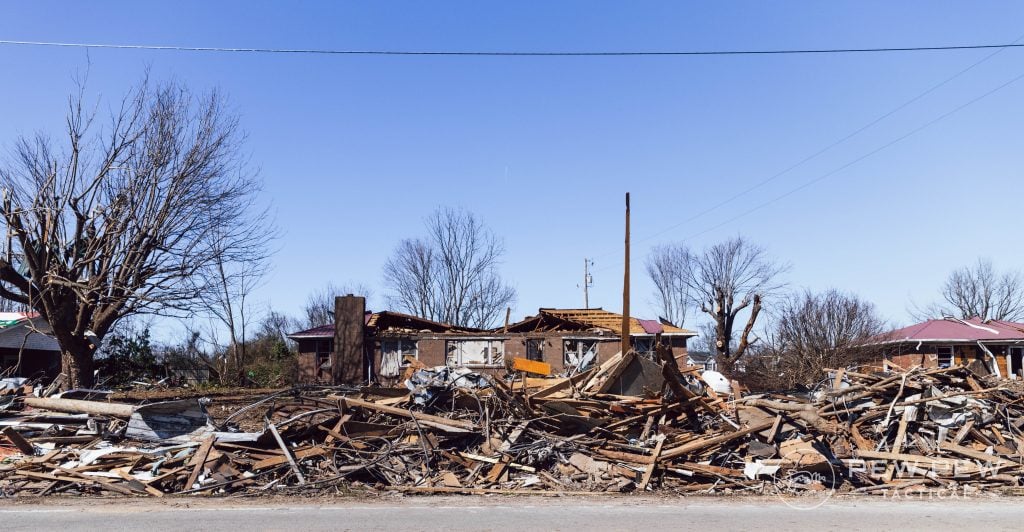
But before you grab your bug-out bag and head innawoods, we’re going to give you a crash course on everything you need to turn home, sweet home (or apartment) into your very own bunker!
Table of Contents
Loading…
Why Prep?
Preppers get a bad rap.
In the media, they’re often portrayed as tinfoil hat-wearing, gun-toting, trap-rigging, bunker-digging, conspiracy theory-believing weirdos. And we’re not saying they aren’t out there.
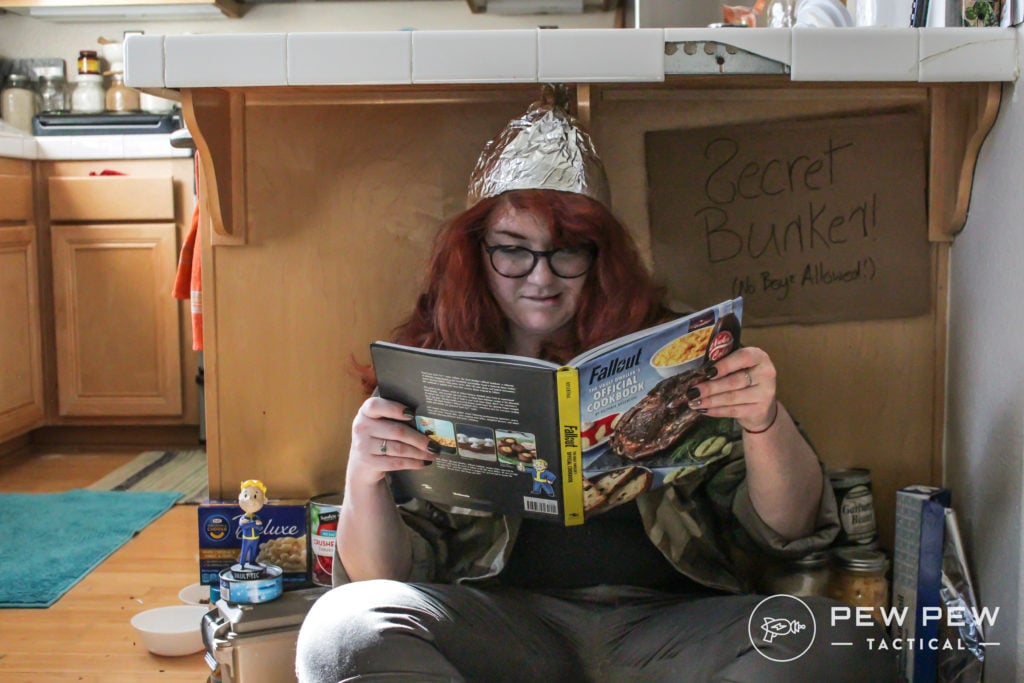
But the truth is most preppers look just like you and me.
They’re average people who have taken steps to prepare their homes and their families for emergencies of all kinds, not just an Orwellian War of the Worlds invasion or the walking dead.

Most preppers are down-to-earth, discrete, and highly resourceful. Across the country, they quietly stock up on food and supplies, learn useful new skills, and, well, prepare.
So why should you join their ranks?
There are plenty of reasons that people join the prepper movement.
Maybe they find comfort in knowing they’re prepared for the unexpected. Maybe they want to make sure that their family will have resources that can see them through in case of the loss of income.

Maybe they’ve experienced disasters before and won’t be caught unprepared again.
Maybe they’re looking to get back to a more traditional way of doing things, and enjoy the feeling of self-sufficiency.
Whatever reasons you have, we guarantee that there are others out there like you. The prepping community is a wealth of knowledge and support.
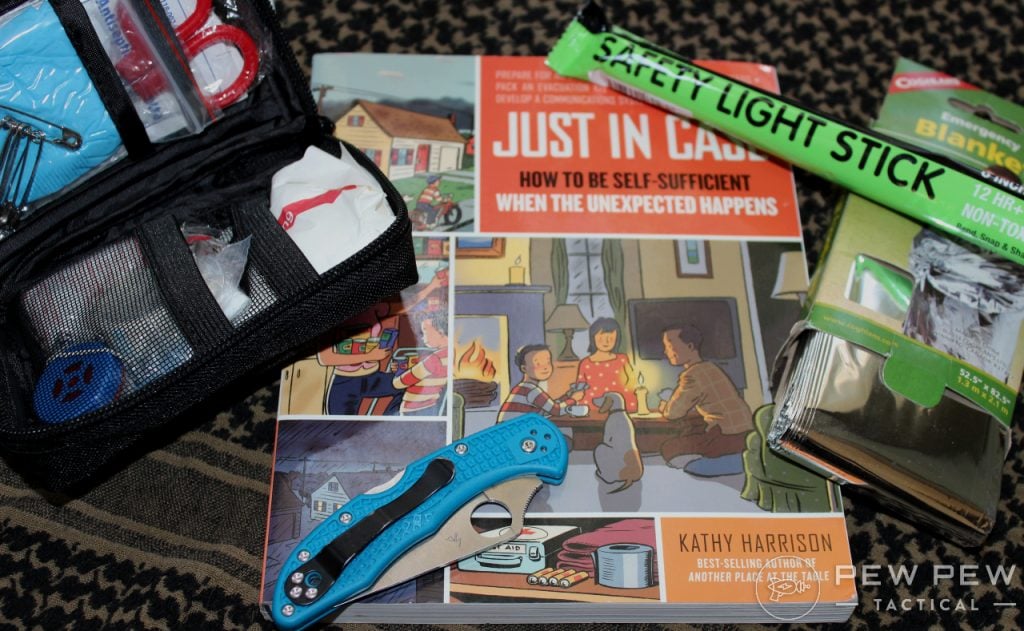
Whether you’re new to prepping or you need a refresher, keep reading. We’re going to take a closer look at all the things you should know to get set up and prepared for whatever may come.
Shelter in Place vs. Bugging Out
First off, let’s figure out what we’re doing.
There are two main types of prepping: bugging out and sheltering in place.
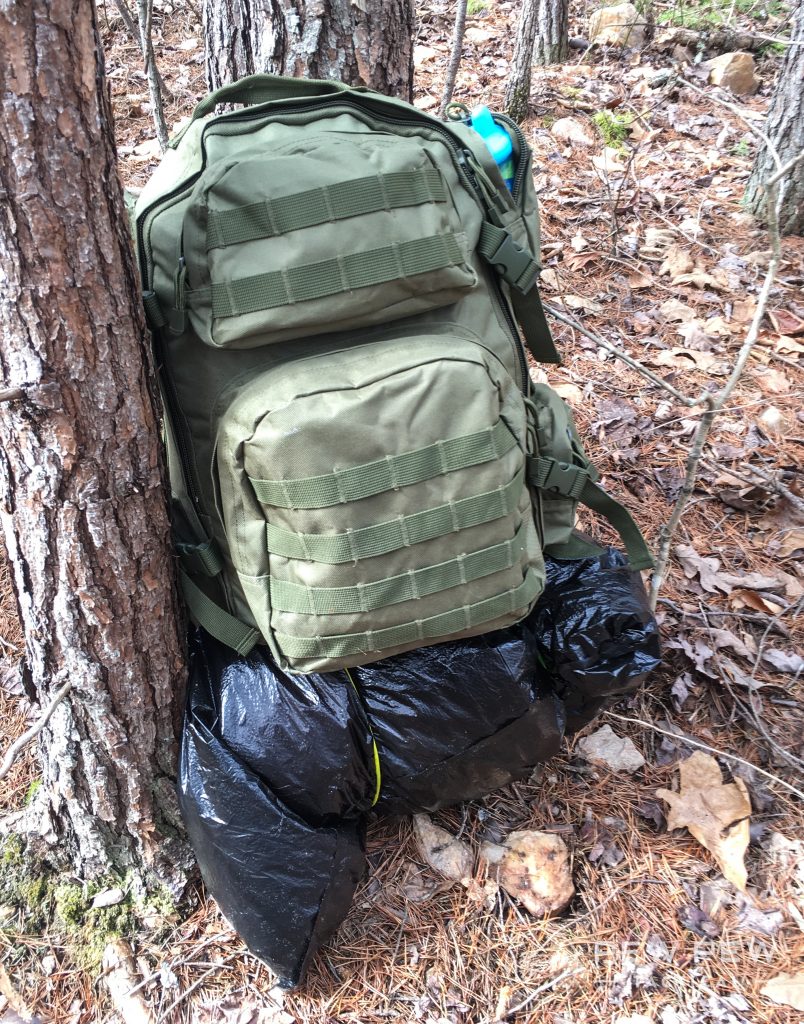
Both have benefits and drawbacks, and a truly prepared person is set up for both.
Bugging out means that you are prepared to pack up your survival gear and hit the road. It focuses on being mobile and taking only what you need. Bug-out bags are a great addition to cars, since they can help you to get home or get out of the danger zone.

Shelter in place means the opposite — you’re prepared to dig in and ride this thing out in the comfort of your own home (or office, RV, whatever).
You’re well stocked with everything you need to stay alive, clean, safe, and comfortable, even in the absence of power, water, natural gas, or other utilities.
And that, my dear friends, is what we’re going to discuss in this article.
How to Prep in Your Home/Apartment
Something I hear a lot when talking about prepping with my fellow millennials is, “But I just don’t have the space! I live in an apartment with six roommates/walk-in closet/tiny house/cardboard box fort in the woods! Where do I keep it all?!”

I know that housing can be a big issue, but that’s still no excuse to not at least have some basics in line.
In fact, there’s an entire world of apartment preppers. I am one of them.
Places I’ve prepped include:
- My college dorm room I shared with three other girls
- A crawlspace under the floor of my closet in the room I lived in a shared house
- A granny flat I shared with a friend over someone’s 108-year-old garage with no interior doors
- A two-bedroom apartment I shared with a roommate who ate everything
- A townhouse with an HOA and mandated garage parking

Point is, I’ve gotten really creative at putting up supplies because my housing situation always seems to demand it. If you don’t have the luxury of living on your own or having a garage, basement, walk-in pantry, or spare bedroom…you still can do this!
Small Space Prepping
If you do live in a house and have some space, you might be able to skip this section. If you didn’t binge Marie Kondo’s show and don’t have a surplus of storage, listen up.

You can absolutely layaway months of dried beans and spam in a small space, what matters is how organized you are, how creative you are, and, of course, whether you’re willing to make space for prepping.
Storing Your Supplies
Obviously, no one wants to be tripping over cans of ravioli as they walk across their living room. You need a place to store your supplies that keeps them safe, accessible, and, ideally, subtle.
After all, you don’t want to be the person whose door is beaten down by all your unprepared acquaintances the instant the power fails.
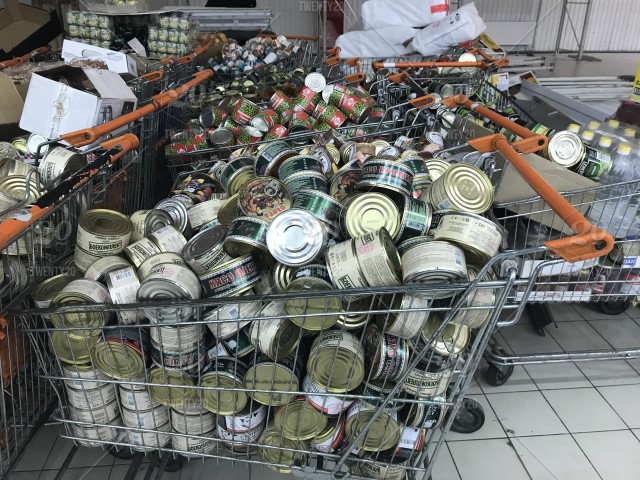
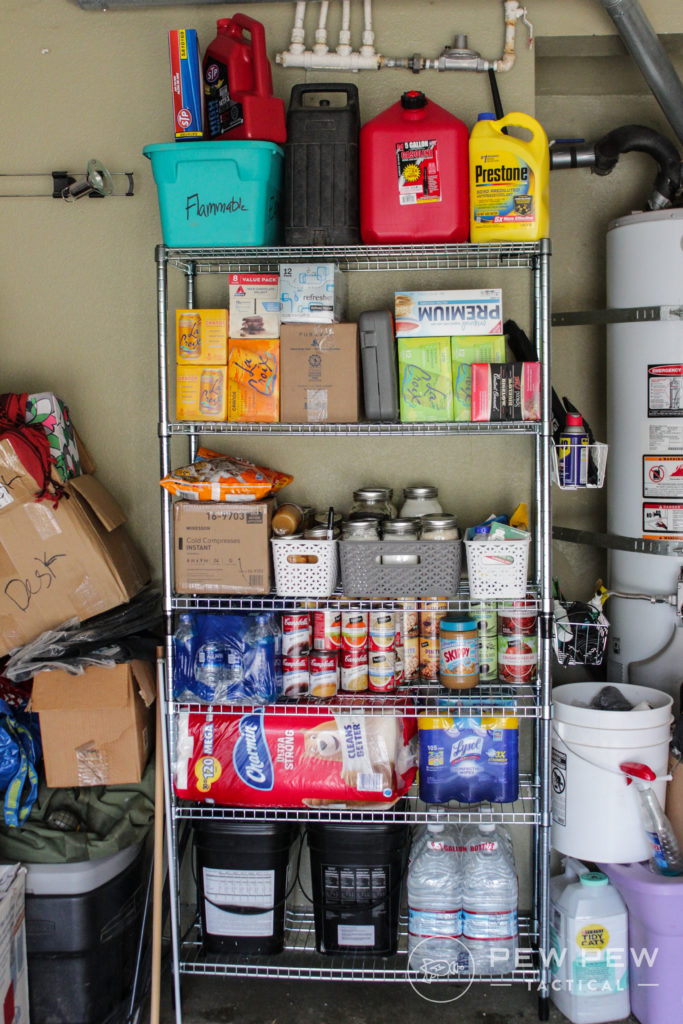
While it depends on your particular space, here are some ideas for storing your supplies:
- Under the bed with rollaway storage boxes
- Behind things in deep cabinets
- Bookshelves or cubicle shelves
- Bins in the garage
- Crates on the floor of the closet
- Coat closets
Nothing says that you can’t have a rack of bins in your living room. If you only have that as an option, it’s better than not prepping at all. But I think you’d be surprised at how easily you can tuck away supplies without anyone ever suspecting you own a tinfoil hat.
Pulling Double Duty
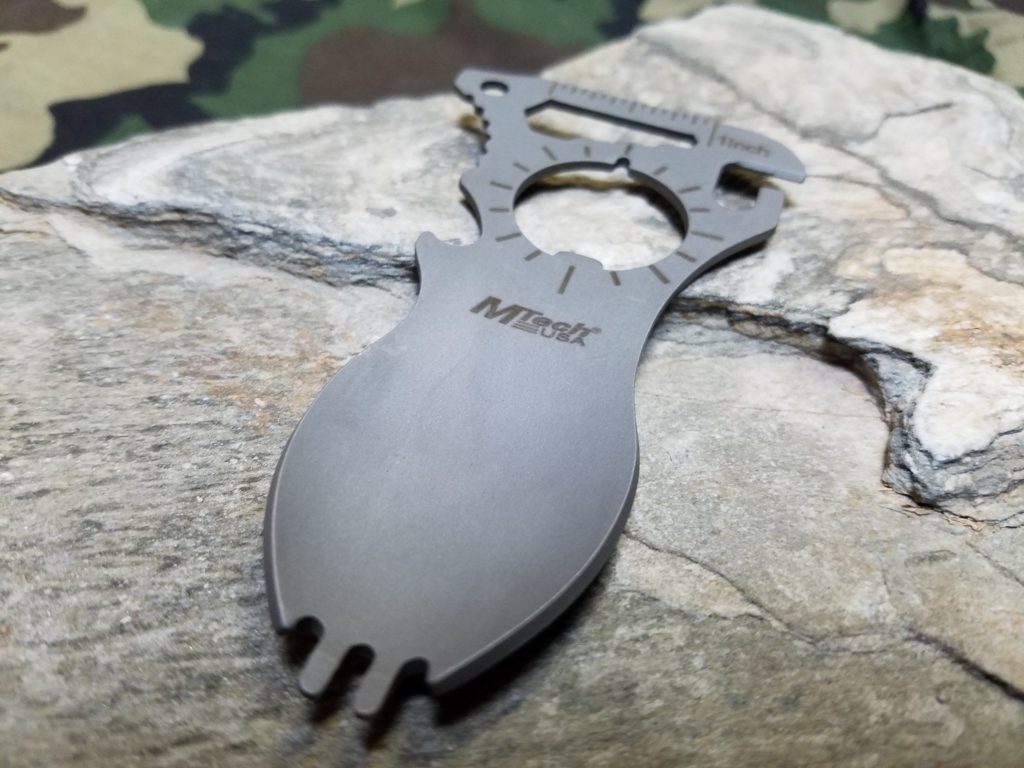
When you have a small space, it’s important to make sure that as many of your tools and supplies can be used for more than one thing.
You don’t need to buy gimmicky survival tools, but a solar-charged lantern that can also charge your devices is a great investment. A vacuum sealer can be used to seal dried foods, frozen foods, and documents to protect them.
Bleach can be diluted in many different ways to sterilize just about anything that can get wet — but rubbing alcohol is also safe to use on injuries and can be even used as a deodorant.
Making a Plan
Let’s be honest, if you want to be a successful prepper, you need a plan.
You need to know how many people you’re prepping for, how long you want to have supplies for, and if there are any special considerations like medical needs.
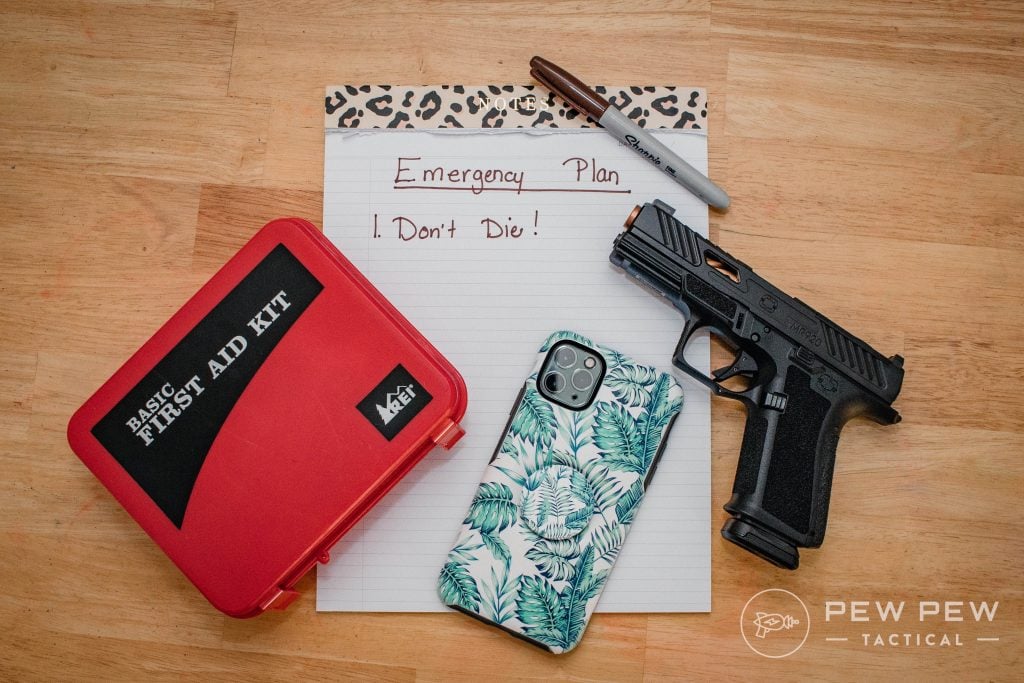
Having a plan will help you prepare efficiently and effectively, which is a must when you don’t have much space to work with.
Ready to get prepping? Great!
Now that you’ve got a plan in place let’s start talking about what you’ll need to be ready for an emergency.
Food Storage
Obviously, food is a priority. Long-term food storage is best, but you can still prep without developing a taste for MREs.
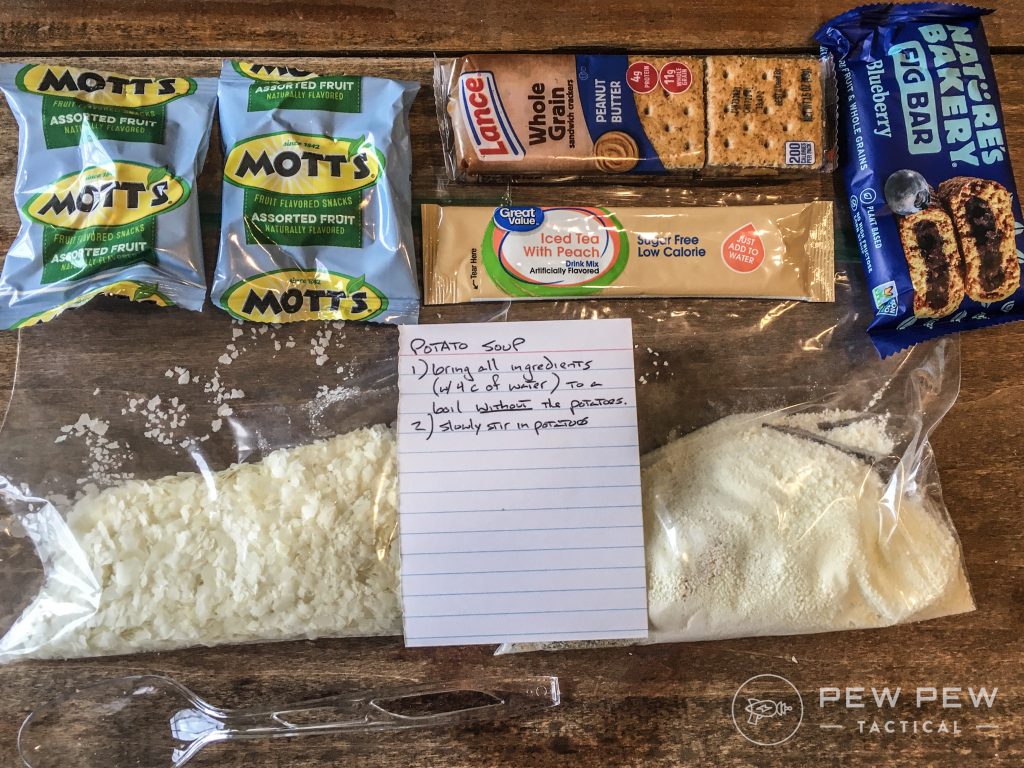
Whatever your goal is, you’ll want to squirrel away enough calories for each person to last you to that goal, but you’ll also want to make sure you have a variety of foods so you can get the nutrients you need.
A food storage calculator is a great tool to help you plan.
Food for Long-Term Storage
Once you’ve figured out how much you need to save up, it’s time to get to it! There’s a multitude of ways to store food, whether you’re a DIY home canner or Amazon Prime is more your speed.
Commercially Packaged Foods
The easiest way to build up your food stocks is probably collecting pre-packaged foods, designed for long-term storage and easy use.
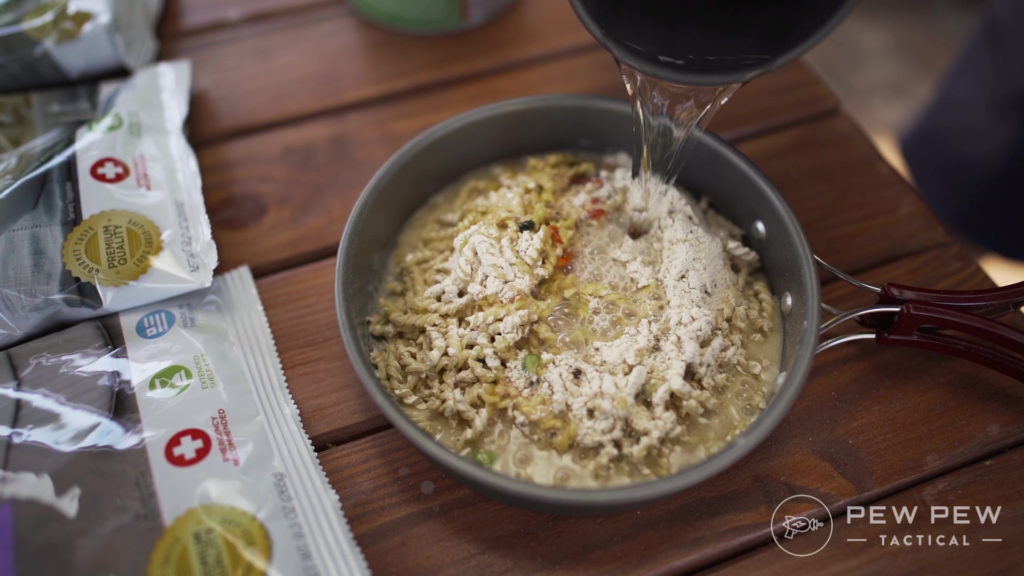
You’ve got plenty of options here, from freeze-dried hiking meals, #10 cans, emergency food supply buckets, surplus MREs, even plain old canned food.
We recommend a mix of food options. Single serving meals are great for variety, large cans of supplies stretch your space much further, and plenty of canned goods don’t require water or heat to be edible.
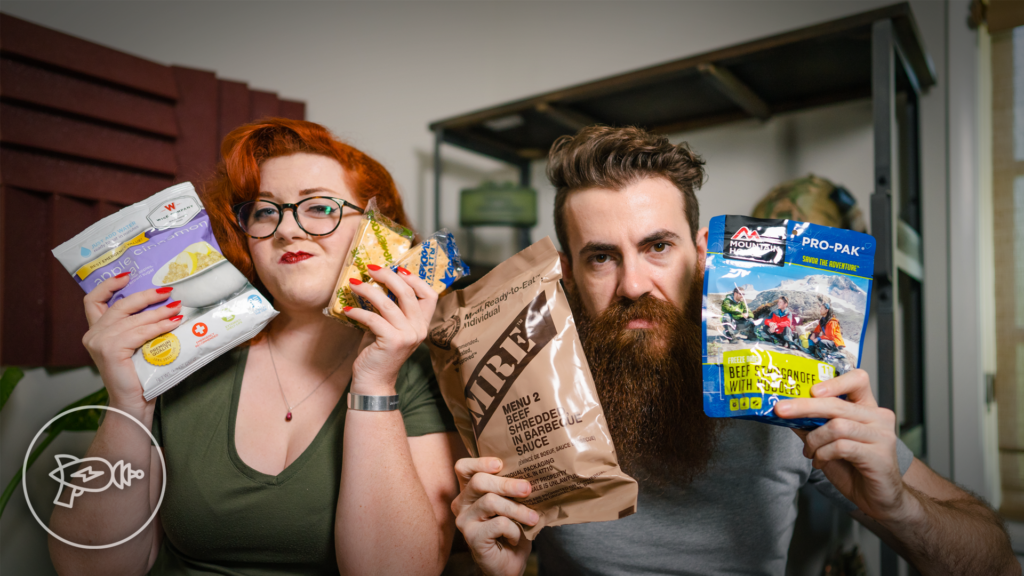
Here are some of our favorites:
-
25% off all OAKLEY products - OAKLEY25
Copied! Visit Merchant
-
25% off all OAKLEY products - OAKLEY25
Copied! Visit Merchant
Prices accurate at time of writing
Prices accurate at time of writing
-
25% off all OAKLEY products - OAKLEY25
Copied! Visit Merchant
If you want to learn more about commercial survival foods, check out our Complete Taste Test Review!
Or make your own MREs for a more personalized experience. We have recipes for that too!
Home Preserved
Have a crafty streak? You might enjoy a more hands-on approach to laying away food for an emergency.
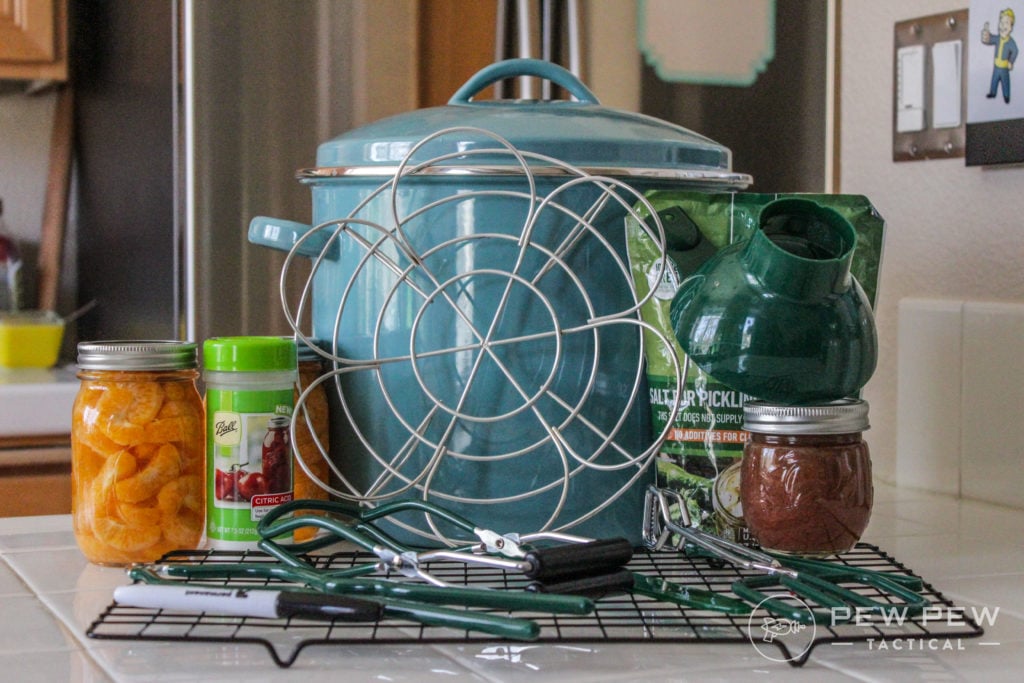
You’ve got lots of options!
Home canning food is not difficult or expensive, and it’s a great way to make sure you have access to fruit and vegetables no matter what comes.
You even get control of the process from start to finish, so you can tweak recipes and make things the way you like them. If you garden, you can even start your food supply from seed!
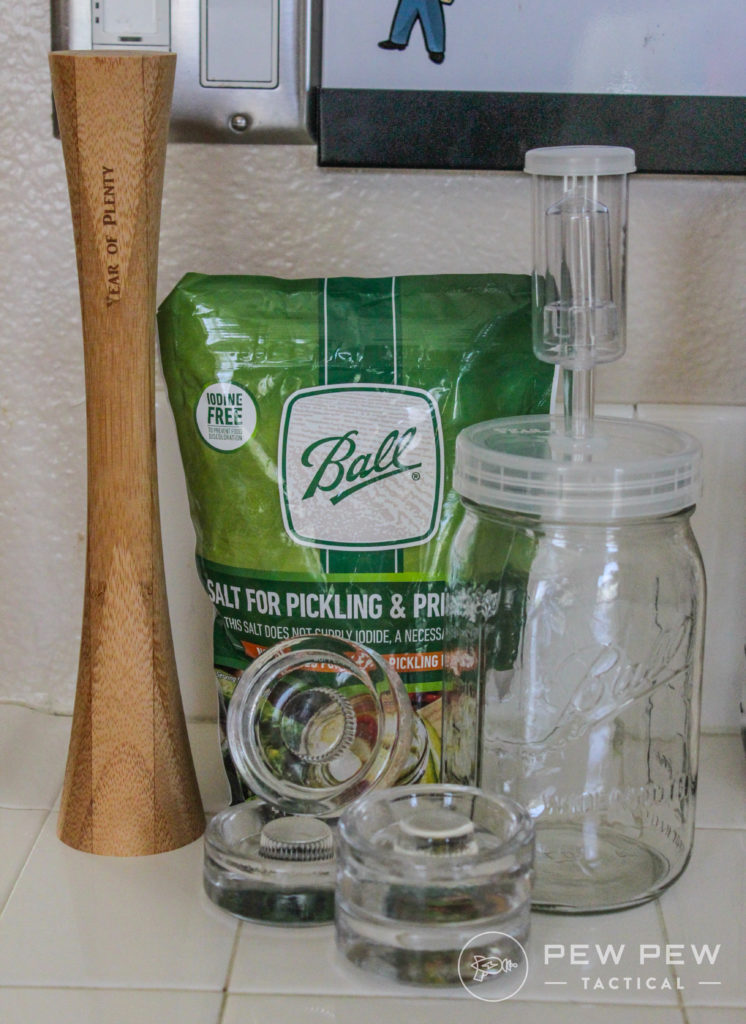
There are a few types of canning to learn about. Each one is best for different things, and it’s important to understand the differences so that you can always properly process foods for safe eating and storage.
- Dry canning uses the heat of your oven to create a vacuum seal and is best for dried goods. There is some concern about the heat shortening the lifespan of your canned goods, so don’t expect cans processed in this way to last as many years as other methods may last.
- Vacuum canning is an alternative to dry canning and uses a Food Saver and a jar attachment to suction the air out of jars and seal the lid. Because it doesn’t use heat, dried goods canned this way can last for several years. Not to mention, it’s super easy!
- Water bath canning is probably the method you think of when you think about canning. Jars are closed and then placed in boiling water, which creates a vacuum and sterilizes the jars. As they cool, they’ll let out a ping! which means they’re sealed safely. Sometimes called wet canning, this method can be used for high acid foods like jams, jellies, and tomato products.
- Pressure canning is the most labor-intensive form of canning, but it is also the only one that can be used on low acid foods like meat and most vegetables. Pressure canning is similar to wet canning, except the cans are placed into a water bath inside a pressure cooker, which heats the water past boiling.
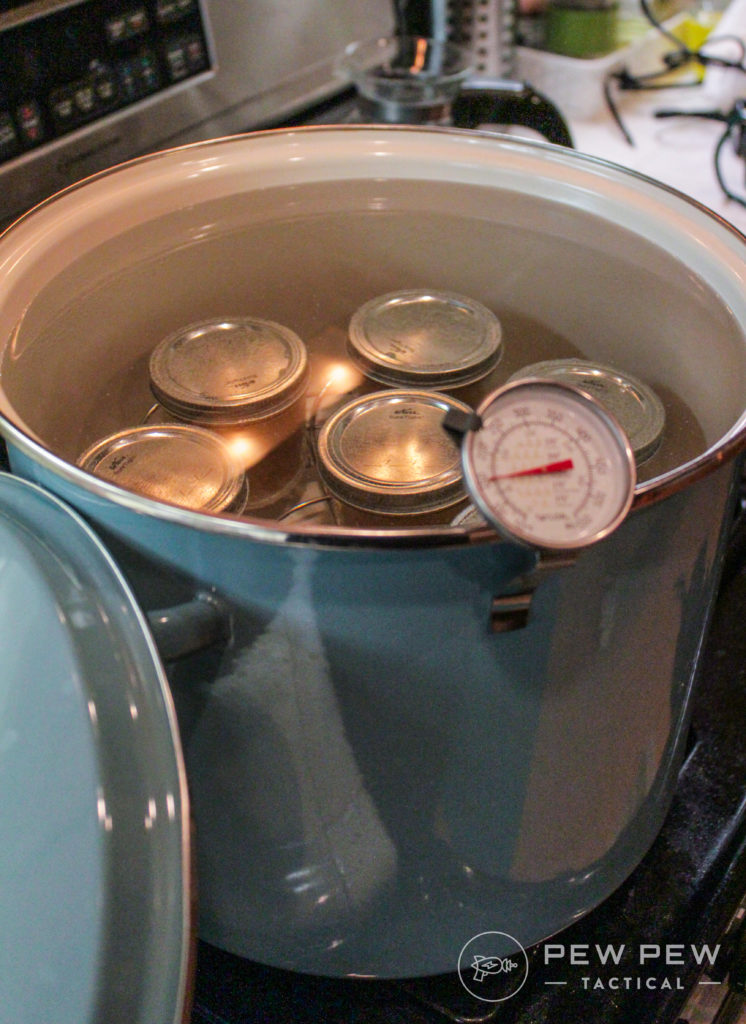
The National Center for Home Food Preservation publishes a ton of free information and recipes for home canners and is a great place to get started.
If you have a vacuum sealer, you can also prepare frozen meals, break bulk food purchases into more manageable portions, and protect food from freezer burns.
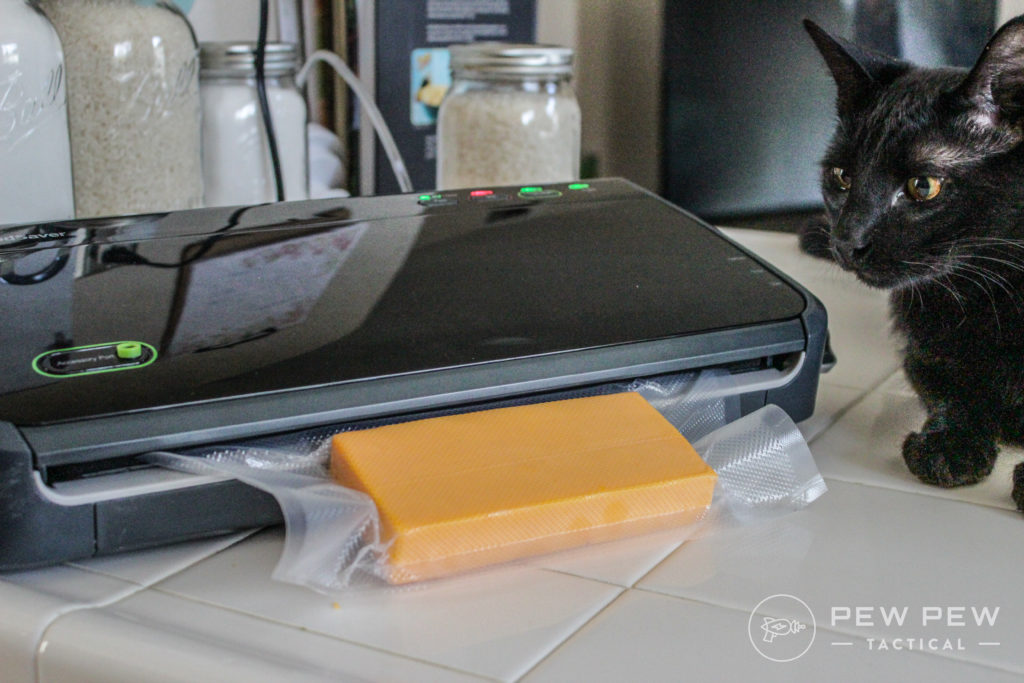
Like I said; not all prepping is for the end of the world. Sometimes, you’re prepping for a car breaking down and not being able to make it to the grocery store that week.
If you really want to round out your home food prep kit, a dehydrator is another fantastic tool. You can use it to make dried fruit, jerky, and other treats. It can even do it overnight, while you’re at work, or other times when you don’t want to leave your oven on and unattended.
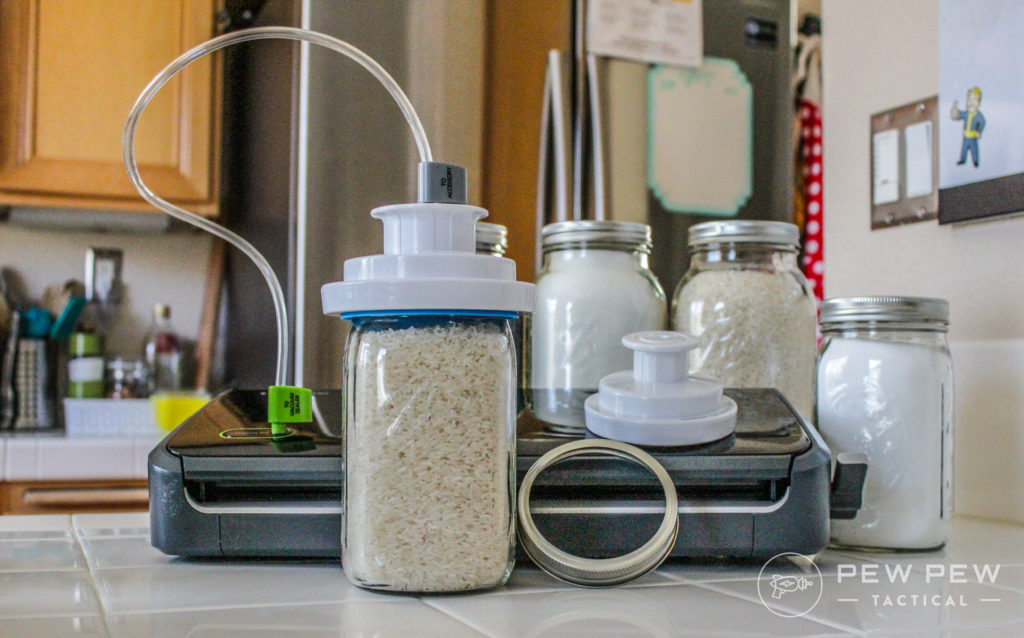
When home processing food, regardless of the method, you need to be absolutely sterile. After all, your home isn’t going to have the same controlled environment as a commercial facility, so you’ll need to take extra care.
Rotating Food
It’s a fact of life. Food has expiration dates. We can extend those dates years into the future, but eventually, they will expire and you will find yourself tossing stuff out…unless you plan ahead.
Rotation schedules can be complex or simple, but their goal is always the same: make sure the oldest food is used up as new food is added.
Personally, I am not one to track a bunch of dates and keep up with a binder of notes (and also my partner grazes his way through my stash), so my system is really simple.

I use a permanent marker to write the expiration date on the lids of everything and place the newest items towards the back of the shelf. And then I beg my partner to at least use the ones with the closest date, to varying degrees of success.
For my long-term storage, I date everything the same way and put an annual reminder in my phone to check my supplies.
When that goes off, I check them, and anything with less than a year to go joins my pantry.
Water Filtration and Storage
Water!
Agua, H2O, the elixir of life…water is key. You can survive for three weeks without food (though it’s gonna suck), but you can’t go more than three days without water.
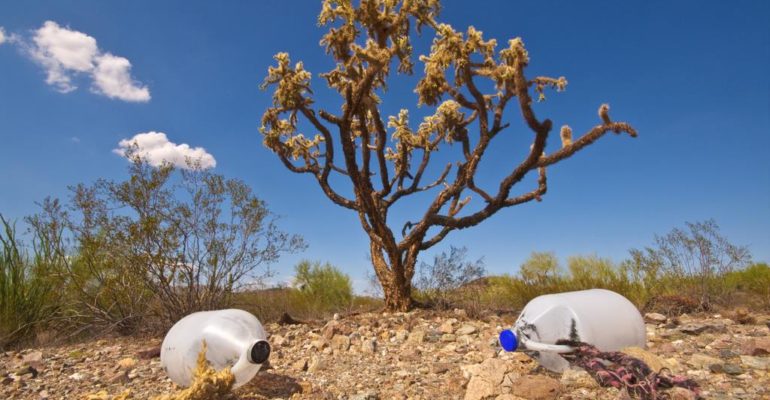
Unfortunately, water can be a challenge to store. It’s bulky, it’s hard to keep fresh, and you need a gallon per person, per day.
If you live in a treehouse with eight roommates and a pet snake — it can be a bit challenging to store enough water to get you through two weeks.
You still have some options to keep water on hand and get more.
Water Storage
The easiest way to store water is to store gallon bottles (or those 5-gallon water cooler bottles) of water and rotate them through your stash. Just go to the store, get your water, and stash it somewhere that light won’t compromise it by causing mold growth.
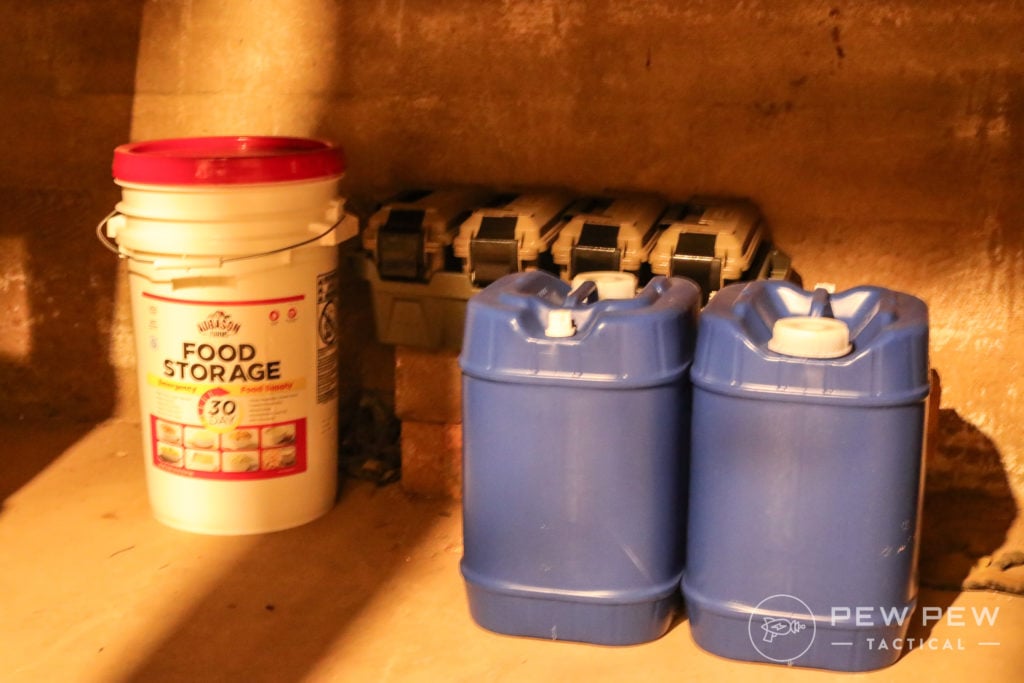
If you’re in a DIY kinda mood, you can fill your own containers.
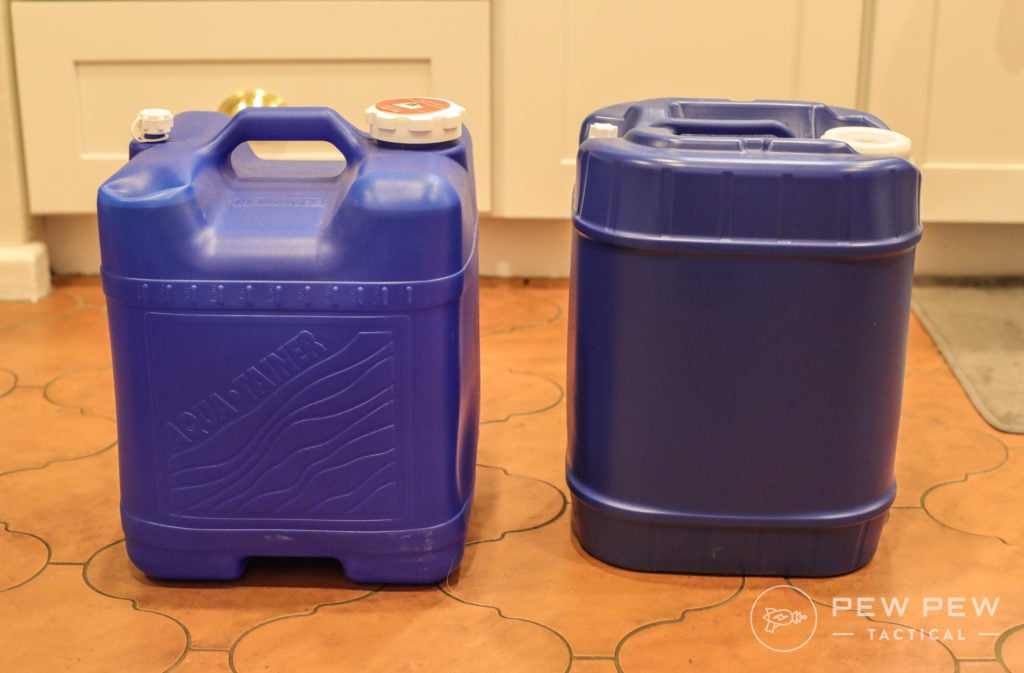
We recommend these food-grade 5-gallon water containers, which are stackable, solid, and have an integrated handle and spigot. I own a few, and we keep at least one filled and stashed away.
-
25% off all OAKLEY products - OAKLEY25
Copied! Visit Merchant
Want to store more water? Augason Farms’ 55-gallon water purification system has everything you need to treat, store, and use the water you’ve stored away. Treated water has a 4-year shelf life, so at least you don’t need to fill 55 gallons of water every few months.
If you just want the water treatment part, you can get water purification drops that can treat up to 55 gallons of water. That’s a lot of those 5-gallon jugs.
And if you want a nice, compact water solution that lasts up to 5 years, there are always emergency water pouches!
Water Filtration
Water purification is not the same as water filtration, and both are important. Purification removes bacteria, protozoa, and viruses from the water, but not particulates. Filtration removes particulates, as well as bacteria and protozoa.
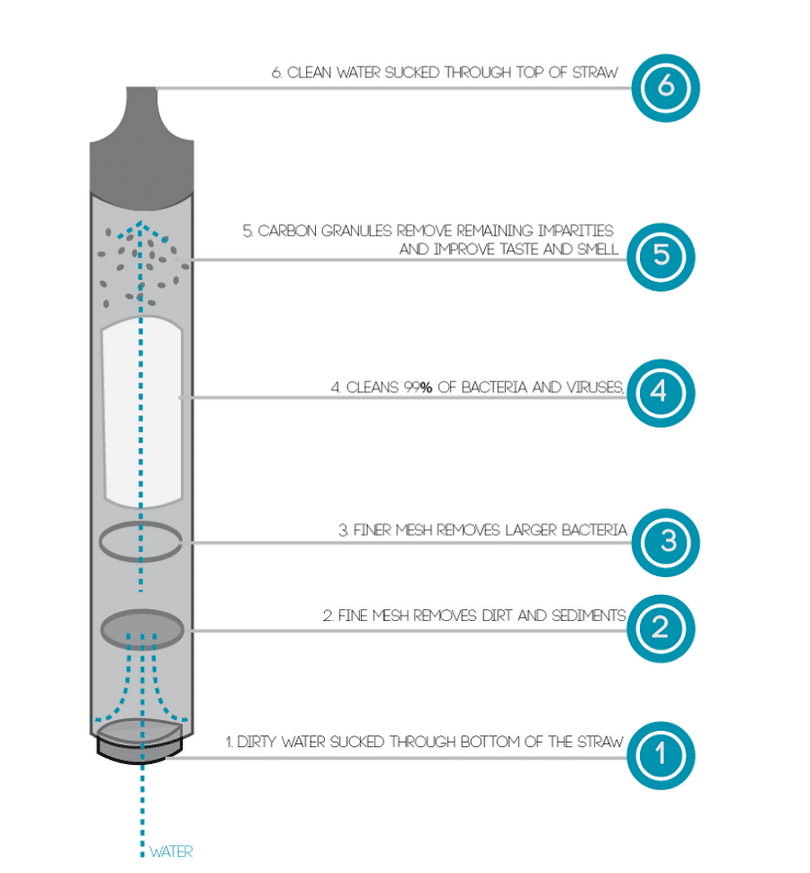
Both are important, and you can definitely double up on your protection.
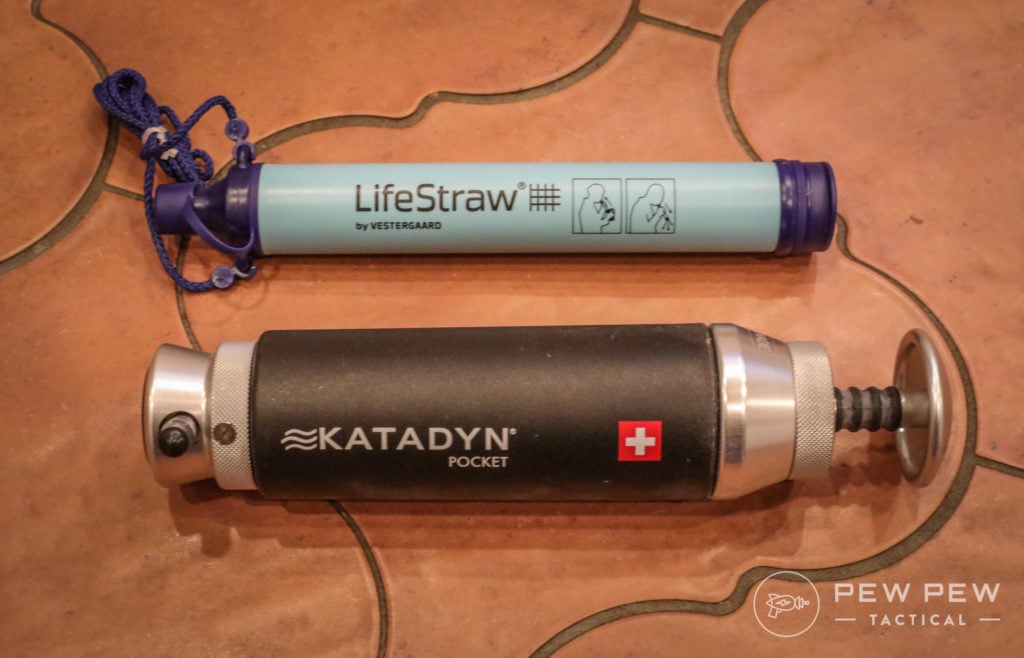
You can find filters of varying levels of filtration and processing capabilities. A popular, single-person filter is a Lifestraw Personal Water Filter.
-
25% off all OAKLEY products - OAKLEY25
Copied! Visit Merchant
Wanna learn more about water filtration and purification? Check out the Best Portable Water Filters for Survival!
Power & Light
Losing power isn’t a guarantee when there’s an emergency situation but, well, it can happen even on a regular day.
Here in SoCal, they shut off the power if it’s even slightly breezy to prevent fires, so having alternative methods to keep your cell phone charged up is a must!
Portable solar panels are convenient to store and use, and I own several of them. They can be used to charge devices directly, or they can charge portable batteries for use later.
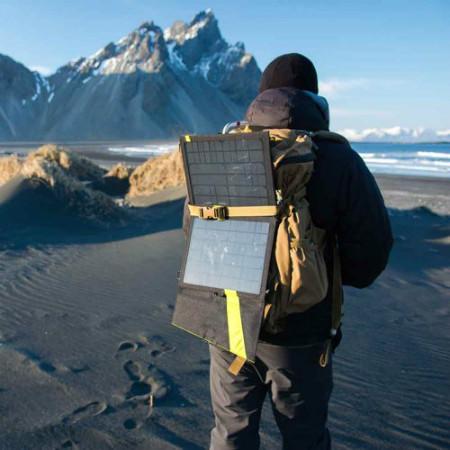
What I love using with my solar panels is a rechargeable flashlight, like this one from Anker that can be charged with a micro USB charger. I can charge it all day in the window with my solar panel, and have light all night long.
(Want to see some other great flashlights? Start with the Best Everyday Carry Lights!)
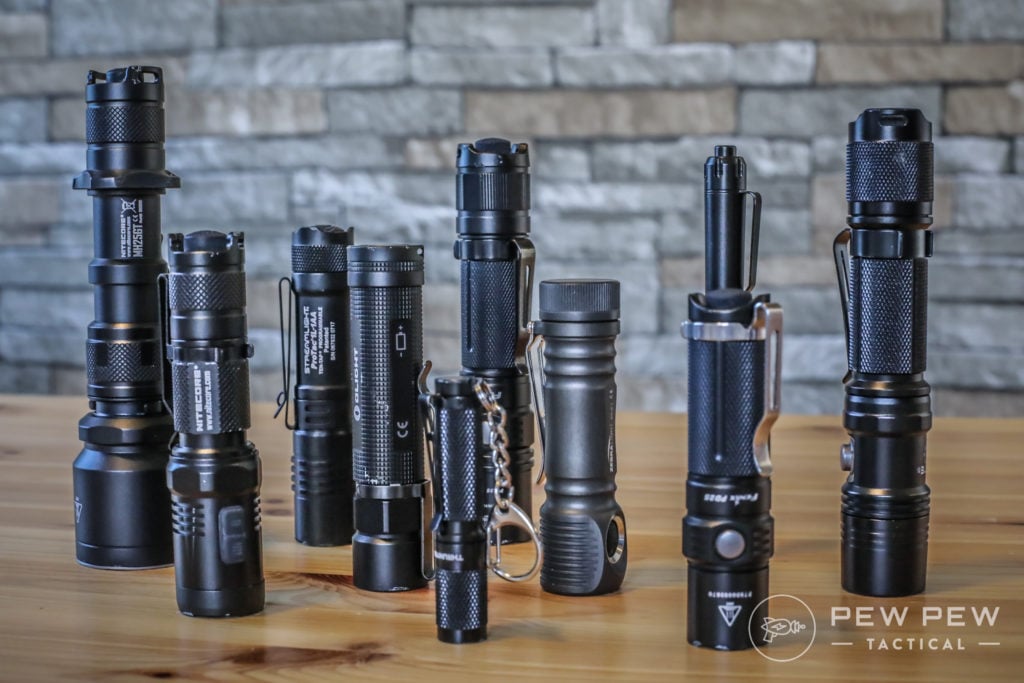
There are also other great options out there if the sun isn’t a guarantee or you want some redundancy. Hand-cranked flashlight/chargers are a great device to keep handy–you can even find them with an AM/FM radio built-in, which can help you monitor the situation.
While all that cool survival stuff is awesome, you can, and should, also keep a store of regular, plain ol’ AA, AAA, and 9v batteries on hand, too. And, as always… rotate your supply!
Cooking Supplies
There’s no guarantee your kitchen will be functional in a disaster. If you do have power and gas, awesome! If not, well…you’ll be glad you kept reading.
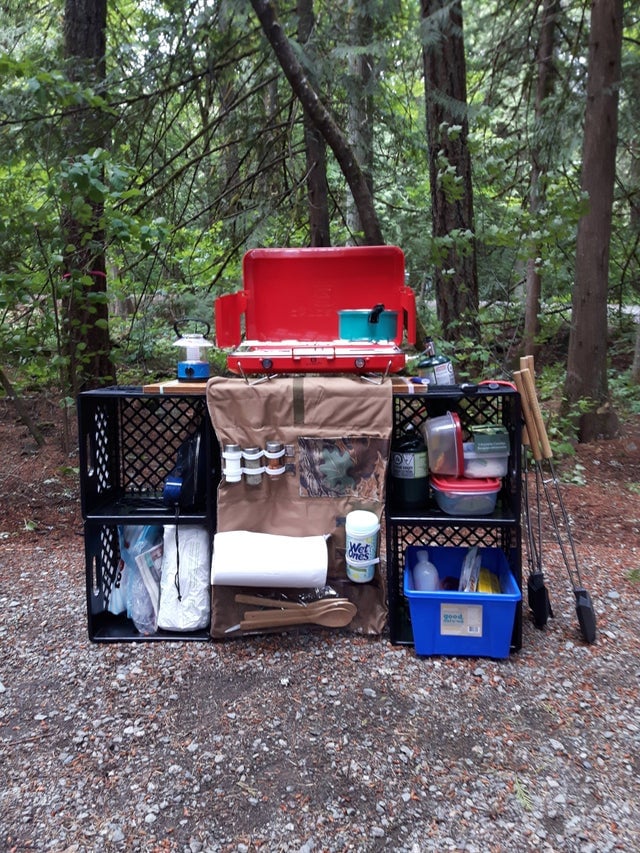
Don’t have space? That’s okay. There are plenty of teeny-tiny stove options that can get the job done, albeit slower and less convenient.
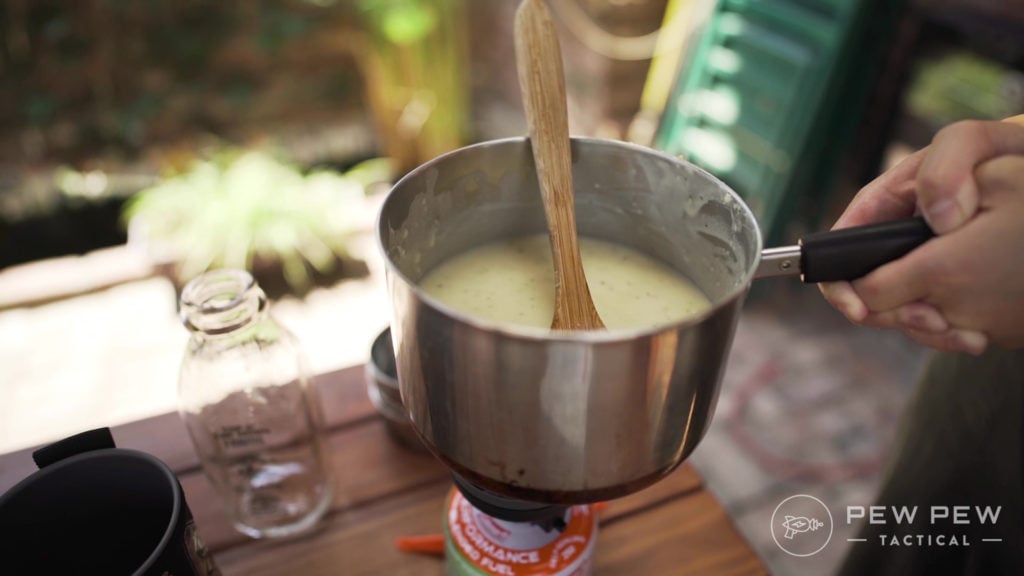
Jetboil stoves are tiny little isobutane-propane stoves that can flash heat a liter of water to boiling in just 100 seconds.
These lil guys are super handy (and we used one to heat all the water for our survival food taste testing!) and they pack up to be darn tiny, so they’re easy to store.
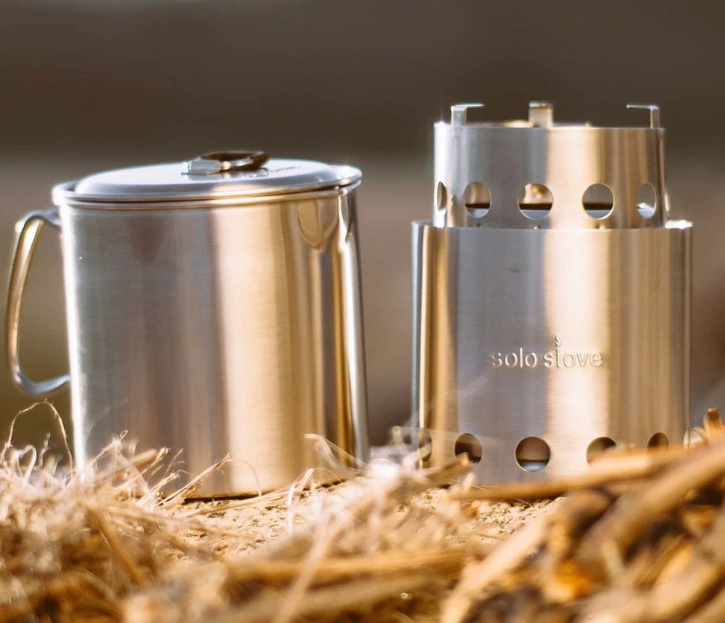
My personal favorite is my little Solo Stove, which is a flexible fuel rocket stove. (Psst, we have a whole article on the best rocket stoves, so check it out!)
It’s about the size of a tin-can and fits inside the Solo Pot 900, which was designed to sit perfectly on the stove. The Solo Stove is great for burning biomass like twigs and pinecones, but it also can be used with an alcohol burner, which makes it a little more inside-friendly.
Gas Masks & Respirators
Ah, the most quintessential prepper basic…the gas mask.
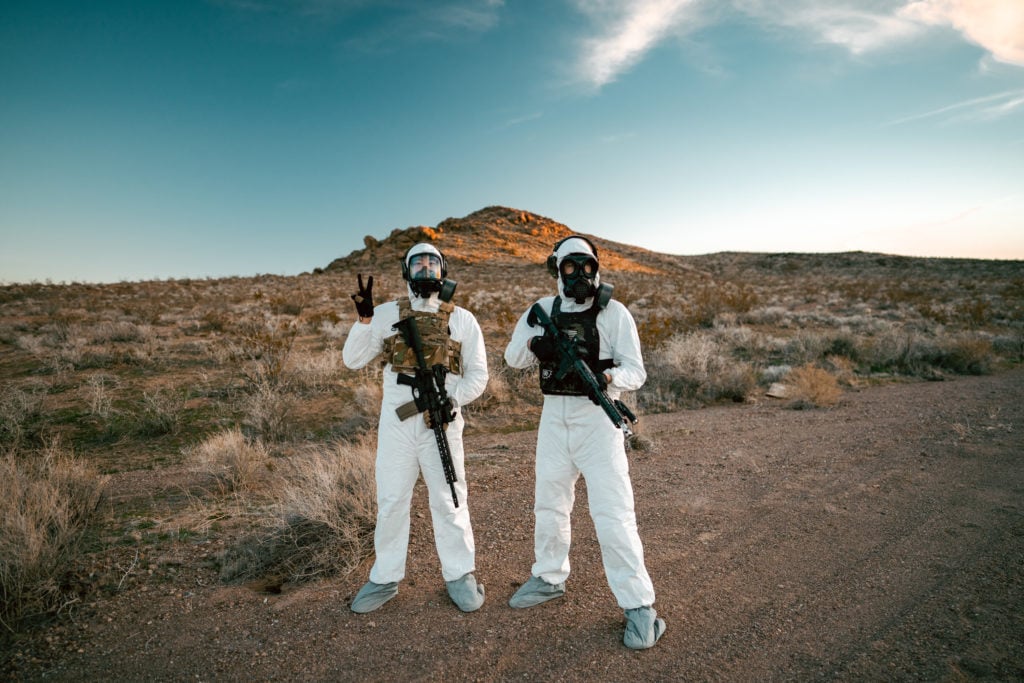
Truth be told, you probably don’t need to have one of these on hand. What we do recommend, however, is a respirator.
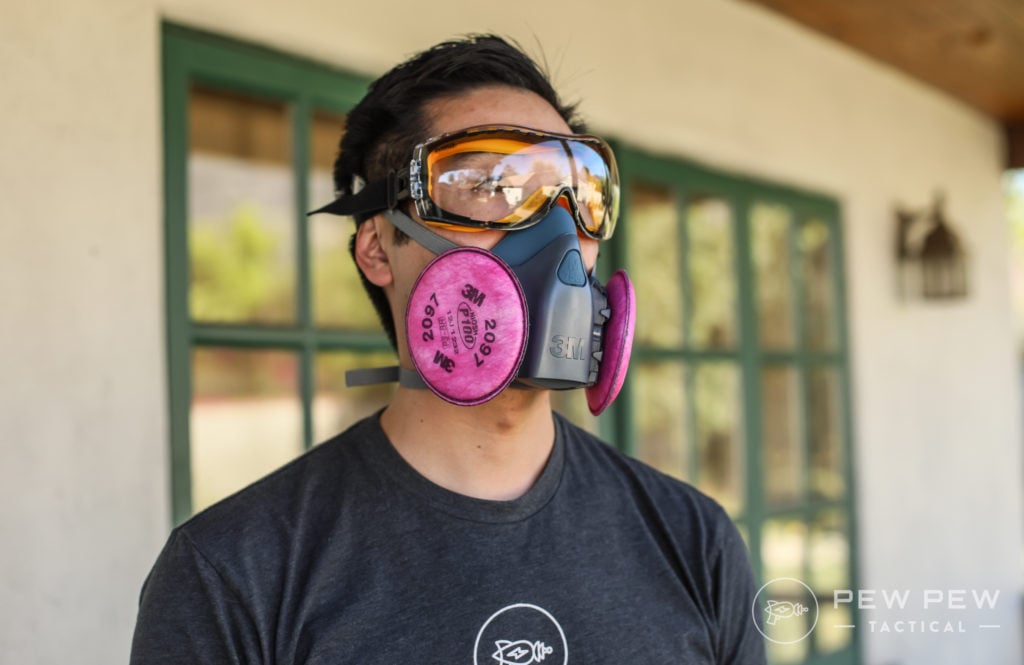
Specifically, we recommend the 3M Half Face Respirator with 3M 7093 Particulate Filter, which is capable of filtering 99.97% of oil- and non-oil-based particles.
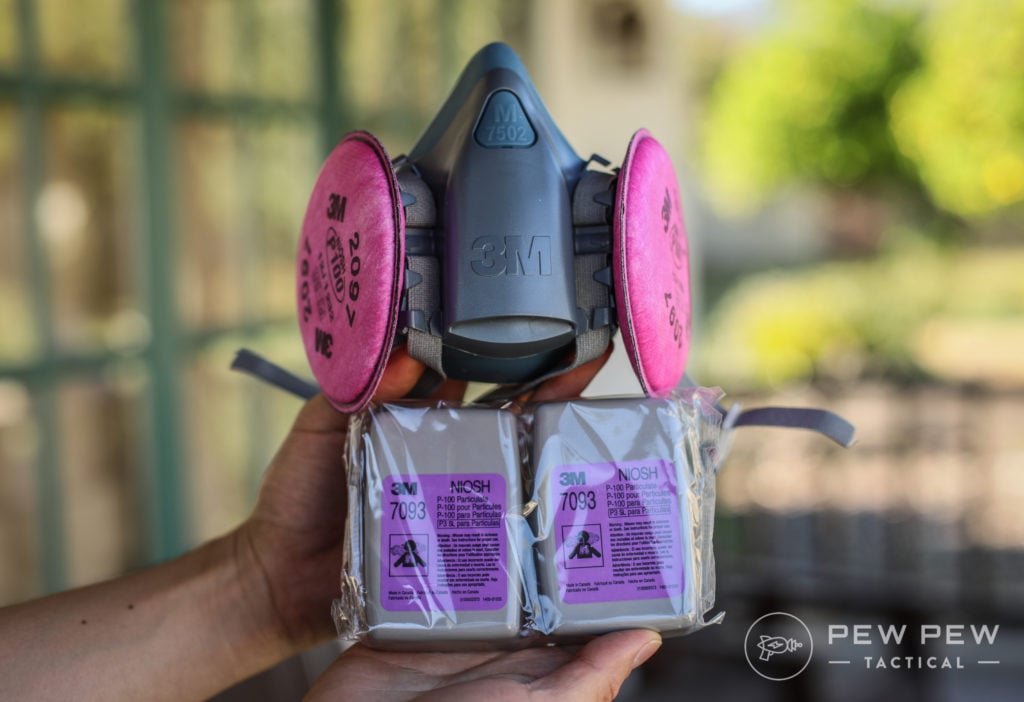
You probably also want to pair them with some eye protection, such as a pair of goggles that provide a good seal. This will help keep germs and particles out of your peepers and keep you from catching the latest corona-bola swinefluenzaplague.
However, if you do want to get a gas mask, our Best Gas Masks, Respirators, and Filters guide has hands-on reviews and a ton of updated information on buying protection for pandemics.
Medical Supplies & Care
Sure, you probably have a box of bandaids knocking around, maybe a bottle of Advil, but if you can’t go to the ER, how are you going to handle an accident or an emergency?
If calling 911 isn’t an option, can you stop bleeding or perform CPR or administer an EpiPen?
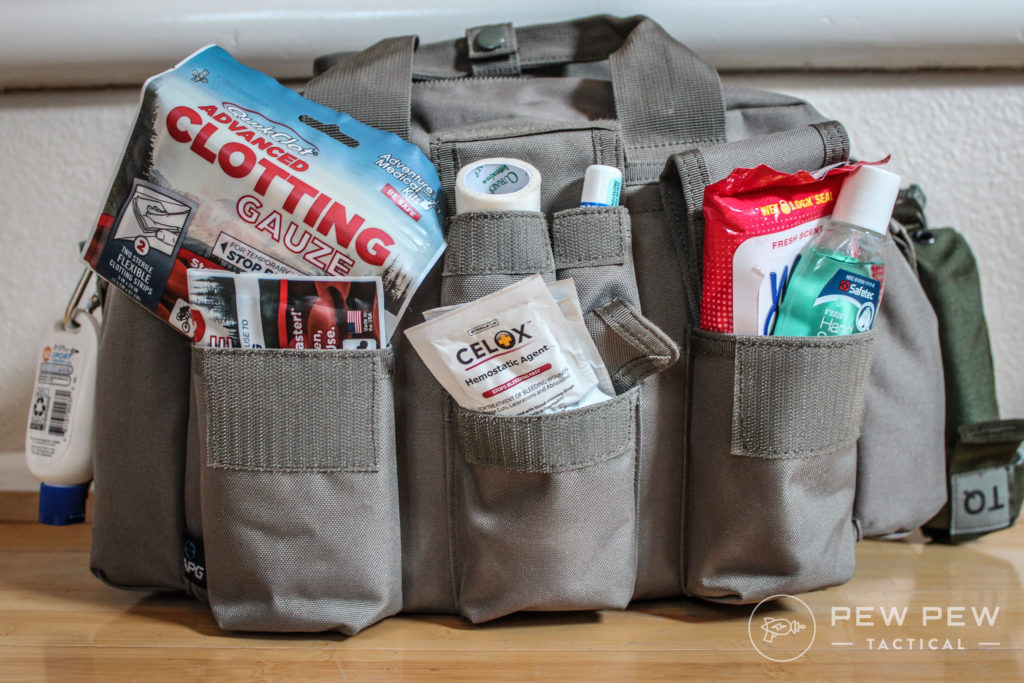
You should plan to stock up on medications to handle any common illness, from colds and the flu to food poisoning and allergic reactions. Electrolyte drinks also come in handy to help you keep hydrated.
Treating injuries can be more difficult to handle, but it is critical.
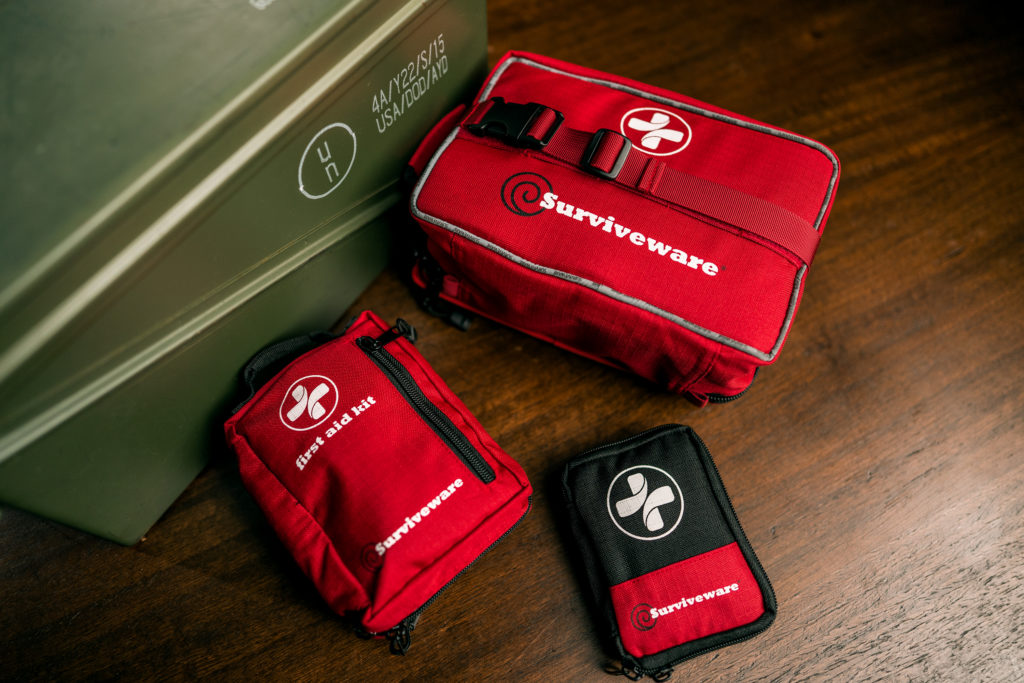
You will want to keep certain supplies on hand, such as sterile gauze, hemostatic bandages, tourniquets, chest seals, burn dressings, and pressure bandages, which can help you to stabilize the most serious wounds.
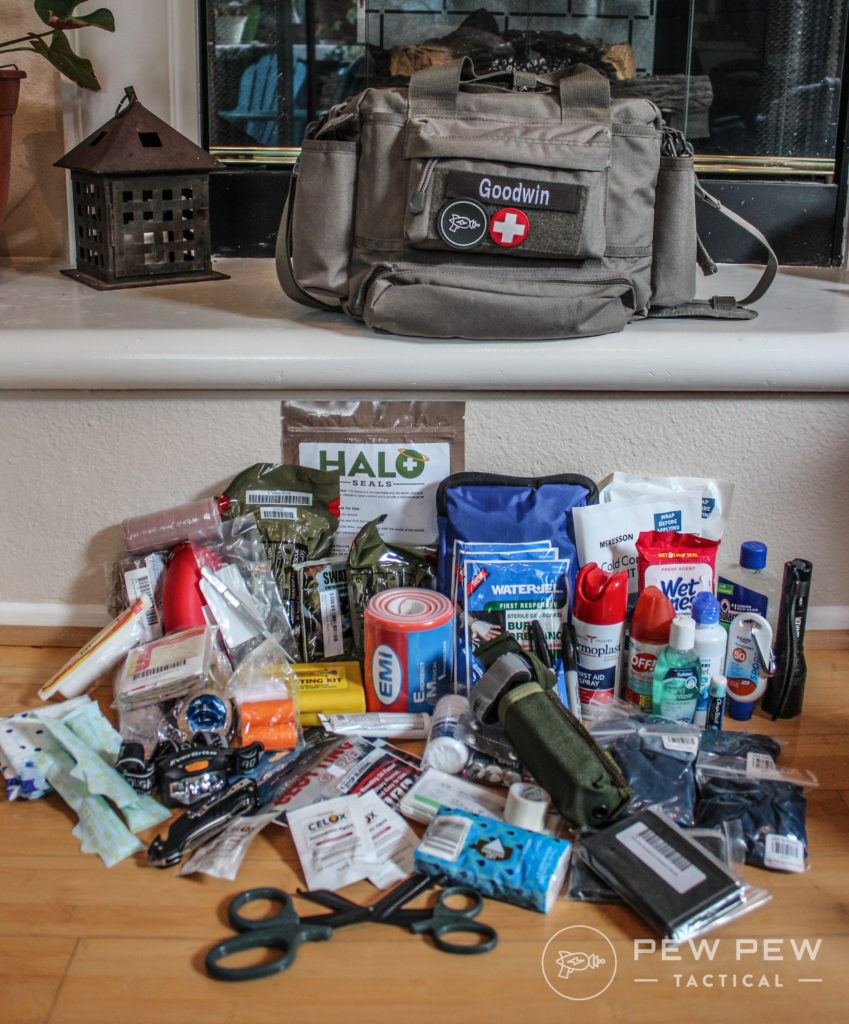
Want to learn more about what you need to keep on hand? Check out our best IFAK kits list and our current favorite all-in-one kit.
Prices accurate at time of writing
Prices accurate at time of writing
-
25% off all OAKLEY products - OAKLEY25
Copied! Visit Merchant
Check out our Full Review of the Surviveware large and also mini/small versions as well as the 72-Hour Bag!
And, as a bonus, our readers get 10% from Surviveware! Use code PEWPEW at check out.
You also should prepare yourself and your family by taking courses in emergency first-aid, CPR, wilderness first-aid, or other useful training.
And of course, don’t forget to keep your training current! We have a list of classes we recommend, so be sure to read up on the Best First Aid Classes: Beginner & Intermediate.
Clothing
While you might not need to plan on packing clothing if you’re sheltering in place, it’s still good to think about what you have on hand.
If you lose power or gas, will you be able to stay warm or keep cool?

If it rains and you need to go outside, can you stay dry? If you don’t have heat or power for your dryer, clothes will take longer to air dry, so you want to make sure that your only heavy coat isn’t soaked through with no way to get it dried besides waiting.
Having access to your entire closet is obviously a bonus in a survival situation, and if you maintain power and gas, you’ll have very little to worry about.

If you do want to take extra steps to make sure that you’re equipped, consider using a waterproof spray to seal your outer layers and shoes against water, and making sure you have duplicates of things like socks, underwear, hats, and long underwear.
Don’t forget to figure in sun protection, too! Long-sleeve shirts, hats, and pants can keep the sun off you (and keep you cooler) should the weather outside be on the warm side.

You can weather anything if you take a little bit of time to plan and prepare your wardrobe for the worst!
Toiletries
Hygiene is important.
Not only can it prevent the spread of bacteria and viruses, but it’s just a comfort thing.
Assuming the worst-case scenario where your water supply is cut off (or too contaminated to use), how will you keep clean and sanitary? You don’t want to dip into your water supplies too much and run out, but you need a way of washing up and protecting yourself.
The answer? Baby wipes.

Water-free toiletries include things like baby wipes or wet naps for cleaning off grime and hand sanitizer for killing germs, but also waterless soaps and dry shampoo.
You’ll also want other things to keep comfortable, such as sunscreen, aloe vera gel, rash or itch cream, lotion, and body powder.
Remember, if you can’t get to a store and you suddenly find yourself in need of something to keep you comfortable, you’re going to have a bad time.
Keep a small supply of toiletries that can help you function when nothing else can.
Vehicles
Okay, so we know that the idea of this article is to prepare you for sheltering in place but…we’d be remiss if we didn’t at least briefly touch on vehicle preparedness.
For those of you that want to be sure your vehicle is as ready as you are, there are a few things to consider.
Gas
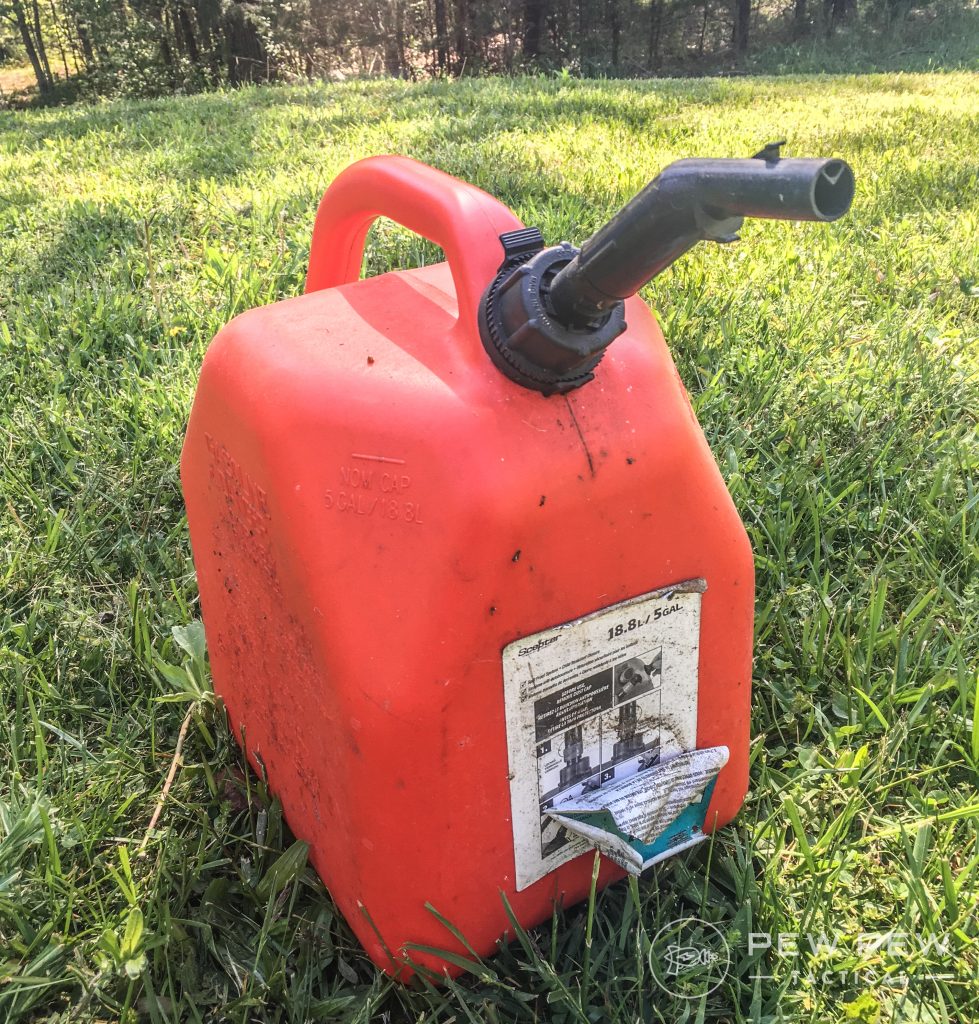
Obviously, your car ain’t going anywhere without gas, but storing extra gas is challenging.
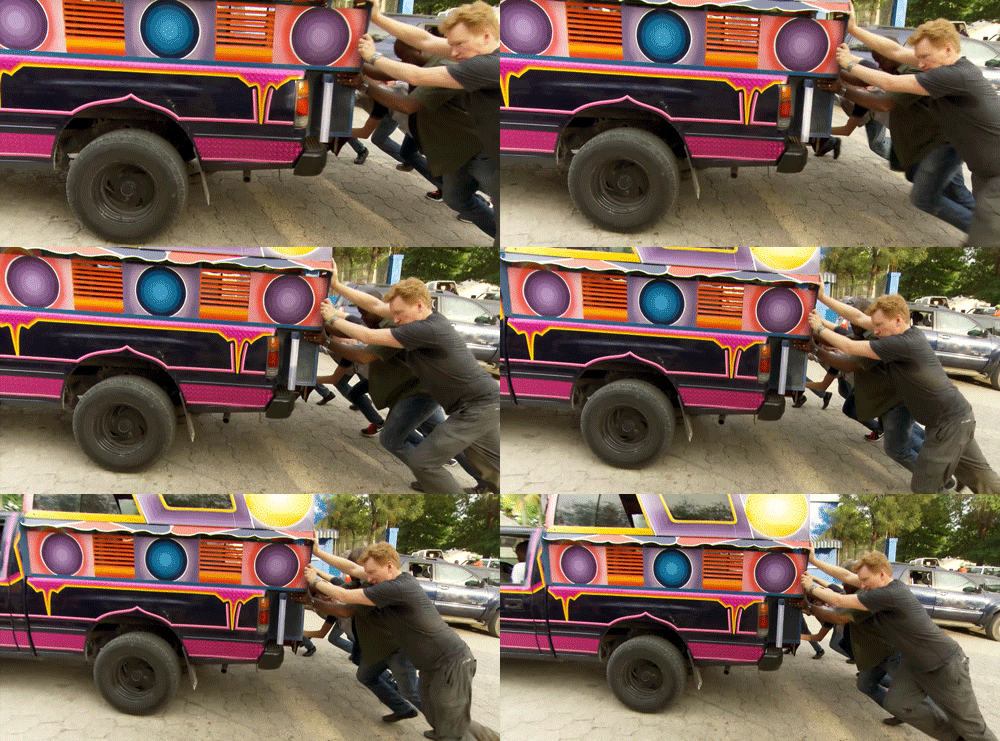
Gasoline has a very short shelf-life before it oxidizes. If you stockpile a bunch of gasoline without stabilizers or rotation, you might find that you have gallons of useless fuel on your hands when you need it.
So you have two options: rotate it or stabilize it.
The first method is simple. Every six months or so, refill your car from your gas cans and take your empty cans to the gas station for a fresh fill.
You don’t have to mess with stabilizers or anything, and you get to practice refilling your car with a can — which can be a bit challenging until you get the hang of it.
The second method also is pretty easy. Once a year, add a bottle of fuel stabilizer to your supply (follow the directions for the correct amount) and you’re good to go for another year.
The downside to either of these methods is that you will need to remember to do them, but your phone’s calendar can help!
Oil, Coolant, and Other Fluids
Cars take a lot of different fluids, and if you run out of basically any of them, you’re out of luck. While you don’t need to be a certified master mechanic, you do need to know how to check and fill your coolant, oil, brake fluid, and transmission fluid.
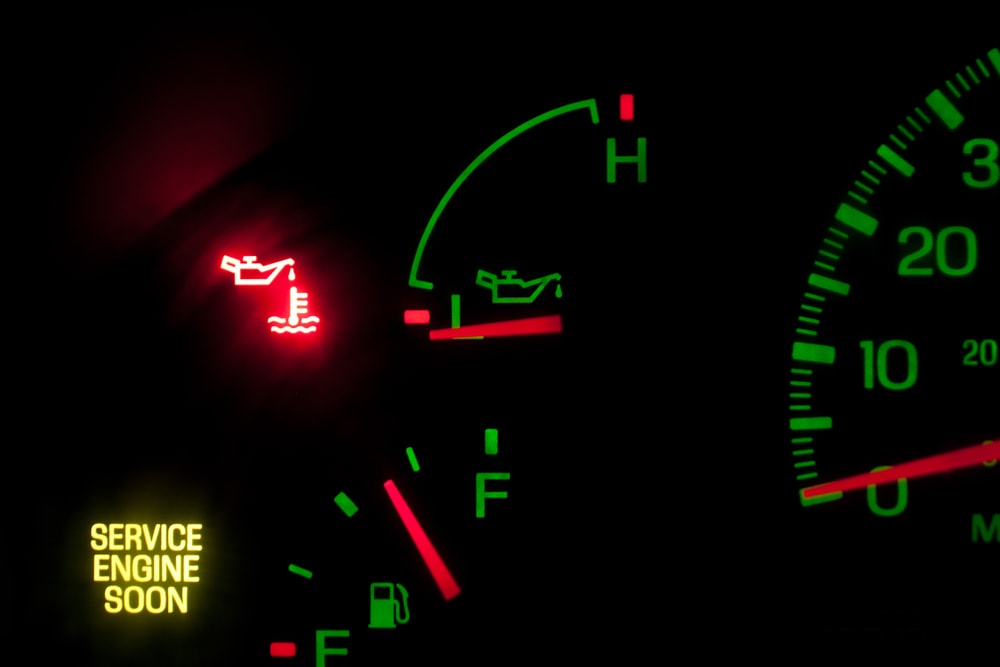
Check your car’s manual for the locations of all these reservoirs, and look up your car online–there’s a huge community of car enthusiasts providing great information on how to do these things.
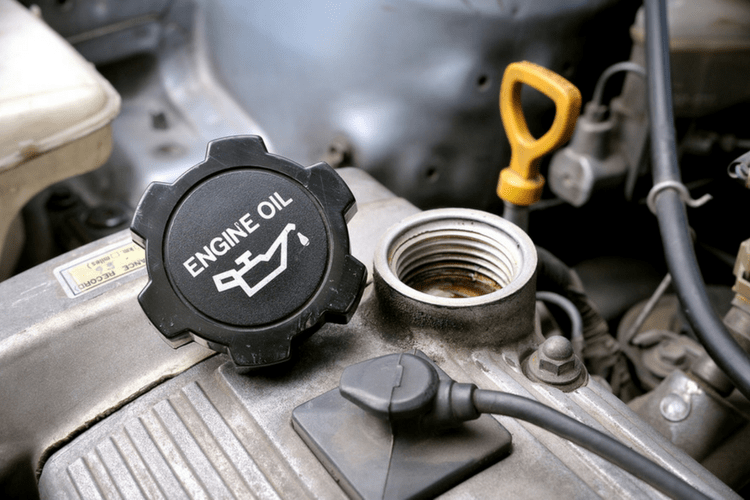
Once you know how to do it and what types of oil and coolant your particular vehicle needs, it’s a good idea to stock up on a supply of them, as well as routinely check your fluids (or have them checked).
Batteries, Fuses, and Electrical Systems
If your car won’t start, you won’t get far. The electrical system in your car is crucial to maintain, but also it’s a source of a lot of various car issues.
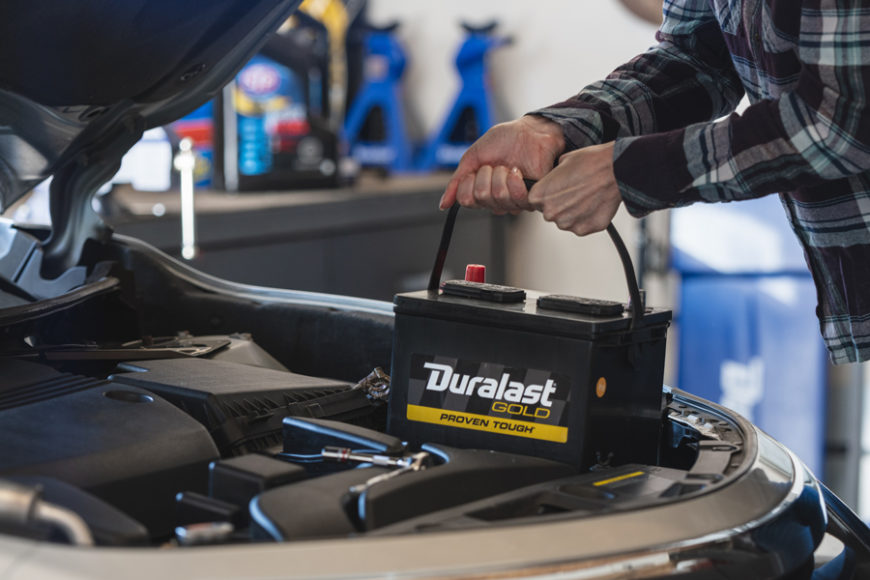
If you don’t know how to change a battery on your own, we don’t recommend trying to do so in an emergency. But if you want to learn how ahead of time, you’re well on your way to becoming a prepper!
What is important, however, is to know how to check your battery for a charge using a battery meter, how to clean and reattach your battery’s leads if they become corroded, and how to jump-start your car using another vehicle or a jump-starter.
You can keep a set of jumper cables in your car easily, which can help you out of a sticky situation, but it can also help others. Attaching them in the right order is important, though:
- Red clamp to the positive terminal of the dead battery
- Other red clamp to the positive terminal of the good battery
- Black clamp to the negative terminal of the good battery
- Other black clamp to an unpainted metal surface on the dead car, away from the battery
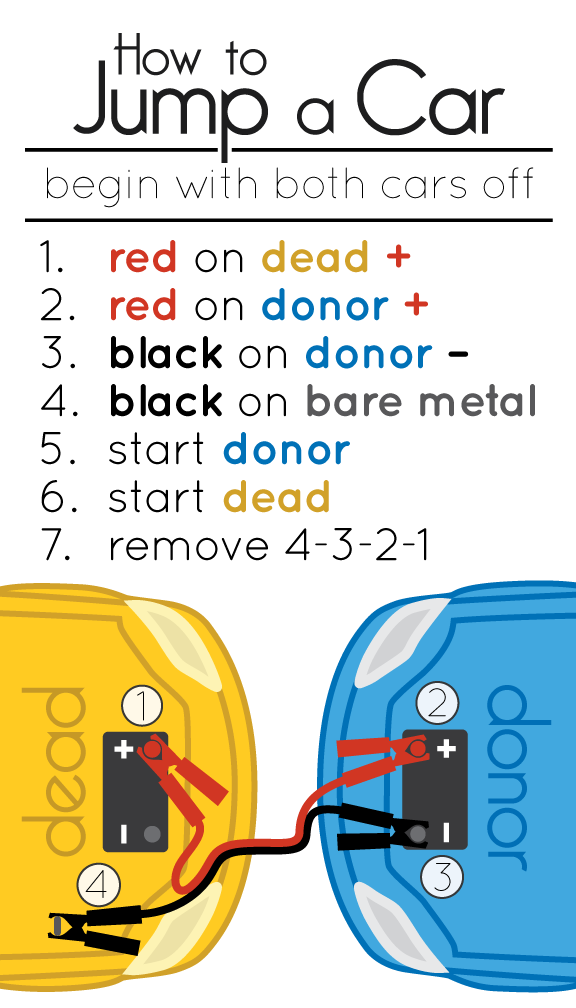
Begin with both cars off, and attach the cables in the order above, without letting the clamps touch each other. Turn on the car with the good battery, then the car with the bad battery. Disconnect the cables in reverse order, and allow the car with the bad battery to run for at least 30 minutes to recharge the battery.
With a jump-starter, it’s even easier. Just connect the red clamp to the positive terminal and the black clamp to the negative terminal. Turn on the device, then start the car. Allow it to charge by running the engine for a while after you’ve started it. Turn off the device and disconnect it.
Boom! Done!
One last thing we’d like to mention is fuses. You can pick up a variety pack of fuses for cheap at any auto parts store, and you’ll never be left dead in the water by a blown fuse again. Most fuse boxes are very self-explanatory, with all the fuses labeled clearly.
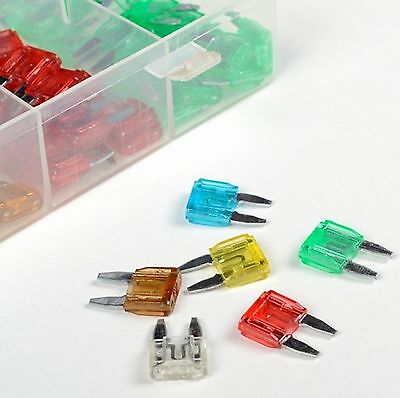
Your manual will tell you where your fuse box(es) are located in your car, but you’re likely to find them in the engine bay, on the side of the dash inside the driver’s door, underneath the dash on the driver’s side, or in the trunk (or under the floor of a cargo area.
Tire Patching and Air Compressors
And finally…tires. Nothing will put your wheels out of commission faster than a rogue nail, so it’s a good plan to have the knowledge and the tools to patch tires.
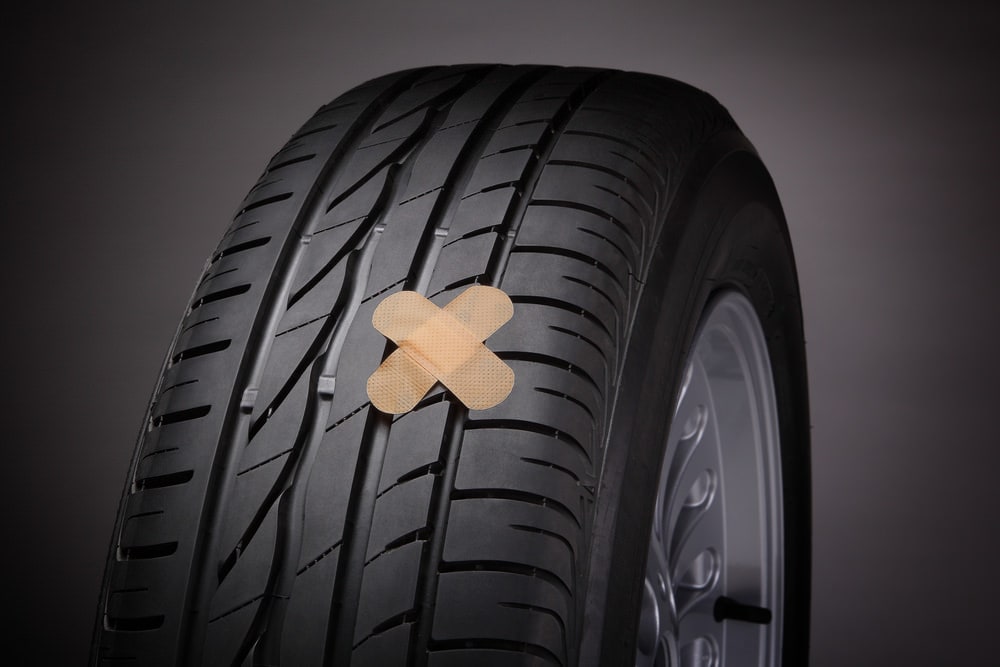
Once you’ve plugged your tire, you’ll need to reinflate it, as well as check the pressure. While the kit above does have a tire gauge, this digital tire gauge is incredibly simple to use and makes it a breeze to check your own tires.
To round it all out, you’ll need a portable air compressor. That will plug into your car’s 12v outlet, giving you the ability to fill your tires anywhere, as long as your battery has a charge!
In the event that you need to bug out, your vehicle will be ready to go and go and go!
We have even more tips over at Emergency Garage and Car Essentials.
Pets
If you have four-legged family members, you’ll want to make sure that you have plenty of supplies for them, too.

Cats and dogs can share supplies like frozen meat and canned tuna with you but with a little preparation, you won’t have to worry about them eating people-food (not to mention, there are lots of spices and foods that are bad for them!)
Canned pet foods, as long as they remain sealed, can last just as long as canned human food. Foil-packed food won’t last nearly as long, but it will last longer than foods that are packed in plastic.
Plastic isn’t air-tight, and over time, oxygen will slowly make its way through the plastic to contaminate the food inside.

Dry kibbles may seem like they’ll keep, but they’re actually quite fatty which means that they’re prone to going rancid rather quickly, even when stored in a sealed container.
They also are surprisingly high in moisture content for something dried, and that’s because they’ve only been dried enough to prevent mold growth — any further, and Fido wouldn’t eat it.
So what’s a pet parent to do?
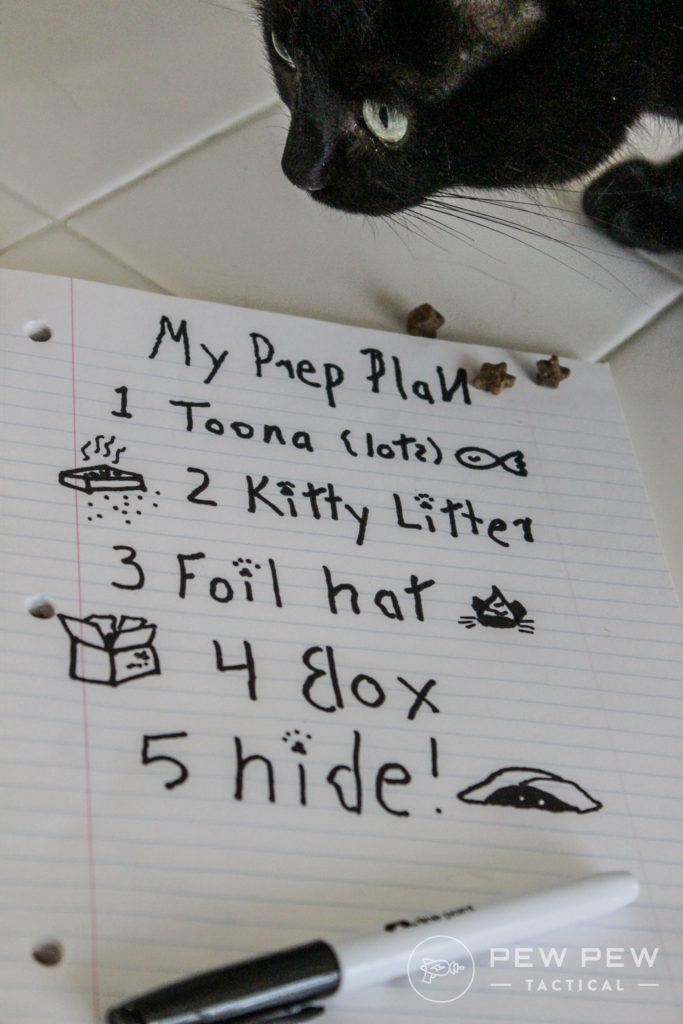
As a cat-mom myself, making sure that my kitties have plenty of food on hand is as much of a priority as making sure that I have food. If you’d ever seen them try to hunt, you’d understand. They’re pathetic.
My personal stash includes a few weeks’ worth of canned cat food, as well as some dried food, which I’ll talk about in a second.
If you feed your pets a mix of canned and dried food or dried only, and plan on stocking exclusively canned food, make sure you do some math and figure out the calorie needs of your pets and how much canned food they’ll need to meet those needs. Then calculate how much food to store with that information.
I do store dry food, but I use a rotation system to make sure that the oldest food is what I’m currently feeding. I started by buying two bags of food, used one and stored one. When I run out of their food inside, I bring the stored bag in and buy another to replace it. Easy!
The hard part is not letting the cats discover that there is actually more food in the house, even when I tell them, “No more, all gone!”
Don’t forget to stock up on any other supplies your critters may need, such as dried treats, medications, litter, and waste bags.
And, as with anything else, rotate your supply through!
Self Defense & Weapons
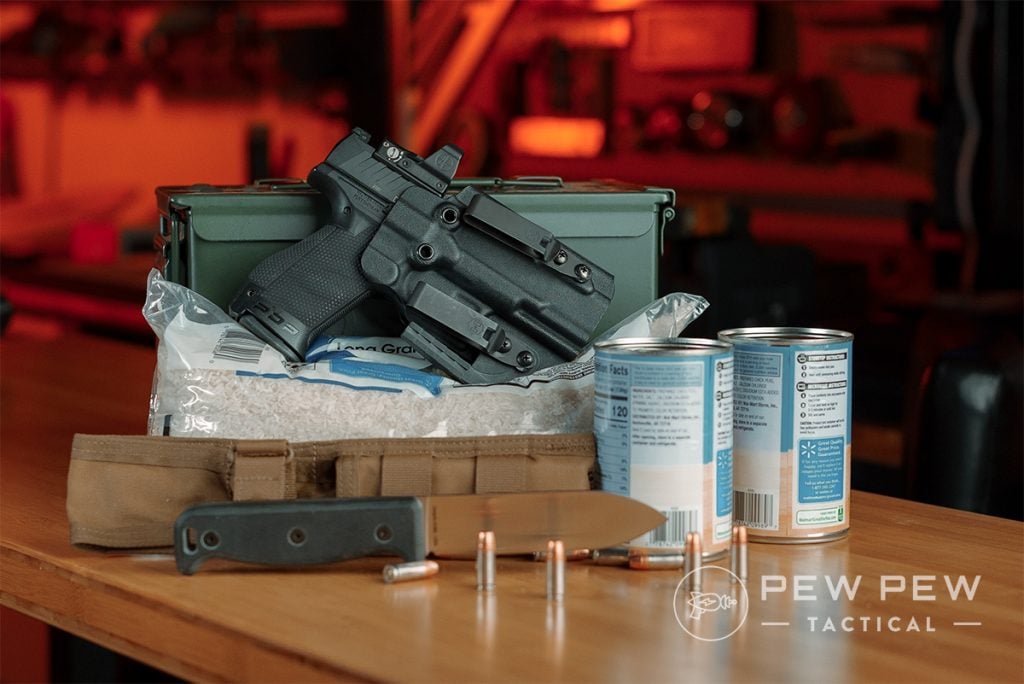
We’re going to say something controversial here: if you’re a casual prepper, you shouldn’t have a gun as the main part of your self-defense preparations.
Now, we’re not saying don’t have a gun at all. It would be awfully hypocritical of us to say that!

Rather, what I mean is that if you’re not going to regularly go to the range for practice, drill yourself in safe handling, secure your firearm in a way that is both safe and accessible — don’t rely on your gun to save your life.
But if you’re willing to put in the time and effort to learn defensive firearm use (or you already do know how), a firearm can definitely be used to protect yourself and extend your food supply, if necessary.
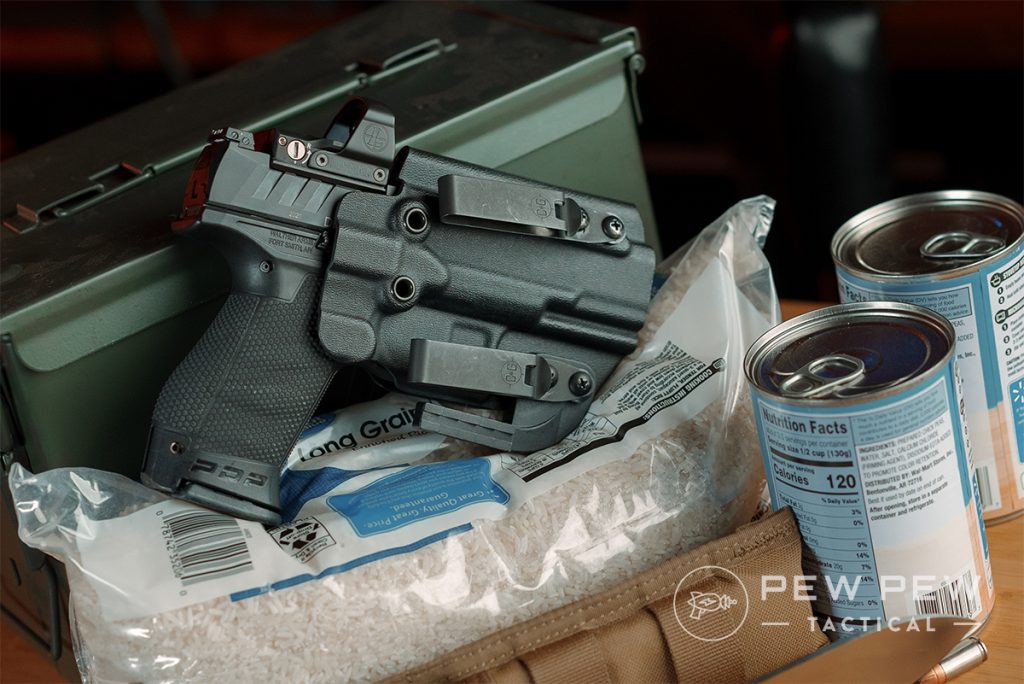
That being said, different firearms have different best uses. If you’re going for self-defense alone, a 9mm or .45 caliber pistol is a great choice.
They’re compact enough to carry with you, have enough stopping power to be largely effective, and aren’t hard to store, maintain, or transport.
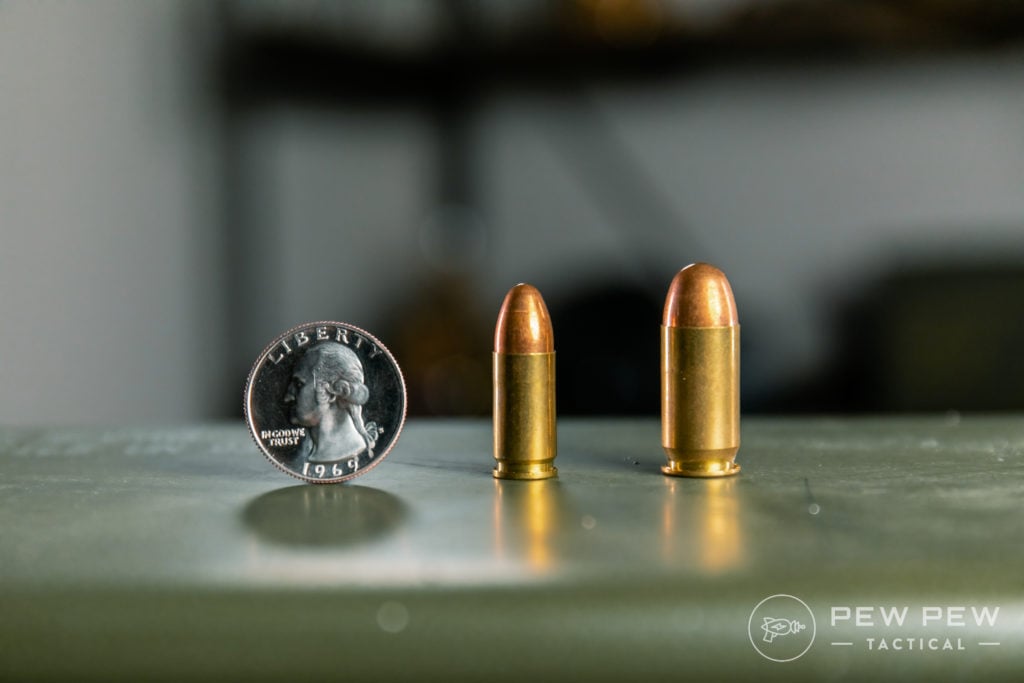
If you’re a city-dweller, you might find that a handgun is a little easier to keep around, and you won’t have to worry nearly as much about overpenetration if your backdrop is the wall that separates you and the nice old lady in the next apartment.
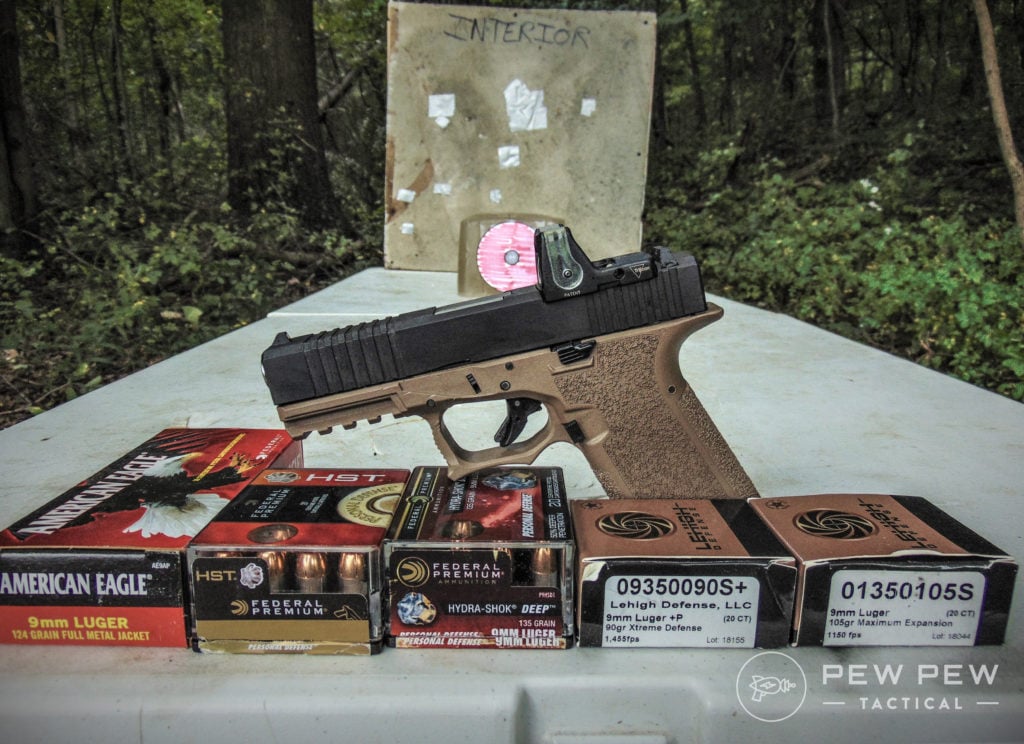
Read more about the Best Handguns for Beginners and Home Defense here! (Or Best Handguns for Women!)

That said, both rifles and shotguns have their place in a prepper’s arsenal.
If you’re a hunter, you can supplement your cached supplies with fresh game, and a more powerful rifle or shotgun can be excellent for stopping intruders in their tracks.
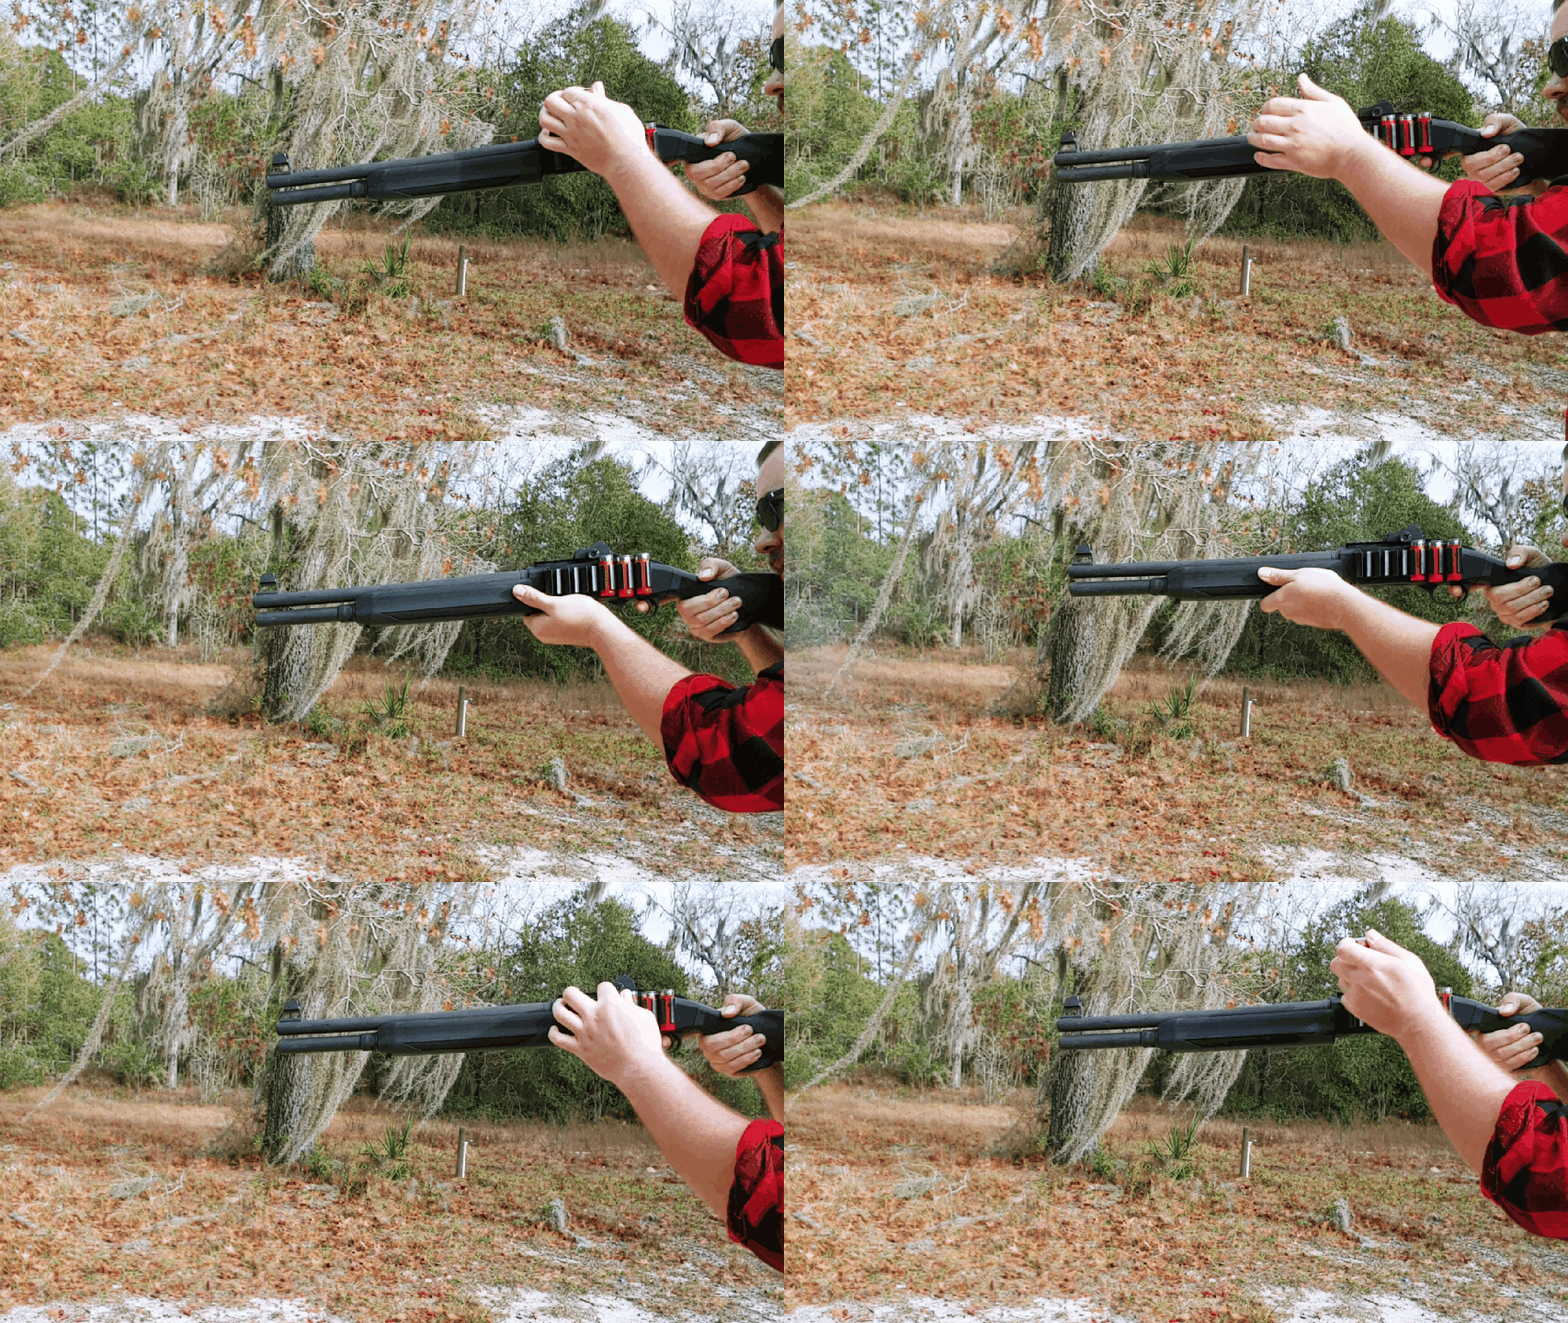
After all, there’s really nothing that can make you question your life choices than hearing the sound of a shotgun racking in the darkness.
That’s why we love our tactical shotguns, and will often reach for one when we hear something go bump in the night.
If a rifle is more your style, it’s hard to go wrong with a classic AR-15. These rifles are renowned for being able to handle everything from CQB to long-range precision shooting and hunting–it all just depends on how you build your particular rifle.

And considering you can piece them together like the world’s dude-liest LEGO set, you can customize your rifle to fit your needs exactly.
And you gotta feed your guns…check out our most common caliber ammo suggestions.
Guns not really your style?
That’s okay.
Pepper spray is one of the most popular forms of non-lethal self-defense weapons since it is dang effective, when used correctly. Yes, it’s not just as simple as point and shoot, but it won’t take you more than 5 minutes to learn how to properly use pepper spray, so give it a try!
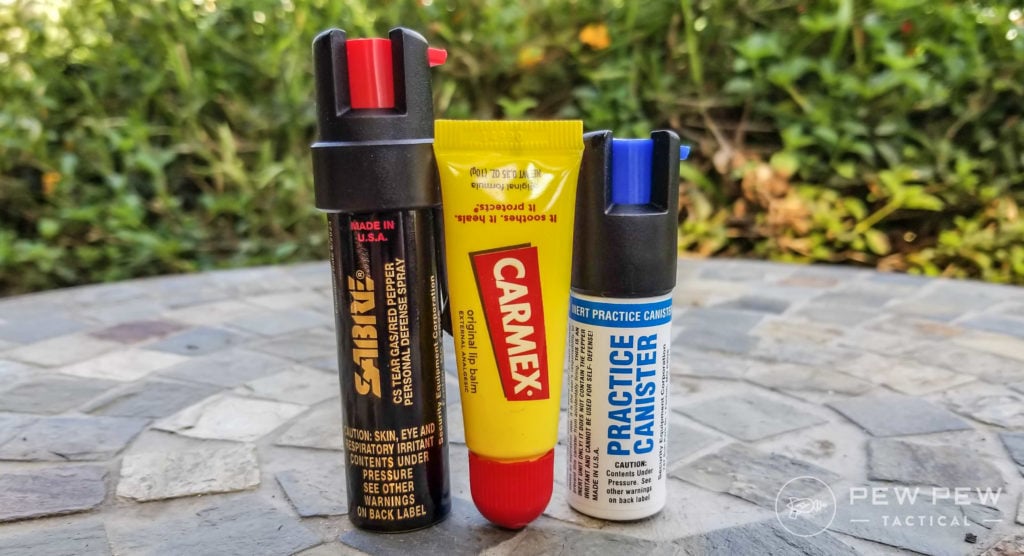
Best of all, pepper spray is legal to own and carry in all 50 states, though some states have restrictions about the size, strength, or places that pepper spray can be carried. Know your local laws!
We hands-on tested a bunch of different pepper sprays, so we could recommend the Best Pepper Spray for Self-Defense.
Prices accurate at time of writing
Prices accurate at time of writing
-
25% off all OAKLEY products - OAKLEY25
Copied! Visit Merchant
Check them out!
Or how about Tasers or Best Stun Guns?
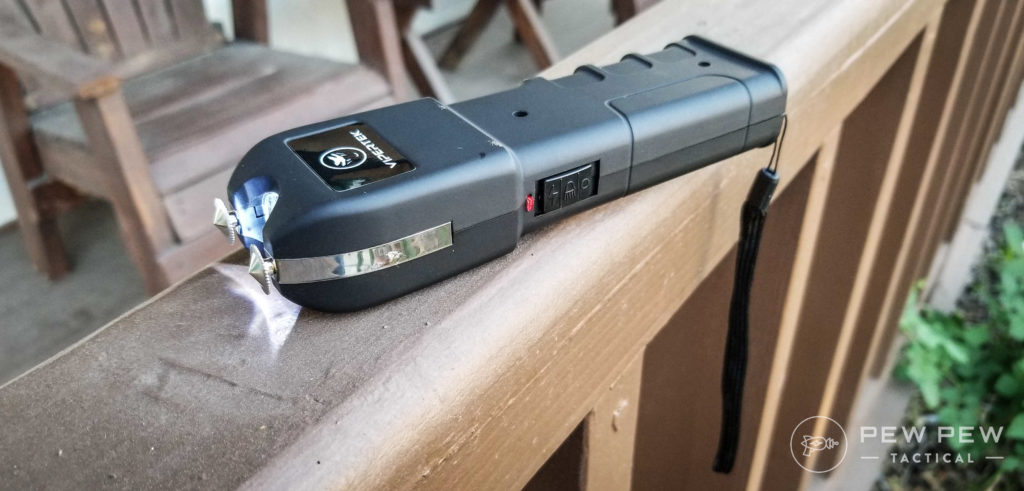
There is also a myriad of other options, from less-than-lethal ammunition to stun guns to self-defense keychains…which you can learn more about in our review of less-than-lethal self-defense weapons.
Prep Your Library
If I have to bug out and can only take just a handful of things, I guarantee at least one of those things will be a book.

Why’s that?
Because I’ve prepped my library, too. I collect books that cover a variety of skills, including wilderness survival, first aid, self-defense, food preparation, sailing, camping, and more. I also have a collection of local area books that include maps, resources, and other tips that can help me keep alive.
I can learn as much as I want, but without practice, I’m bound to forget things or get rusty, but with my collection of books, I have the information at my fingertips.
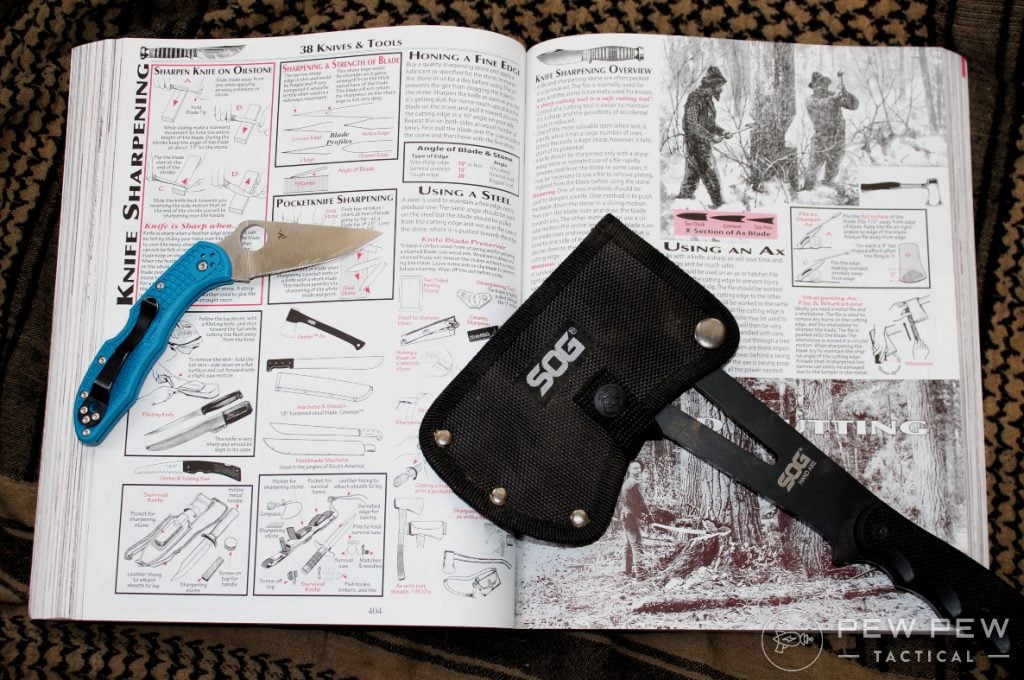
Granted, life-saving things like stopping bleeding and CPR must be committed to memory, but I have a little bit more time to flip through a book on dressing kills when the rabbit is already dead.
I have a few books that are on my must-have list, that I think you’ll benefit from as well:
- The Ultimate Survival Medicine Guide: Emergency Preparedness for ANY Disaster, by Amy Alton, ARNP and Joseph Alton, MD: This handbook is a comprehensive guide to emergency medicine when trained medical help isn’t available. It uses clear, plain language to train users in the medical care they’ll most likely need to provide in disasters and epidemics, as well as explains what medical supplies will be needed to become your community’s medic.
- Wilderness First Aid: Emergency Care in Remote Locations, by Alton Thygerrson and Steven Thygerson: Designed for instructing readers on providing medical care in remote situations, this guide is a great addition to any prepper’s library. It’s easy to follow, clearly lays out decision flows to provide appropriate care. This book also includes a section on providing care for dogs, so your four-legged friends can stay safe too!
- Camping & Survival: The Ultimate Outdoors Book, by Paul Tarwell: A comprehensive guide to just about everything you need to know to survive in the wild, from making camp to foraging for food. It’s packed with information you didn’t know you needed to know!
- Just in Case: How to Be Self-Sufficient When the Unexpected Happens, by Kathy Harrison: Veering away from wilderness survival, this book prepares you for what to do when disaster strikes and public services aren’t available. You’ll learn about food storage and rotation, staying in communication with loved ones, packing evacuation kits, and so much more!
- The Prepared Prepper’s Cookbook, by M.D. Creekmore: This all-in-one prepper blueprint for food is the only thing you need to store, preserve, prep, and cook fantastic meals with only the things you’ve put away. Best of all, everything is easy to follow, so you don’t have to be a master chef to pull this off!
- The Prepper’s Water Survival Guide: Harvest, Treat, and Store Your Most Vital Resource, by Daisy Luther: Water is your most precious resource in an emergency, and this book will help you tap every possible source of water, store it, and purify it for safe use.
Now that you have a list of books to shop for, we have to discuss the next important topic: digital or hardcopy?
There are pros and cons to both, and neither one is the wrong answer.
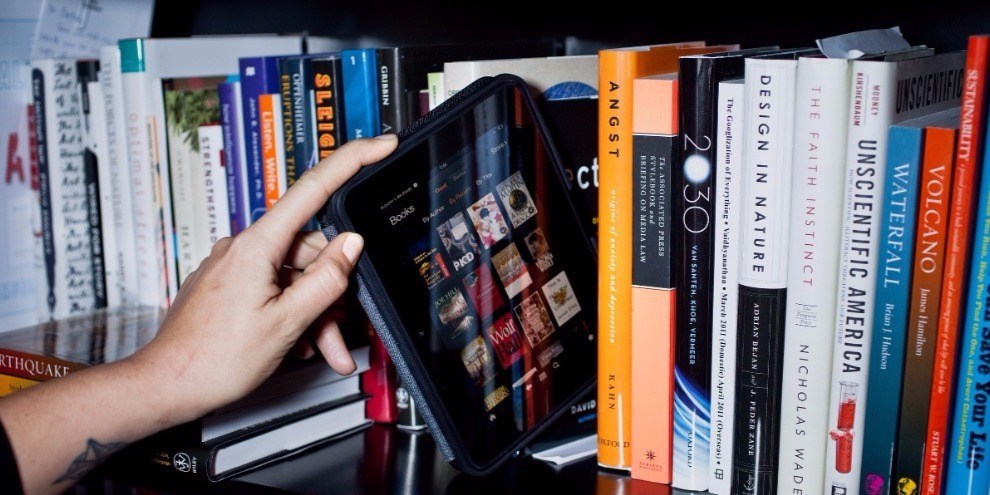
Digital collections take up almost no space, except for whatever device you’re using. You can store hundreds of books and resources and access them easily–as long as you have them downloaded and have a charge.
Physical copies don’t need batteries to read, but they’re a lot bulkier and harder to transport.
See? Pros and cons. All you have to do is figure out which option works best for you!
Final Thoughts
Phew! That was a lot, but you’ve done it. Congratulations, you’ve officially passed Prepping 101 with flying colors!

Taking care of your family during an emergency takes just a little bit of preparation and planning, and you’re ready to take on that challenge now. You’ve got this!
Anything else you want to learn about emergency preparedness? How do you prep for the worst? We want to hear from you, so leave a comment below. While you’re here, why not check out Essential SHTF Gear?



13 Leave a Reply
Wow, extremely well written.. I have been a prepper for about 10 years. So I have had plenty of time to think of many different things my family might need, mistakes I’ve made(and fixed).. so I can say very well rounded article.. I don’t see that very often.... the only piece I might add is I found its better ( if possible) to stock pile gradually.. 1st — it’s not as much as a financial burden and it spreads out the expiration of food allowing for easier rotation without wasting.... we also still have to live our lives, don’t let prepping consume your life and all finances.. still take your family on vacation.. have fun....I look at prepping like insurance.. I’ve never been in a car accident, yet I pay those premiums.. so if I throw out my freeze dried food in 25 years , it was insurance... thanks again, Robert
RLTW
Thank you for a well thought out and well written article.
Super useful article, seasoned with tongue-in-cheek-ness I was super excited to check the ready.gov website, but it doesn’t load for me. Guess the website caught the virus too, lol
Sorry for that! It's loading okay for me, but here's the URL if you want to give it a go again: https://www.ready.gov/pandemic
Ready.gov is one of my preferred sites to check for common-sense prepping!
Yo you had a vault tec bobble head was it the perception one because I perceive this article to be great and I didnt read it yet.
Preparing for a Better Future, Underground!
But in all seriousness--your Vault Dweller's Survival Guide ain't got nothin' on this, so read up! ;)
Excellent, thorough and concise article on the basics of prepping.
Thanks, Doug! I'm glad you enjoyed it. :)
It seems easier just to die. Must people that survive are shmocks anyway.
ROTFL
So you are a shmock? As it seems you are alive and know this from experience?
Hi Allison, Just read over your article "Prepping 101" and it's alot of great information, so much that I plan to read it over again. I must say, you did a great job af organization and flow. I especially found the Provident Living Food Storage Calculator interesting. Thank you for a great collection of emergency preperation information . Vince, Temecula Ca.
Hi Vince! I'm glad you found the article helpful! Stay safe out there, and if you have any follow-up questions, feel free to let us know--the whole Pew Pew Team is quite knowledgable and can help you out.