I love shotguns, and I love their recoil, their power, their close quarter’s sledgehammer like nature.
They are tons of fun, and I mean tons.
There is a big downside, though… carrying extra ammo.
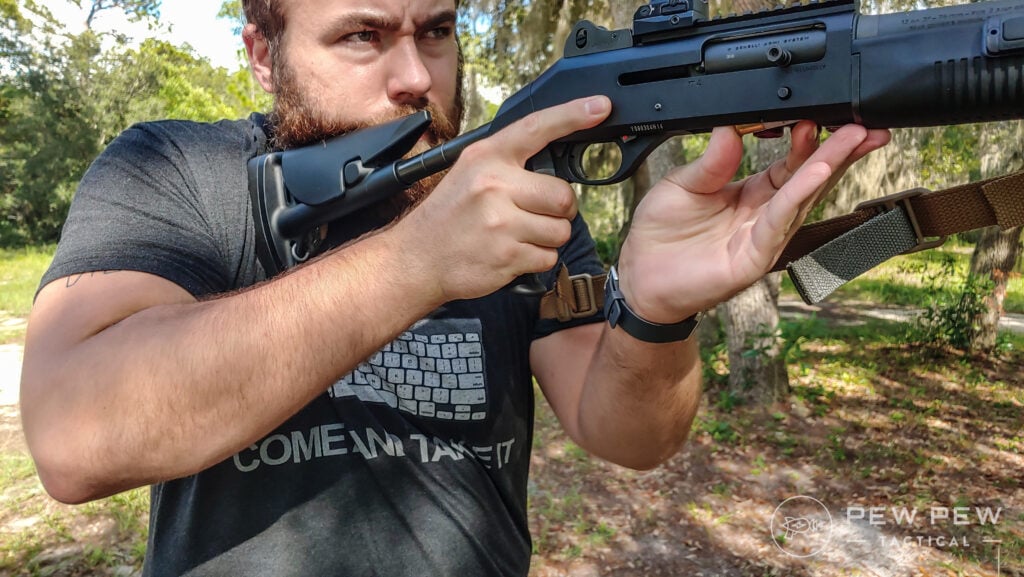
I’ve dedicated a lot of time to find out just what works for me when it comes to carrying extra ammo for the shotgun.
Heck, I’ve done an entire article on it before! I keep experimenting, and along the way, I keep getting drawn back to belts.
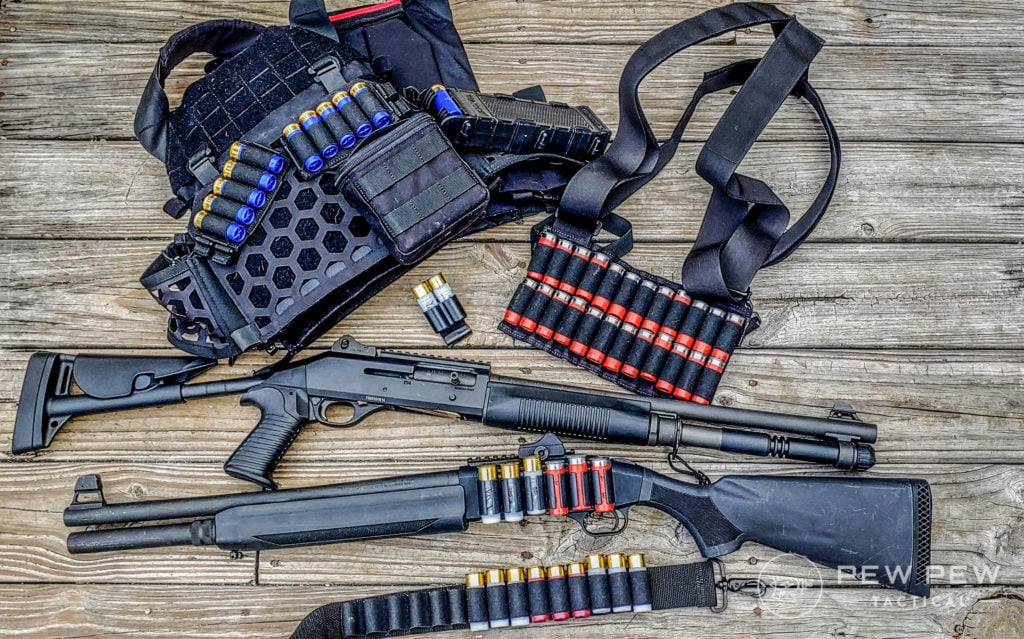
Why?
Because they seem to be a convenient means to carry extra ammo and can be accessible.
Bandoliers also fit the bill, but the bandoliers out there aren’t exactly high quality. They work but leave a lot to be desired as far as accessibility, speed, and long term use.
My overall goal was to find an efficient way to carry ammunition and quickly reload my shotgun. Shotgun operation requires continual loading, and keeping the tube topped off is essential.
The main focus was on these emergency loading procedures and my ability to keep the gun loaded as I disburse shells.
I searched and searched and couldn’t find a belt that worked for me, so I made one.

Well, okay… I didn’t make it, but I assembled one because it turns out I can’t sew to save my life.
My Shotgun Battle Belt is quite simple and made from the parts and pieces I want and require. So we decided to do a little breakdown of my Shotgun Battle Belt and see if you get inspired to create your own!
Table of Contents
Loading…
The Break Down
Inner Belt: Blackhawk Enhanced Military Belt 2.25 Inch
As far as belts go, there are plenty of options out there. I needed one that could universally fit the specific pieces I needed without bending or bowing. That leads me to the classic military belt, which leads me to the more modernized version from Blackhawk.
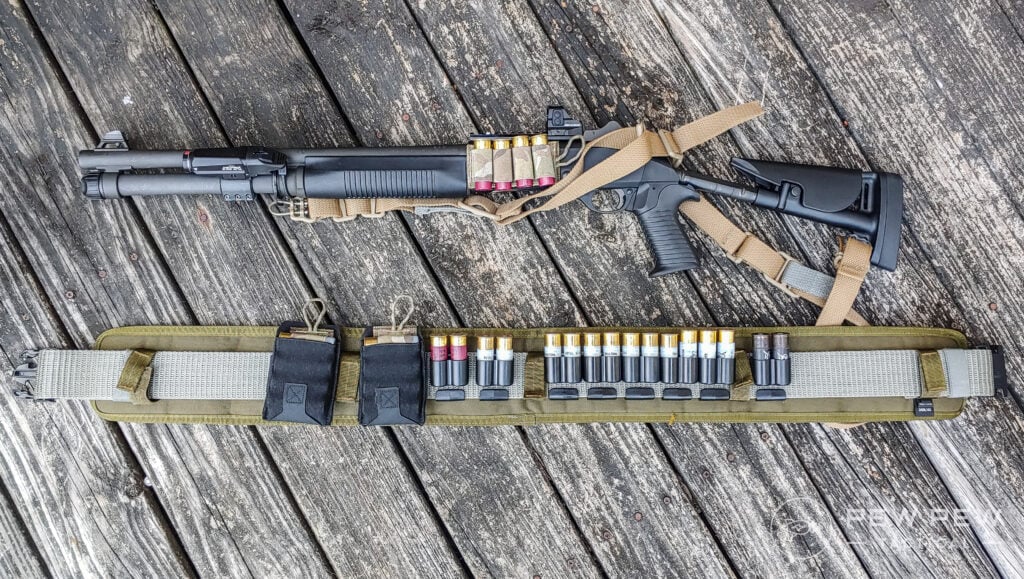
This belt is significant, and big is okay with me. Significant means sturdy and robust, and this belt certainly is both of those. The belt is adjustable, and it shrinks and grows with ease. Much easier than one of those older military web belts.
As an inner belt, it provided the size and support I needed for heavy-duty shotgun shells. Shotgun ammo is bulky and heavy, so maximum support is needed to run so much weight securely.
-
25% off all OAKLEY products - OAKLEY25
Copied! Visit Merchant
Outer Belt: Blackhawk Belt Pad with IVS
After I grabbed the Blackhawk Belt, I needed a belt pad that would work with both the belt and the ammo. That meant I needed a rather large battle belt. The outer belt here is also from Blackhawk and is the Blackhawk Belt Pad with IVS.
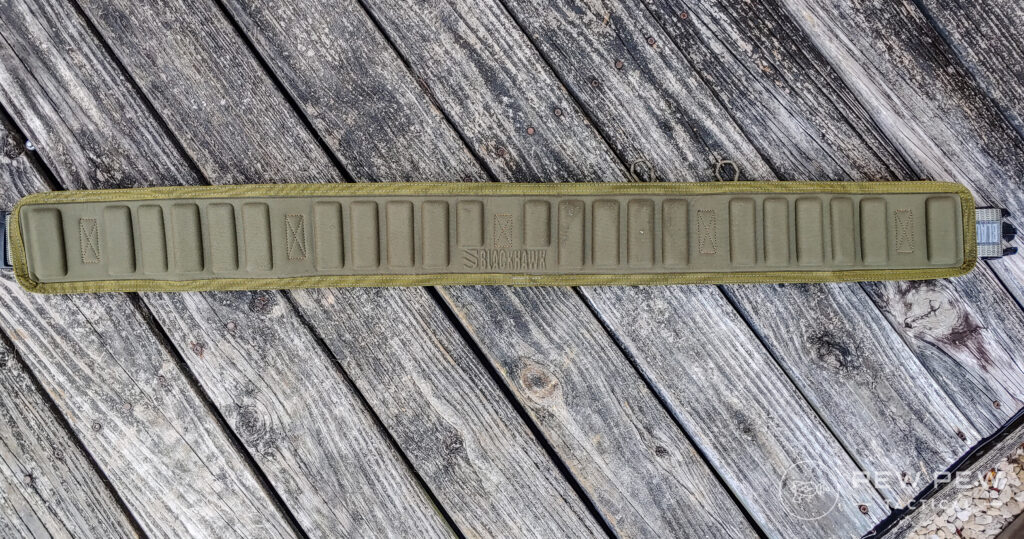
This big broad belt provides a ton of support for the Blackhawk web belt and is tall enough to separate me from the shotgun shells sticking upwards. This wide belt also ensures the kit is accessible and no benign inwards towards me. It pushes everything outwards and allows you to easily access the ammo.
This belt provides a lot of padding and comfort to the body. It separates me well from the ammo and ensures everything is quite comfortable. The belt also barely moves when I move, so my ammo stays where I want it and where I need it.
Prices accurate at time of writing
Prices accurate at time of writing
-
25% off all OAKLEY products - OAKLEY25
Copied! Visit Merchant
Safariland Shotgun Shell Holders (A lot of them)
I’ve brought these two shotshell holders up numerous times now, and I adore them. They work; they function extremely well and are super affordable. They also provide you access to one or two rounds at a time and bend outwards away from the shooter for faster access.
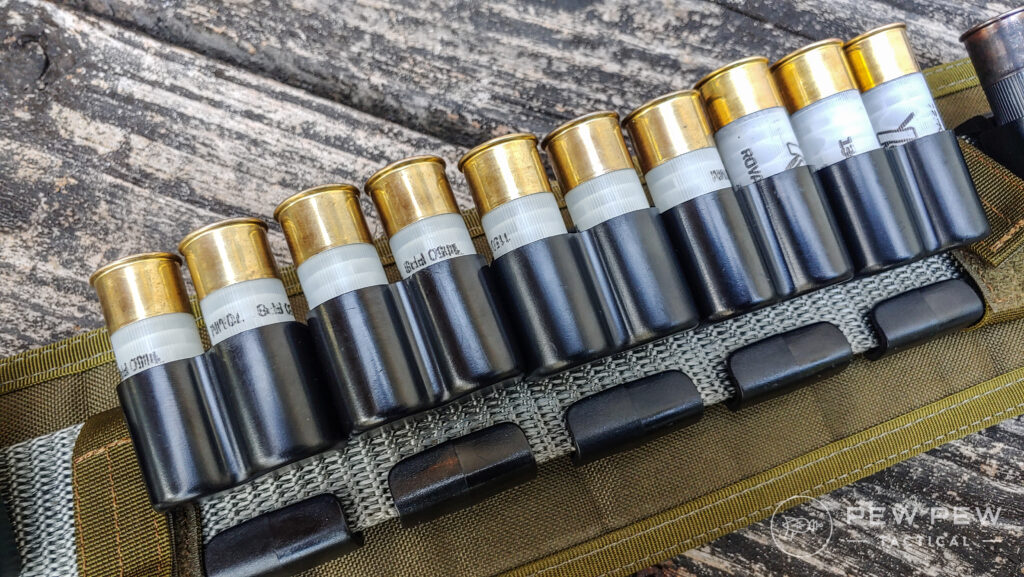
These shell holders do allow for a “shoot two, load two” mentality. They also provide a secure means to carry ammo. The retention is top-notch, but enough shell sticks outward to make grabbing them and extracting them easy.
These molded polymer designs are very well made and durable. Unlike cheap elastic, they won’t wear out and lose their retention capabilities.
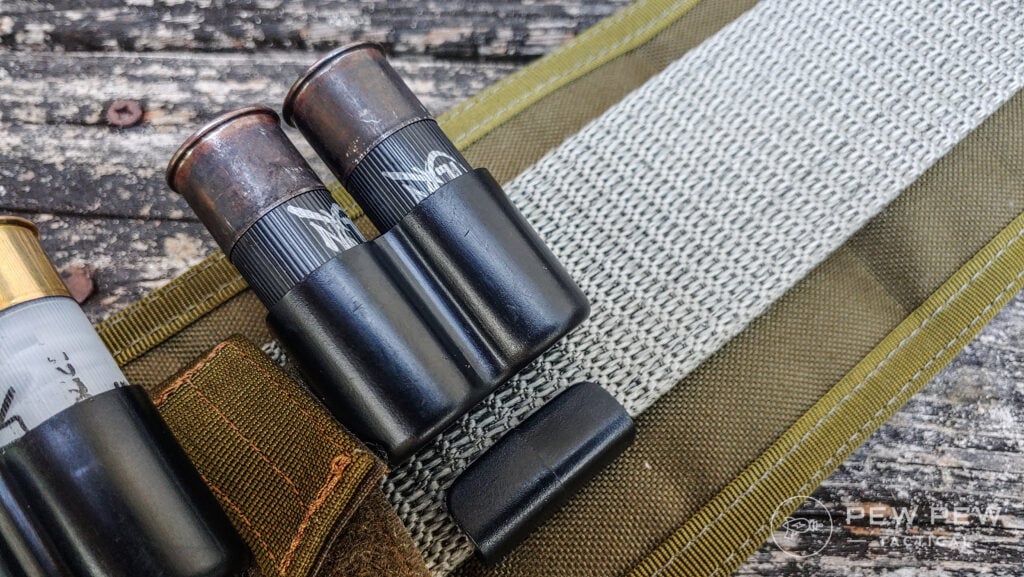
I keep eight on this battle belt and might just add two more soon. They fit 2.25-inch belts, and this allowed them to be very secure once attached to the Blackhawk Enhanced belt. Even when they are pressed into each other, the shells offer plenty of room between each other for quick and easy access.
Also, they cost like eight bucks and are well worth the price.
-
25% off all OAKLEY products - OAKLEY25
Copied! Visit Merchant
Esstac Shotgun Cards
I’m coming around to replacing all of my side saddles with Esstac Shotgun cards. These simple devices act as immediately replaceable side saddles that will work with nearly any shotgun. Imagine emptying your side saddle and being able to immediately replace it.
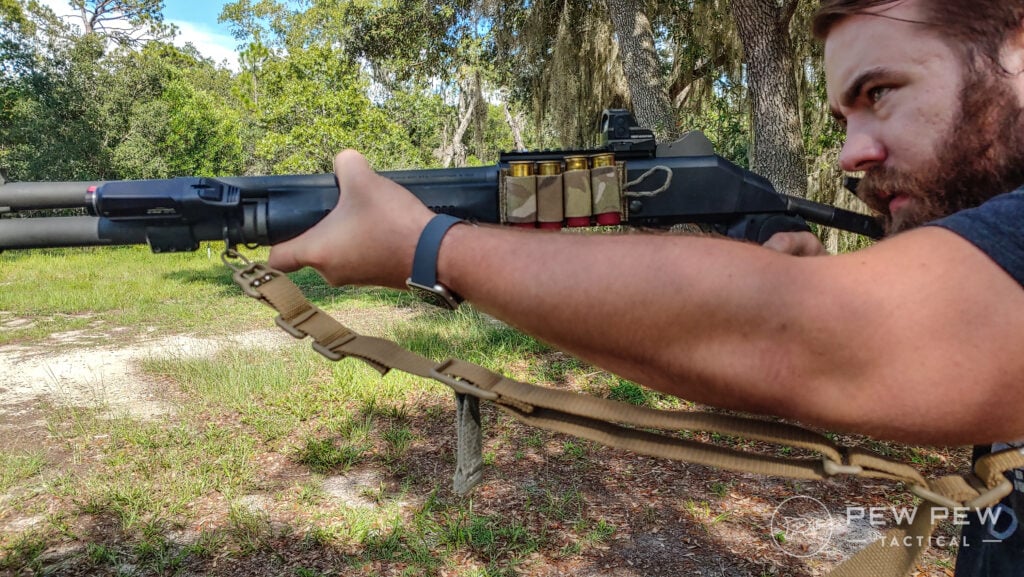
If that appeals to you, then the Esstac Shotgun Cards are for you. They come outfitted with the hook portion of hook and loop material and are made from military-grade elastic. You place a section of industrial-grade Velcro loop onto your shotgun and boom–you are ready to run.
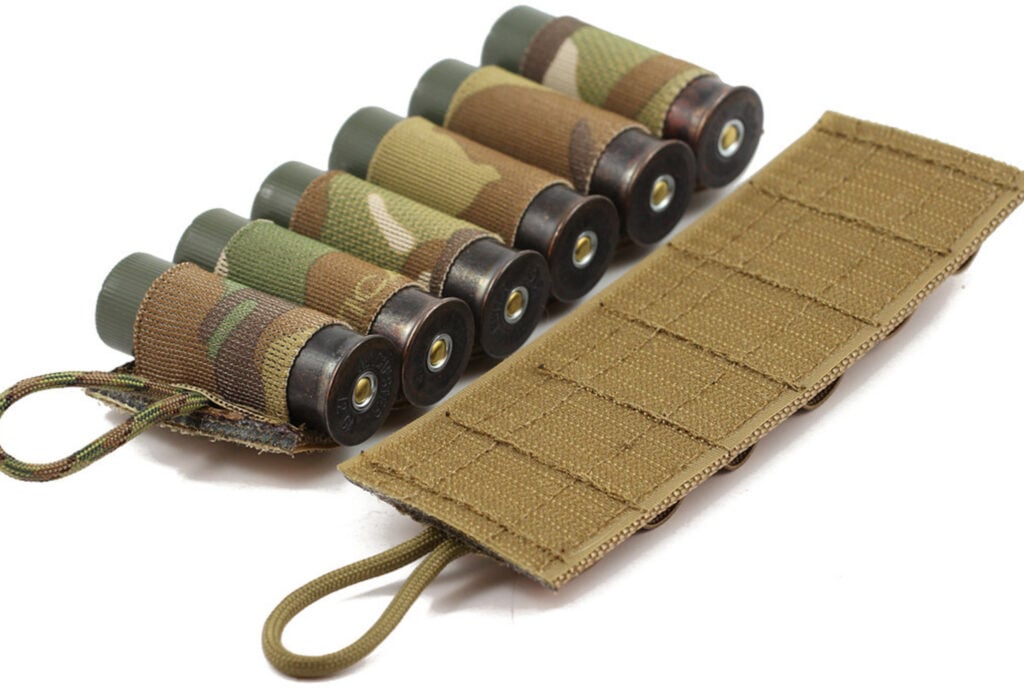
I keep one shotgun card on my shotgun and two concealed in magazine pouches on the belt. The design of the Esstac shotgun cards allows them to be easily stored in an AR-15-style magazine pouch. They are outfitted with a large loop for easy drawing and easy removal from a shotgun.
What I love about these cards is that they’re made to last and are incredibly durable. These shotgun cards come in various sizes and configurations, but I keep to the compact four rounders. This keeps things lighter and more balanced when it comes to tossing it on a shotgun.
-
25% off all OAKLEY products - OAKLEY25
Copied! Visit Merchant
Blue Force Gear M4 Belt Pouches
As I mentioned before, Esstac shotgun cards fit into M4 style magazine pouches. To keep things simple, I tossed on two Blue Force Gear belt magazine pouches. These use the famed Blue Force Gear elastic that provides all the retention you need without the presence of a top flap or bungee cord.
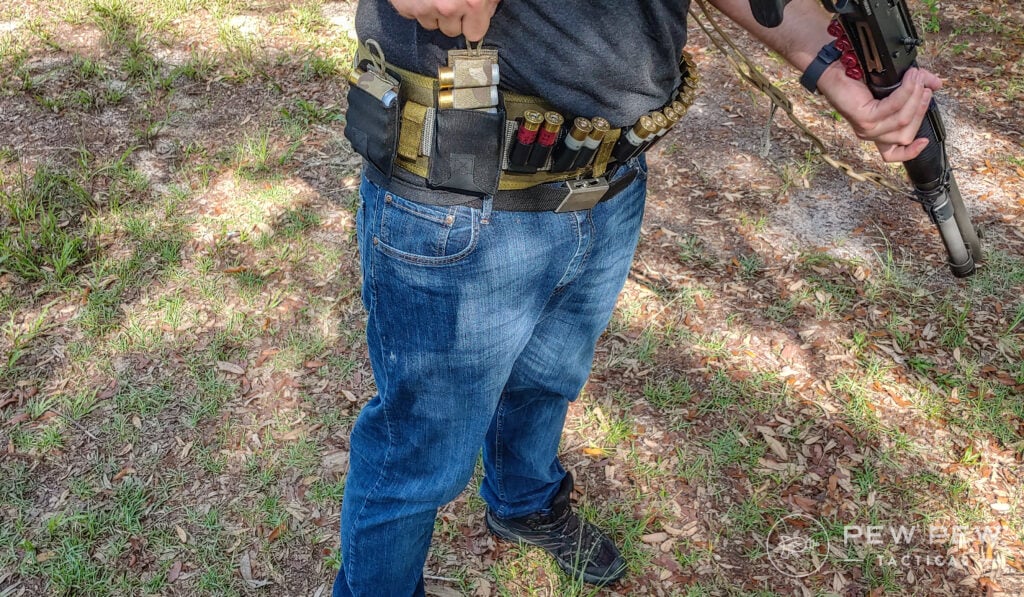
The elastic retention is quite durable and lasts nearly forever. Once it grips something, it hangs onto it without issue and does a fantastic job at gripping magazines–or in my case–Esstac shotgun cards. Orient the cards with the loop pointing upwards for a quick draw, and you are kosher.
The length is perfect for these cards, and they stick out just perfectly. With a swift grip and a tug, they can be put into action and attached to the side of your gun.
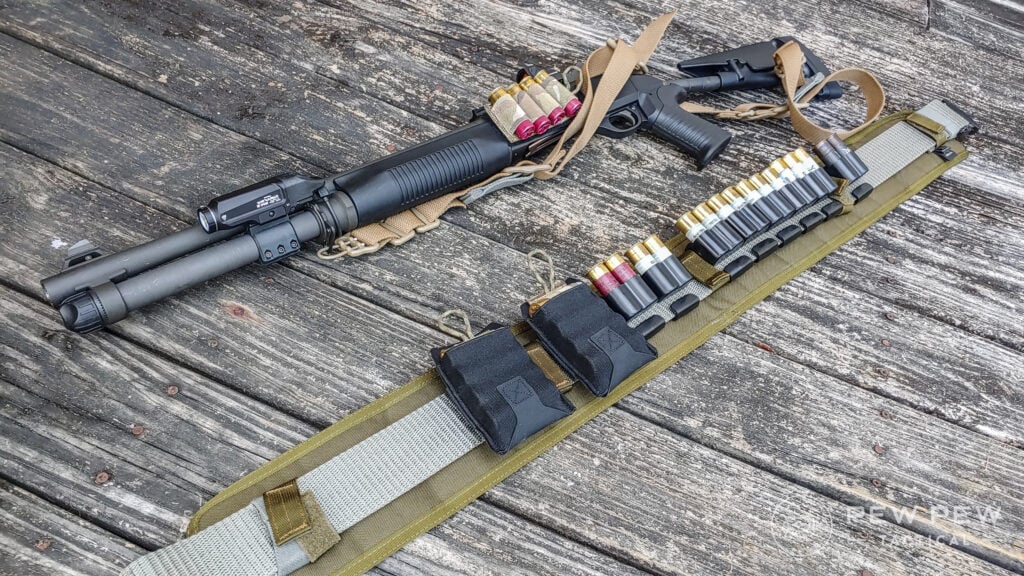
Esstac shotgun cards and Blue Force Gear Belt Magazine pouches go together like peanut butter and jelly. Like macaroni and cheese. Like frosting and cupcakes. Like apple pie and vanilla ice cr–okay, maybe it’s time for lunch.

Anyways, these belt pouches also go perfectly with my inner belt. The backside of the inner belt is fitted with velcro, and the magazine pouches have Velcro-compatible attachment points that allow for a secure attachment to the belt. This gives it a double up on staying attached to the belt.
-
25% off all OAKLEY products - OAKLEY25
Copied! Visit Merchant
Layout and Breakdown
What good is a rig if you don’t know if it’ll work? I experimented with both live and dry fire to test and refine my layout.
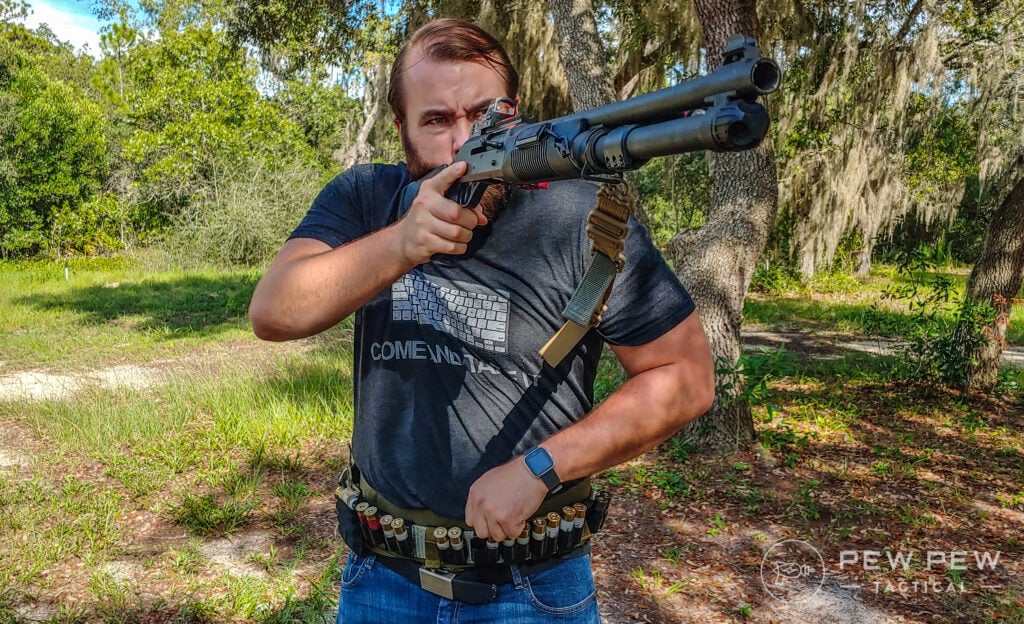
Over time I moved things around and experimented with how setting up shot worked and putting the whole thing together.
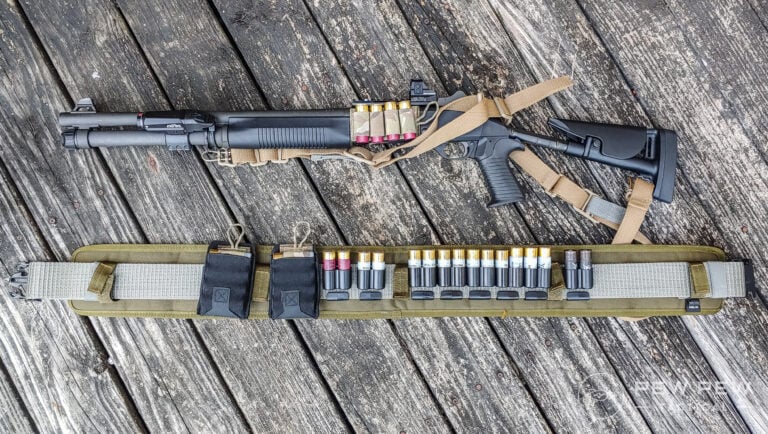
I wear the belt backward to maximize my space to hold shells and to make the belt function more like a bandolier. The front portion is covered by the Safariland two round shell holders. This gives me immediate access to ammo and allows for quick reloading.
The Esstac cards are placed to the far right of the kit. They aren’t the most accessible part of the kit but are placed there for a reason. Reloading the side saddle is more of a slow process that wouldn’t be done in the middle of a fight.
It’s a slow movement that is more direct and done when a lull is present. Having them off to the right of the system allows me to have more room for more Safariland two shell pouches.

Speaking of those, I run from right to left, with the last being roughly under my armpit. The shells closest to my left-hand side are slugs and placed here, so I know they are slugs and know where to reach when I need them.
The layout could change in the future, but for now, I’m happy with how it turned out and found it functional.
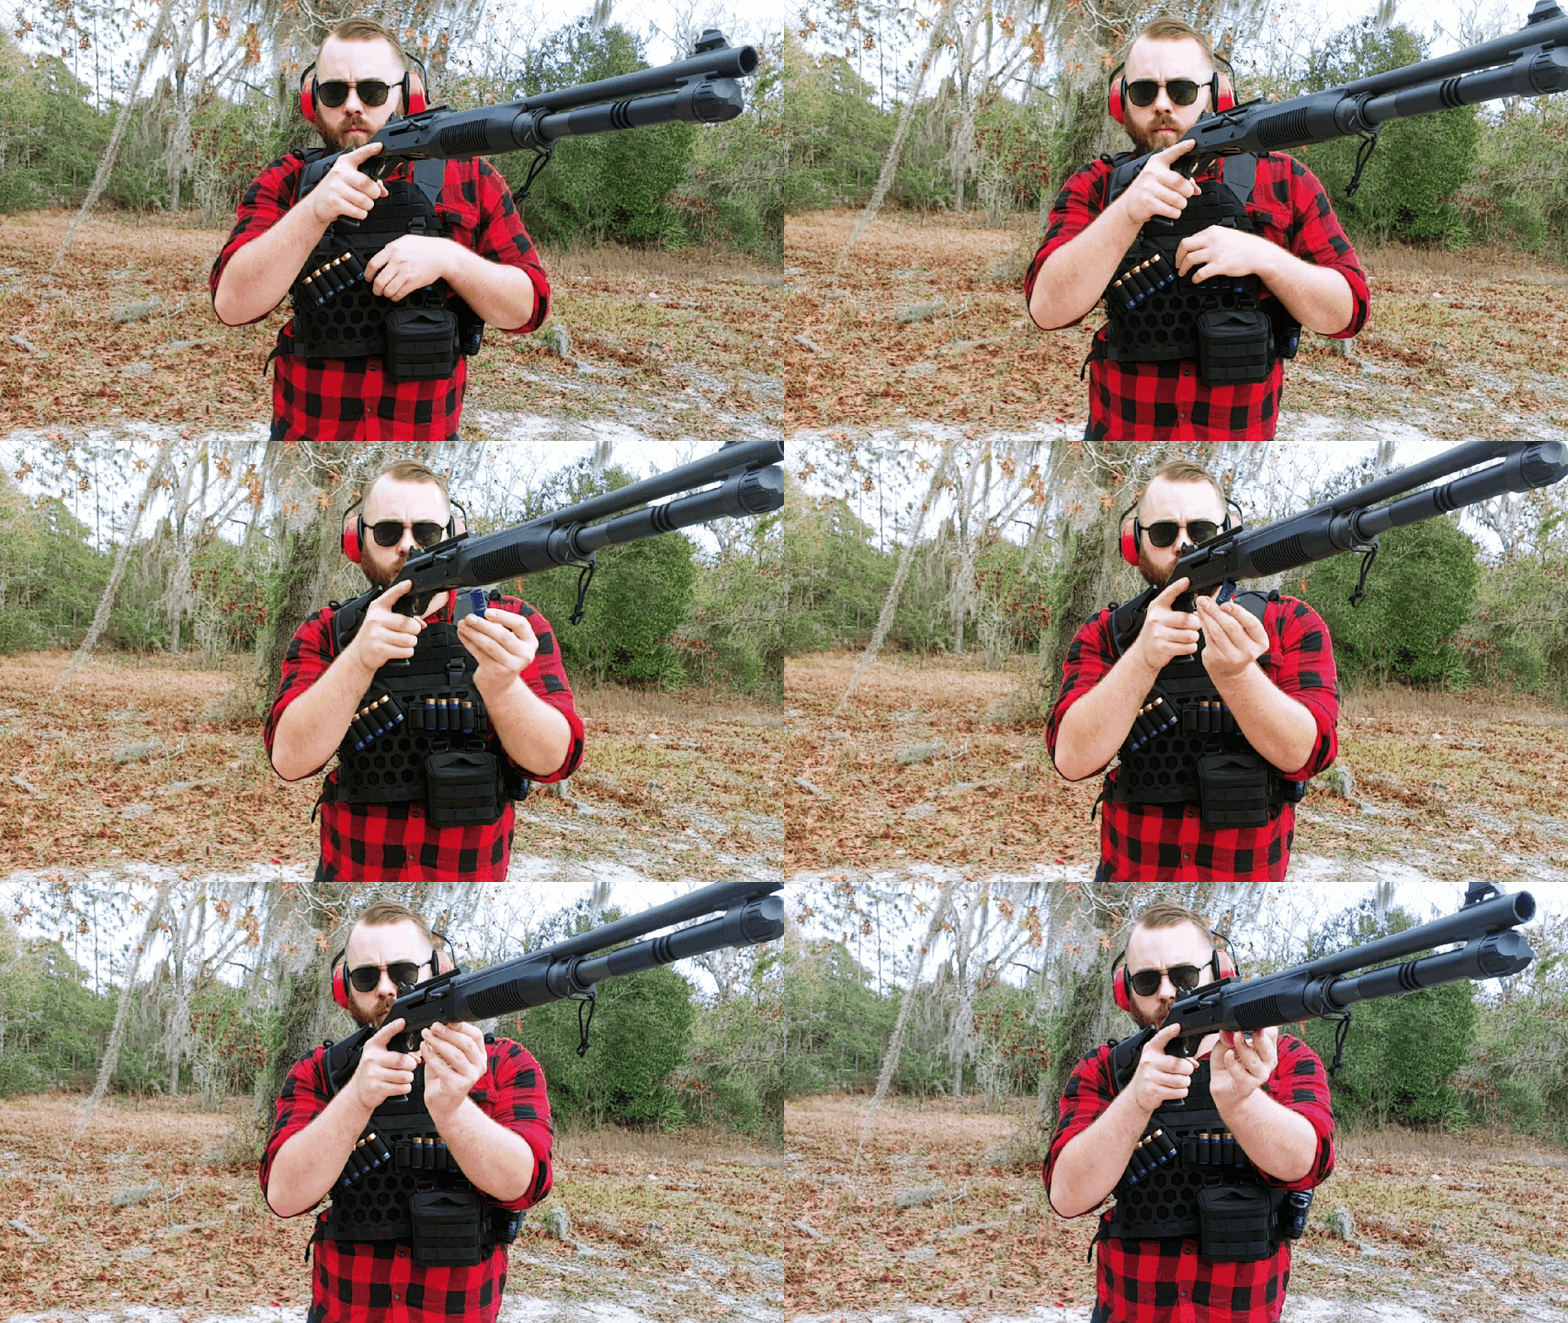
For the Shotgunners
Like everything, training is just as important as the gear itself, and learning to use this setup has been critical in making it successful. It works for my needs and my shotgun tactics.

The belt is decently affordable too. Each part is well priced and is nothing crazy. Altogether, the cost adds up, but each part is a high-quality piece of gear that is well worth the price tag. Since it’s made from several small parts, it can be built a piece at a time without a huge initial investment.

The Shotgun Battle Belt is for the most dedicated of shotgunners and provides those gunners with an easy means to reload on the fly, to carry extra ammunition, and to generally keep up with purpose-built rifle gear.
You can try and keep up as much as possible, but like a fat kid in a 5k, it’s not always easy.
What say you? Do you like my belt? Have any suggestions on how to improve it? I’m all ears and always interested in bettering my gear–leave a comment below! Interested in the world of shotguns? Start with the Best Shotguns for Home Defense!



3 Leave a Reply
Are you running the strap under both arms while shooting? Just trying to (a) make sense of the photos, and (b) work out how I want to try running mine.
Very good article with sensible suggestions. The point is well made, whatever your set up is, train, train and train with it until it’s perfect. Unfortunately the road to perfection is littered with discarded holsters, bandoliers, shell holsters and the like. Not a cheap road to travel either ! Thanks Pew Pew for all your most useful write ups.
I like it. Good open mind thinking