There’s an important practice you may be missing out on before you head to the range. It can save you from a confusing world where nothing makes sense.
That’s right, witness marking is a simple process that only takes a little bit of time, but it can make a world of difference in the right circumstances.
You mount a new red dot and torque it to spec on your favorite pistol, intent on a fun training day at the range. As you work through your zeroing process, you notice nothing makes sense.
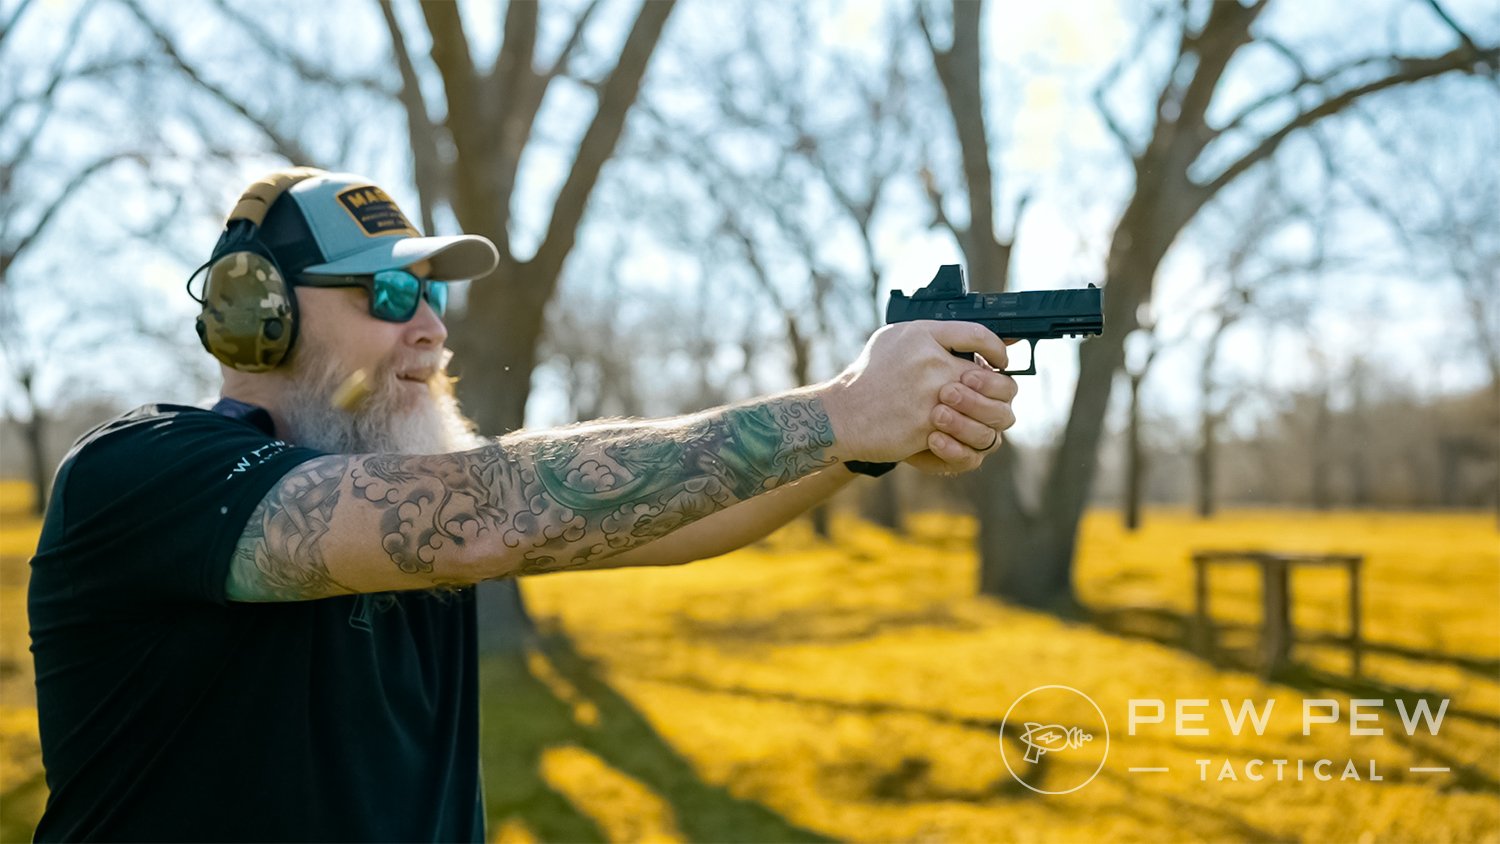
You’re hitting in one spot, but the adjustments you make aren’t getting you closer to zero. What you may not realize is that your optic is loose, so it’s never going to zero.
If you keep shooting, you may lose one of the screws that hold your optic in place. You can forget about ever finding it — trust me.
Why does this happen?
The simple, one-word answer is recoil. Firearms create a lot of shock that reverberates throughout them every time they are fired.
Since the advent of red dots, engineers have sought secure ways to mount them to firearms. Even if we use the best plates, thread locker, and correct torque specs, it isn’t a 100% guarantee.
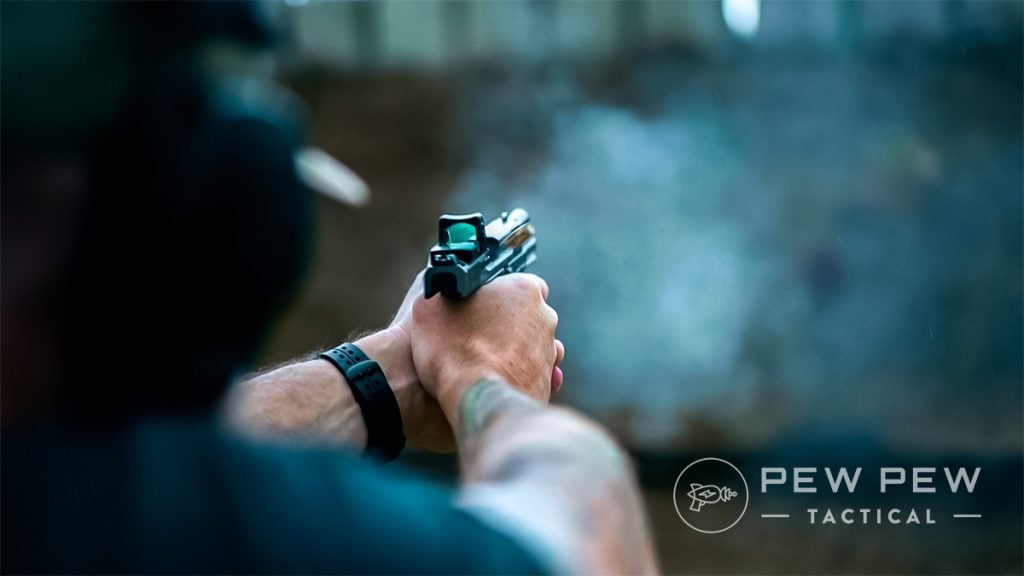
The repeated shock of thousands of rounds of recoil can have an effect on the screws that hold your optics in place. Ultimately, they can back out as they begin to loosen.
One of the first things to go is your zero, because it’s founded on a solid mating to the firearm. Left untreated, you can lose a screw or even have the optic fall off.
Witness Marking
The solution is cheap, simple, and doesn’t require a great deal of artistic skill. When you mount an optic and torque it to the proper specifications, you can create a visual indicator that will warn you if recoil is starting to affect it.
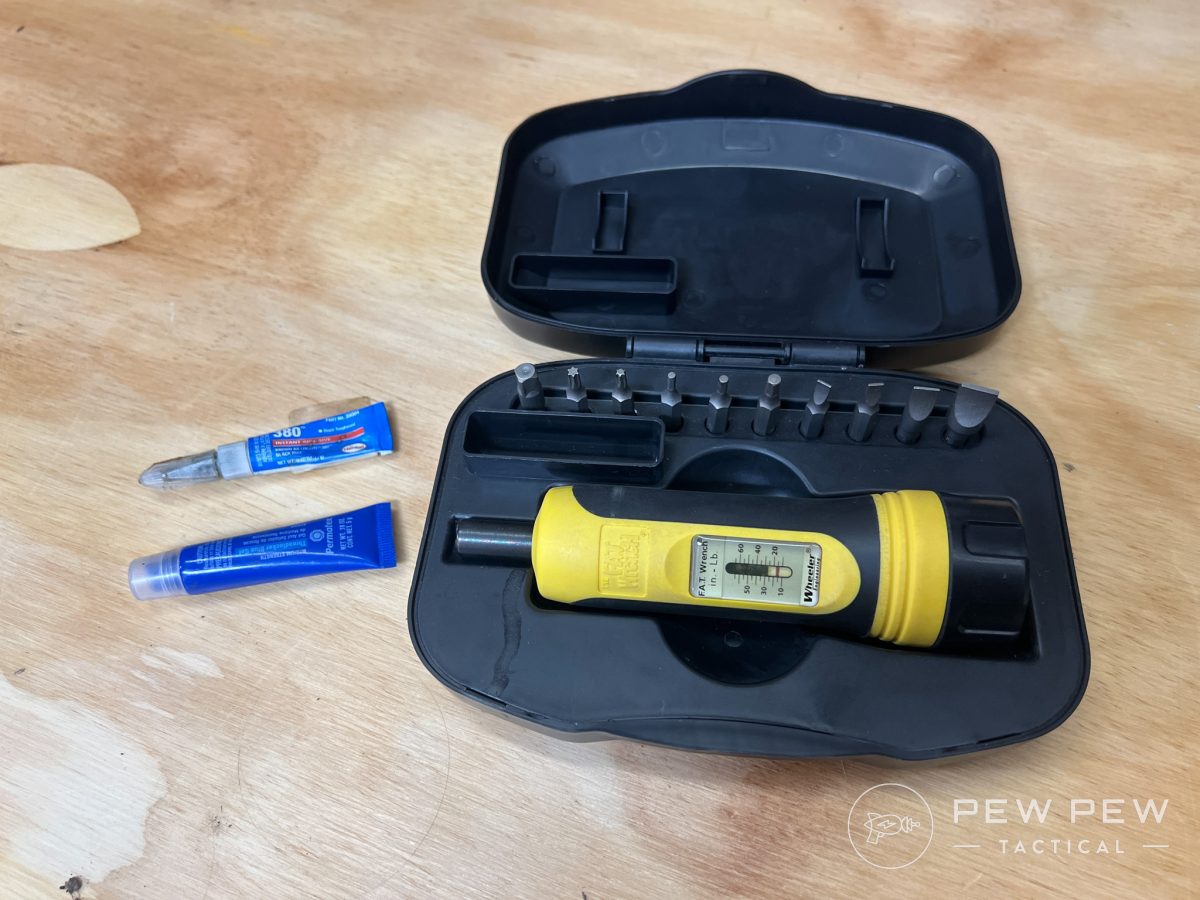
By using witness marks, you create a reference point on a moveable object (screws) with an unmovable object (optic base). This creates a quick reference you can check to give you peace of mind.
-
25% off all OAKLEY products - OAKLEY25
Copied! Visit Merchant
Once the screws are secured to the proper torque, use a paint pen and draw a line from your screw to your base. Create one for each screw that mounts your optic to your firearm.
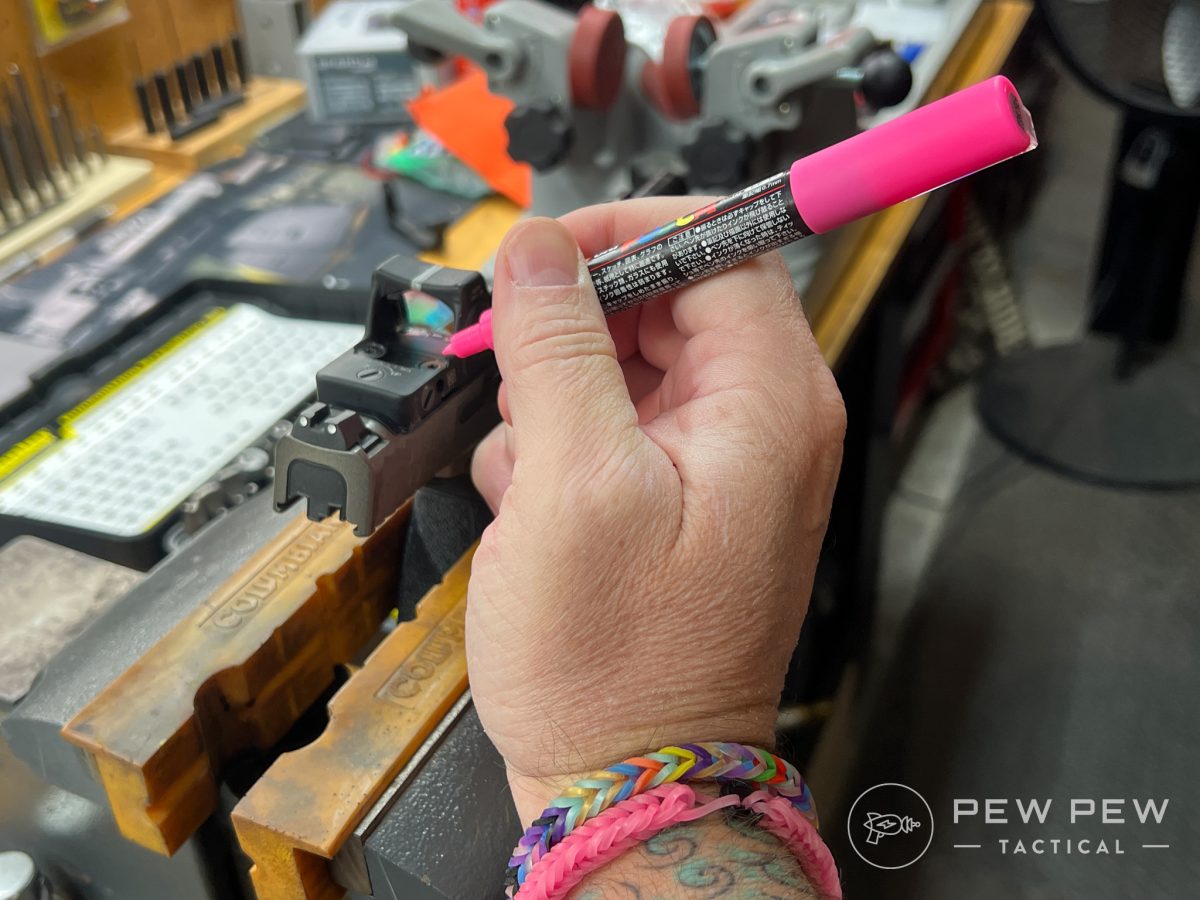
If a screw backs out under recoil, the witness mark will no longer match up with the one on the base. This is your visual indicator, you need to torque it back to spec (and maybe add thread locker).
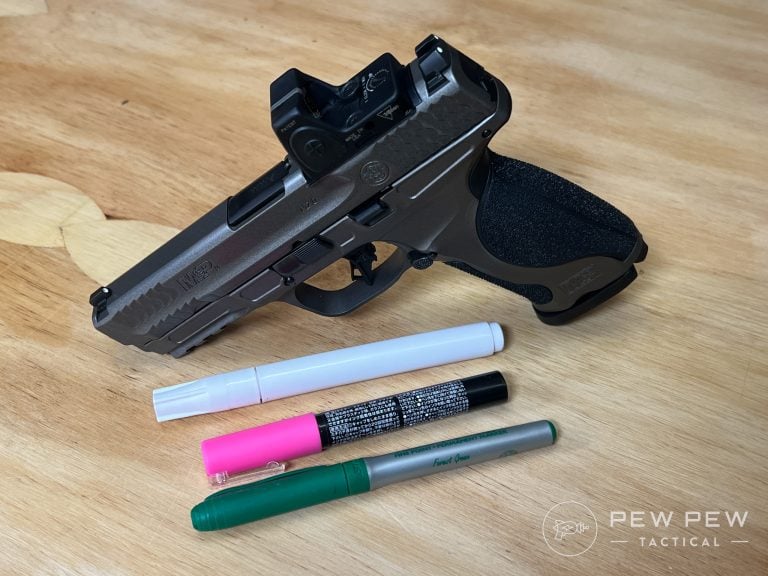
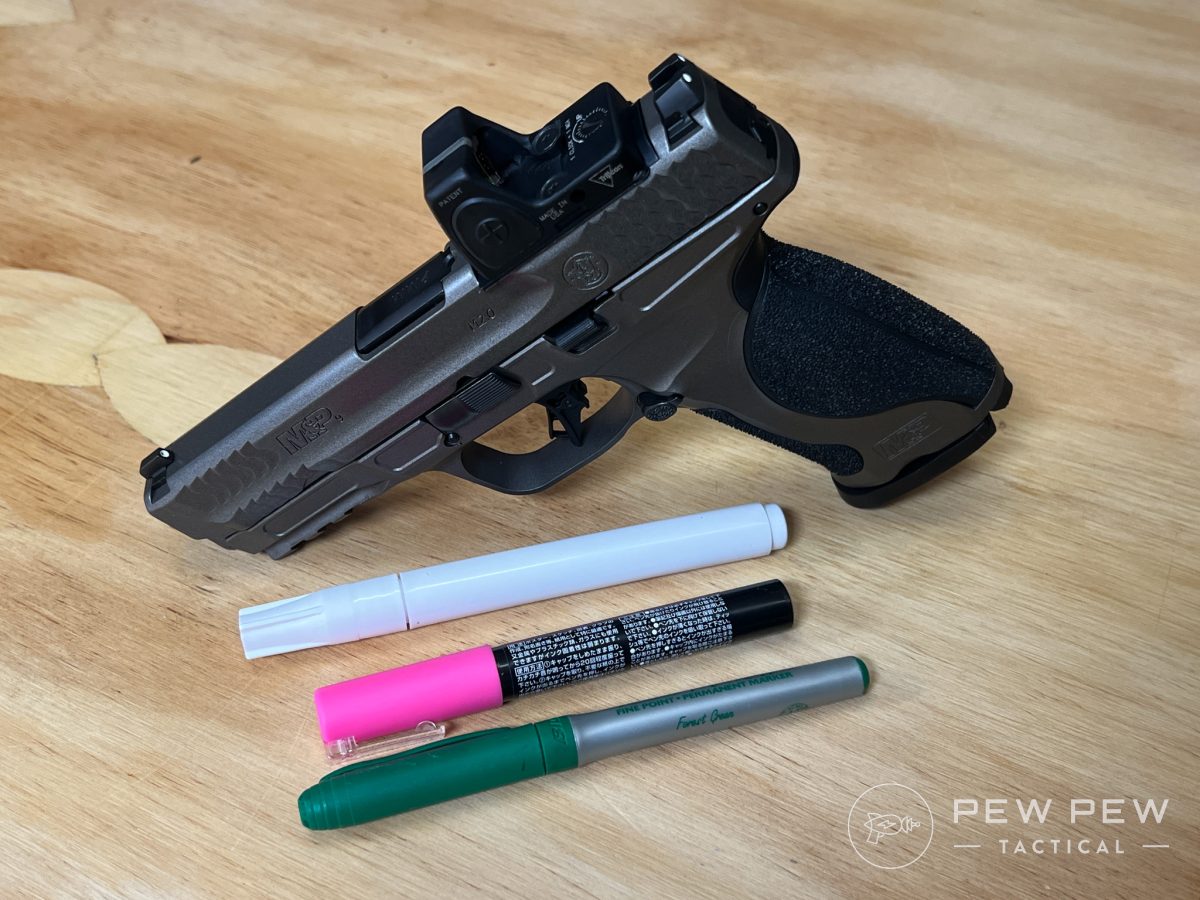
I like to use paint pens because they last a while and come in various high-contrast colors. In addition, you can select the tip size, which is important.
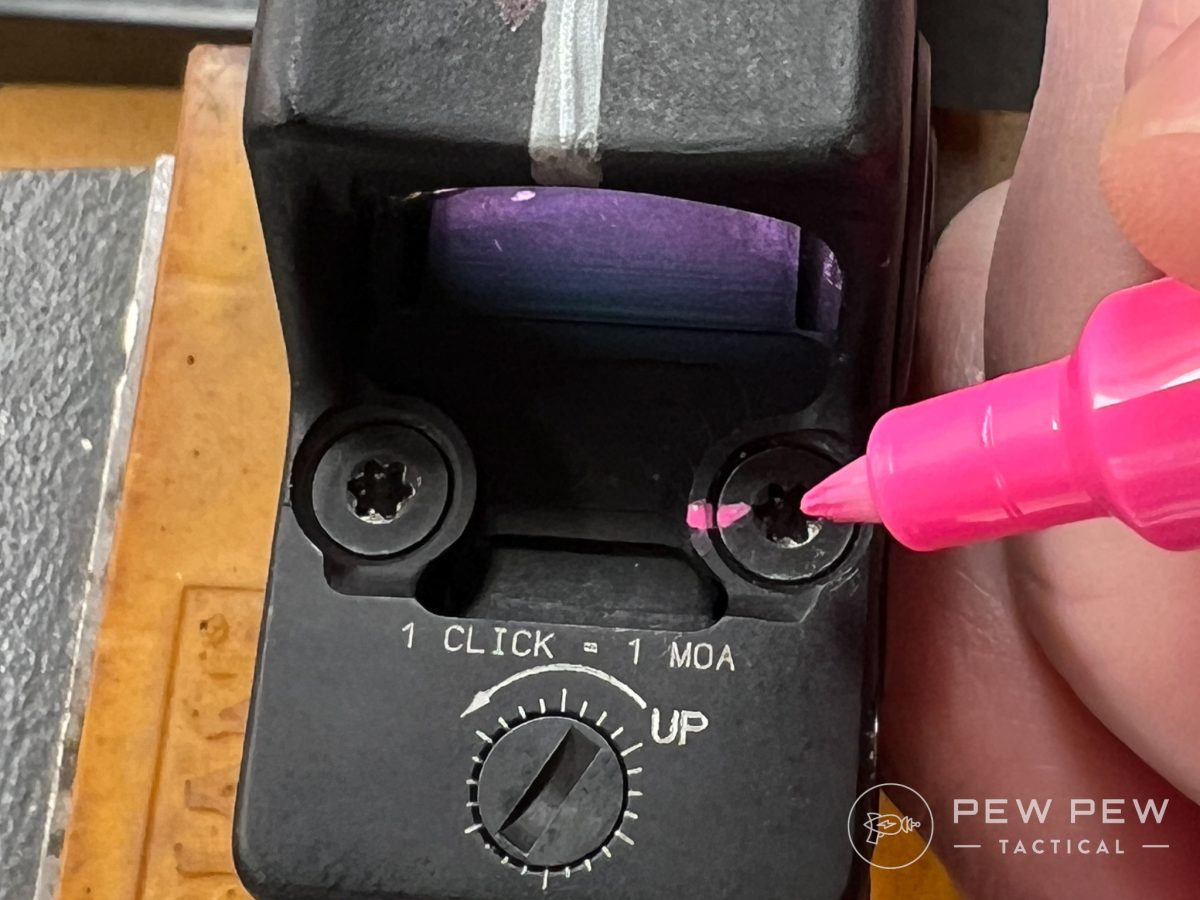
In most cases, I use an extra fine tip because the screws and base are a fairly confined area. Some precise folks might be inclined to try and use a template, but this is unlikely to work because of the aforementioned small workspace.
If you mess up, simply wipe away your mistake. It’s best to have some paint thinner and Q-tips handy to clean everything. Once it’s dry, steady your hand and try again.
Final Thoughts
It’s frustrating to have a loose optic, particularly if you’re trying to zero. It can be even more confusing if, after a few thousand rounds, your optic is mysteriously off zero.
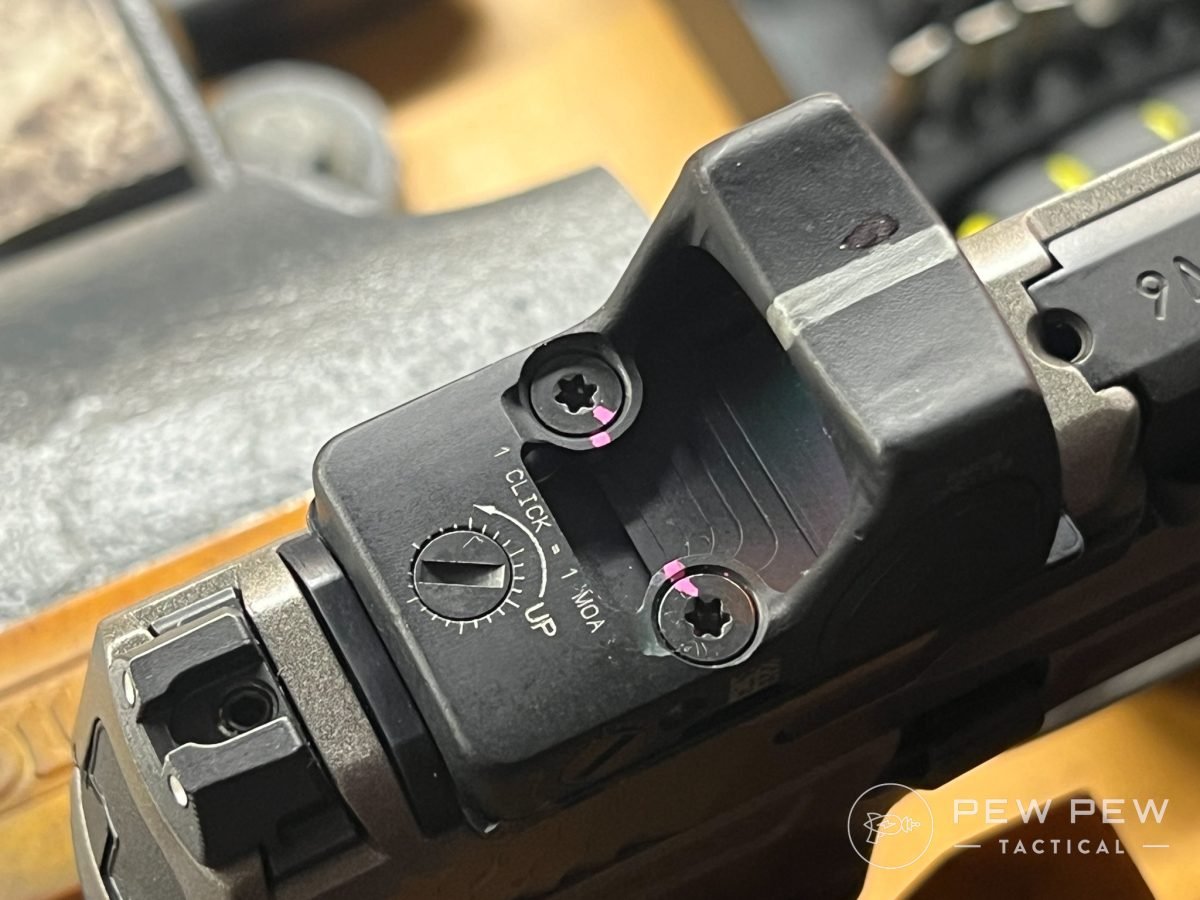
Witness marks won’t prevent screws from backing out, but they will give you a heads-up before things get bad. It’s a cheap and straightforward solution that will save you some heartache at the range.
Have you been using witness marks on your optics? Let us know in the comments below, and for our favorite pistol red dots, check out 9 Best Pistol Red Dot Sights [Real-Views + Video]!



2 Leave a Reply
Good advice! I'll do this going forward.
It sure beats the alternative.